Article by: Gerry at PhoenixMotorsport
Article applies to: all e31 models
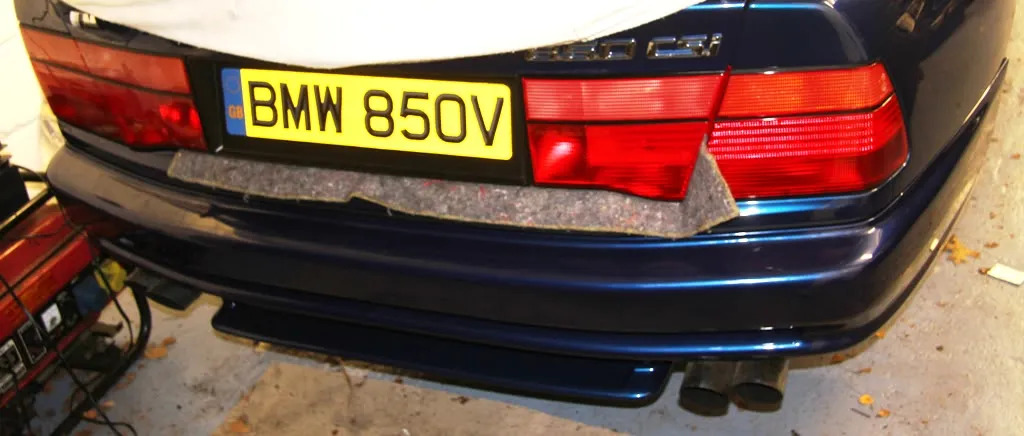
It’s been a bit quiet on my “How To” series recently as I have been working on lots of areas on the car and not getting anything finished, so now I have just finished one part, I thought i would share how I got myself a nice rear end . . . on the car!
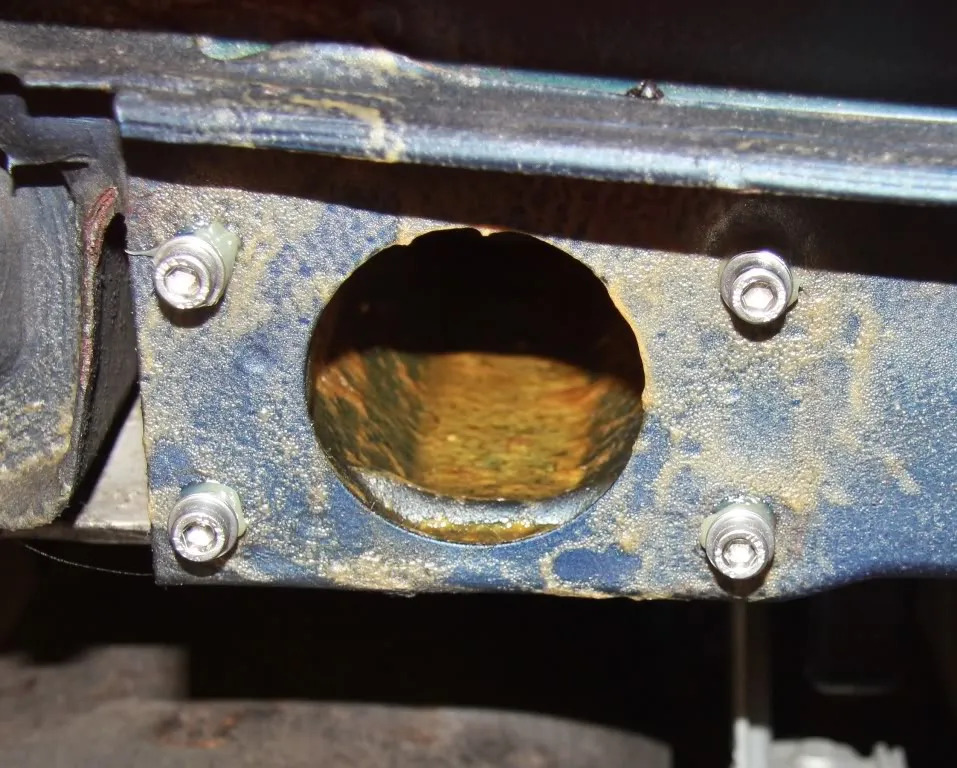
I decided to strip off the rear bumper section of the car to have a good check over the differential cooler, and whilst there, look over everything else in that area.
Unfortunately, I only took pics putting it back together so removal is the same as fitting, but in reverse.
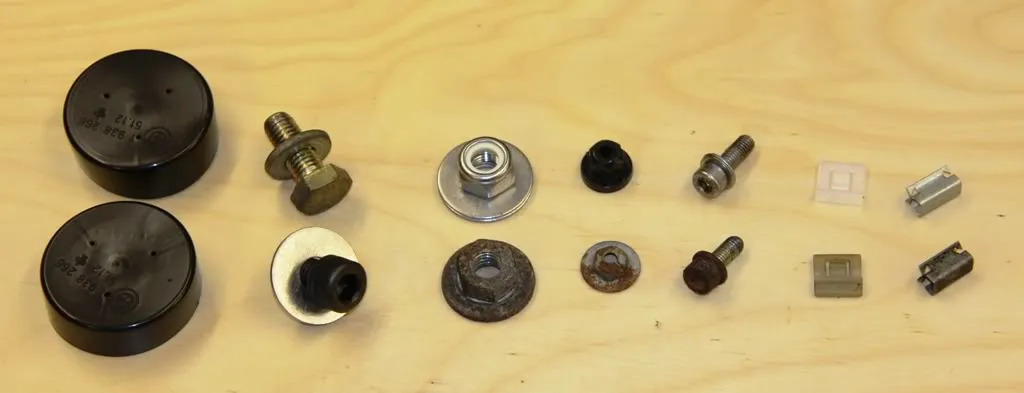
To begin with, here are the new parts I used. (All references to “shock absorbers ” in this post refer to the crash dampers built into the rear bumper mounts, NOT the suspension parts.)
From left to right: Shock Absorber plastic caps, Towing plate bolts, Bumper Iron bolts, Valence self tapping nuts, shock absorber mounting bolts, bumper wedges and valance clips.
Apart from the caps, all others show the new parts together with the corresponding old parts.
To remove the rear bumper, there are 2 small self tapping screws at the rear of each inner arch and 2 under the leading edge of the bumper underneath.
Then just 4 17mm headed M10 flanged nuts accessable from under the car holding the main bumper section to the shocks.
With the assembly off and the bumper iron removed, I cleaned off the inside of the bumper skin.
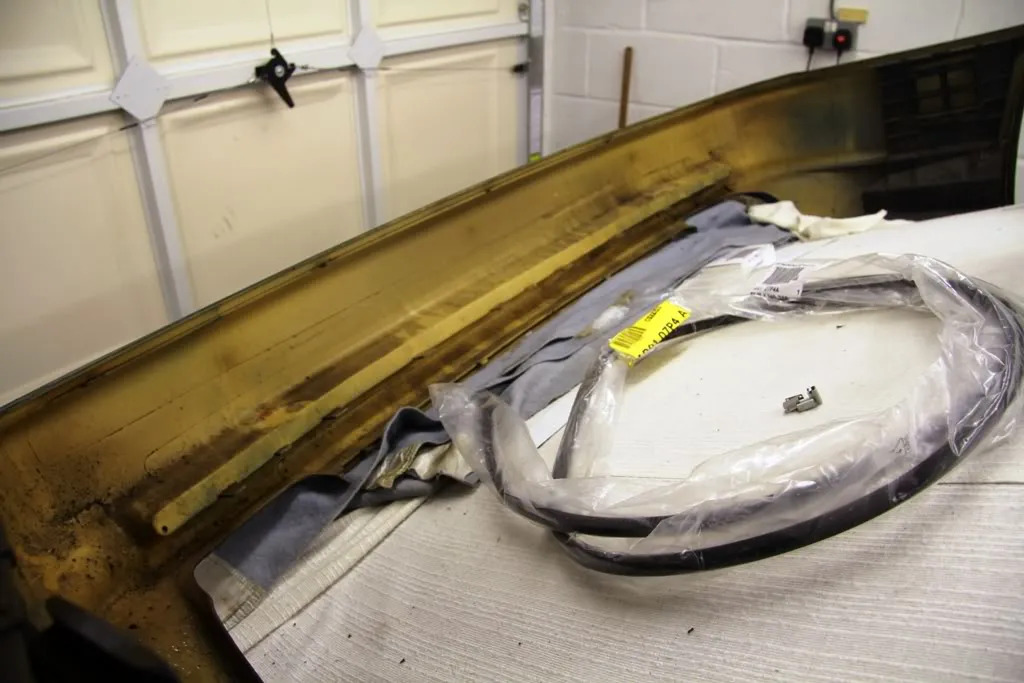
I left the end internal brackets on but removed the old upper edge seal as the rubber was as hard as plastic and had lost all it’s compliance.
Next, I removed the 2 shocks but the M6 hex bolts were so rusty, I could not even get the key into the head to undo them so needed to resort to a stud extractor on the heads.
Anyway, once removed, I washed the rear down with some strong detergent and dried it all off. I then used a can of chassis wax aerosol to rust-proof the rear panel
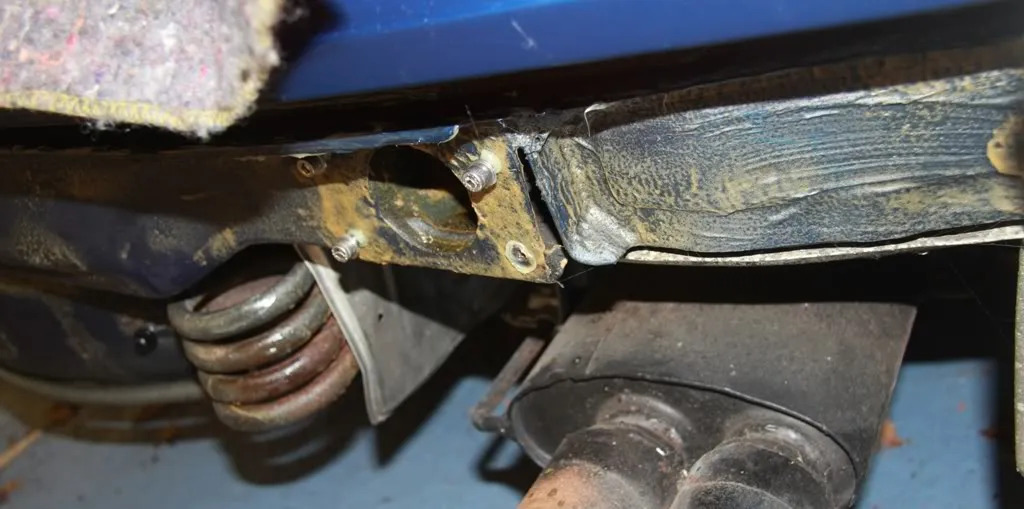
and inside the shock absorber tubes.
As you can see, I am using new M6 stainless steel hex screws to refit the shock absorbers.
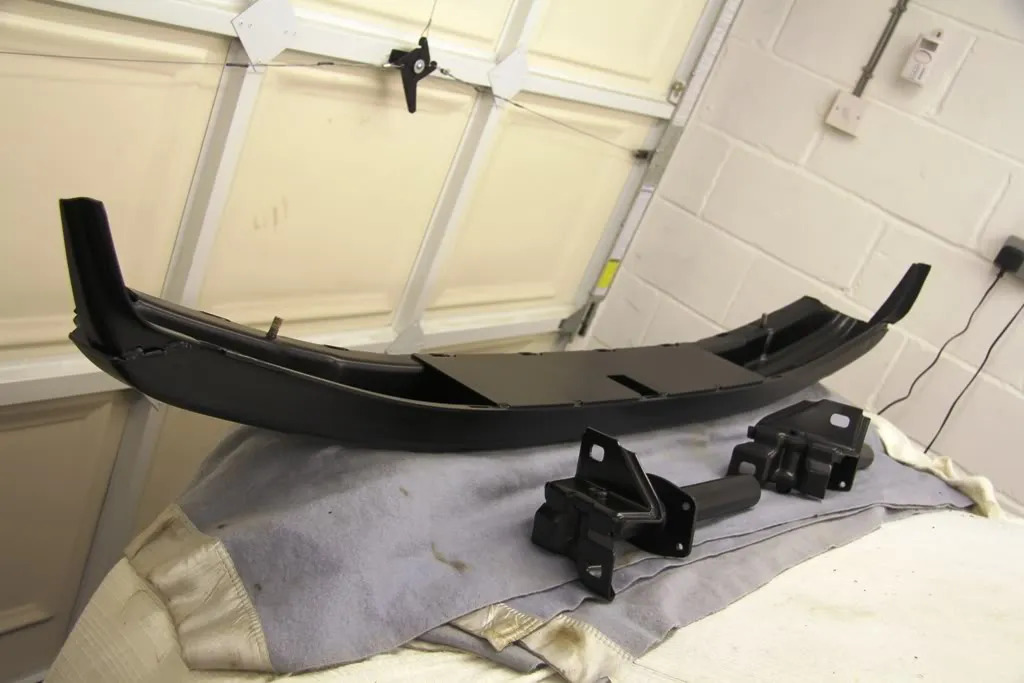
After removing the bumper iron and shock absorbers, I shot blasted them and then powder coated them black to give maximum protection.
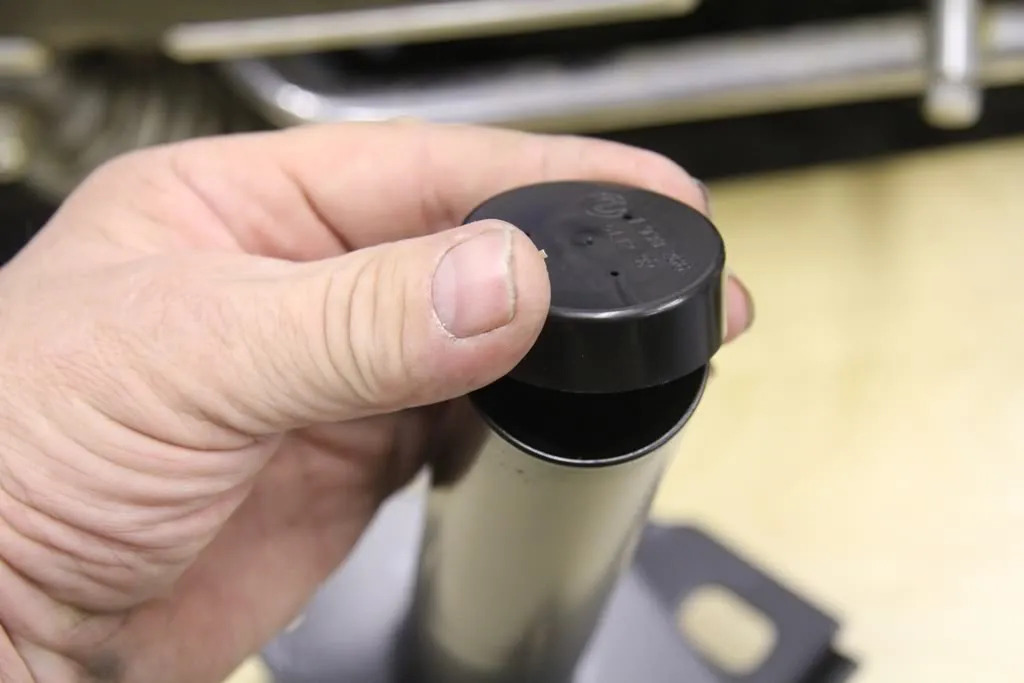
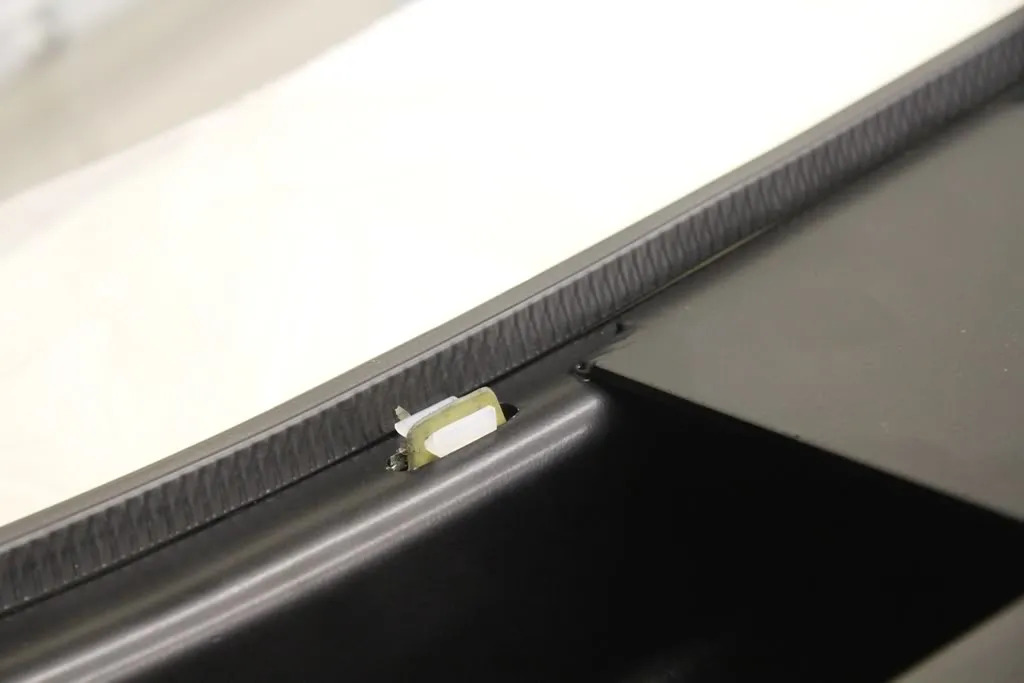
Before refitting the shocks, I installed 2 new end caps that were missing when I removed them, apparently not fitted when the car was built!
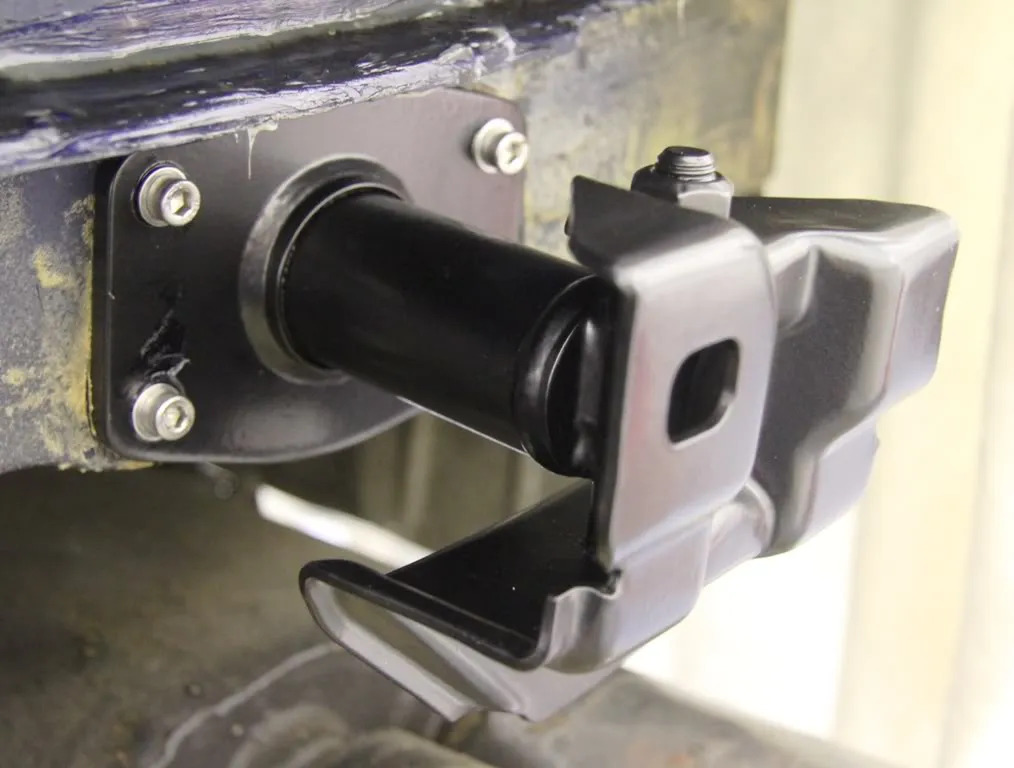
Then using the new stainless steel bolts and washers, greased to lubricate the threads inside the rear panel . . .
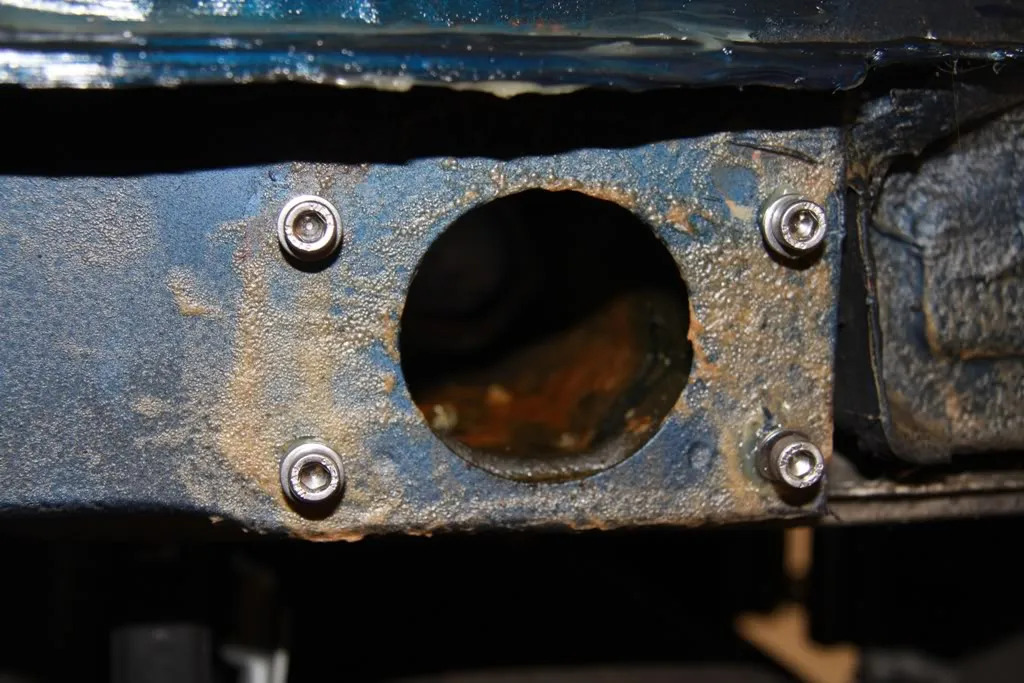
refitted the two bumper shocks.
I now needed to reassemble the main section of the rear bumper, so with the newly powder coated bumper . . .
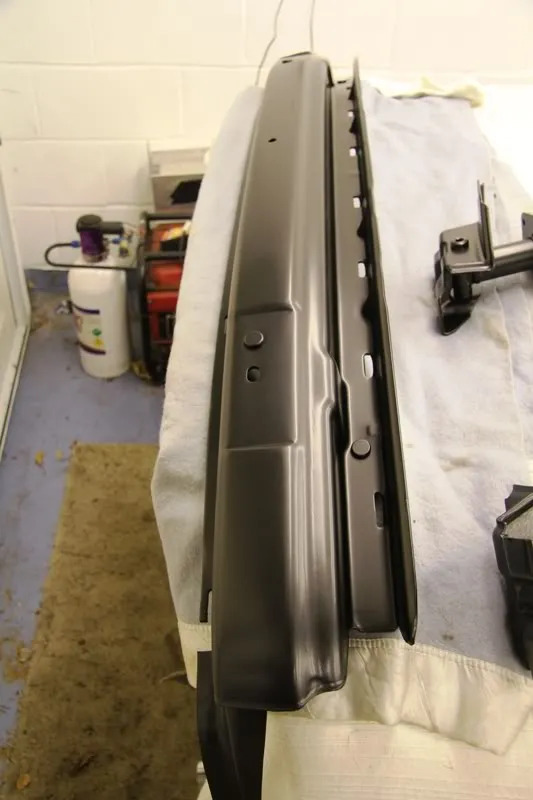
laid inside the skin . . .
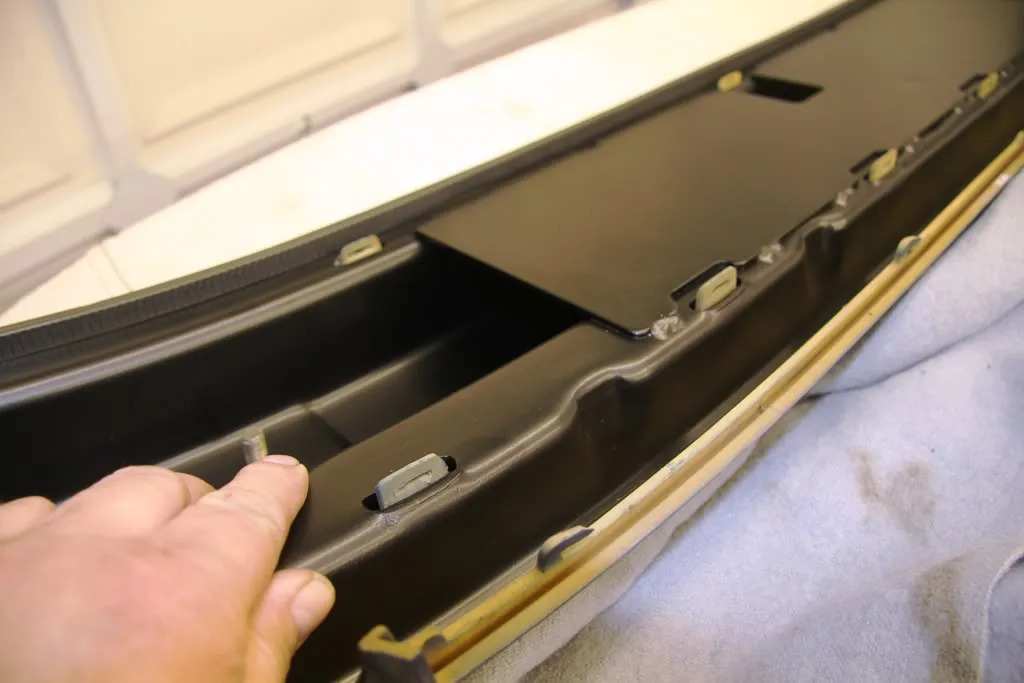
The first of the 13 new wedges were installed . . .
to retain the outer bumper skin to the bumper iron.
together with a nice soft and supple upper trim seal.
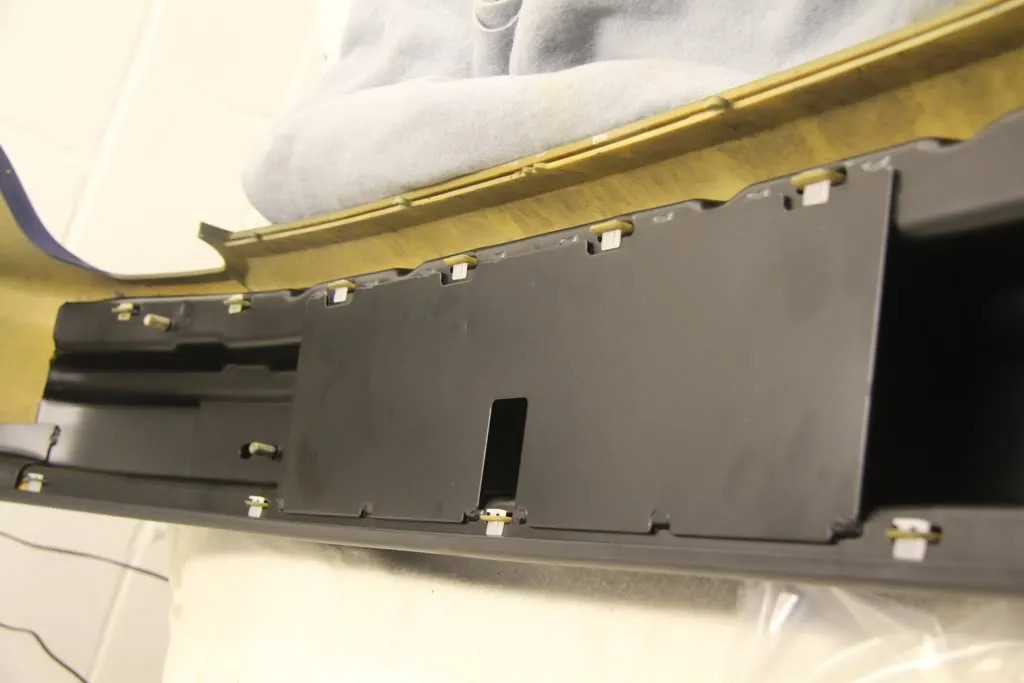
Now if you have the MTech lower rear valance, this was formally retained with some sheet metal self tapping nuts, but I have used the new plastic self tapping nuts.
See here the lower mount panel refitted with 3 of these.

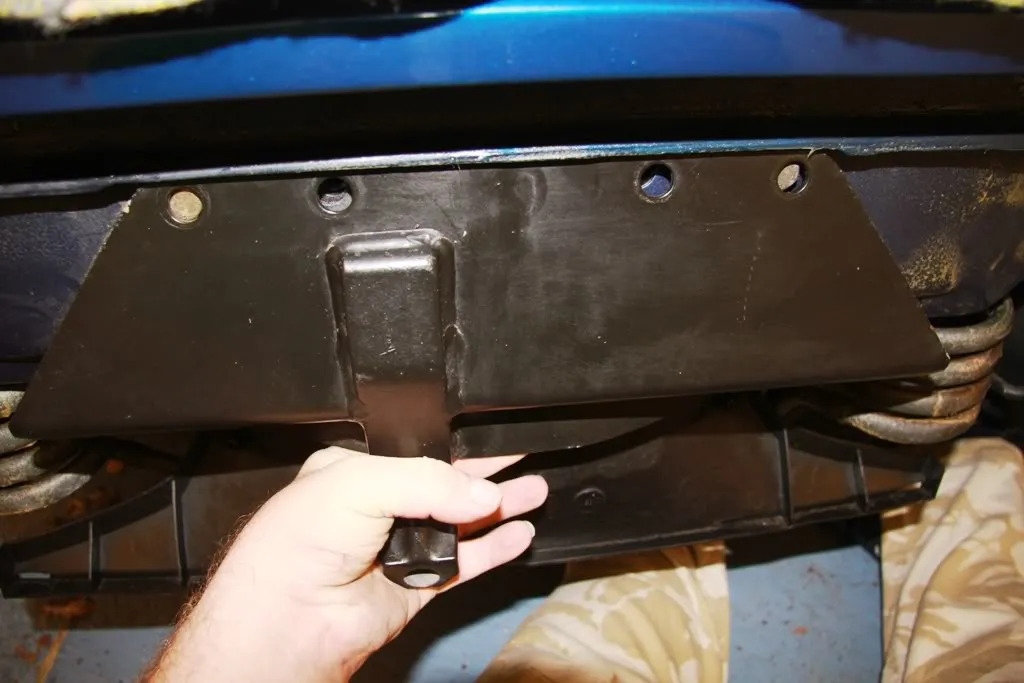
Next to refit is the substantial towing eye plate, seen here retained with 8 new M10 stainless steel socket bolts instead of the original 17mm headed hex bolts. 4 mount on the rear, and 4 underneath.
Now it is time to refit the main bumper section, so after greasing the 4 studs on the bumper iron that were masked during the powder coating process . . .

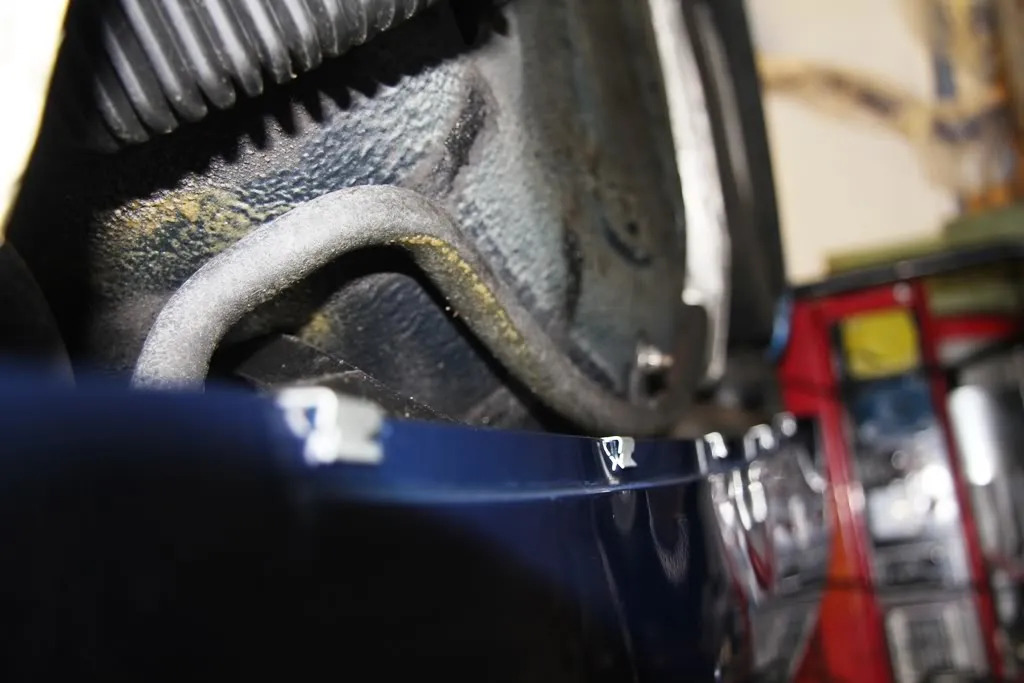
The bumper can be slid onto the guides either side of the lower rear wings until the studs engage on the shock absorbers.
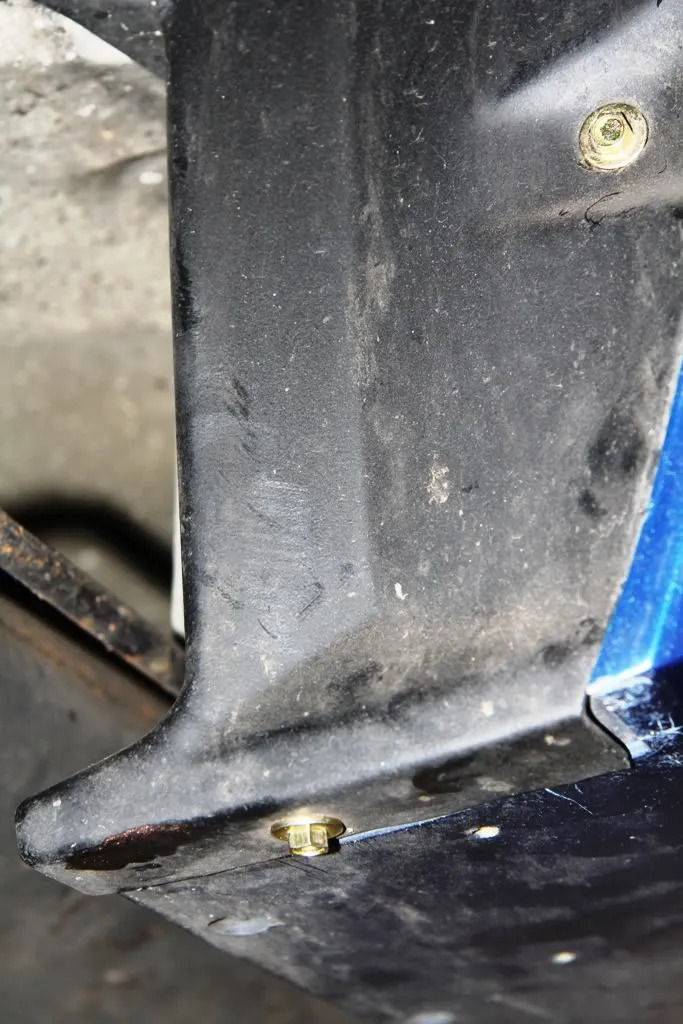
Now from underneath the car, I installed the 4 new M10 stainless steel “Form C”, (penny) washers, and 4 new stainless steel nyloc nuts.

(Socket shown on 1 and the other can be seen below it)
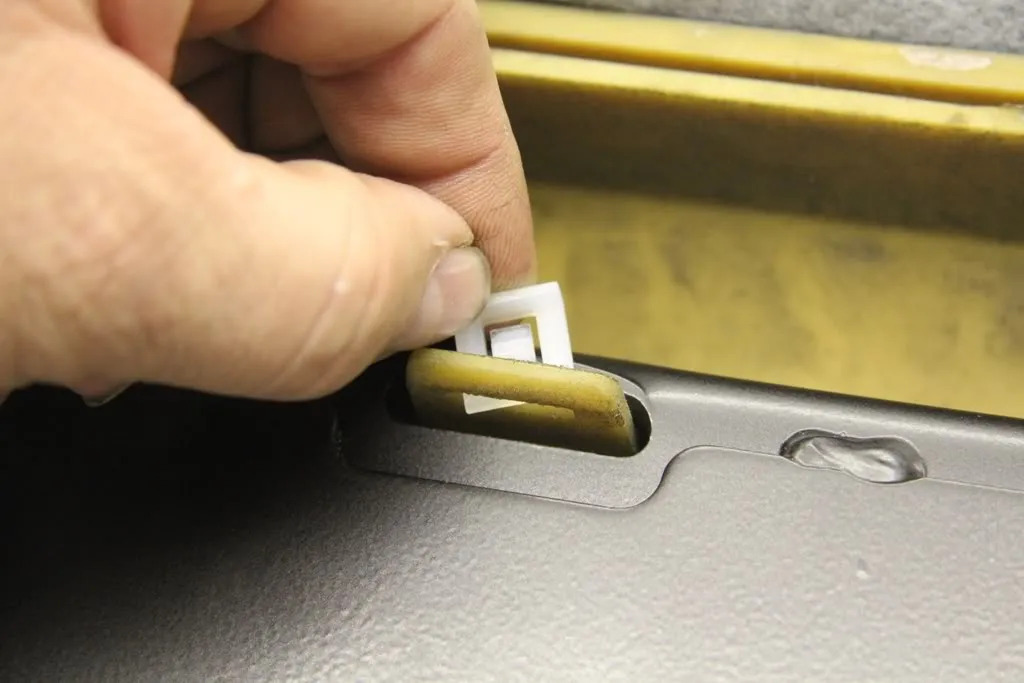
Now, if fitted, the lower valance can be attached to the bumper slots and retained with 5 new clips to hold it to the previously refitted valance mount.
Now, the 4 self tapping screws can be refitted through the rear arch liner, 2 each side.
And hopefully, we now have a pretty well corrosion-proof and nicely aligned rear end with no squeaks or rattles, and the comfort of knowing there are no horrors lying there getting worse out of sight.