Article by: Gerry at PhoenixMotorsport
Article applies to: all E31 models.
Whilst doing a rear suspension refresh, I thought you might like to see how I do the work.
This may not be the easiest or quickest, and I am sure there are plenty of opinions out there on alternative methods, but after doing around 30 of them, I know it works, so here goes.
The car came in after reports that ALL of the rear ball joints and bushes required replacement, as well as shocks and I was asked to quote for that work.
With there being about 22 of these bushes and ball joints, excluding the diff mounts, I suspected the owner was being told to do all of these because either
1. They did not want the work so over quoted
2. Didn’t know what to look for so just said to do everything or
3. Just tried to rip the guy off.
Following an inspection, I found that in fact, in my opinion, only the 2 rear upper arm inner bushes (33321138015), front trailing arm bushes, and rear bump stops needed attention.
Sure, a couple of other ball joints had perished ball joint gaiters, but there was no play and they could last for a number of years yet.
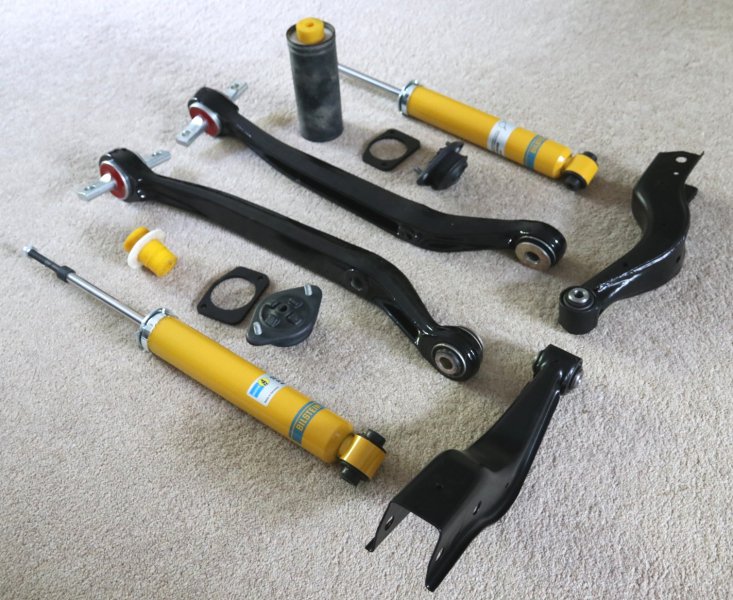
So here is the kit that I planned to install…
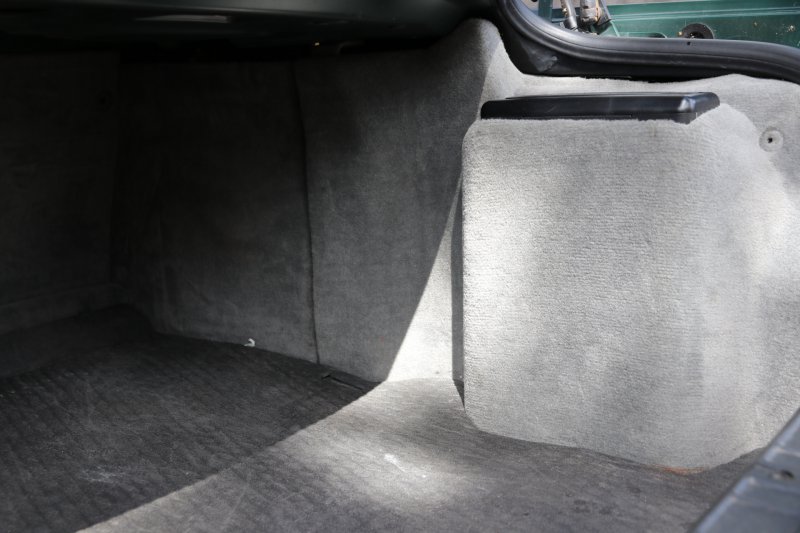
So, with the vehicle on the ground, starting in the trunk, remove the 2 rear side carpet sections by pulling at the top in the middle on the left…
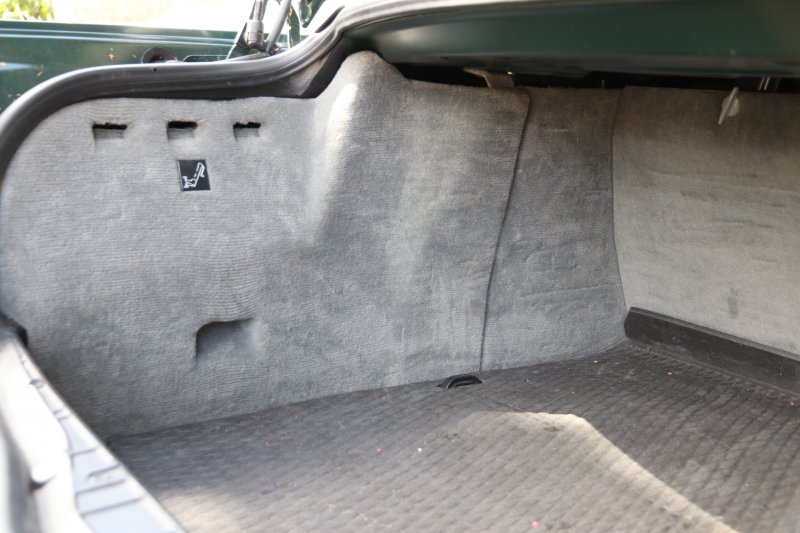
and the same on the right, lifting the carpet over the CD changer if installed…
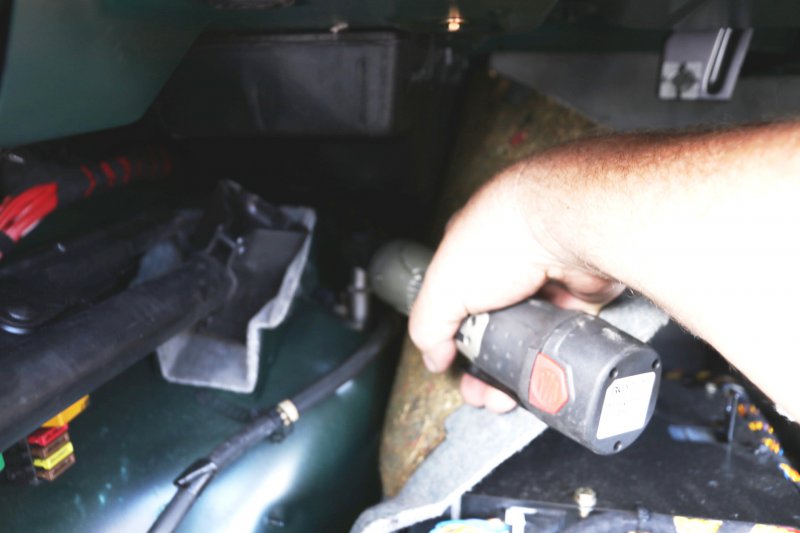
Next, remove the small plastic 10mm nut retaining the forward carpet sections as well as the press-in plug holding it at the top.
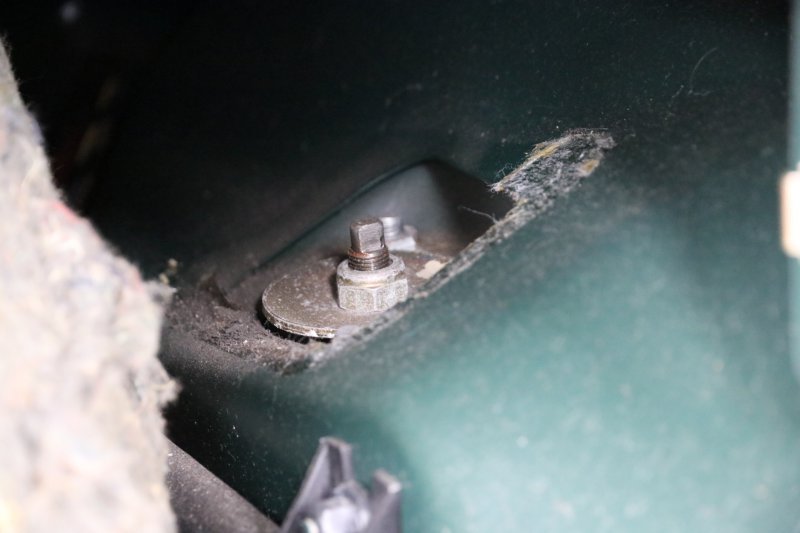
With the forward sections loose, (no need to fully remove them), reach in and remove the sticky rubber covers over the upper strut mount…
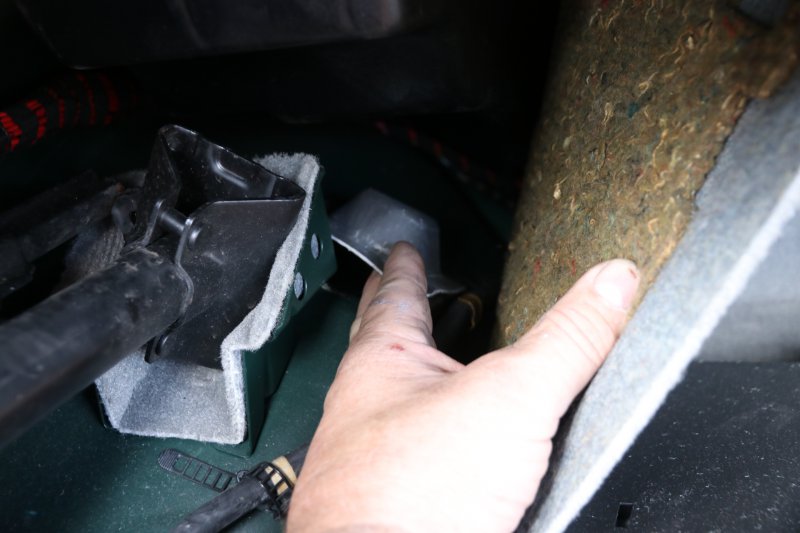
This will expose the rear strut top mounts. There are 2x 13mm nuts and the central shock stem nut.
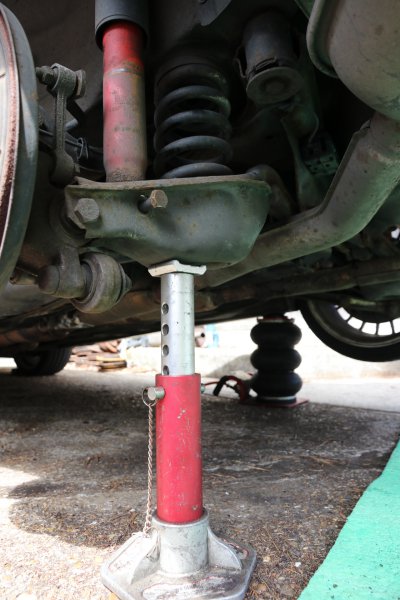
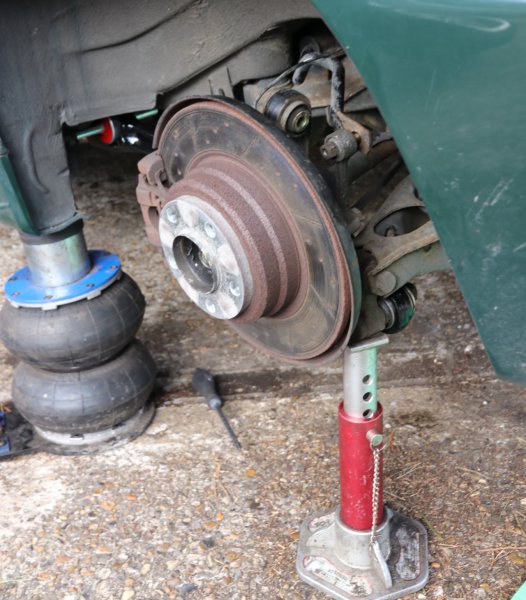
We now need to lift and support the car so that the rear wheels are clear of the ground on the rear sill support pads.
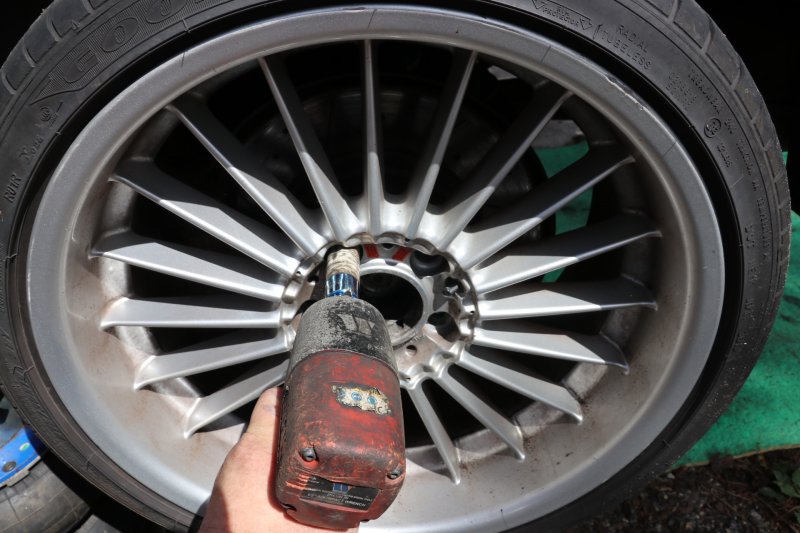
Remove rear rims…
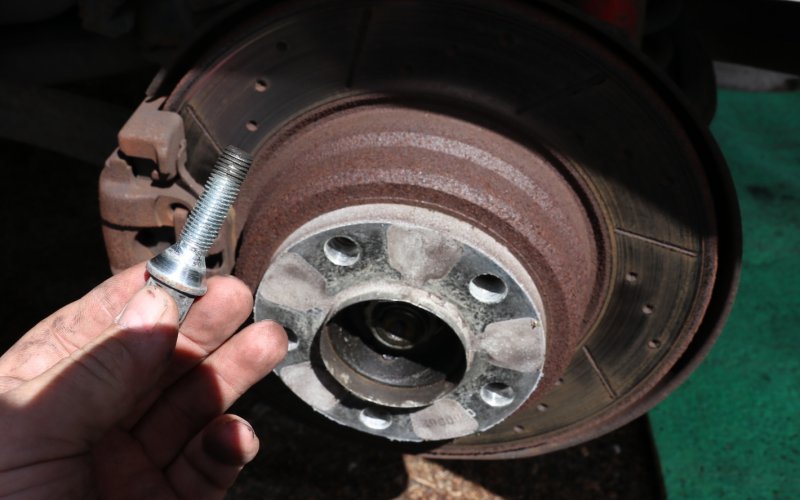
When removing the wheels on this car, I noticed that the bolts were longer than normal which was explained as soon as the wheels were off and I saw the wheel spacers . . .
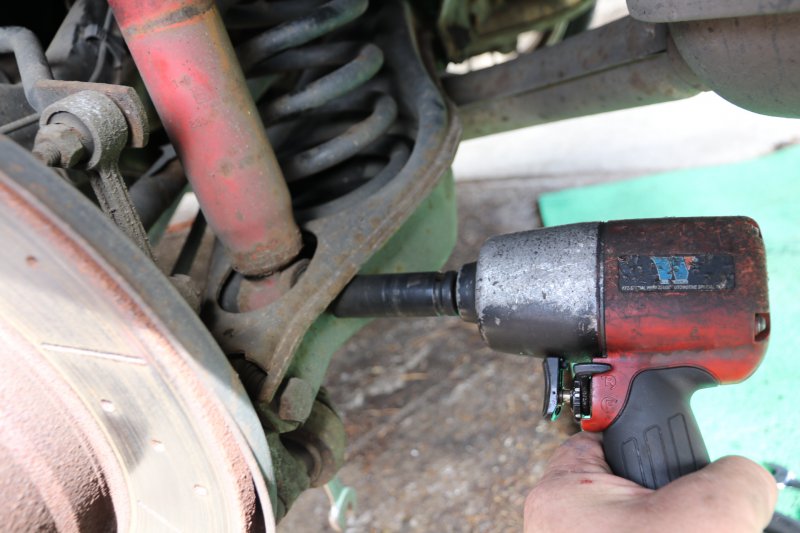
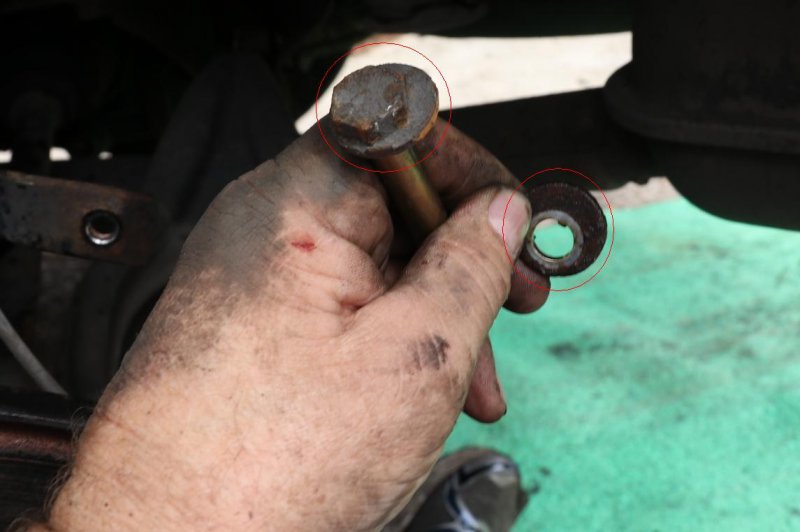
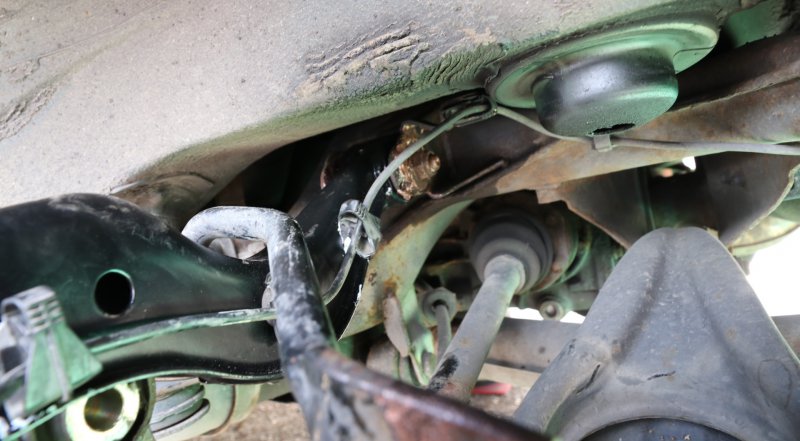
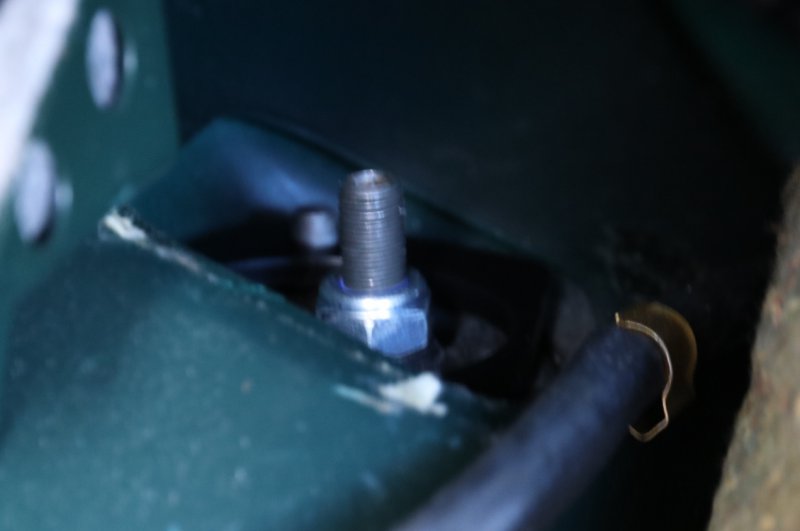
Here I am showing the pesky rear upper inner ball joint that has excessive play in it.
Next, undo the rear strut lower mount with a 19mm tool either side and remove the nut.
Now use an axle stand or another jack to support the lower arm until the lower strut bolt can be withdrawn by hand.
Now returning to the trunk, undo the 2x 13mm nuts ONLY.
Looking back under the wheel arch, we can clearly see this bump stop is badly perished with the bottom “knob” about to fall away.
Mission creep no1…..new bump stops.

Removal of the pre-load on the suspension by removing the arm support will now allow very easy removal of the rear shock.
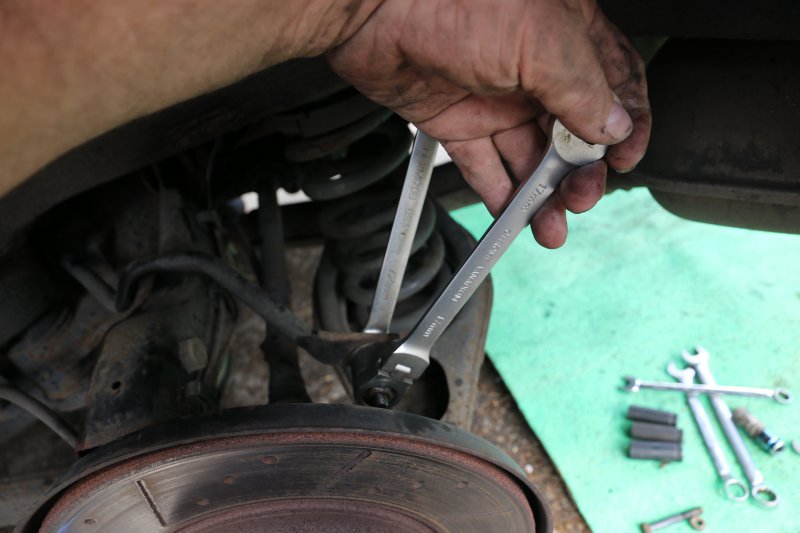
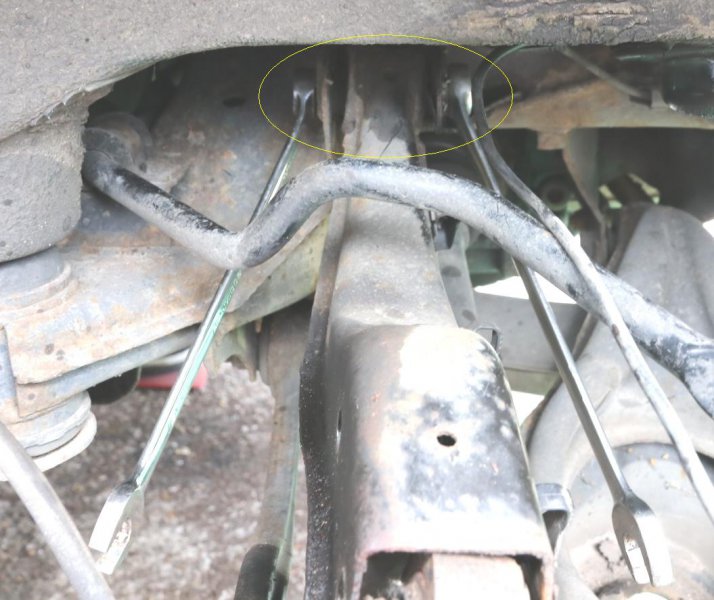
Making the assumption that you have both sides of the car lifted, you should now be able to easily disconnect the rear sway bar from its drop link using 2x 17mm wrenches.
If you have only raised one side of the car, there will be a LOT of tension on the sway bar and it will be difficult to remove this bolt.
With all the tension released, the rear coil spring will easily pull out with a little push down on the suspension arm.
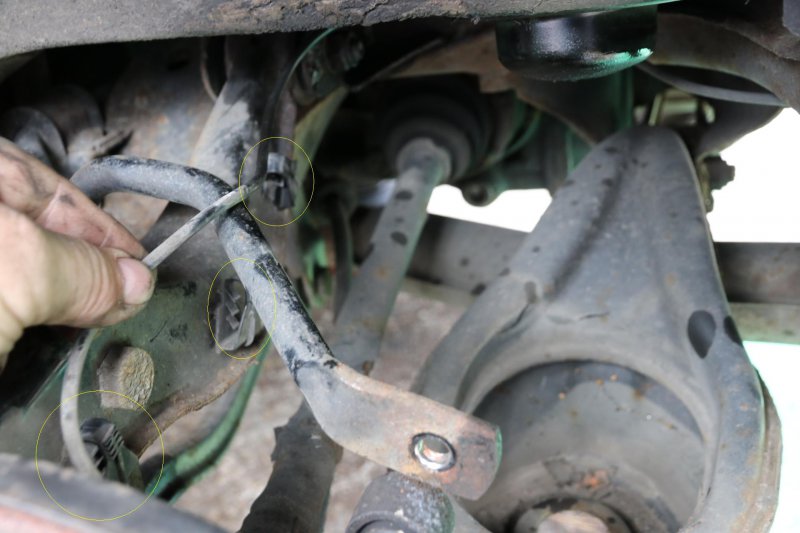
Depending on which side of the car you are on, there will be either 1 or 2 cables, (ABS loom and pad loom) clipped to the sides of the upper arm which can now be detached.
We can now scrape our knuckles trying to undo the eccentric bolt on the inner upper arm. One side is 19mm and to really F you up, the other is 18mm!
Try your very hardest NOT to damage these nuts and bolts.
They are the rear camber adjustment bolts, are a special eccentric bolt and washer and are NO LONGER AVAILABLE new from BMW!!
You can now undo and remove the 2x 22mm nuts and bolts through the upper arm, the outer that attaches to the hub carrier, and the inner that holds the trailing arm drop-link.
You can now remove the upper arm.
Next, remove the rear 27mm nut and the 2x 22mm bolts that hold the trailing arm on…
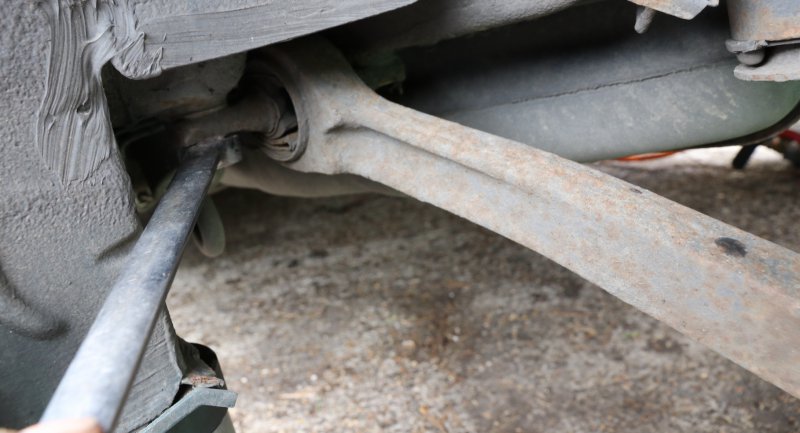
Once off, you can remove the 24mm nut retaining the drop-link arm and separate them.
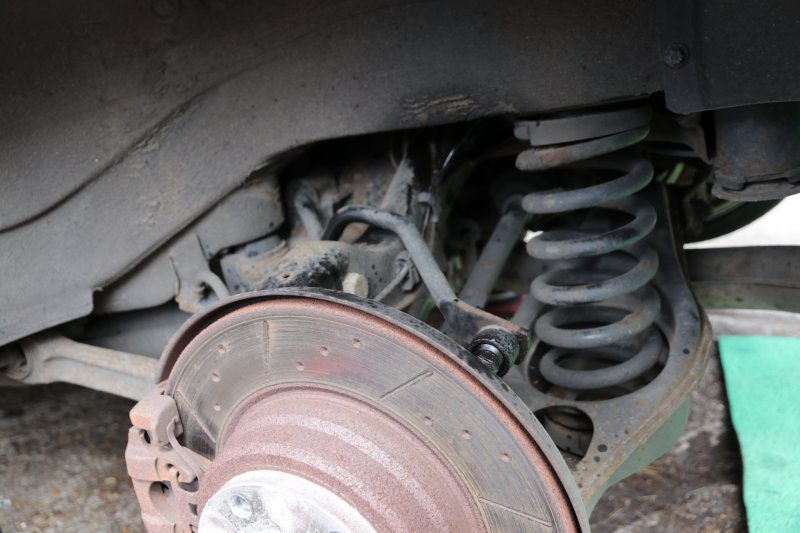
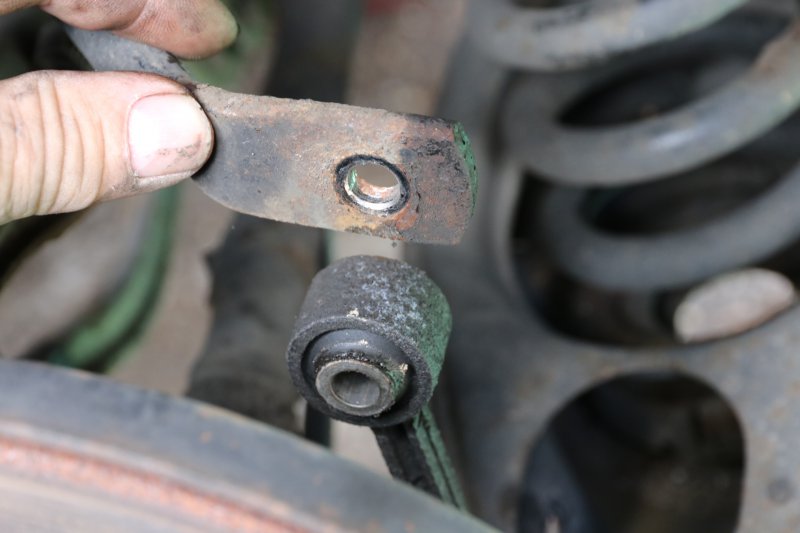
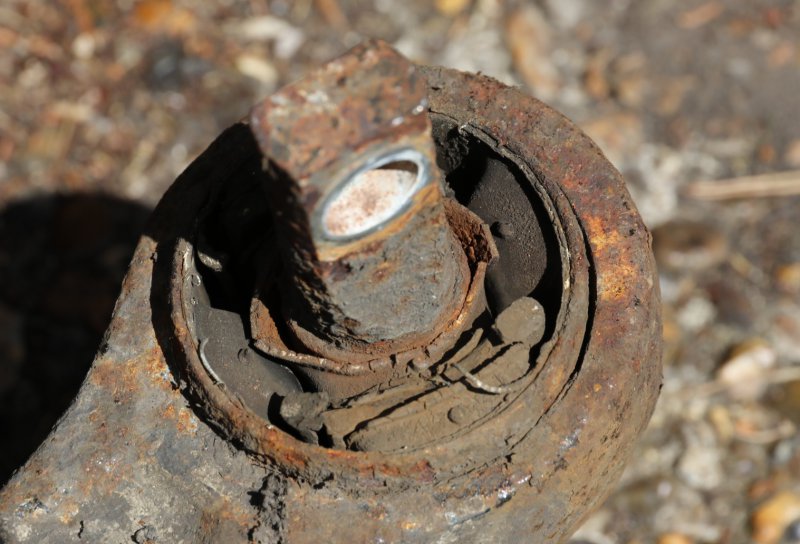
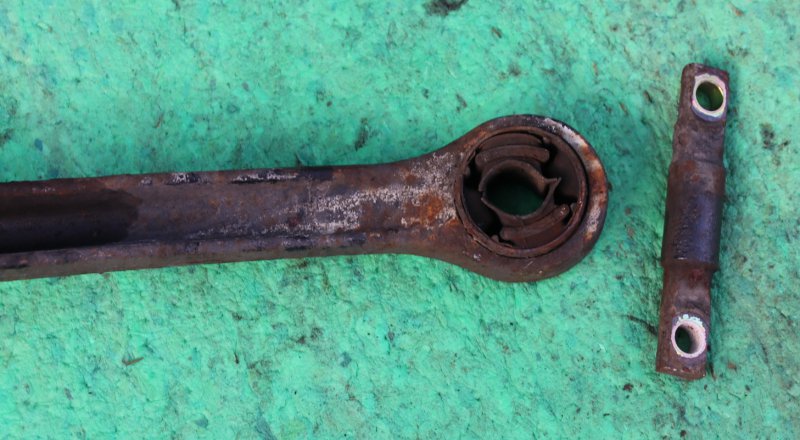
Here you can see the rather ropey looking front trailing arm bush.
Re-install the drop-link arm to the new trailing arm, slide the rear of the trailing arm onto the lower hub stud and LOOSELY install the 27mm nut.
Supporting the rear of the trailing arm, lift the rear of the arm to allow the front 2 mounting bolts to align with their holes.
NOTE: these are very easy to cross thread as they are a fine pitch bolt, so take your time, align them properly and start them by hand. NO AIRGUNS to start them!
After thoroughly greasing all around the inner upper arm mountings and those eccentric bolts, refit the inner bolt and nut.
MAKE SURE THE WASHERS FIT WITHIN THE SLOTS of the eccentric adjusters, welded on the sub frame.
Just LOOSELY nip these up.
When installing the upper arm, guide the trailing arm drop-link into the upper arm and refit the 22mm nut and bolt LOOSELY.
We can now also refit the outer, upper 22mm nut and bolt into the hub carrier and tighten fully.
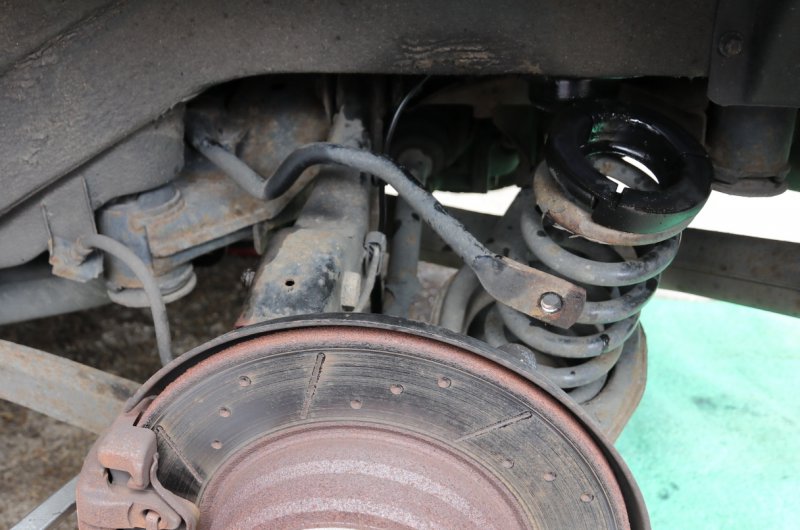
Letting the suspension hang again, we can install the rear coil spring and spring pads.
Amazingly, during the 2 previous inspections and an MOT just days before we got the car, no one noticed mission creep no2.
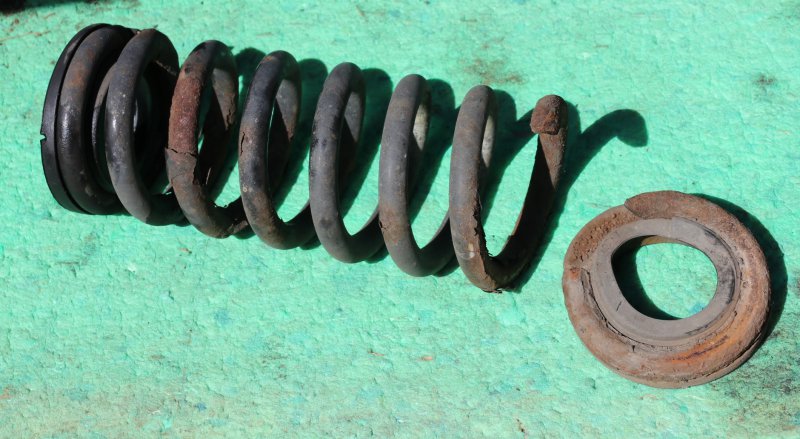
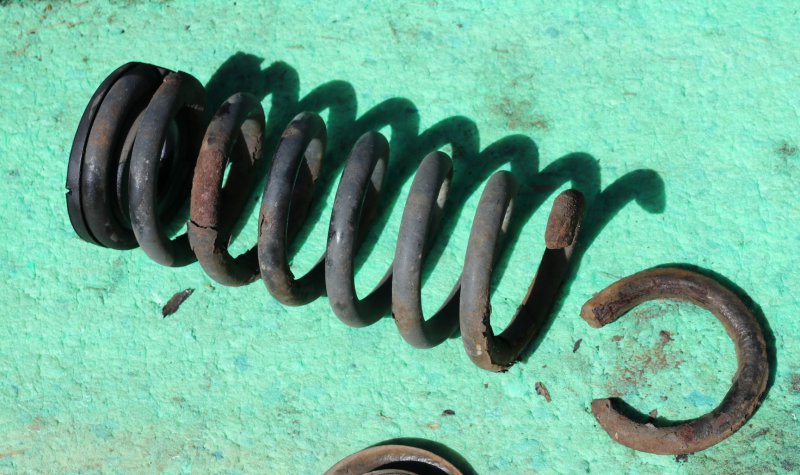
This spring failure is EXTREMELY common and we see it on around 75% of the cars we see for the first time.
It is ALWAYS is the bottom coil broken which sits inside the lower arm and cannot be seen unless, you are looking for it, or know what to look for.
So we will be installing Eibach Pro Sport springs on this car.
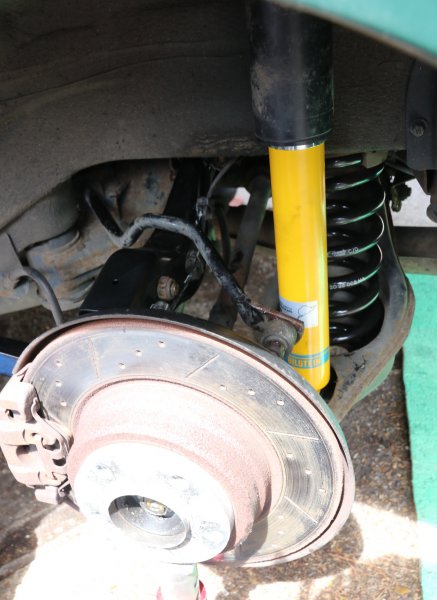
We can also install the replacement Bilstein rear shocks, fitted with new shorter urethane bump-stops (CSi length), the original dust shields and new top mounts.
These are essential when fitting uprated or new dampers. The lower mounting bolts should be left loose.
We can now lift the rear suspension assembly, guiding the rear top mounts into their positions. The rear sway bar link can now be refitted LOOSELY.
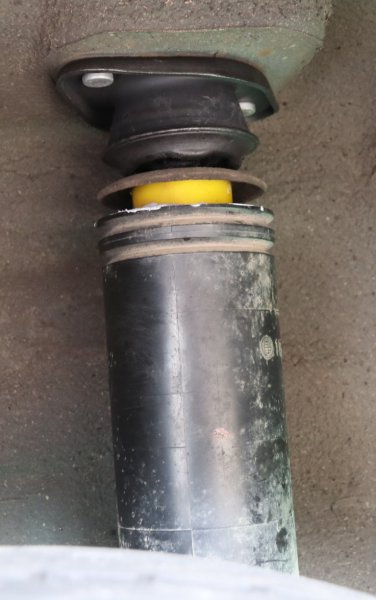
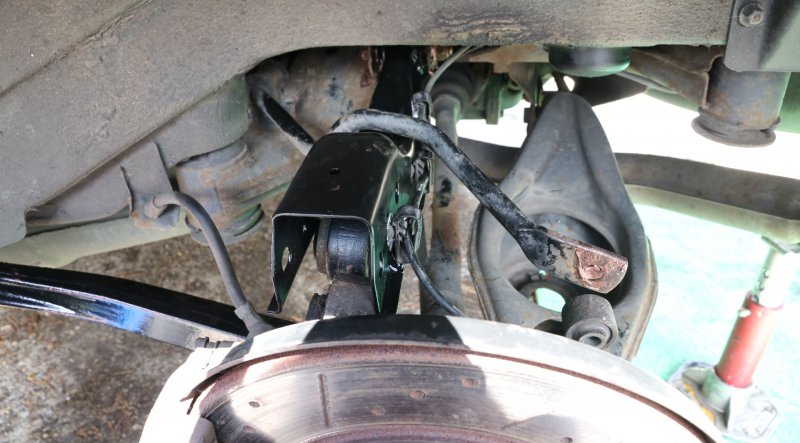
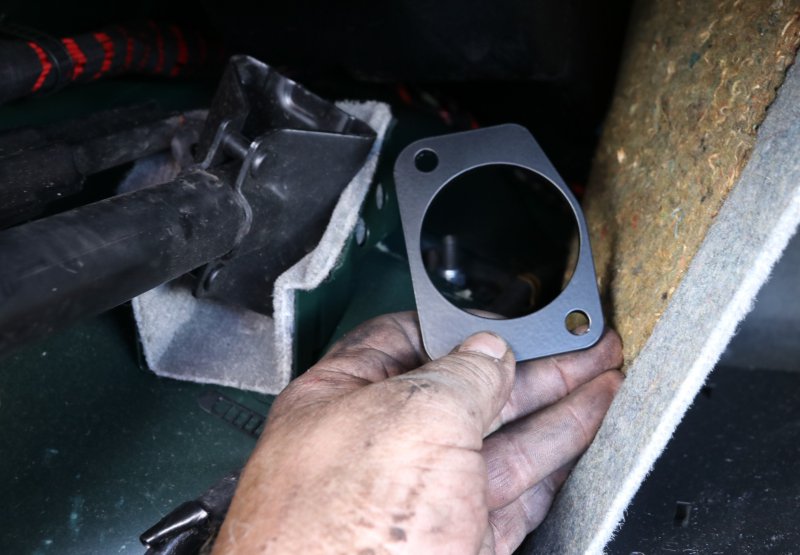
Here I am installing the essential rear top mount reinforcements to prevent the very expensive repair of a split top mount area on the body shell.
We are reusing the original nuts with a dab of thread locker.
Here we can see just how badly the trailing arm bushes were that had just PASSED an annual inspection test!
So to finish off, we need to pre-load the BUSHES to have zero preload when in the running position.
Refit the rear wheels, OR, support the weight of the car completely on the lower arms.
This sets the vehicle at its static running height.
The bushes can now be fully tightened.
27mm nuts at rear of trailing arms.
22mm nut and bolt through upper arms.
19mm nut and bolt through lower shock mount
17mm nut and bolt on roll bar link.
The car can now have a wheel alignment done to set the rear camber and then these eccentric bolts fully tightened.
So, with the rear done, its time to think about the front.