Article by: GSXRliterbikz
Article applies to: most BMW models.
So the 7 I bought a few months ago needed a bearing when I bought it. Lazy person I am, I procrastinated too long.
Put like 8k on it and then had to stop driving since it got too bad. All the quotes I got from indy’s were in the $450-$550 range. But since it requires special tools I didn’t have much choice. All the kits I found were as much money.
Till yesterday. . .
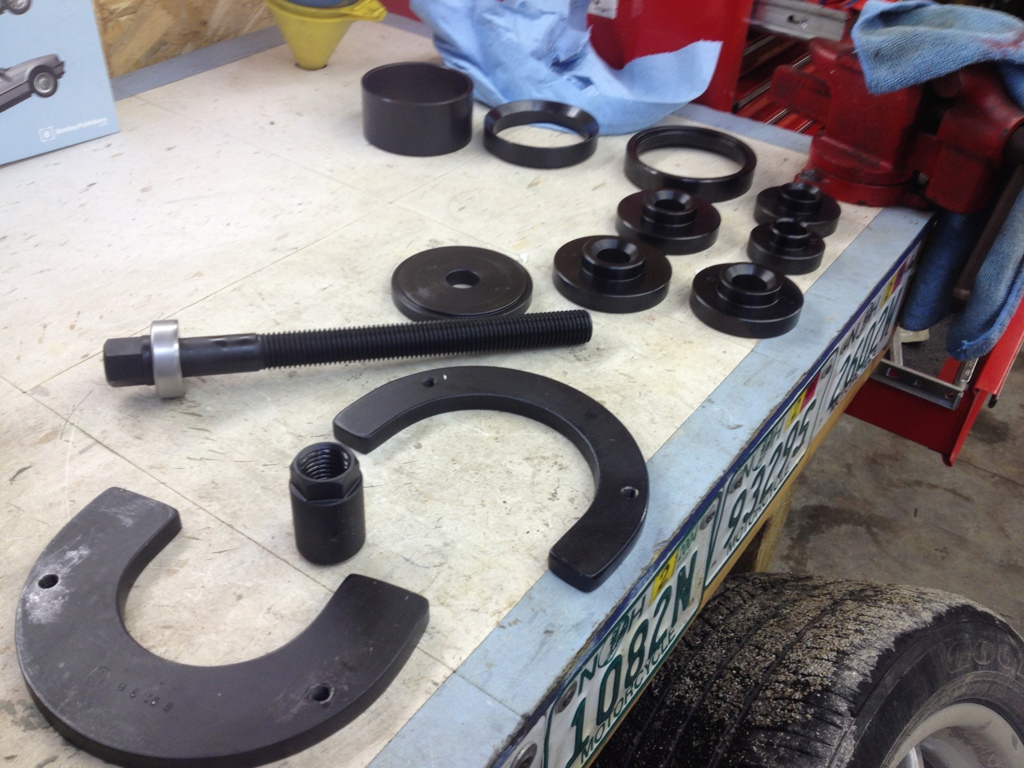
I was looking at ebay for used tools and stumbled on a listing from Bavauto. It was a brandy new BMW wheel puller.

Supposedly good for pretty much any BMW, Porsche, or Mercedes.
Figured for that price I could buy the parts and the tool for less than what I’d spend on having it done. So I did. And here are some pics of the job:
Then take the old axle nut off. Just bend the tabs back and use an impact gun (or muscle, whichever is easier to find).
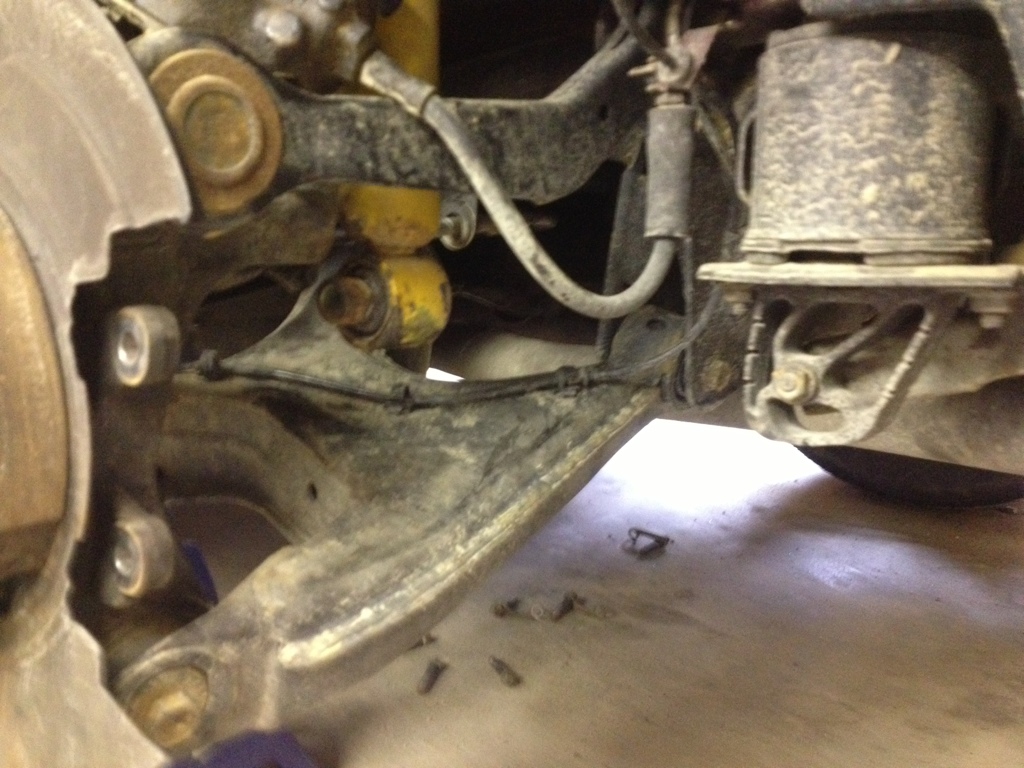
Then take the lower shock bolt off and pound the CRAP out of it to get it to separate from the hub. For me it took about 1/2 hr to remove it. But my shocks aren’t that old.
For those that have really old shocks, you likely won’t get it off without damaging the shock. You might need to remove the forward upper control arm.
I chose not to as that will mess up the alignment, but some might not have a choice.
Then go after the CV shaft. There are 6 e12 bolts. Take out the few you can reach and then put it in neutral to spin the shaft and gain access to the others.
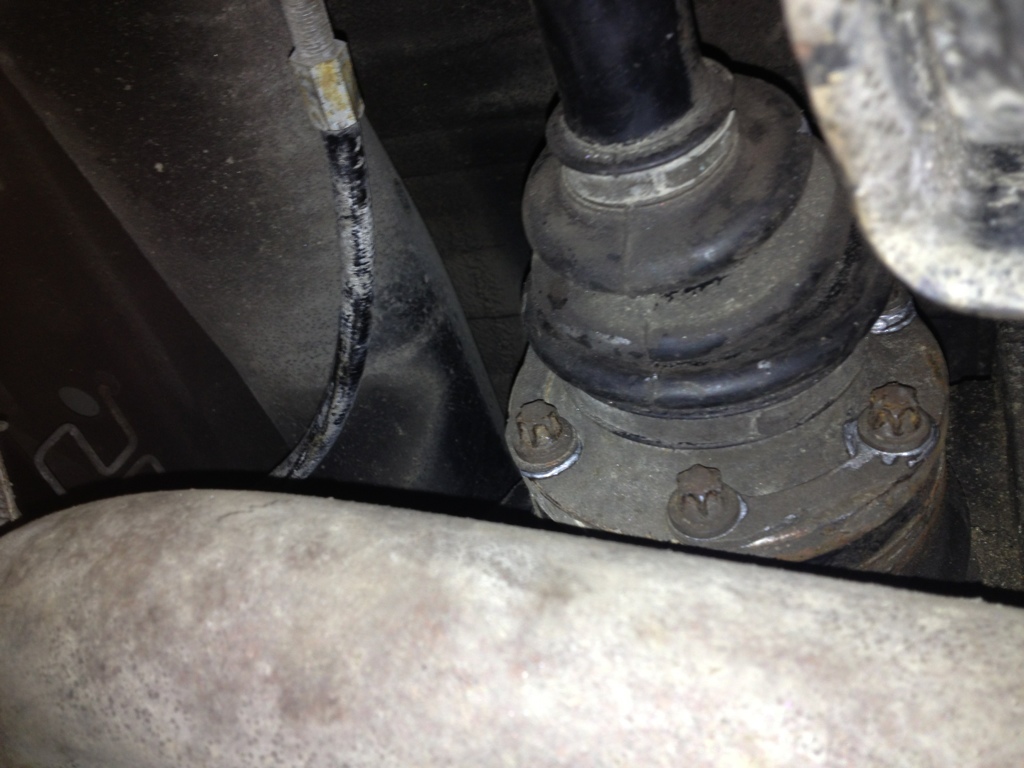
With those out, you should have room to remove the CV shaft.
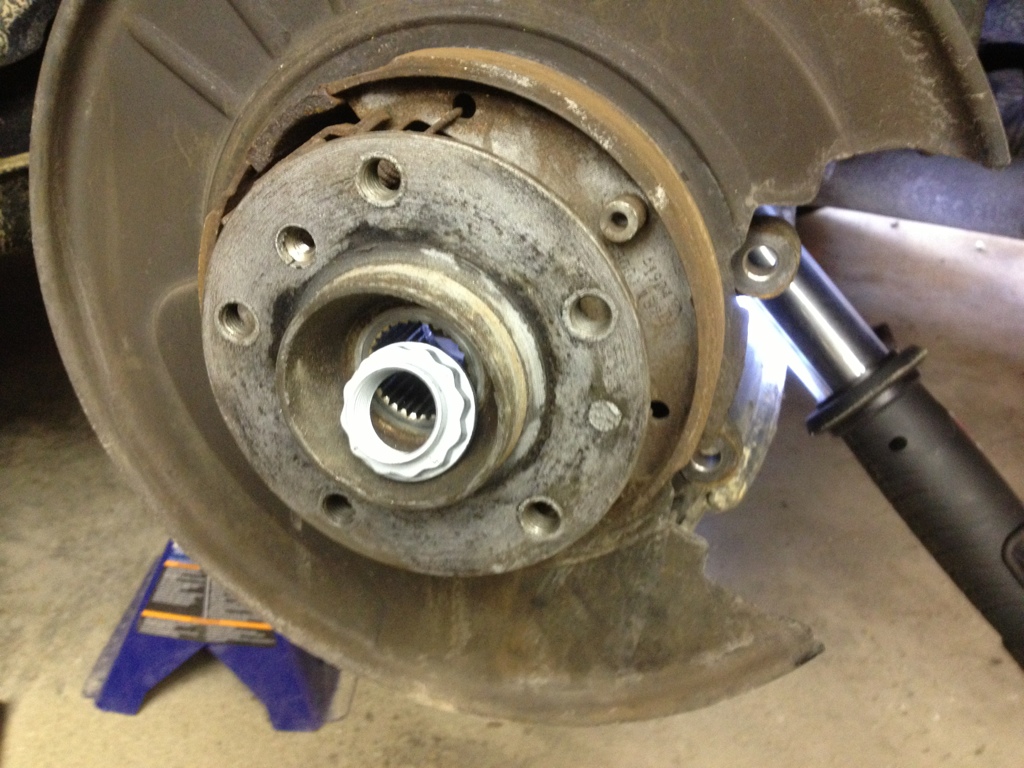
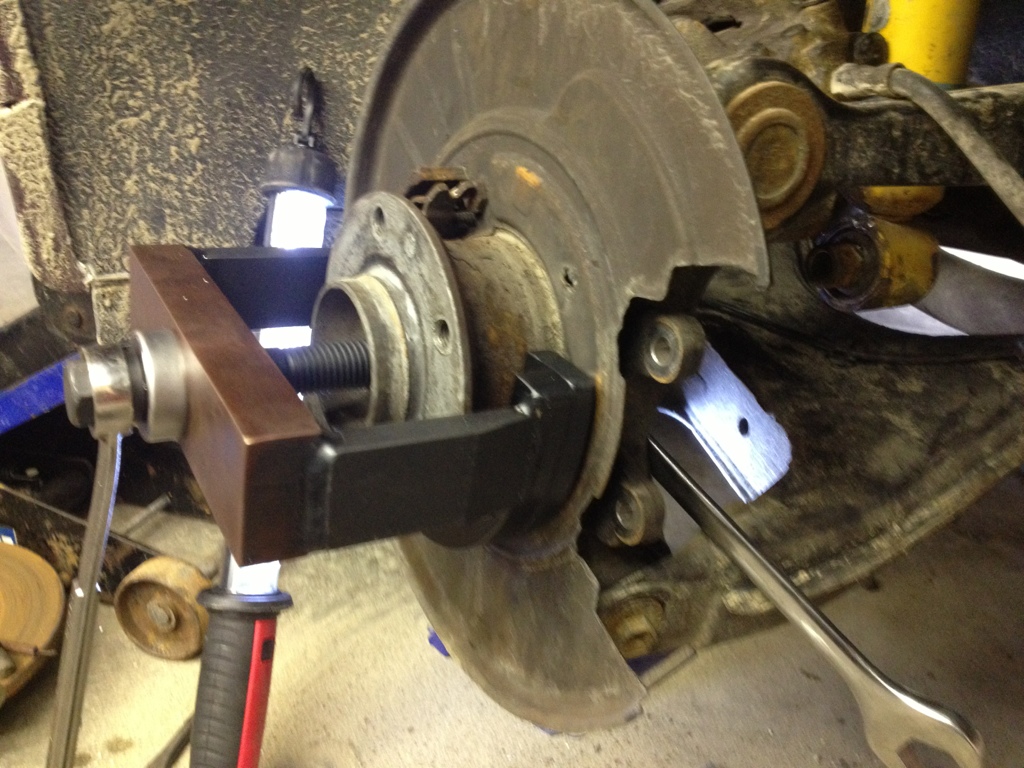
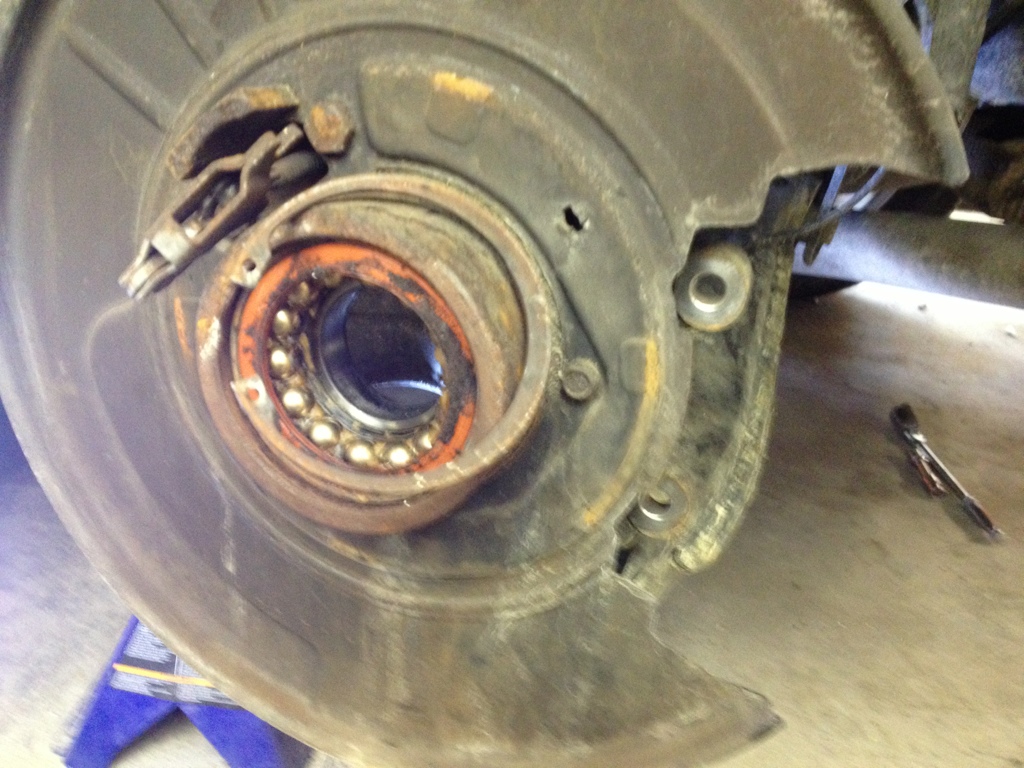
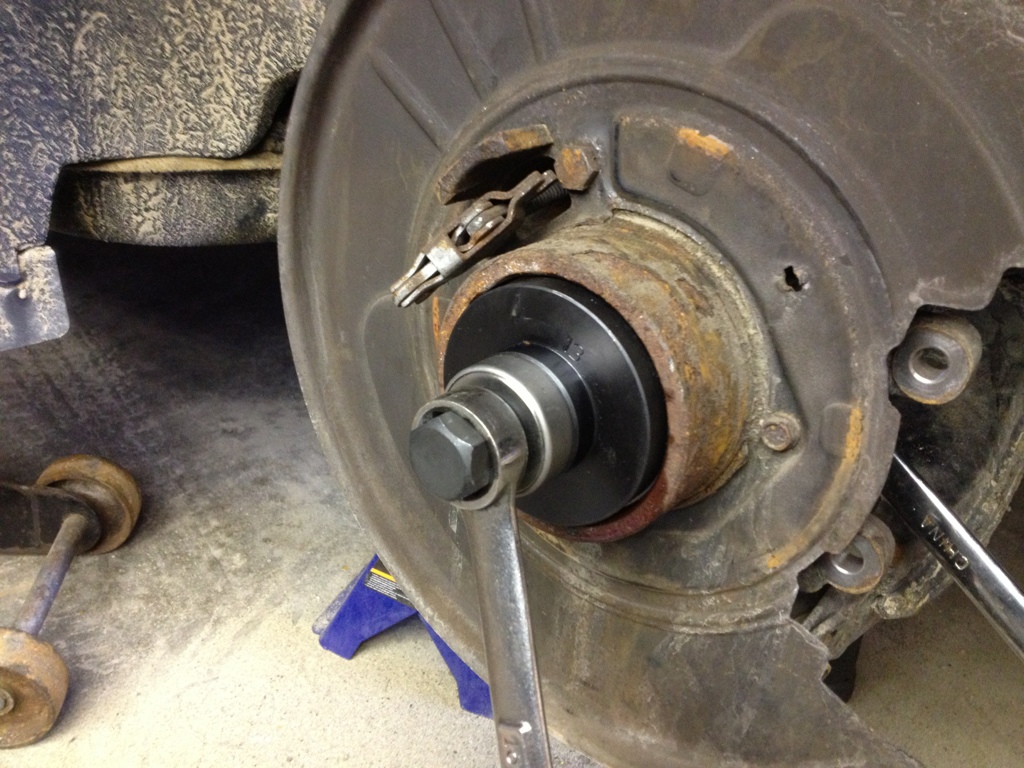
Now you have access to the hub and room for the tool. Here it is. You only need a few pieces for this application.
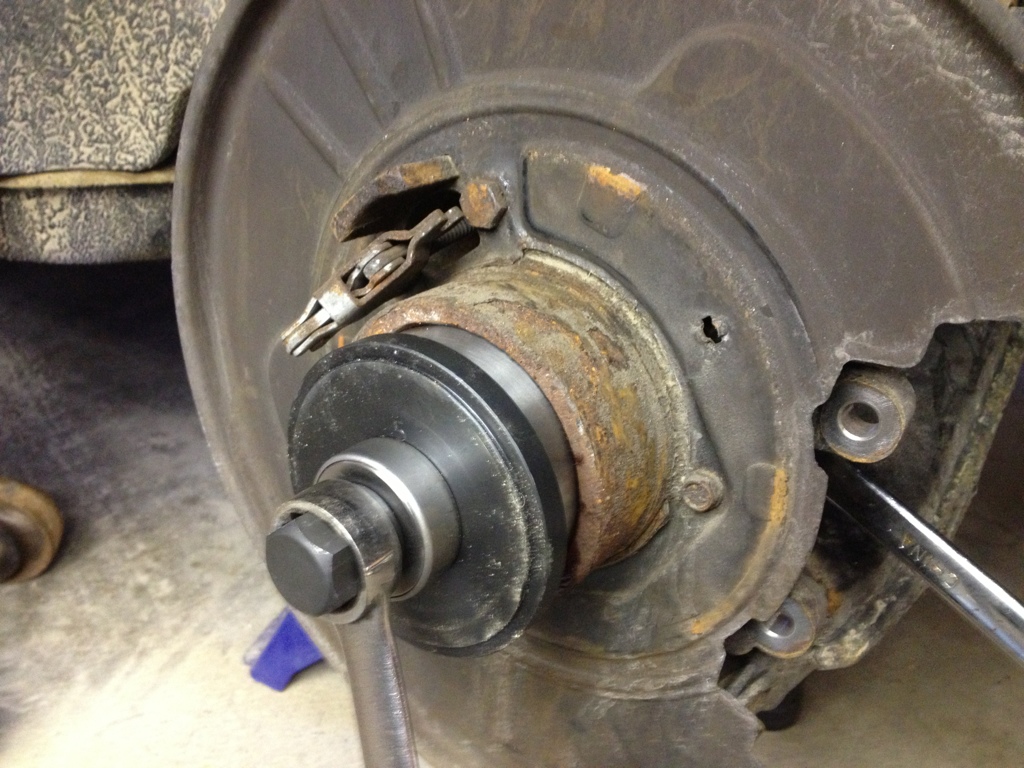
Here is the tool installed and pulling the hub.
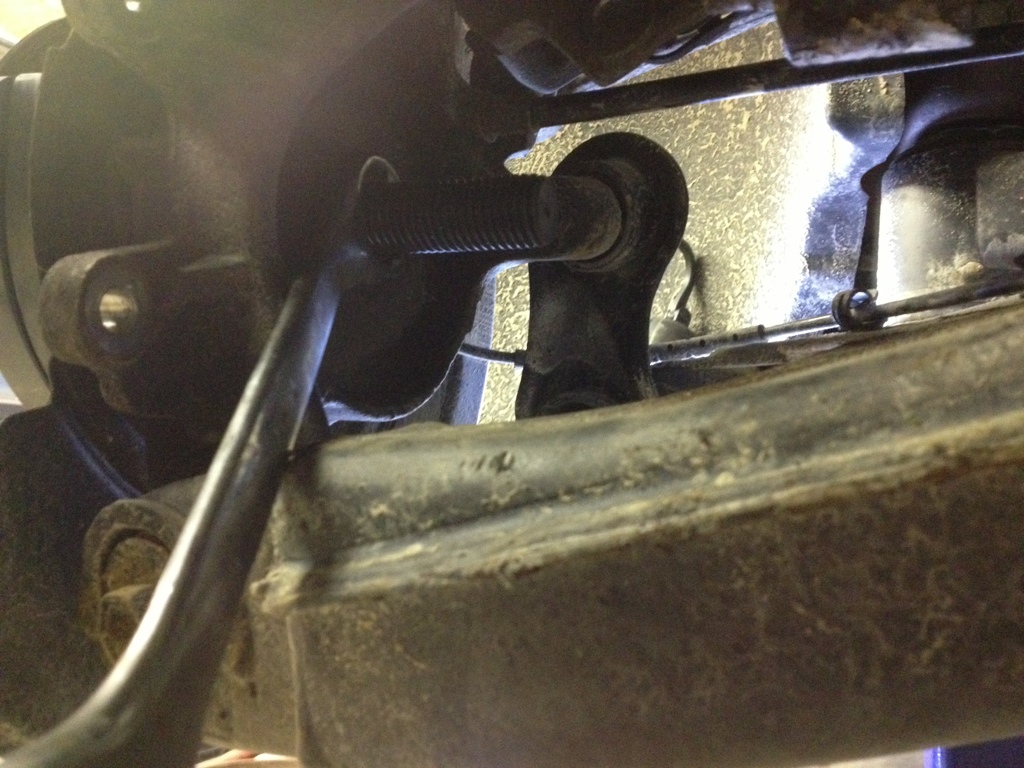
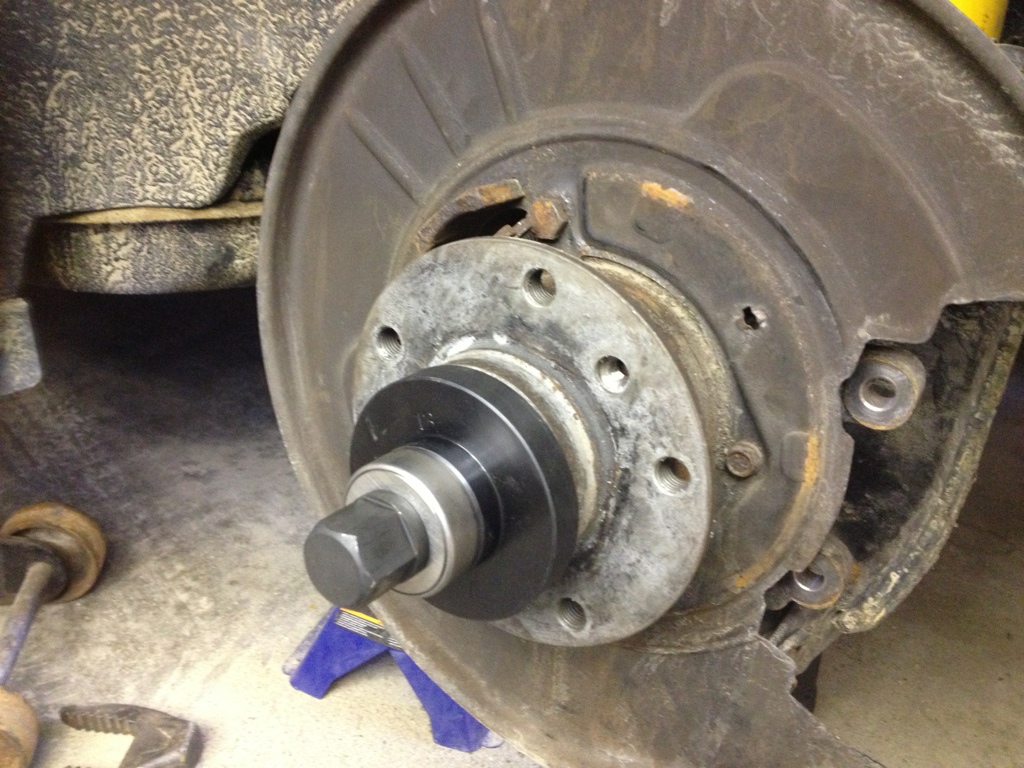
Backside. There is just a tapered nut that is pushing the hub out towards the front.
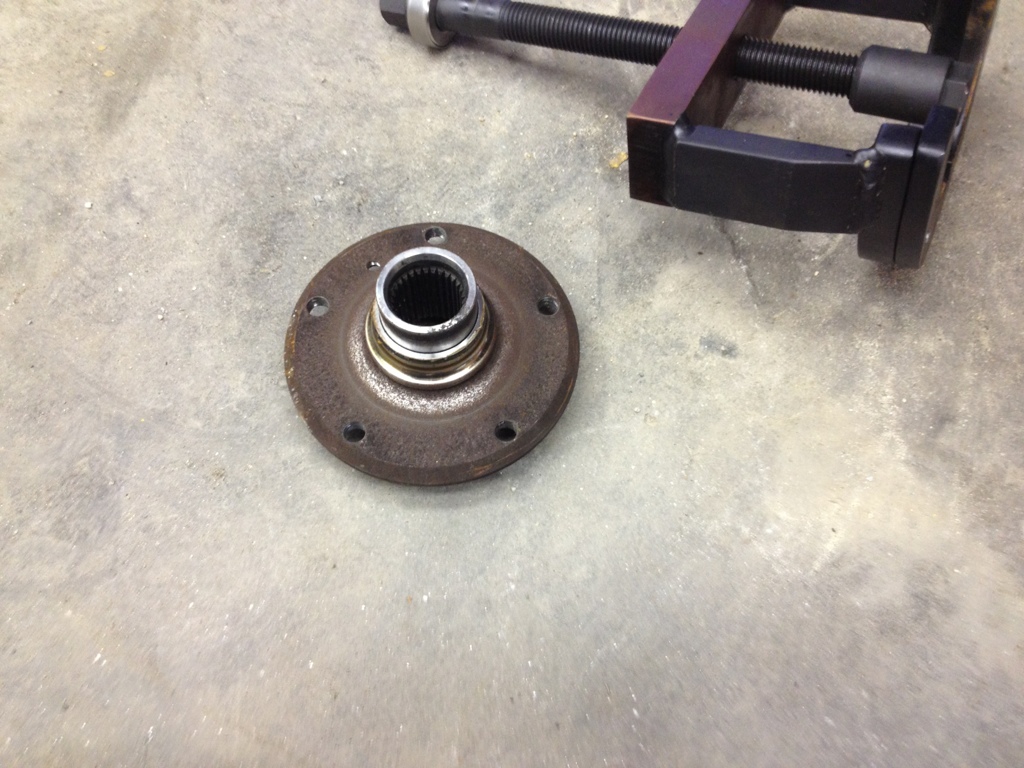
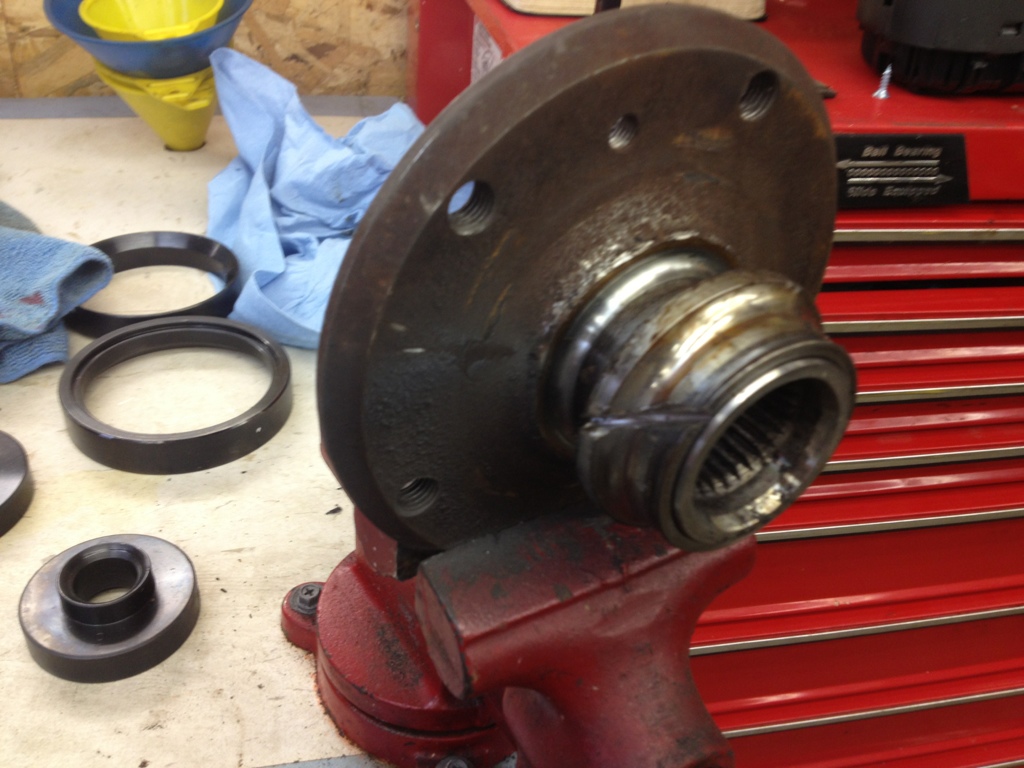
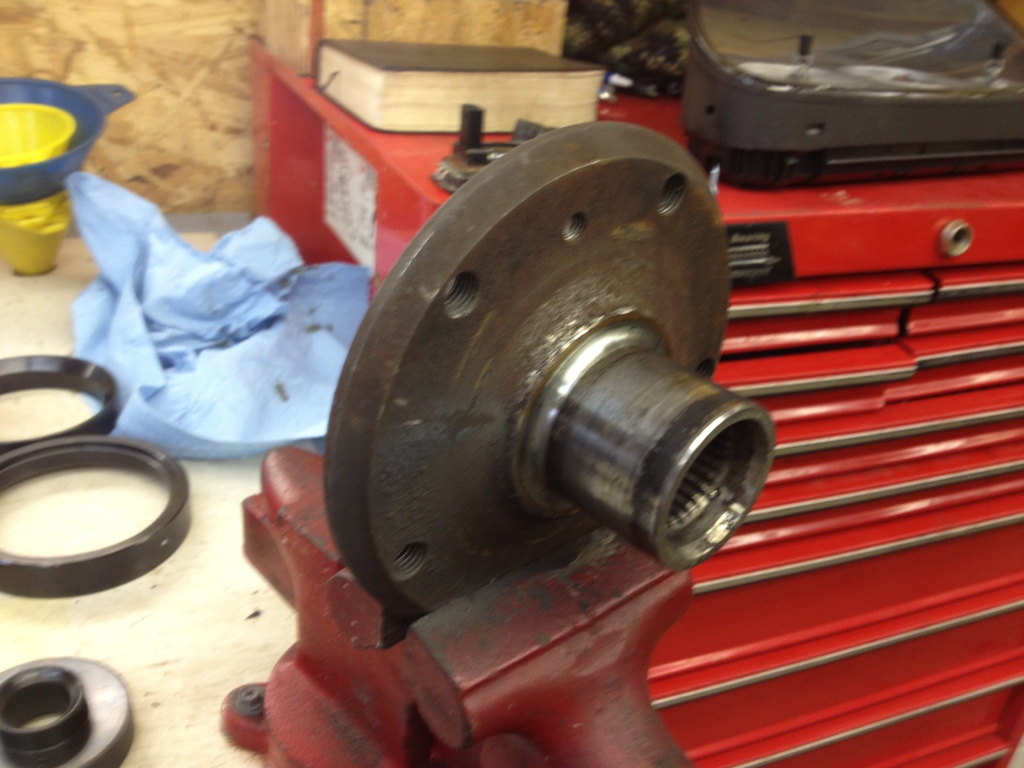
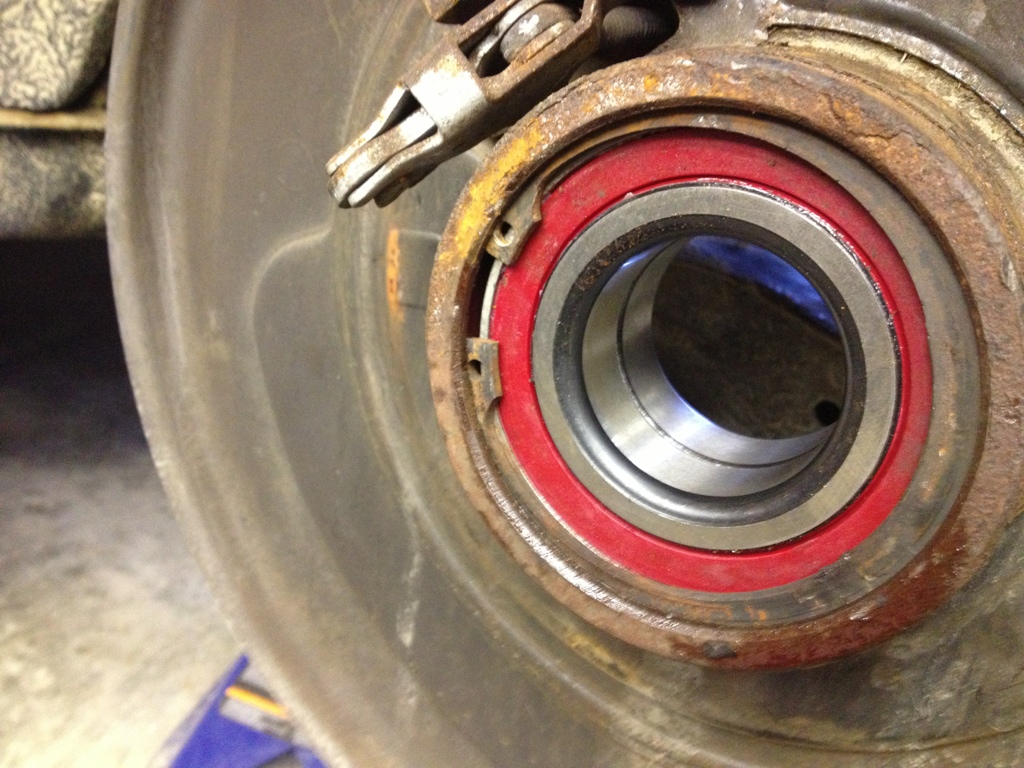
Success! The inner race stays on the hub. You’ll need to remove that later.
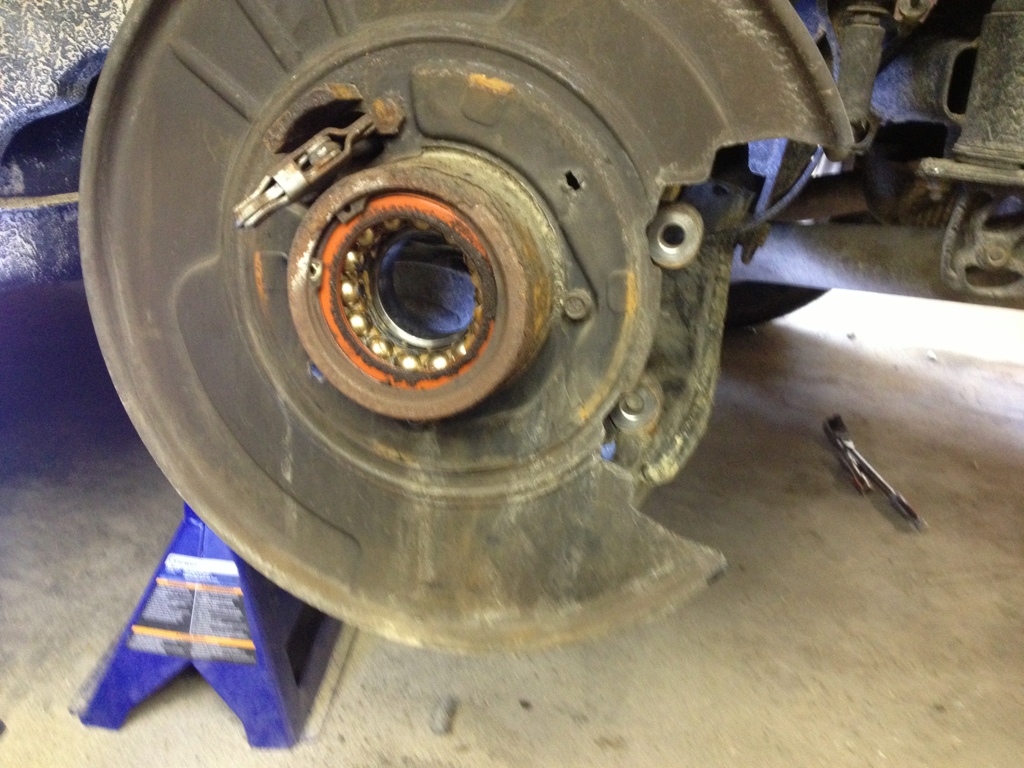
Bearing minus the inner race and hub. Note the big C clip. That needs to come out next.
I choose to pry the inner race off a little bit, then finish it by cutting it. If you do the same be very careful to not cut through and hit the hub.
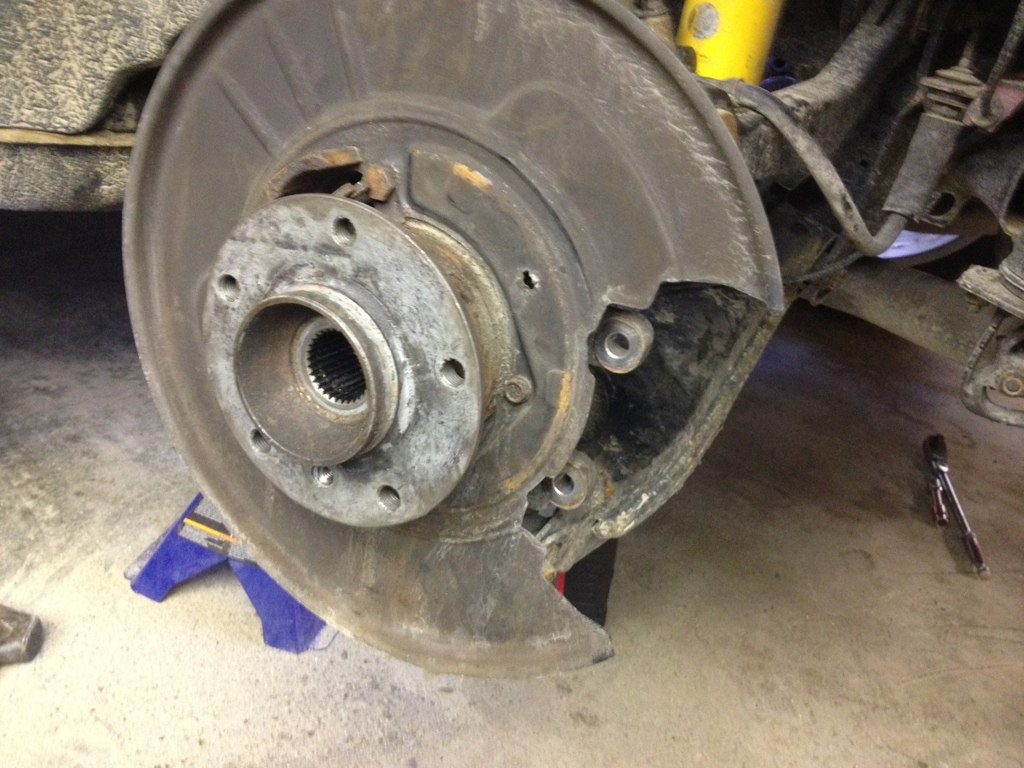
Off.
Now would be your only chance to replace the plate if its rusty. Mine was in good condition, so I left it. But to replace them, the hub has to come off. So if its crusty, might as well replace it.
Now on to installing the new bearing. I put a little oil on the metal surfaces. And clean the housing really good. Setup the tool to push the new bearing in nice and straight.
Back.

I dropped down to a smaller pusher plate to push it all the way in.
Then reinstall the C clip.
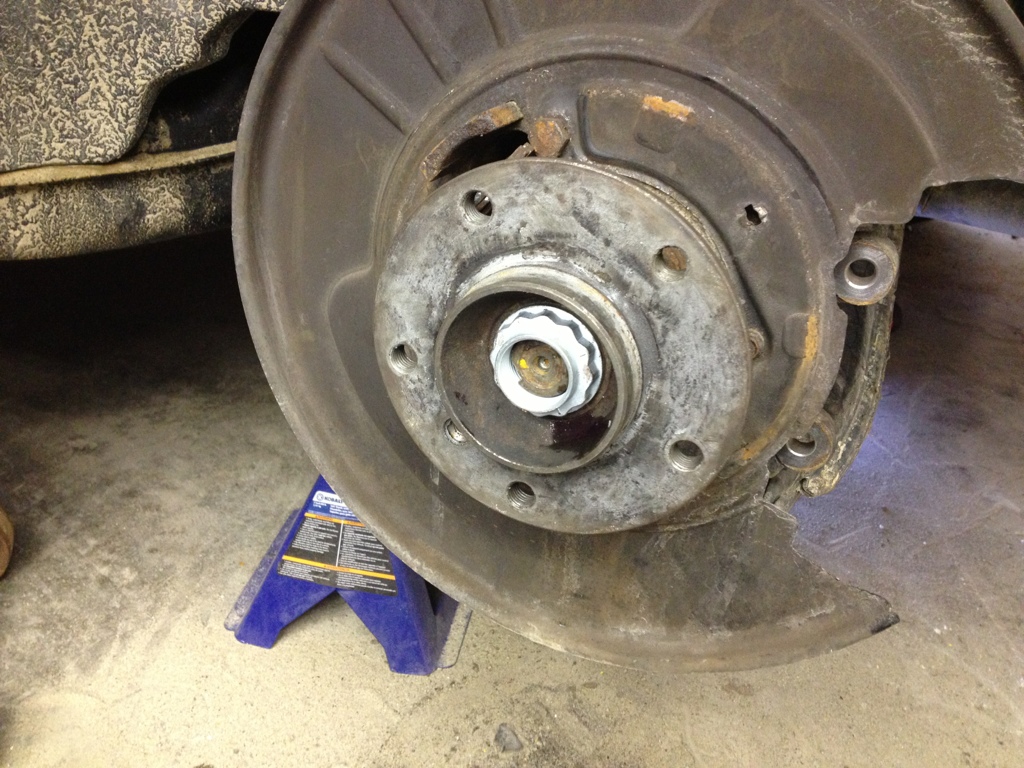
Now the hub can go back in.
All done.
It’s a bit of a pain to get the shaft back into the splines of the hub. I’m sure there is a special tool for that too, but I just lubed it up good and tapped it in with a mallet.
Go ahead and put the CV shaft back in and reinstall the e12 bolts on it.
Then snug up the axle nut.
Don’t forget to use a punch and hammer in the crush ring after torquing the axle nut down. No idea what spec is on it. I just gave it all I had, and then used my impact gun for some extra oomf.
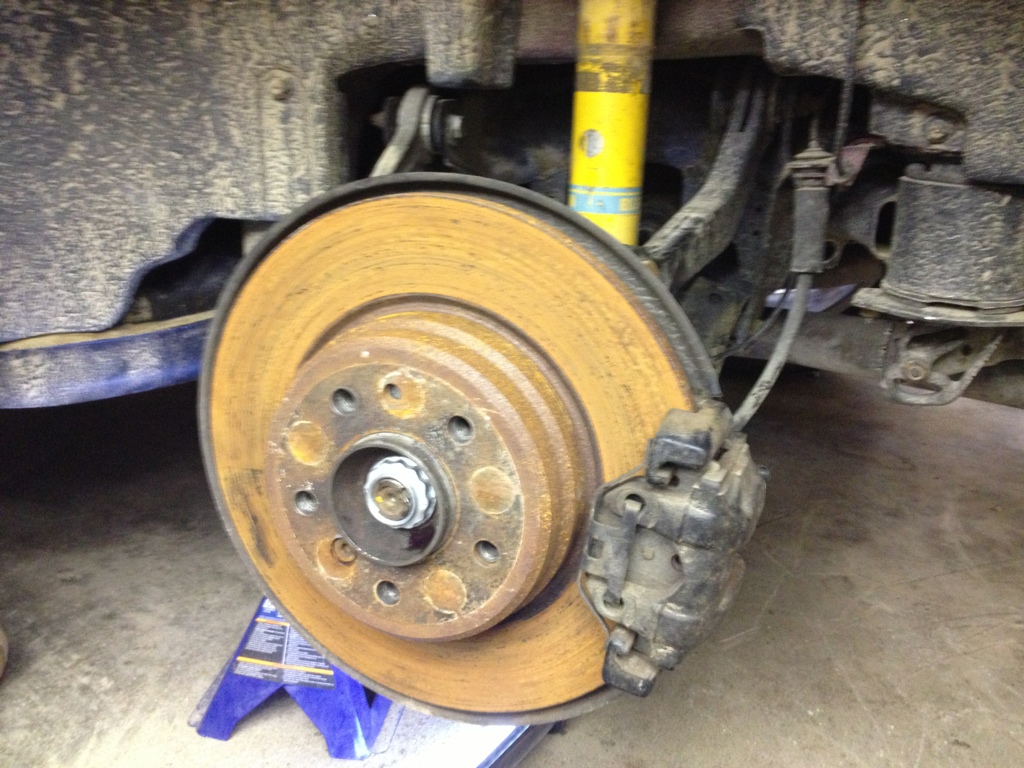
Reinstall the lower shock bolt. Bolt the rotor and caliper back on.
All back together. As you can see by the rotor, its been a while since she’s been driven:
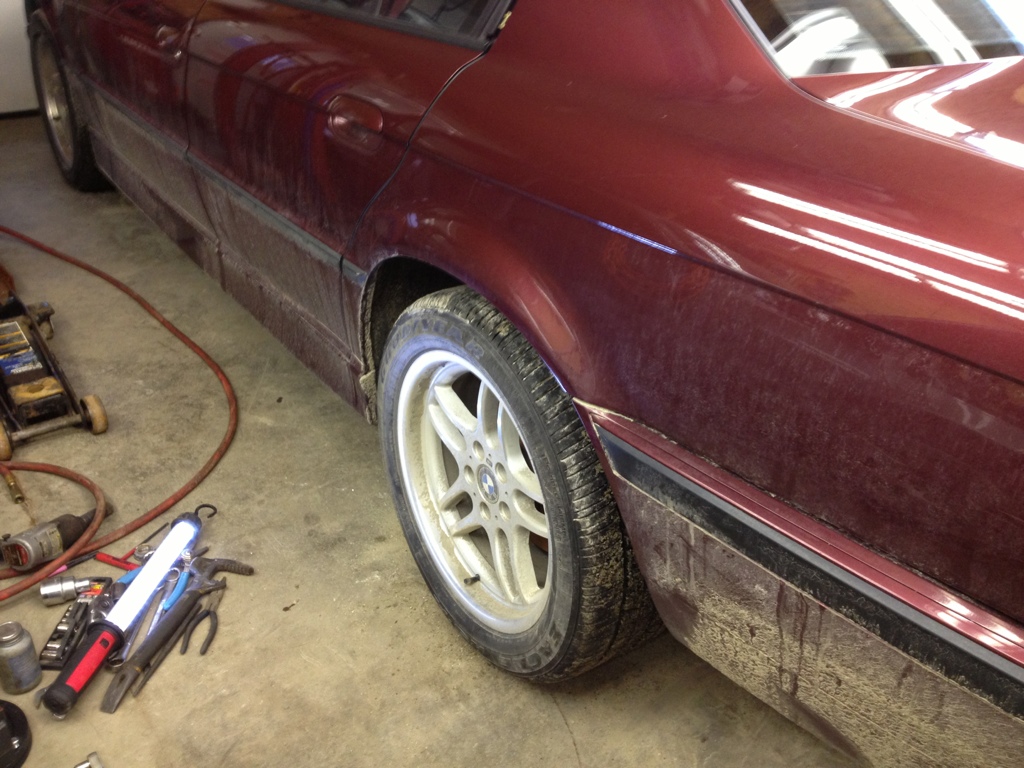
And there she is in all her filthiness:
All in all it was a pretty easy DIY with the tools. Normally I don’t buy expensive tools for a job like this. But for $250.00, I couldn’t pass up the deal.
This tool set is HEAVY DUTY. And even after buying them, I’ve still spent less than what I would have if I paid a shop to do it. Hope this helps someone out.
Now just go have a beverage of choice and relish in another job you did yourself