Article by: Olin Johnston
Article applies to: written for the e31 but applies to the e32, e34, e38, and e38 models as well.
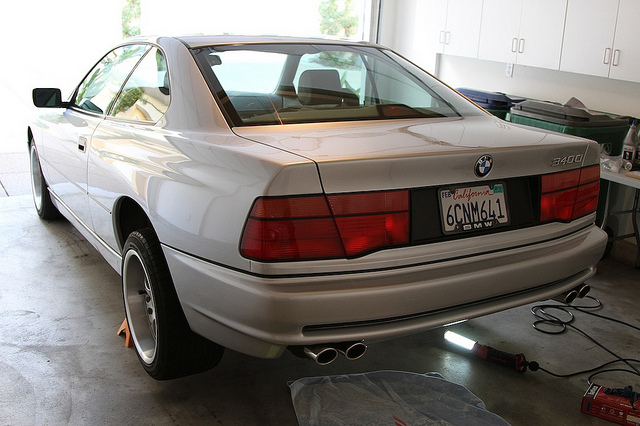
The donor car was an early E32 750iL. I bought it already cleaned and drained. It went into my US 1994 840Ci with a stock 2.93 open differential. I know many people say this is a two-hour job, but for me it took MUCH longer. There are more details to this swap than meets the eye, and I had no prior experience.
I apologize for not taking more pictures. With filthy hands, it became more difficult to get pictures as the job went on. However, most of the procedure is self-explanatory, and things are pretty easy to see under the car.
Tools Needed:
Metric socket set with extensions
Metric box wrench set
3/8” drive torque wrench (up to 80 lb/ft)
1/2” drive torque wrench (up to 250 lb/ft)
1/2” drive 32mm socket (for large nut on input flange)
8mm Allen head socket (for old output shaft bolts)
E12 Torx socket (for new output shaft bolts)
Drain/fill plug socket (I did not have this, so we filled to spec using the speed sensor hole.)
Flat razor blades (for removing old gasket material from cover)
Drop light
Low profile floor jack and jack stands.
Lots of shop rags/gloves
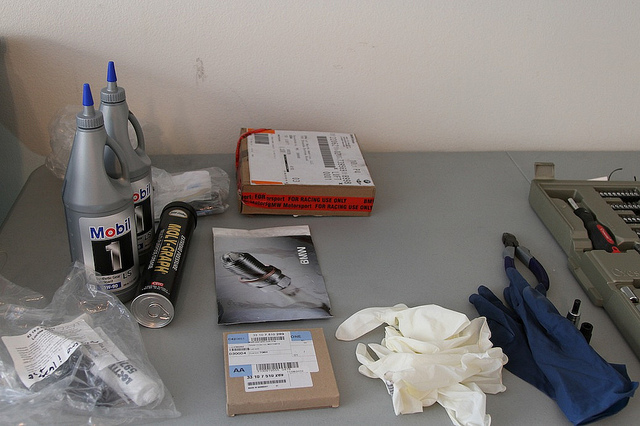
Parts/Materials Used:
12 updated output shaft bolts (part # 33211227279)
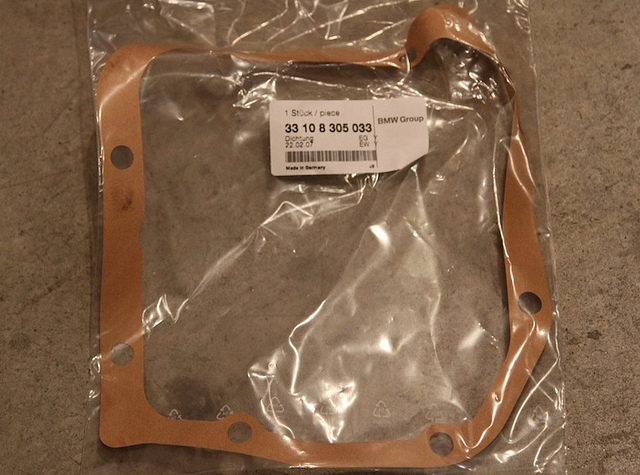
New paper cover gasket (part # 33108305033)
Red Loctite
Axle grease (for driveshaft)
2 quarts 75W90 synthetic hypoid gear oil (with LS additive)
Support the car from the rear and set it on jack stands.
Unbolt the exhaust system (13mm). The stock exhaust is pretty heavy. Removal is quite easy if you have Magnaflow and no resonator.
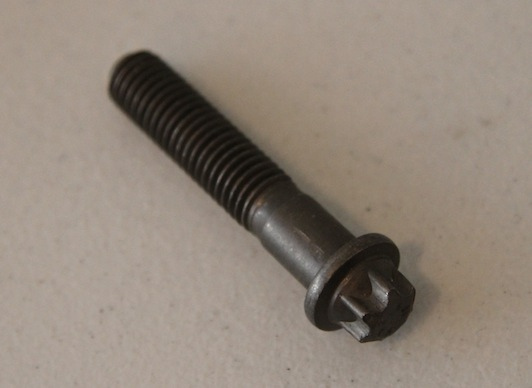
Side note: The first attempt at this install ended early with another friend trying to help – completely rounding out one of the bolts. The only way to remove it was by cutting the head off with a small hacksaw and replacing the bolt as well as the reinforcement (33211209543) behind it. Luckily both parts are very cheap. I suggest not reusing the rest of old output shaft bolts, as they were updated to a much sturdier design more suited to the high torque spec of this application. They are much easier to work with, and it is often good practice to use new hardware anyway.
This is the new style bolt:
Put the car in neutral and use the parking brake (or a partner on the foot brake) to hold the axle steady while undoing the driveshaft bolts and output shaft bolts. Remove the output shafts from the differential and position them so they are not in the way.
If you have the drain plug socket, this would be a good time to drain the differential of fluid.
The removal procedure can be found on the BMW online TIS system – with diagrams under 33-Rear Axle:
Break the tension on the large bolts on the front mounting bracket and rear cover. Do not remove any of them until a floor jack can support the differential!
Disconnect the speed sensor on the rear cover. Accidentally lowering the differential with it still attached has obvious consequences.
With the jack, position it under the differential and raise it just enough to be tight. Make sure a friend, or a platform and strap that can handle its awkward mass stabilizes the differential. A 90lb chunk of steel can do some damage when it is coming down, so go slow.
Loosen the mounting bolts and remove them from the top of the differential cover and the front mounting bracket. Slowly lower the jack while easing it off of the driveshaft. This is where it really is good to have two people doing the job.
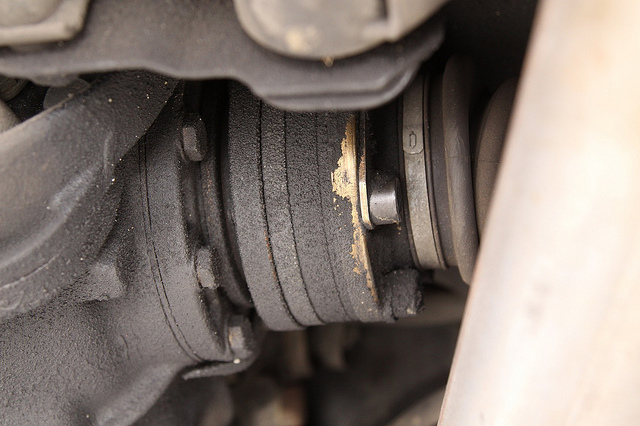
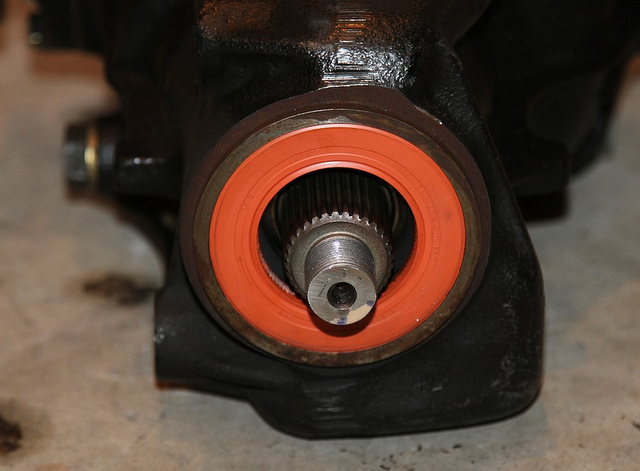
Now it’s time to swap the input flanges. The E32 flange that comes with the 3.15 LSD is too short to be a direct fit. The hardest part of this step is coming up with a way to hold the input flange steady while breaking the immense torque holding it on. Many professionals use special vises and custom-made tools for this. The input flange must hold the brace. Holding the output sides will not work with the limited-slip differential. After some experimentation, we devised a method that worked without causing any damage to the flange. We wiped out all the old grease first. Then, using two of the old output shaft bolts (not to be reused) we set them in the holes of the input flange (it is not threaded) and positioned a THICK extension between them. This was held flat to the ground while the center nut was loosened using the large torque wrench and the 32mm socket. Using this method was not ideal, but it was effective without damage.

The guidelines I used (from mwrench.com) for swapping the flanges is described below: Diffprocedure:
The magic number for this one was 130 lb/ft.
BE CAREFUL! The nut is on extremely tight, and when it breaks loose, it happens quickly with a lot of force behind it. Annoyingly, the procedure must be done twice with both the donor and stock flange.
Check the condition of the seals. It would be prudent to replace the input seal at this time if you feel inclined to do so.
Install the E31 flange onto the new differential and tighten it to a number between 100 and 150lb/ft. using the Mwrench guidelines.
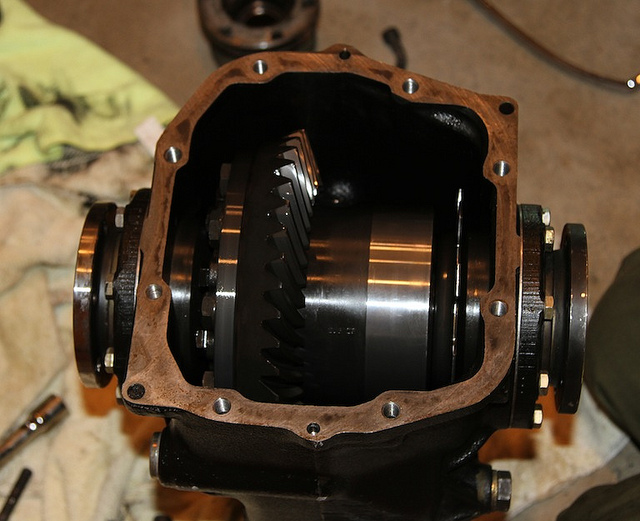
Assuming that both differentials are drained of fluid, it is now time to swap the rear covers. Start by removing the cover of the new differential. If it still has the side bracket on it, remove that as well.
Reinstall the aft mounting bolt on the bottom that will no longer be used in the E31. Inspect the inside of the new differential and make sure everything is nice and clean.
Unbolt and remove the cover on the E31 differential and wipe up any residual fluid.
Use a flat razor blade to scrape off old gasket material off the mating surfaces of the new differential and the E31 cover. Use only very light pressure and do not scratch at it. Just make sure both sides are completely smooth and clean.
Carefully position the paper gasket on the new differential and install the E31’s rear cover. Install all of the bolts by hand first, then cross-tighten with the wrench. Torque each bolt to 66lb/ft (90Nm).
Repack the driveshaft and input flange with axle grease. Be careful not to damage the rubber ring in the driveshaft end.
Secure the newly sealed differential onto the floor jack and raise it back into position. As it rises, align it with the bolts on the driveshaft.
Reinstall the mounting bolts at the front bracket and the rear cover of the differential.
Refill the differential with fluid. (This can be done while on the ground as well if level.)
Reconnect the speed sensor harness.
Using the brake again to hold the axles steady, reinstall the driveshaft nuts and new output shaft bolts. Wipe off any excess grease that may have been pushed out of the input flange connection.
Reinstall the exhaust system.
Lower the car and go for a short drive to make sure everything feels and sounds normal.
Enjoy!
Hopefully I didn’t forget anything. I may update this later on if I think of anything else. Feel free to share any input/tips.
I really wanted to give the E31 board a one-stop source of information on this swap. The information is out there if you spend enough time searching, but it is not very detailed or complete.
Driving Impressions:
The car feels lighter, faster, and way more responsive at highway speed. I am 100% satisfied with the 3.15 final drive ratio. That said, the difference coming from a 2.93 is not hugely dramatic. I wanted a stock feeling driving experience that was more modern feeling, and that’s what I got. My personal goal with this car is to make it closer to the E31 that BMW would have built in the 2000s. Eventually, I might add a 6-speed manual to help it feel even quicker. I wanted it to still be revving under 3000rpm at 80mph and still return decent gas mileage.
To those of you who are looking to really spice it up, I would recommend you skip straight to the 3.64.
