Article by: Gerry at PhoenixMotorsport
Article applies to: all E31, E32, and E34 models.
OK, so unfortunately the photos are all gonna be pretty similar as we are working in quite a small are of the car but we did this job on the floor, without a ramp like most of you will need to do.
Total time taken was 20 minutes for both sides.In the kit you will have a pair of bump steer correction plates and 6 x M12x1.5 fine pitch 12.9 grade socket cap (Allen) bolts.
These have all been Zinc plated, passivated and heat treated for corrosion resistance, de-brittlement and strength prior to shipping. Optional are 6 x M12 stainless flat washers that you can source locally if required.
So this is where we start, lift and properly support one side of the car at the front and remove the road wheel.
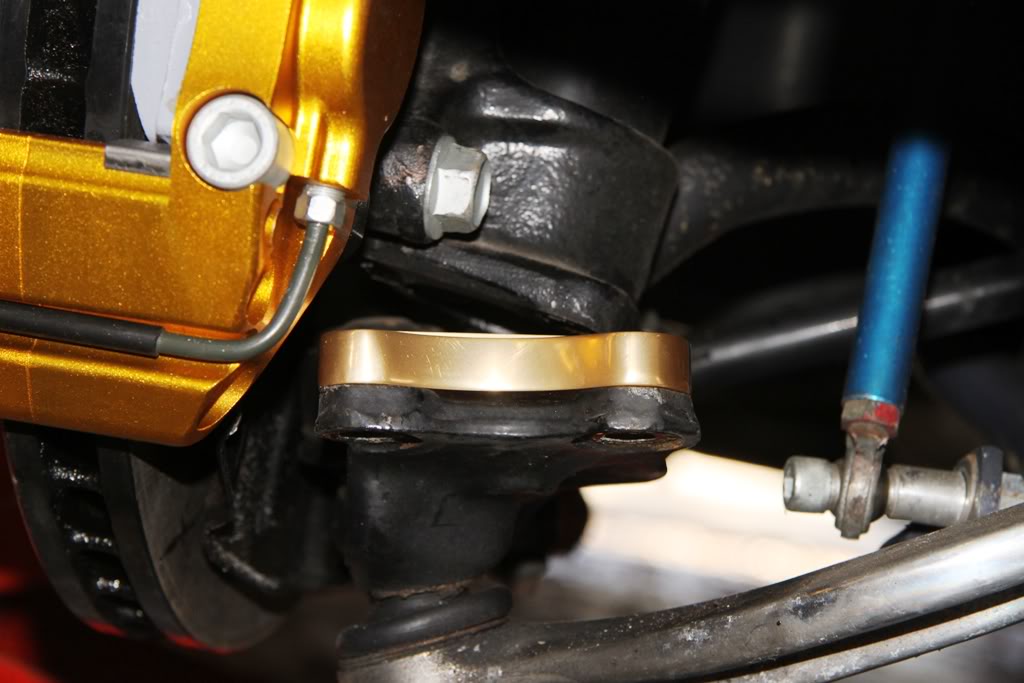
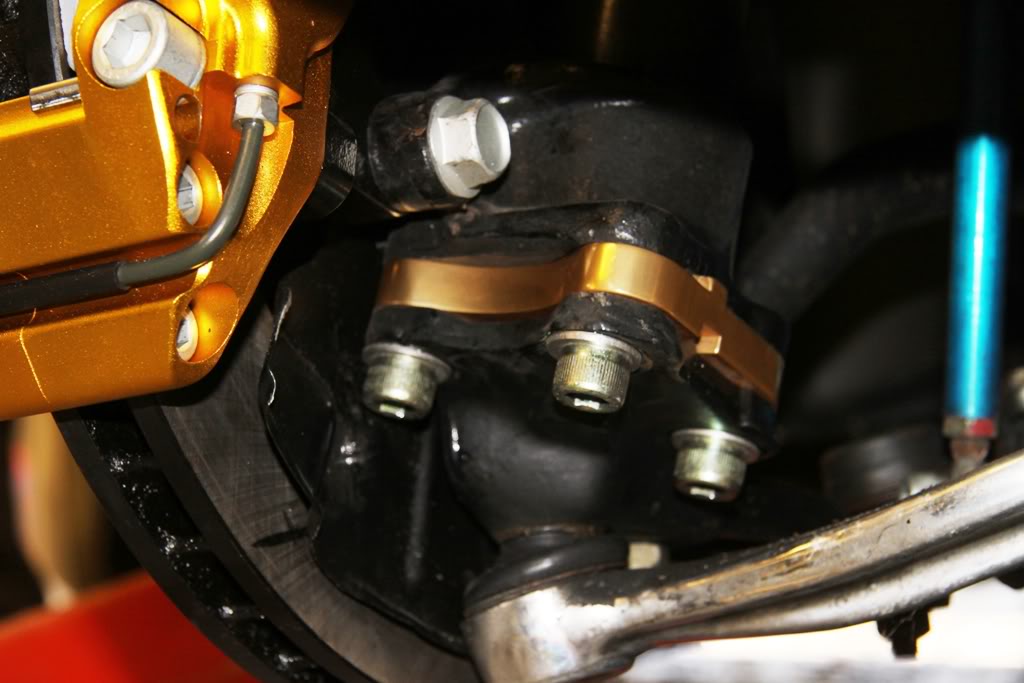
Behind the brake disc, under the steering arm you will see this . . . (unless you jacked up the wrong car  )
)
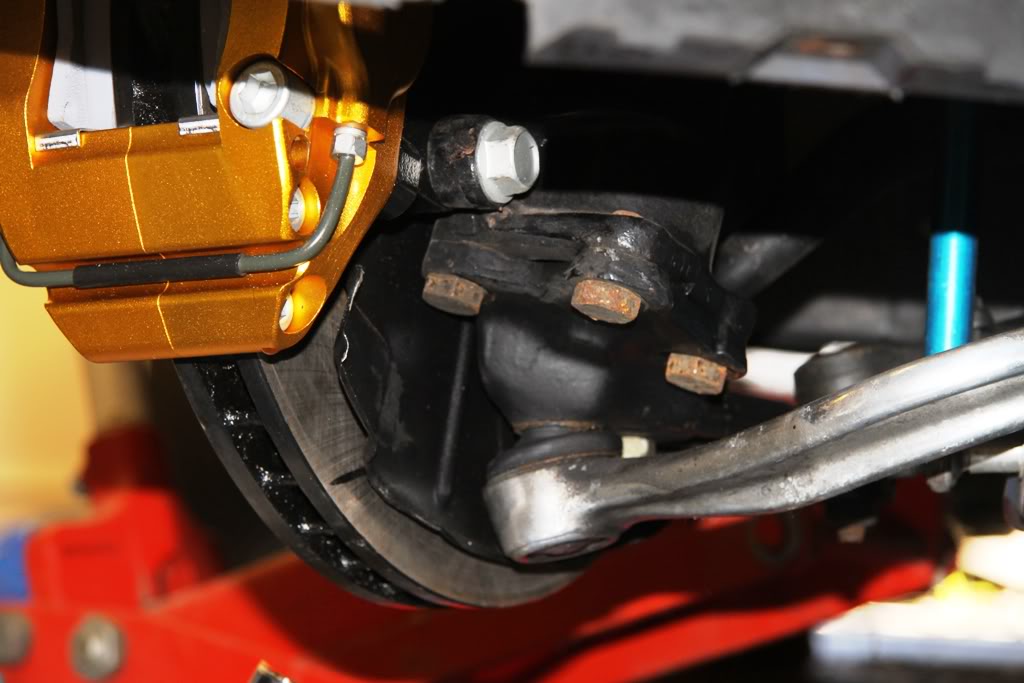
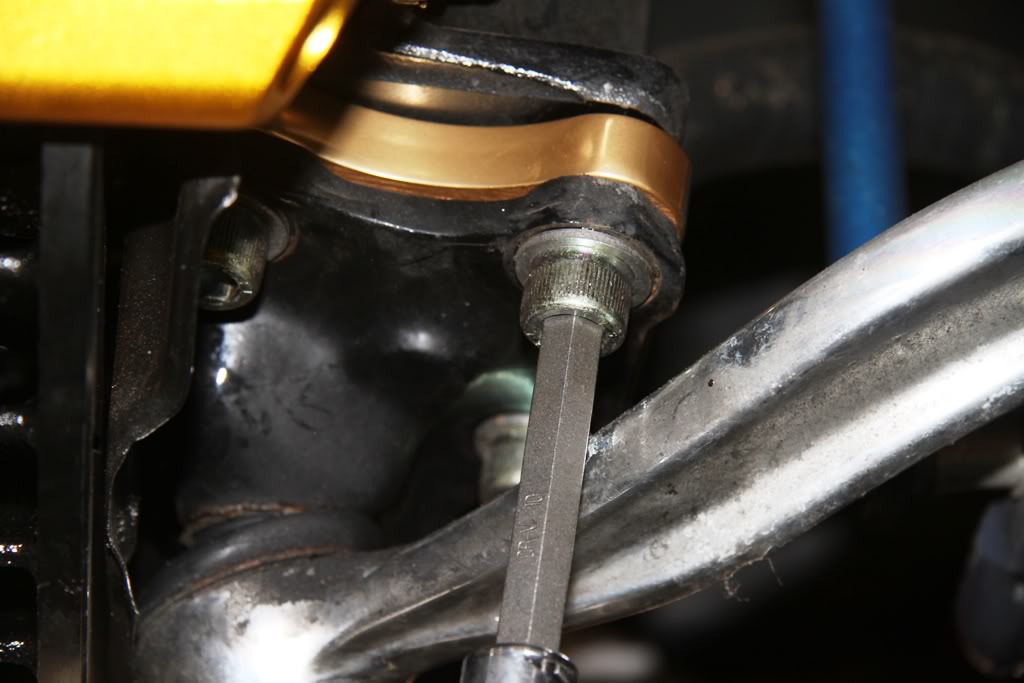
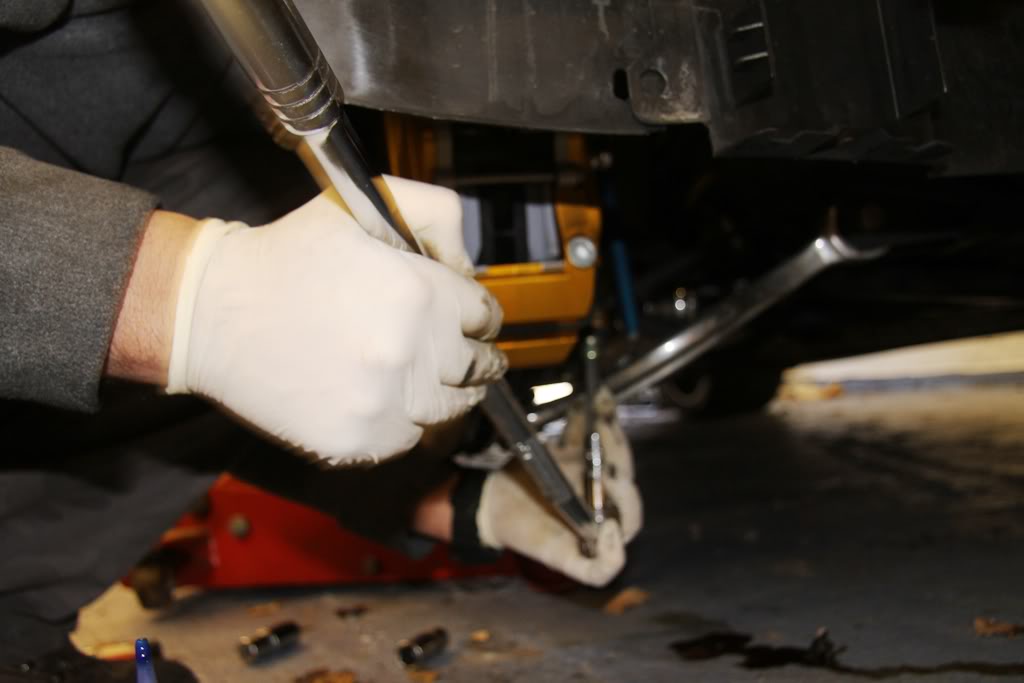
These are the 3 bolts with 19mm heads that you need to remove. Using a Power bar or similar, crack-off the 3 bolts . . .
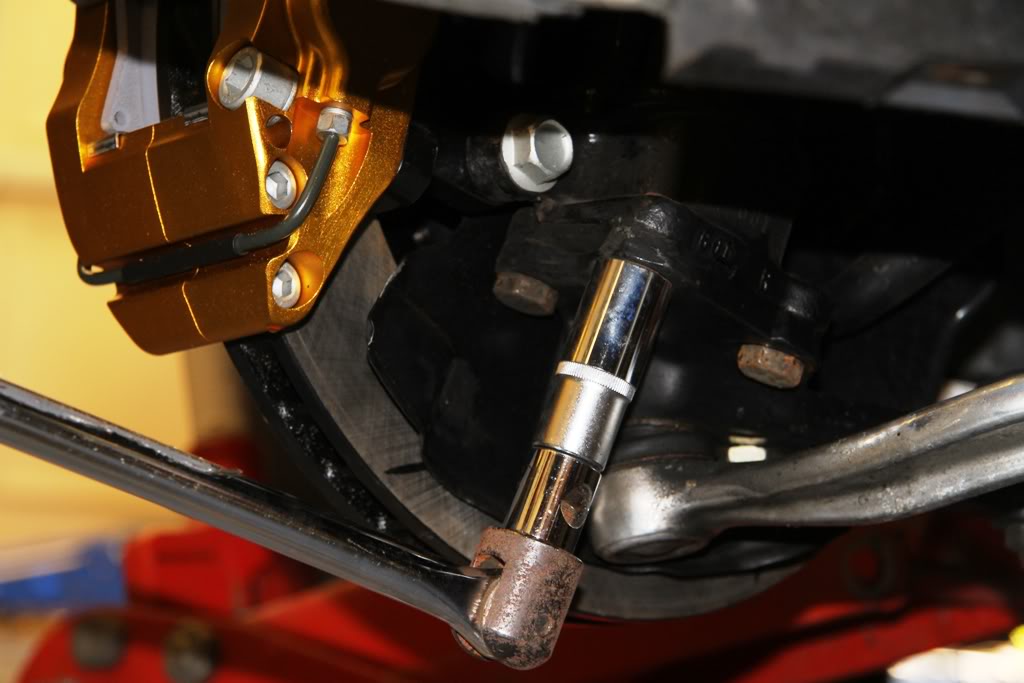
turning the steering to the right to access the front bolts and to the left to access the rear . . .
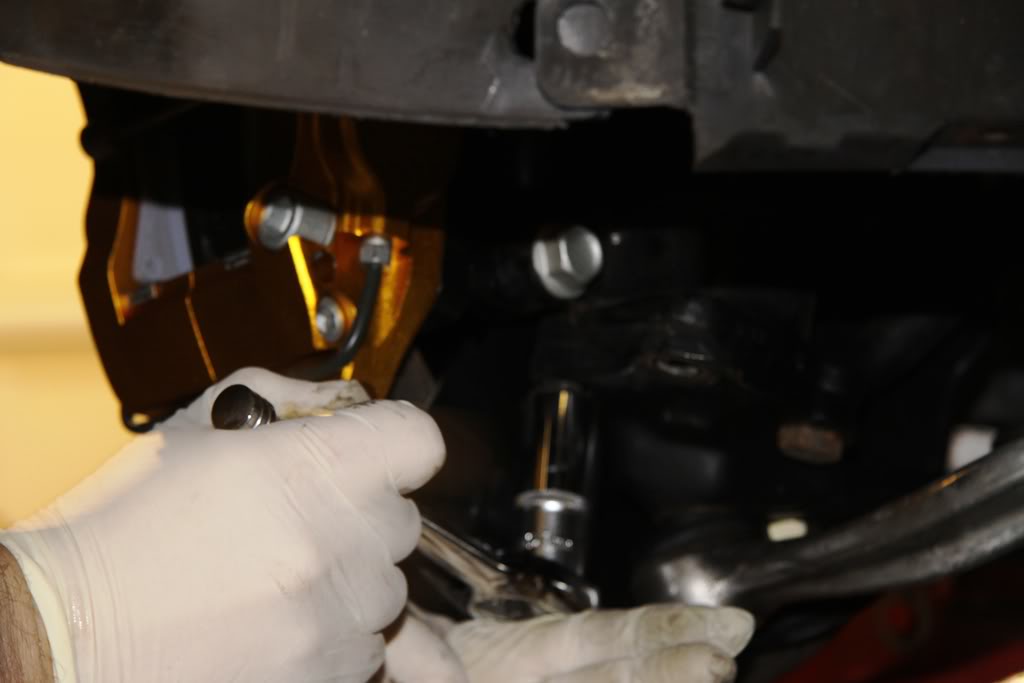
Then using a hand wrench, completely remove the 3 bolts and discard.
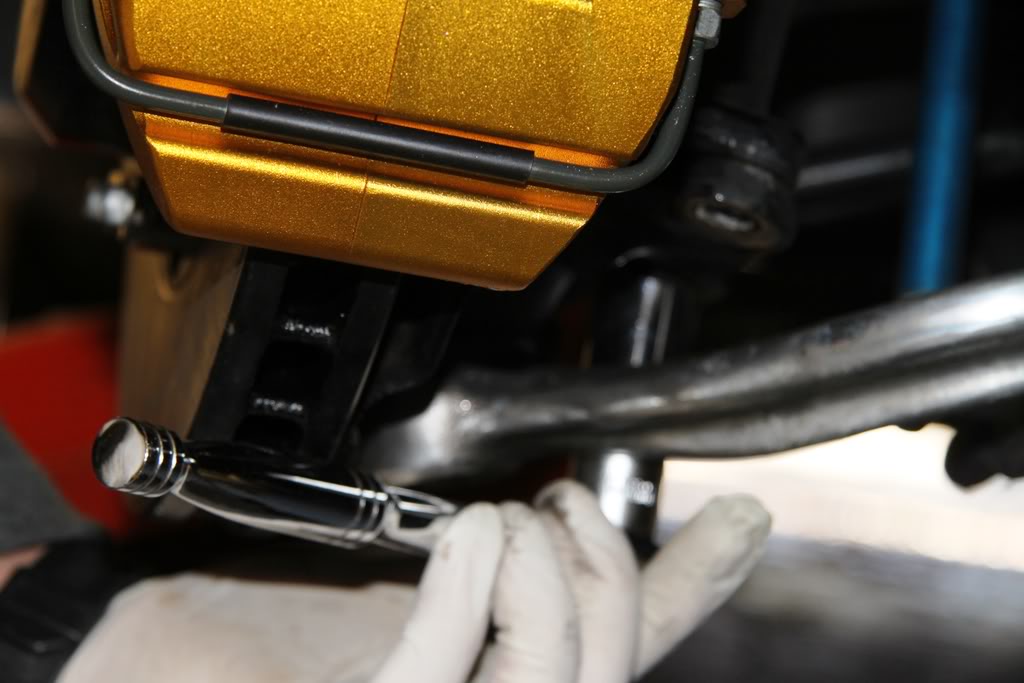
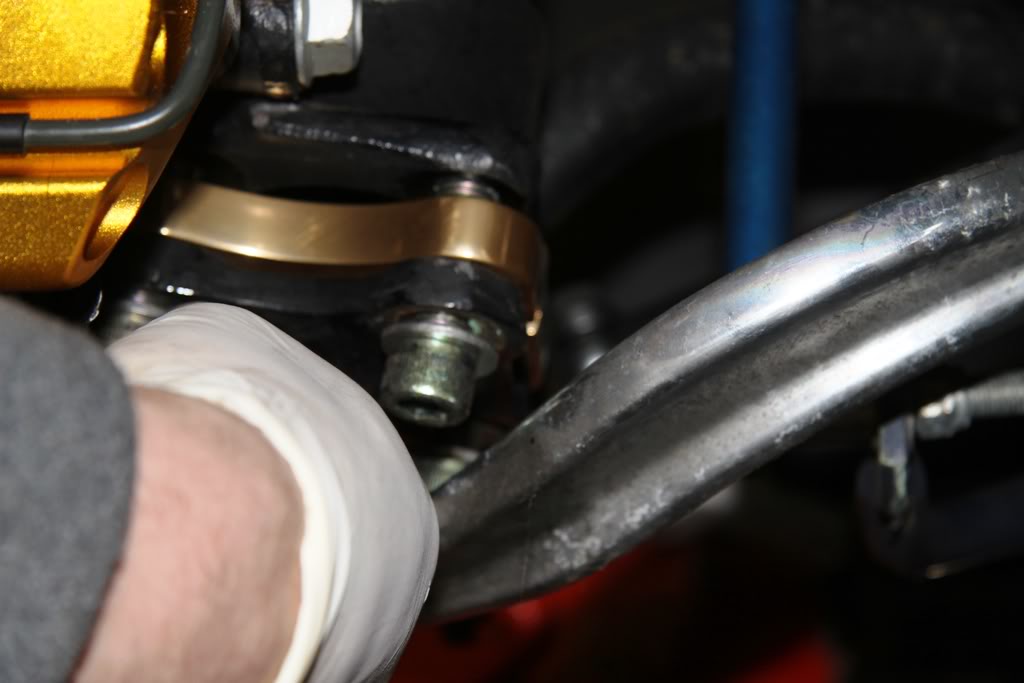
Separate the steering arm from the bottom of the strut.
Mine just fell away as I had previously copper greased it but you may need to pry them apart with a chisel or screwdriver.
Next, place the appropriate bump steer plate in position . . .
and feed the 3 new socket bolts through the steering arm, then the plate to align and then loosely into the strut.

Once all 3 are started, snug the 3 bolts to pull the arm up to the strut with a 10mm hex key.
Next, remove the bolts one at a time and apply thread lock to each bolt and refit loosely.
I used some thick 12mm stainless steel washers under the heads of the bolts to reduce the chance of the bolt head damaging the powder coating on my steering arms.
This is not essential as the original bolts were without washers and had already left their mark!

As soon as all the bolts are refitted with thread lock, tighten fully with the hand wrench.
You can see that using cap head bolts means all bolts are accessible without needing to turn the steering backwards and forwards.
Finally, tighten all 3 bolts to 100Nm. (As a side note, a standard bolt for this application will withstand a torque setting of 87Nm, these new bolts will take 147Nm!!)
Finally, stand back and admire your handy work. Put the wheel back on and repeat for the other side.
I recommend the front tracking is checked after fitment as the toe will marginally change fitting these. ( the whole idea of the exercise)
Enjoy.
PS, My plates are gold anodized to make the procedure more photo-friendly and clearer.