Article by: Scott
Applies to: all e32, e34, and e36 models.
Symptoms:
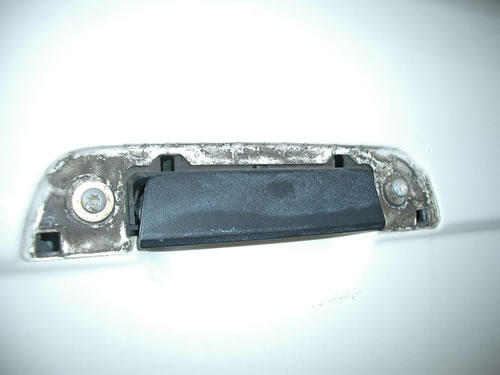
Does this look familiar?
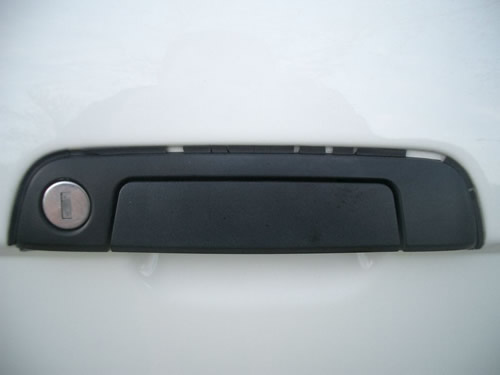
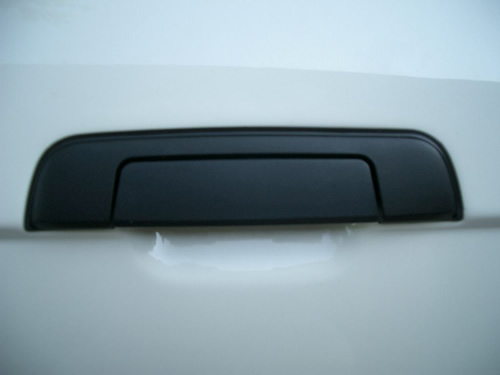
This is one of the door handles off my 1992 525i BMW.
Notice how the seal around the handle is dried and cracked? I am going to replace all four and document the procedure as I go.
Hopefully you can find this small tutorial helpful!
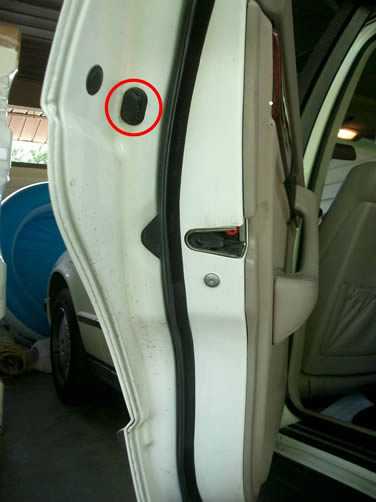
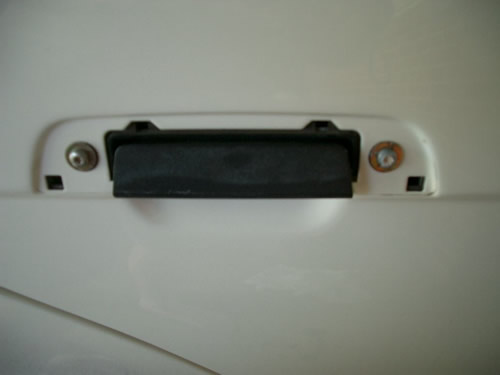
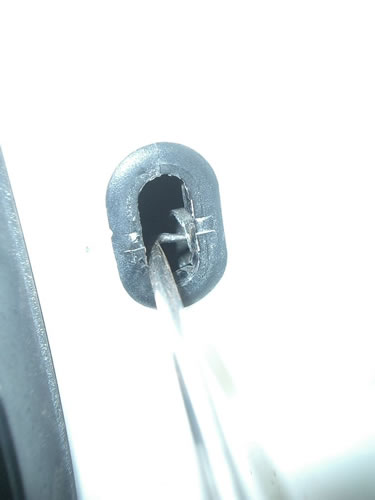
Here is a view of the hole that you will need to work through to unlock the trim piece around the exterior door handle.
It will be the same hole on all four (or two) doors that are on your BMW.
Gently pry off the cover on the hole you need to work in.
If you want, you can take the whole grommet off, or just take the cap off.
Either way you can get the job done.

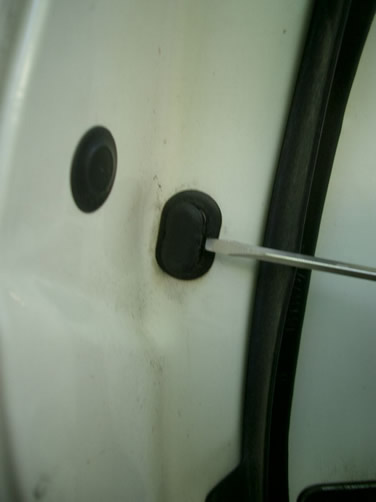
Now look into the hole, you should see a piece of metal that is curved downward on the end closest to you.
Get a flat tipped screwdriver and gently push the piece away from you about a half inch or so.
This will unlock the trim piece that is around the door handle.
Remove the trim piece by pulling it from the top and rotating it towards you.
It should just fall off after that.
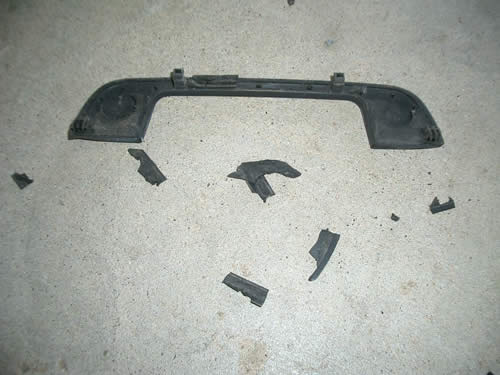
The end result of unlocking the trim piece.
Notice the broken rubber gasket all over the place.
Yuck . . . Time to clean the dirt off.
Ahhh . . . Better.
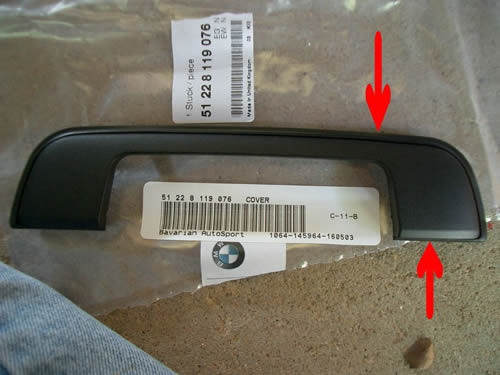
Now, with the new trim and gasket, make sure that the gasket around the trim is over the plastic (top arrow).
The bottom arrow points out the rubber under the plastic.
Failure to put the rubber onto of the plastic may make it more difficult to install the trim piece.
I know this from not doing it the first time.
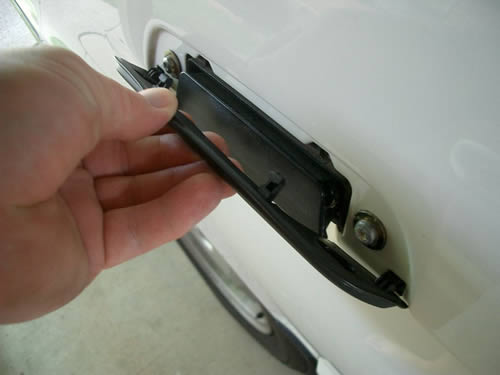
Time to install the trim.
With the trim tilted toward you, insert the bottom “hooks” into their respective holes, and then tilt the top into position.
Now to lock the trim in place, you will need a tool that is “hooked” on one end, in my case I used a scribe.
To make this a little easier, put something between the door and the car so it can’t shut while you push on the trim.
Push the trim so that it is flush and down all the way.
While pushing on the trim take your tool and pull the hook piece toward you (half in or so) until it stops.
Your trim piece should be locked in position now.
Replace the cap on the hole.
The finished product should look like new, once you are done.