Article by: Binjammin
Applies to: Most BMW models with a limited slip differential.
So I had this extra rear laying around, I decided to check out the condition of it and clean it up. Turns out it’s in nice shape, could maybe use new clutches but I’ll see if I can find ’em first, they’re still holding though.
Painted everything, and put it back together. I figured I’d write it up and post pics of it. If anything seems out of place for the instructions it’s because I took the pics putting it back together, not taking it apart, but disassembly is reverse of assembly. : )
Thanks to Matt at Sports Car Restorations for the use of the blasting cabinet to clean the stubs and rear cover, it would have sucked doing outside in 30mph winds and 25* weather.
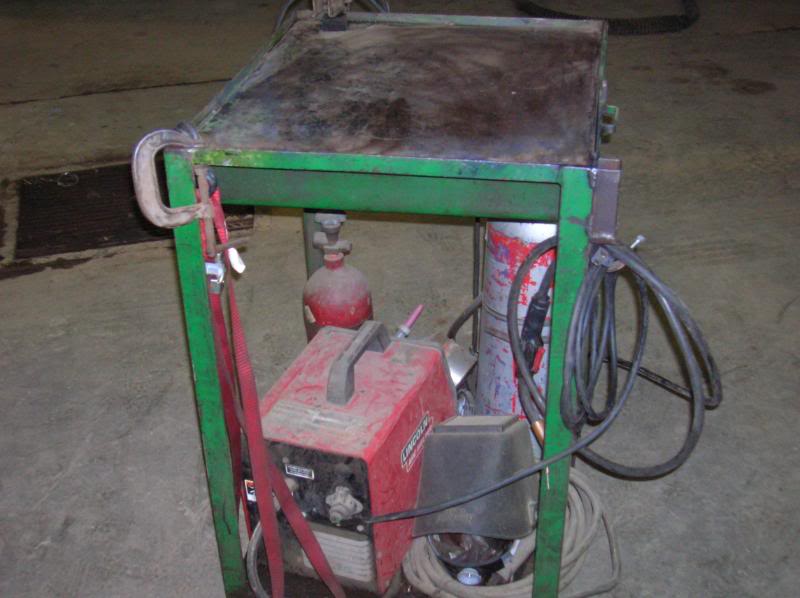
Start with the welding cart. It’s tough, and can handle the weight of the diff. It’s a heavy beast, like your mom.
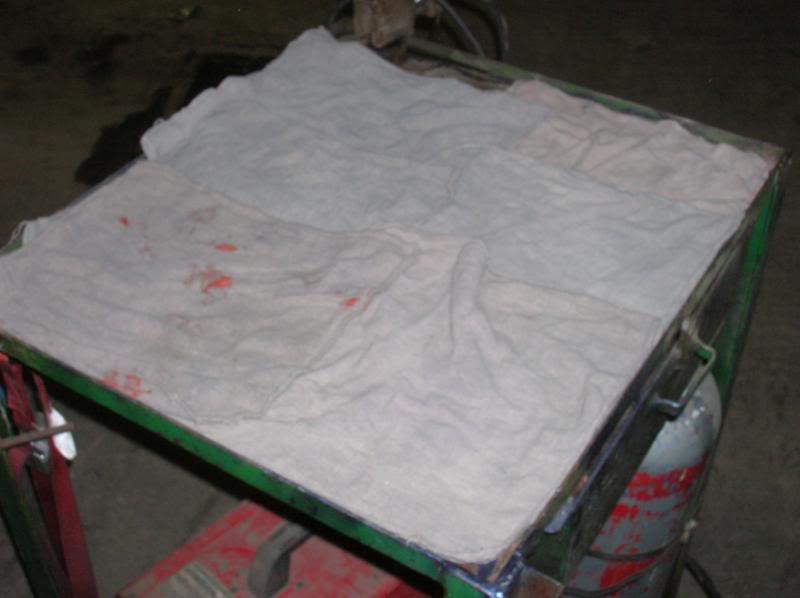
Line it with rags, it’s going to get gear oil everywhere, even if you drain it. Even if you take all the parts out and wash them in the safety-kleen tank, trust me.
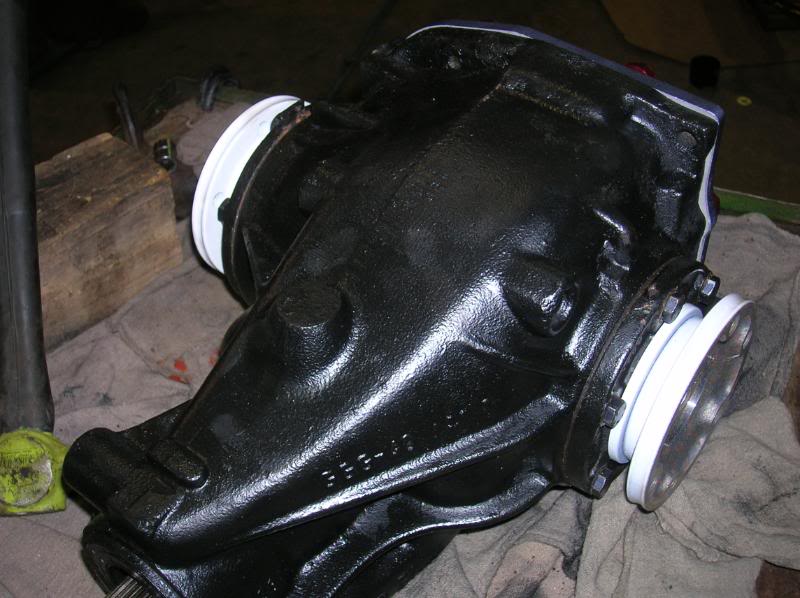
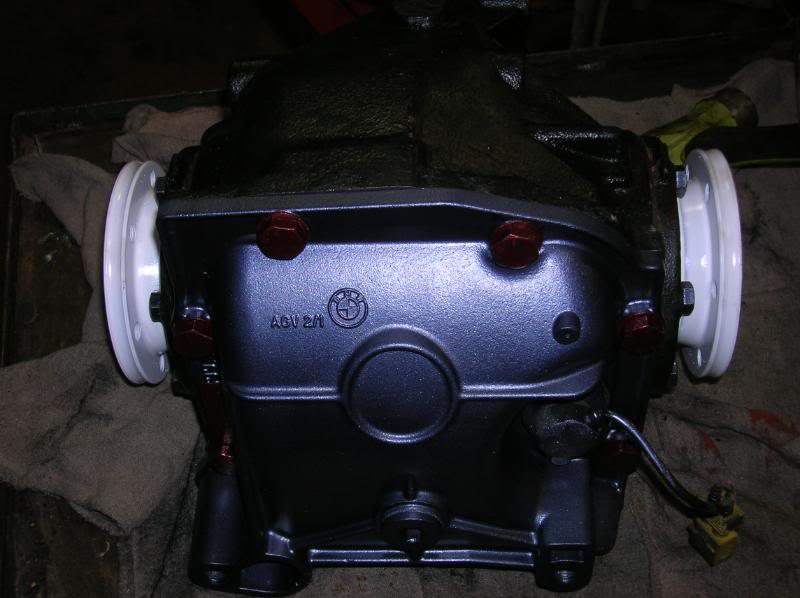
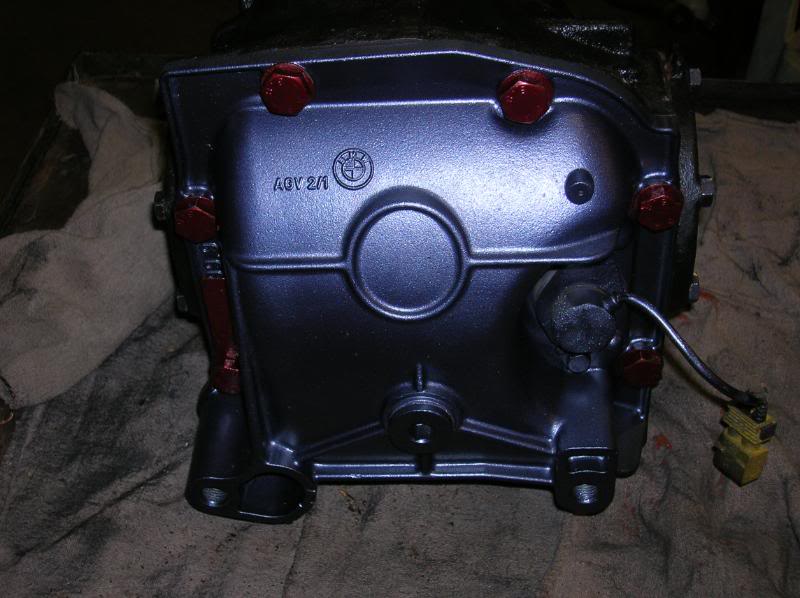
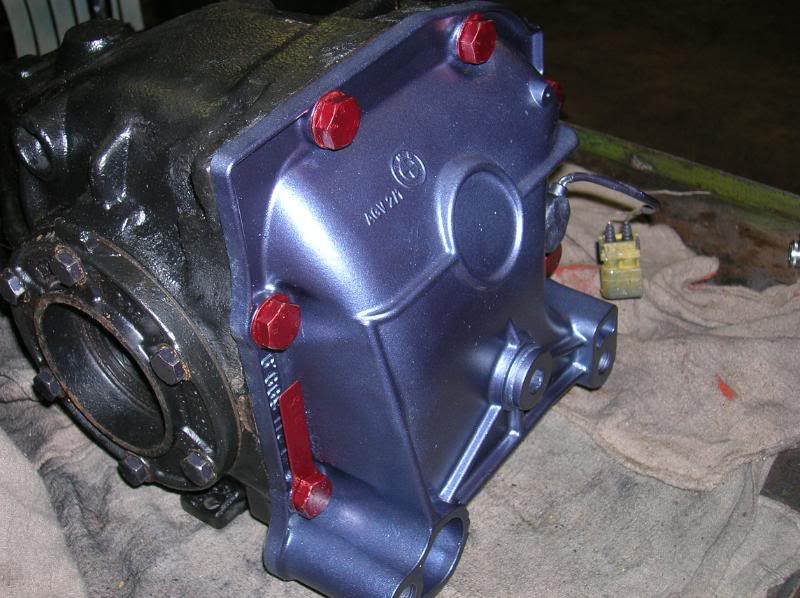
I had all sorts of cans of paint laying around, the stub axles got white. Rear cover some sort of navy metallic, with red metallic bolts.
Pull the stub axles. They just come out, shouldn’t need much more than a pry bar or some big, thick, meat mittens. Be a man, use your hands.
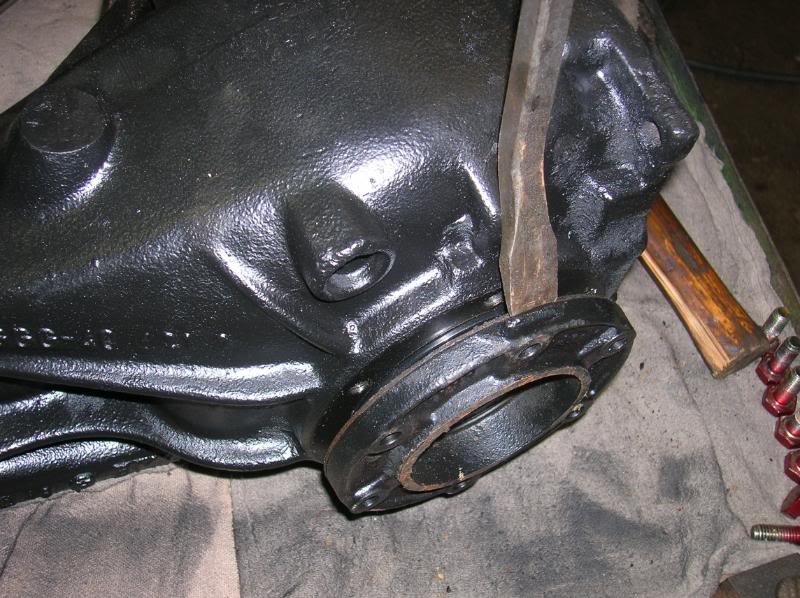
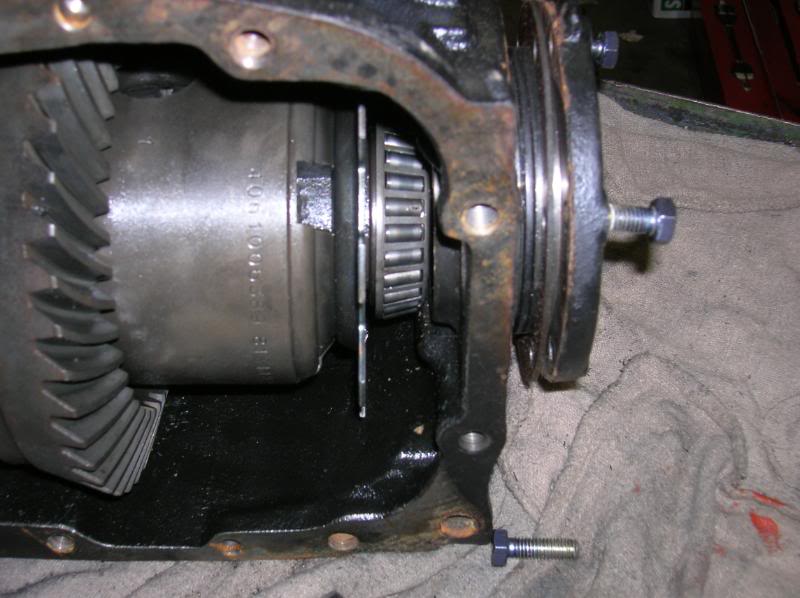
Pull the back cover.
Pop out the diff bearing races. It may take some persuasion with a hammer and punch, or it may pop out with a pry bar.
Try the pry bar first, then use more force after. Really shouldn’t take the BFH, if it does, you’re doing it wrong.
Then the other side.
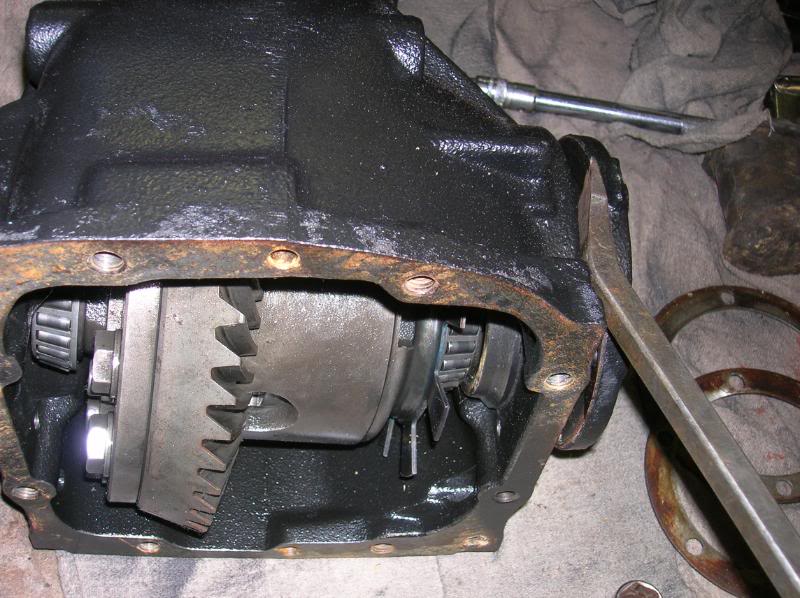
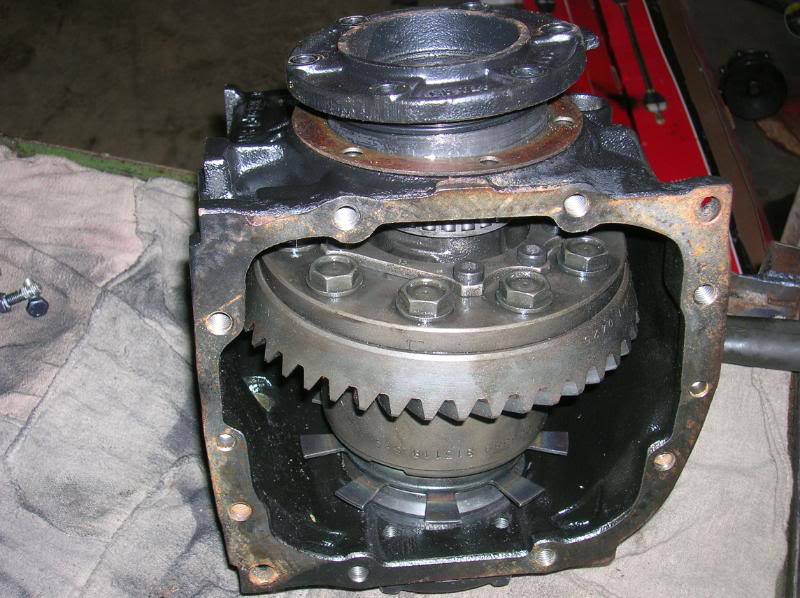
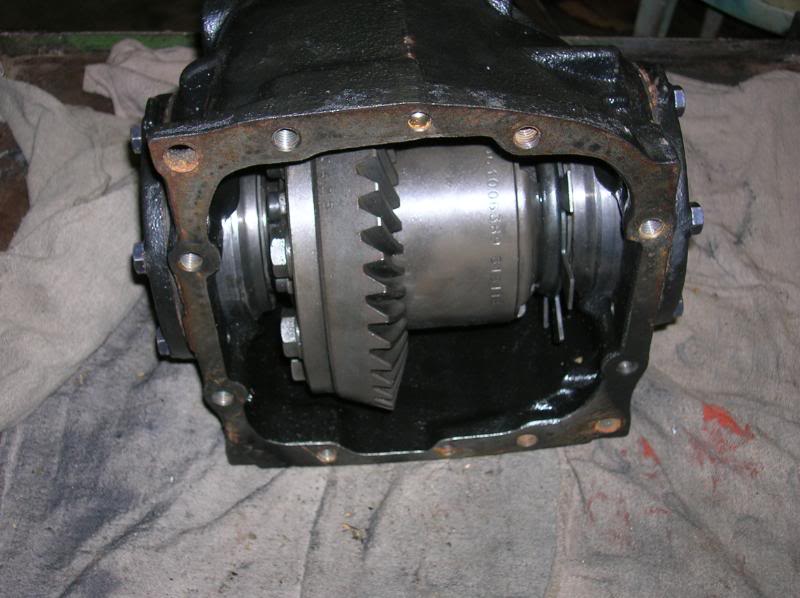
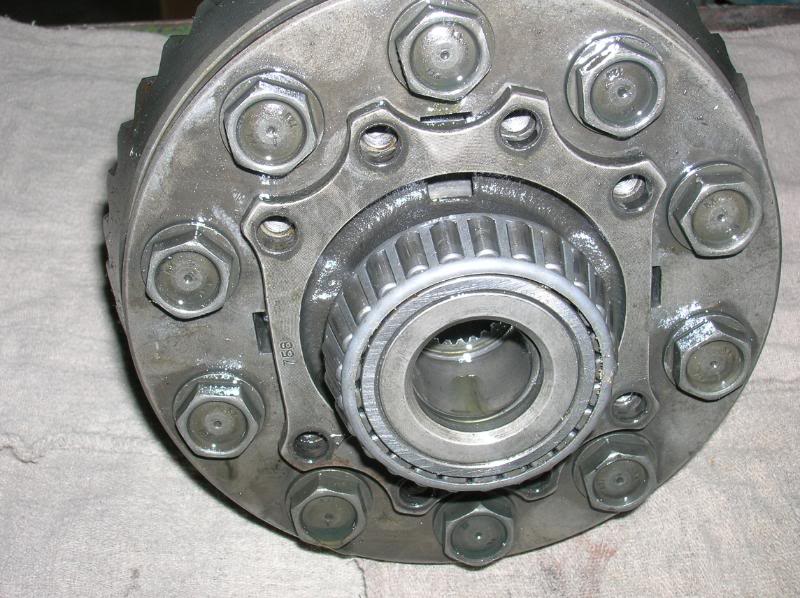
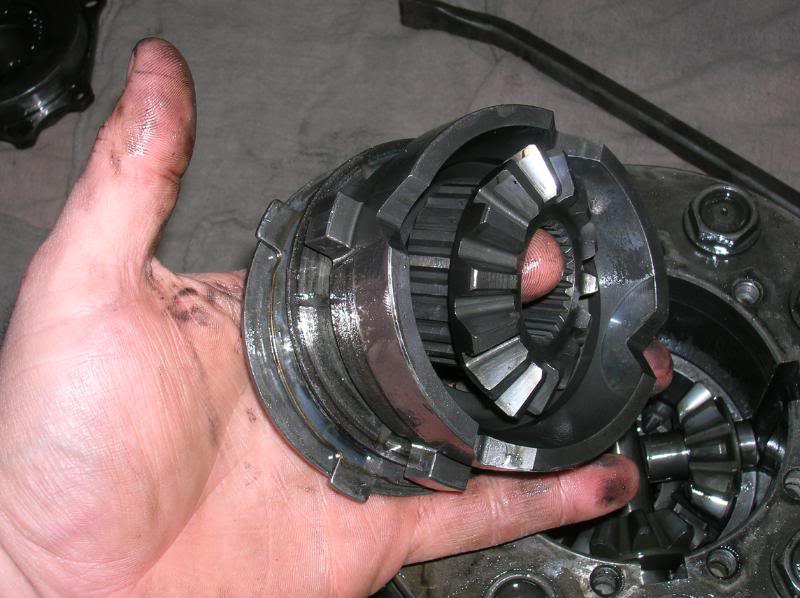
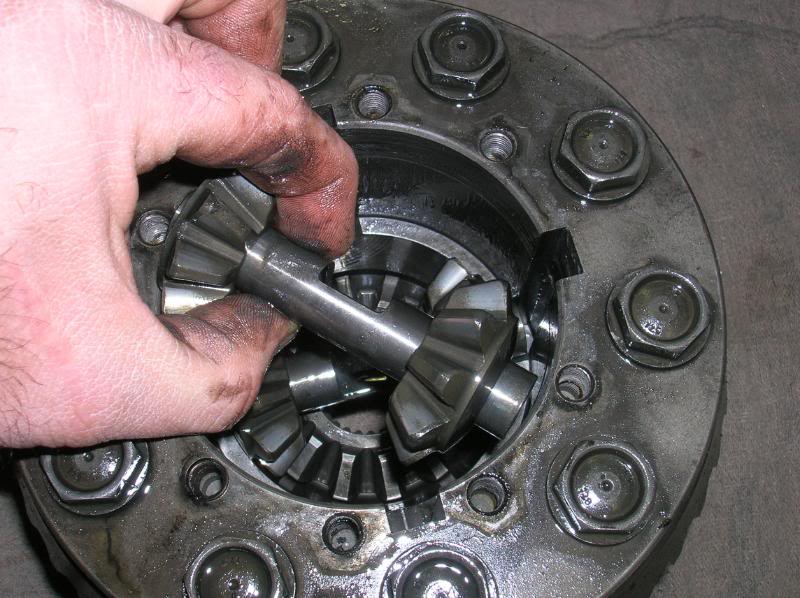
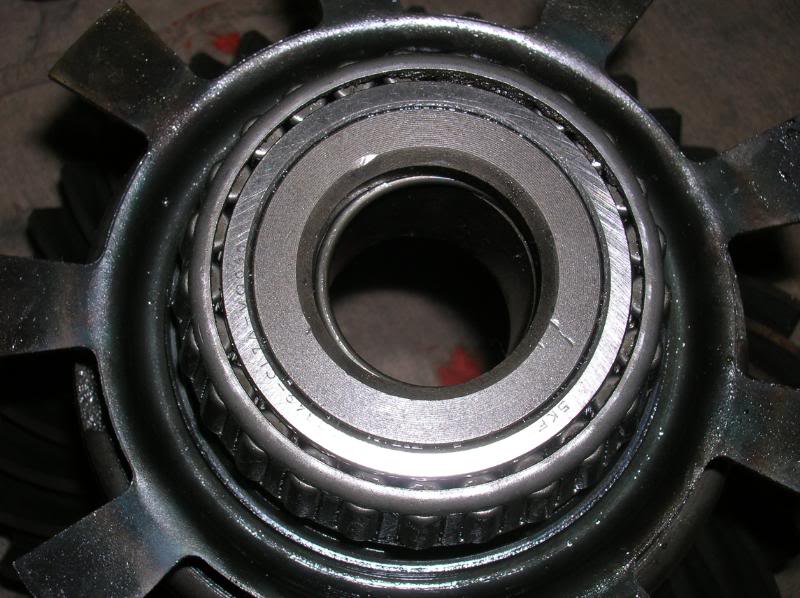
This is what you should have now. With both bearing races popped out the ring gear with the LSD in the middle will just fall out.
Stupidly simple, and fairly beefy at the same time.

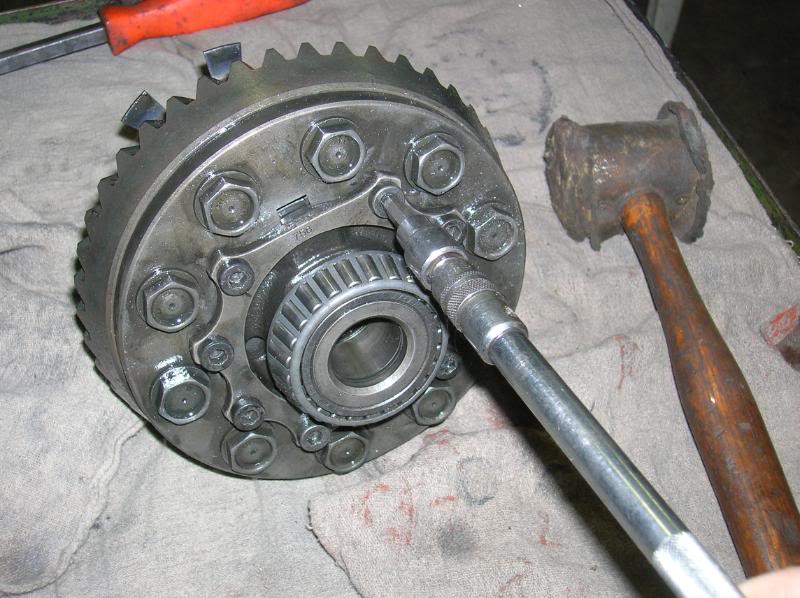
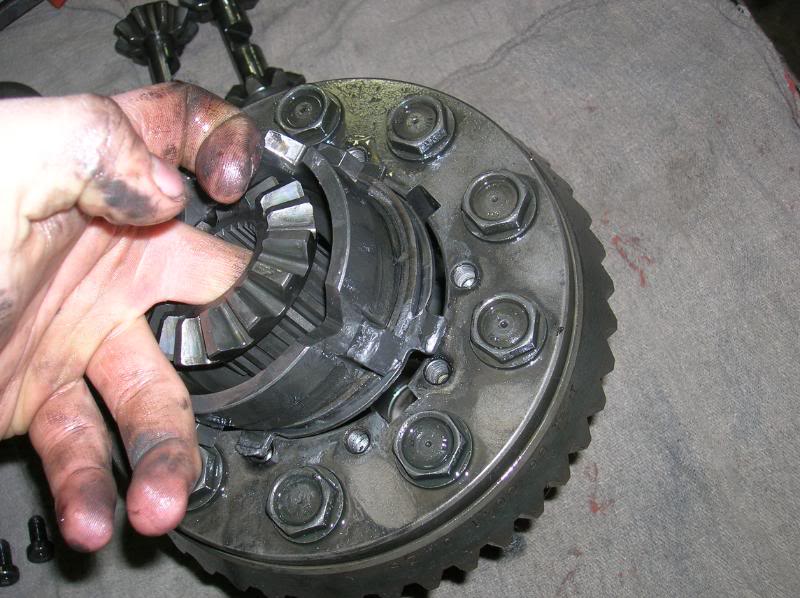
Pulled all the allen bolts out of this flange. I recommend using an impact gun to save yourself the wrestling the diff around. I’ve never had one strip, and I’ve done like two of these.
Editor’s note:
Please consider replacing the half height socket head cap screws shown above if you are going to tear down your diff.
The stock cap screws are relatively soft and I have personally experienced having most of them sheared off due to aggressive driving. Replacing them with a stronger grade steel cap screws is highly recommended.
I spoke with Binjammin about this issue and he too has experienced this problem. In my case, the sheared heads got caught in the main drive shaft bearing and destroyed the bearing.
I was able to save the diff but only after a complete tear down and rebuild (which was costly). After replacing these screws, I had no issues going forward. – Michael Oswald
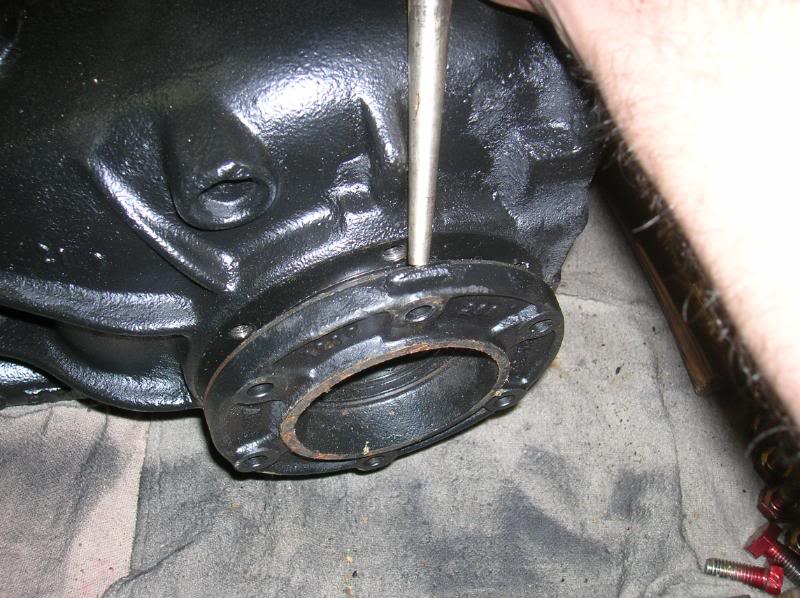
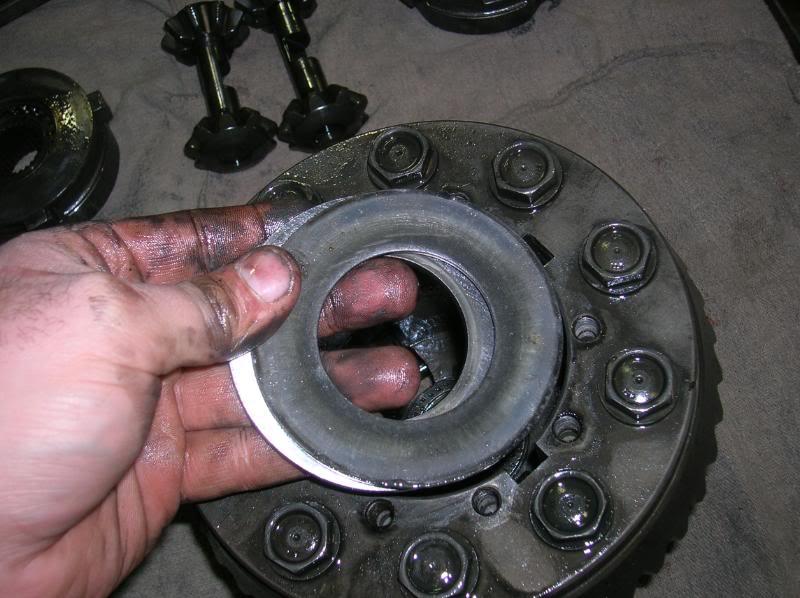
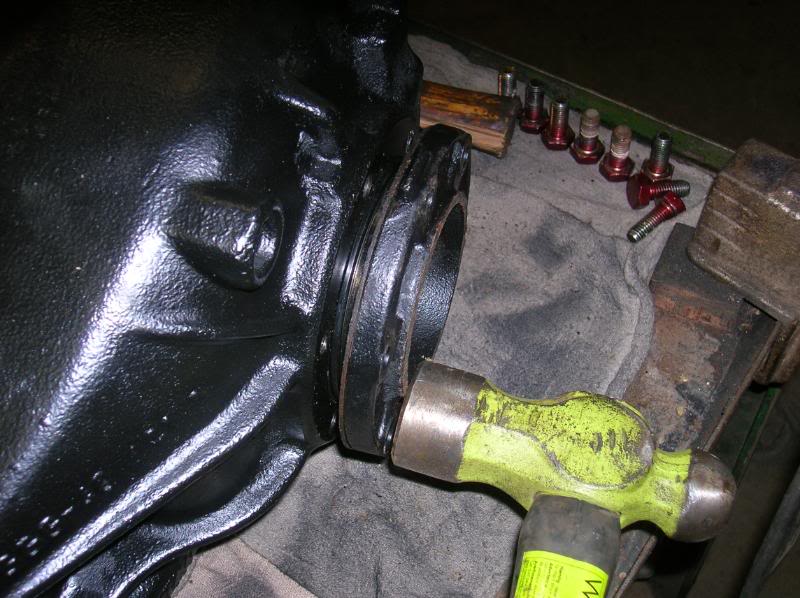
Pry the flange out. Use two pry bars, it’s a piece of cake.

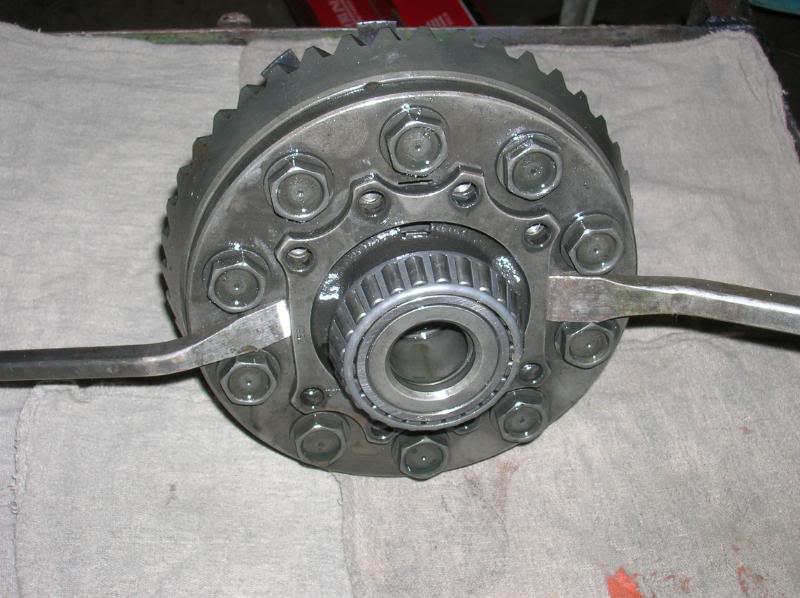
Then just pull the flange out. The next few photos will show the order in which the parts come out, there’s no trick to it, just make sure you stack them when they come out so you don’t lose the order.
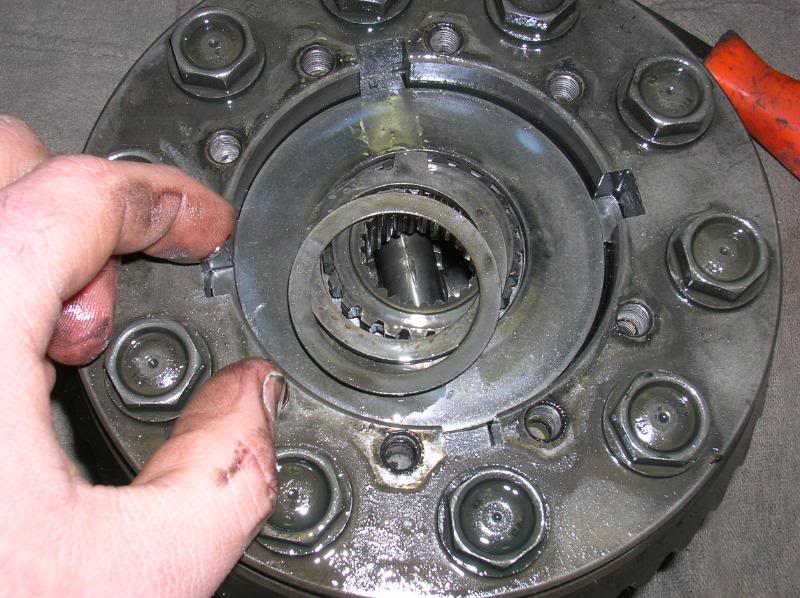
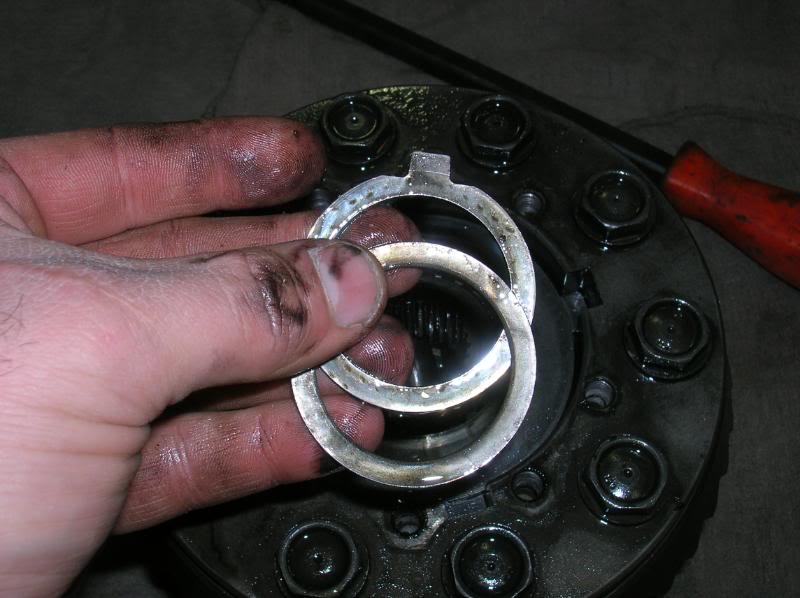

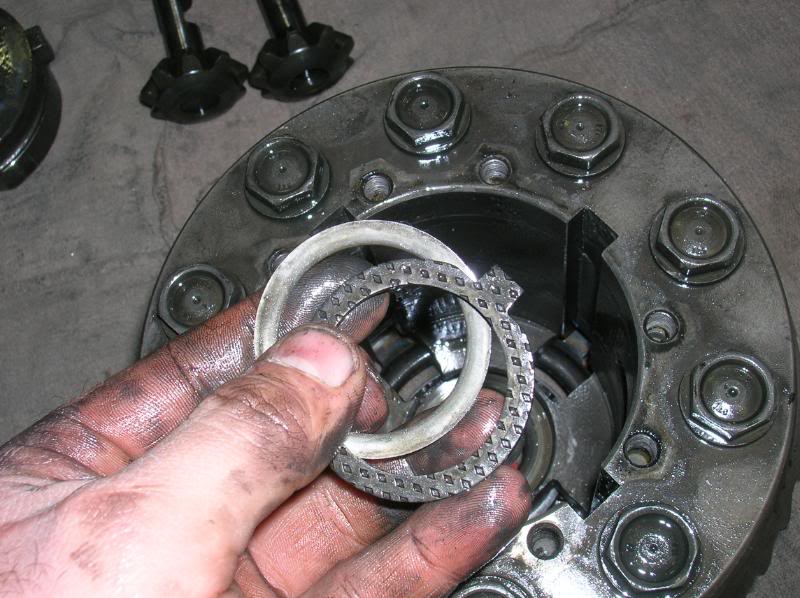
Best tool for removal, stick a finger in and pull the whole stack out at once. Makes removal easy, and keeps the order for re-assembly too.
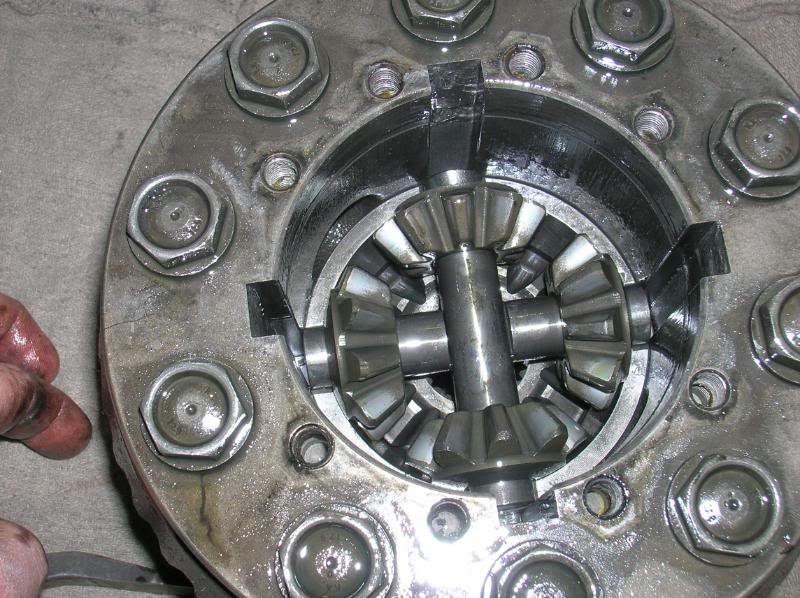
EEEK! Spiders!

There’s that tool again.
Basically the diff internally is a mirror image, so one side is the same as the other.
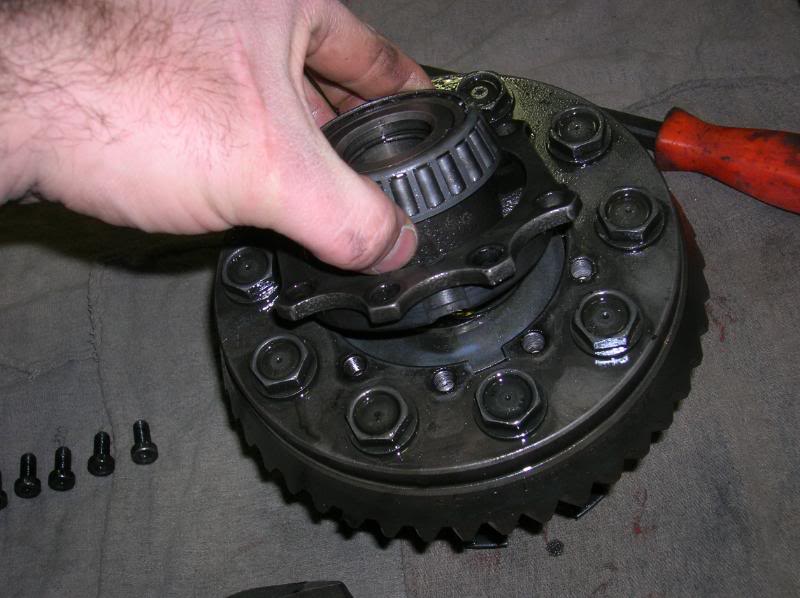
That’s the trigger wheel and bearing. Use a bearing separator and press to remove and install a new bearing, I have no idea how or why you’d want to remove the trigger wheel.
It might be pressed on, it might need to be heated to be removed, but unless you’ve got some ridiculous reason to do it, it’s not something you need to worry about.
That little ring on the inside is what holds the stub axle in place. It’s always got the CV axle bolted to it so it can’t come out, remove the CV and it will practically jump in your lap and ask for treats.
The last step would be to remove the pinion gear, but as I had a good pinion seal I didn’t want to waste it for a write up.
Basically once you’ve got the flange nut off the front (which people have written about already, nothing new for me to add) you rip the seal out.
I believe you just tap the pinion out of the bearing after that. If someone wants to see it that badly beg me for it and I’ll think about taking another diff apart.
Editor’s Note:
Below is a graphic of the clutch plate assembly in an exploded view.
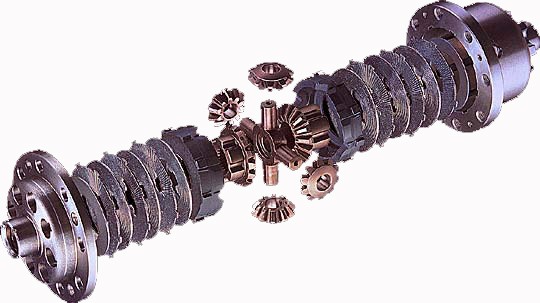
Picture taken from www.limited-slip.com
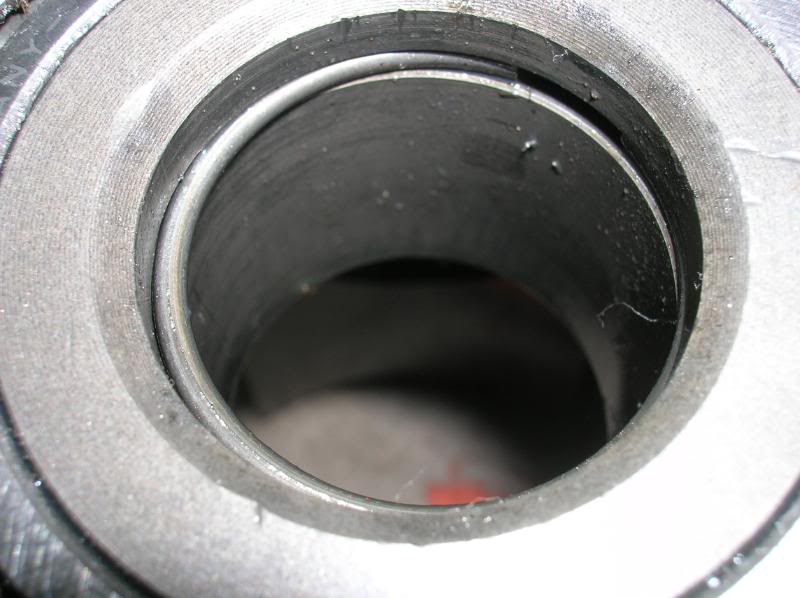
Start reassembly by tapping one of the races in partway, just enough to seat it. DO NOT forget to put the sealing rings in like I did, you’ll have to take the whole thing apart and start over.
Tap the race in enough to get a couple threads on the bolts that hold it in started.
 ‘
‘
The important thing to remember is NOT to put both races in all the way first. Put one in partway only, or you won’t be able to fit the diff in afterwards.
Once you’ve got the bolts started you can stick the diff in the case, and tighten the bolts on the race in a star pattern.
Walk it in gently with just a little lube on the seal and you should be just fine.
No need to go nuts with the hammer smashing the whole thing in, breaking stuff, and tearing seals, when a gentle hand will be do.
Turn the housing on its side and you can start tapping the other race in.
This will align the diff bearing in the first race, and when you get the second race started it will be aligned with the other bearing.
Same thing with the star pattern once you’ve got the race in far enough to start the bolts.
Don’t forget to put the metal seal in on this side either.
From there just put a new seal on the diff cover, I personally prefer a bead of “Right Stuff” RTV to seal the diff.
I didn’t take pics of that part of the process because I planned on taking it apart again sometime if I found clutches, and I didn’t want to waste the time and effort doing something twice.
Use your imagination for sealing it.