Article by: Dave @NZ
Article applies to: all BMW models with the Getrag 265/5 transmission.
This is my 265-5 O/H which I have recently completed first of all have to acknowledge the guidance I got from Brian Xworks , John Jwbavalon and Diego.
The main problem was the rattle noise when hot with the foot off the clutch which was more pronounced with the ATF oil, if I ran gearbox oil 70/90 the noise was good but would be stiff change in cold weather.
I brought 5 syncro rings, 9 new springs for the syncro hubs and gaskets/seals prior to disassembly and the remaining parts once stripped and inspected.
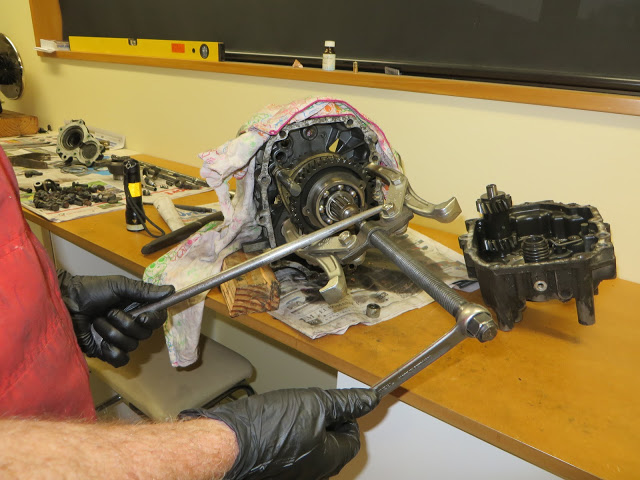
Removing the gear box was straight forward enough except for the weight which I was not expecting and it did not help I had the drain bung out while trying to man handle it out from under the M3 on axle stands.
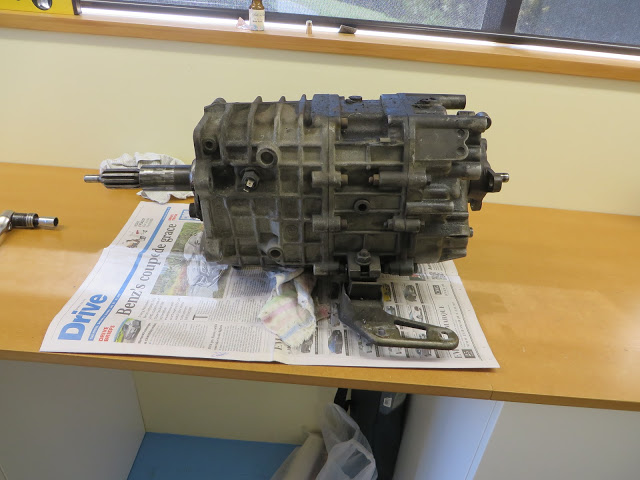
The front came off good and exposed the bearings which looked all intact only thing no good was one of the input shaft shims looked like it had taken a pounding and was all cracked.
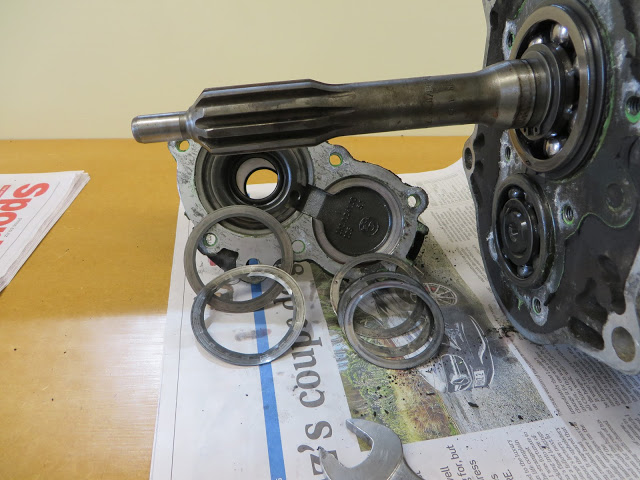
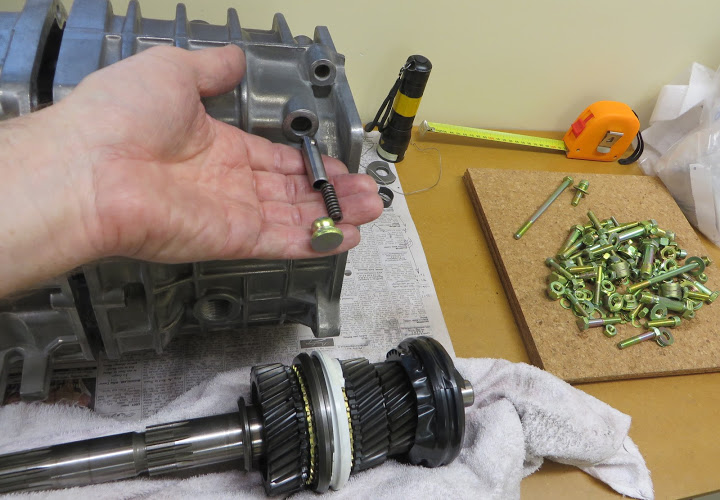
Next up is the front housing just had to remove the main selector shaft detent spring and plunger first it is a hammer in pry it out with screwdrivers type of thing.
nb assembly photo shown.
Had to remove the roll pins, 2nd 3rd hub roll pin is tricky to remove it basically hammers down the gap between the gear teeth.
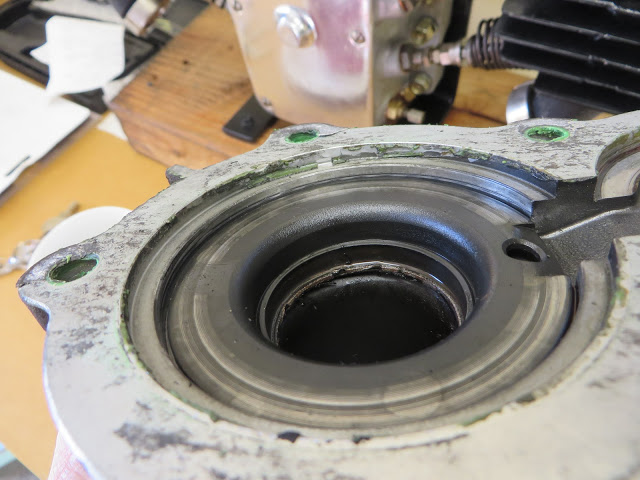
The trick is photograph everything and measure where the seals sit before they are removed especially the input shaft seal.
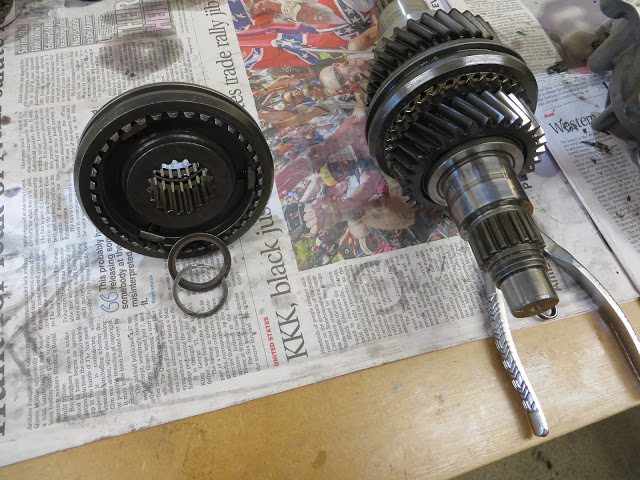
4-5 sync hub removed.
To get the 1st gear inner sleeve off the shaft good “C” plates which clamp around the flange then good heat up with the hot air gun and press it off.
Around 1.5 tons to get it moving. Just about everything in the press is a cross your fingers and hope it does not brake, all BMW NLA parts.
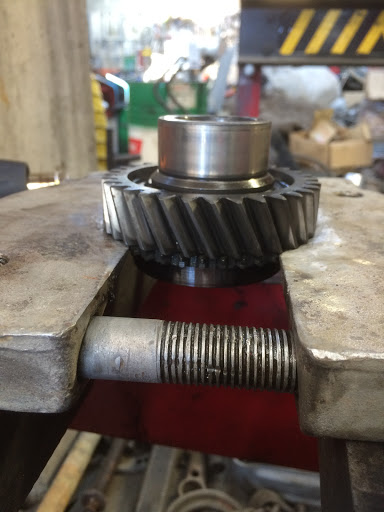
Next up was press the 2nd gear and inner roller race off, same procedure but the weigh is taken buy the sides of the teeth.
4.5 tons to get it moving and was really glad no teeth broken. Had a few goes at it just hoping the teeth did not brake off.
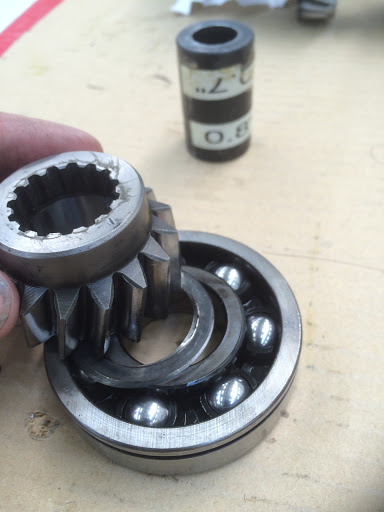
Getting 2nd gear off managed to “loose” a ball bearing from the syncro hub never to be found again.
Unusual size the bearing shop told me and BMW NLA part, a bit worrying lucky quick search on ebay found some 6.5mm ball bearings.
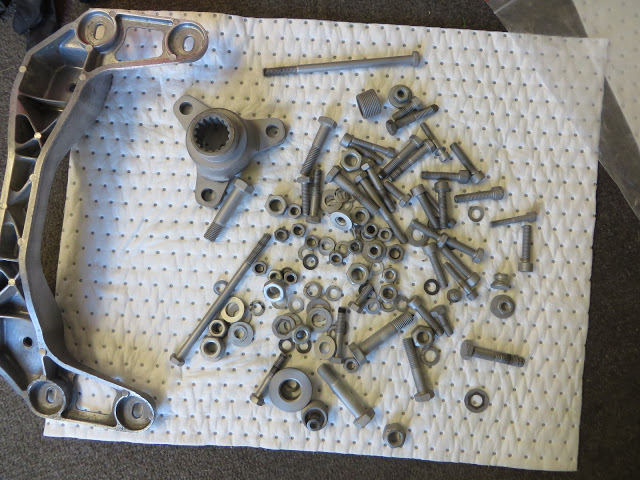
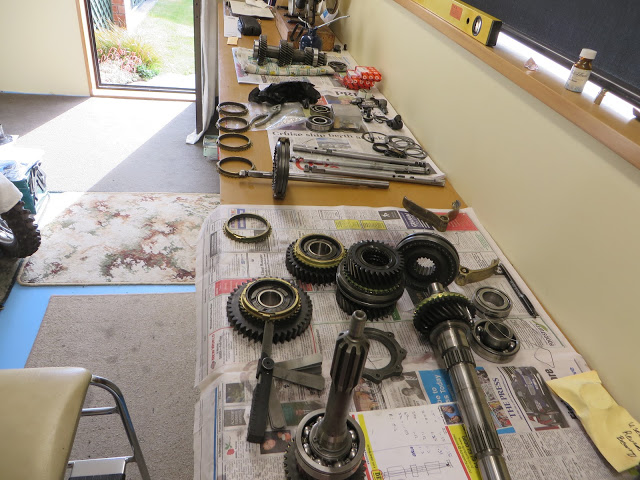
Everything inside the box is covered in black grime and took lots of work to clean it all off.

Everywhere I looked there was black grime even though oil seemed cleanish.
I bead blasted the hardware parts (cross member not included) and then they were gold Zinc coated, shown in one of the above photos.
Shimming for reverse was dodgy with too thin a shim in there, what I used was a shim from a classic Mini suspension ball joint.
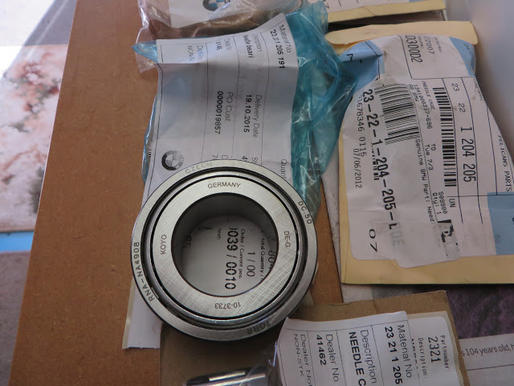
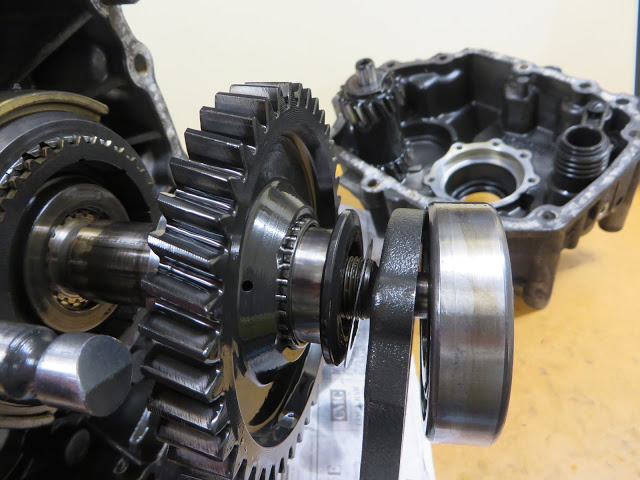
New genuine bearing going on.

Slightly out of order some of the photos.
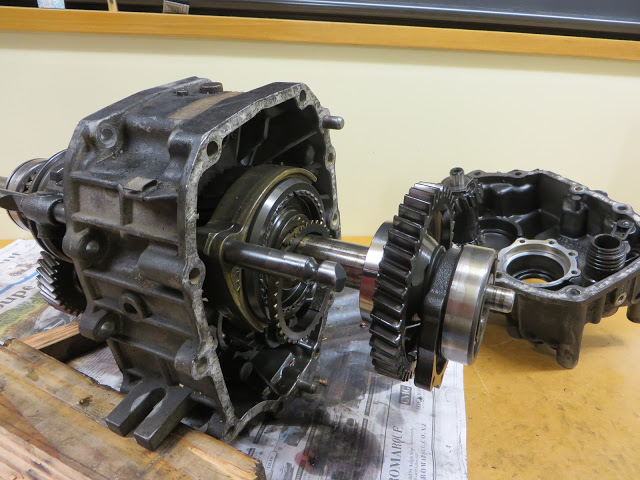
To get the shift rods out and back of the box off, pull each shift rod out out through the front.
Then back housing off by removing driveshaft flange and all the bolts just slip it off and have to keep a good eye where the ball bearings ping off too from the selector shafts.
To get the reverse gear and main output shaft bearing off a puller is required along with some heat from a hot air gun.
Removed reverse gear with this puller, one thing common in this box everything is a really tight press fit and makes disassembly a bit nerve racking.
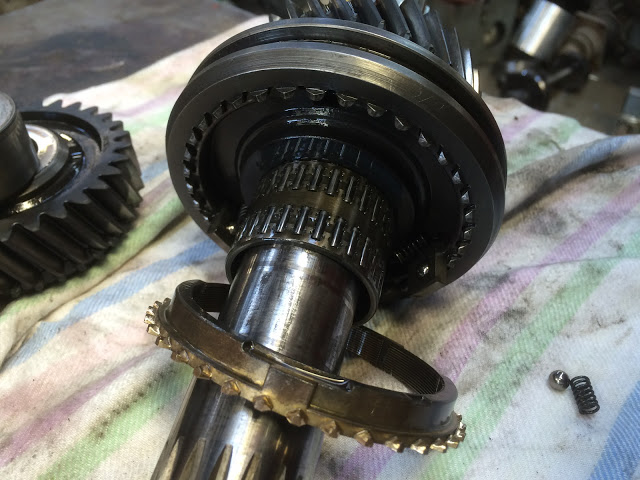
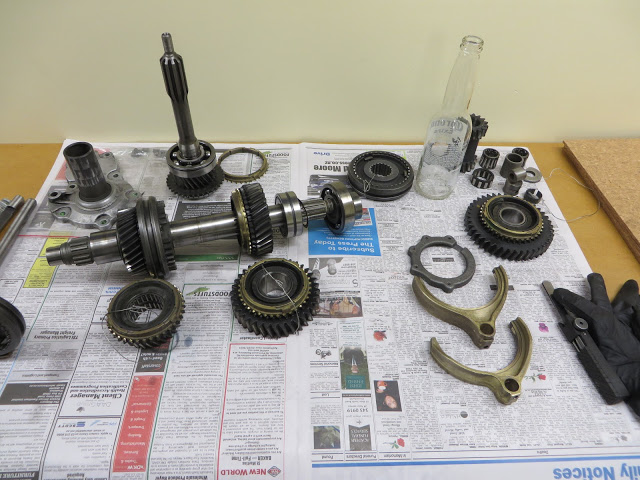
All parts loose making note of what shim goes where. The two c rings holding the synchro hub on not showed in photo.
Reverse gear loose and 1st reverse synchro hub which has to be removed as an assembly along with the shift rod by sliding it out along the out put shaft.
Every shimmed item item in the gearbox I checked was not correct at disassembly with the old bearings and same result with new bearings and same shims.
Which leads me to think all factory shims are close enough to be acceptable, I refilled it with ATF oil and it is quiet as now I will try and get some sound shots to post later.
I wired all the hub assembly together and tried not to mix up things to much.
Enough to drive anyone to drink.
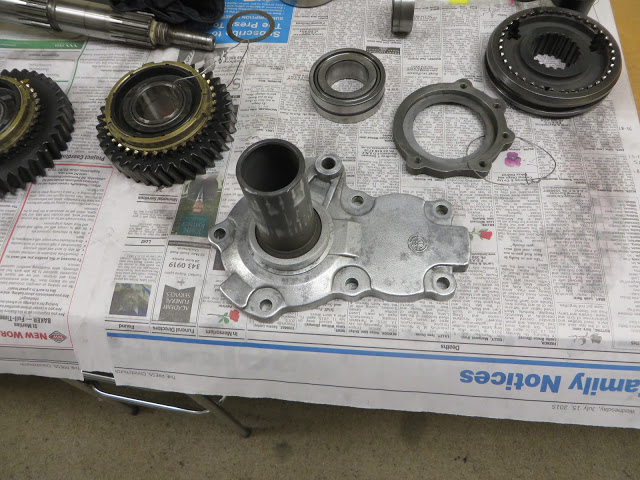
The input shaft housing had a lot of corrosion staining on it and tried various cleaners to scrub it with including cleaning in an Ultra sonic cleaner bath.
What worked best for general cleaning was scrubbing it with brass pot scrub pad but this made areas extra shinny which is not what I was trying to achieve.
After researching on the computer I tried soaking it in hot water with clothes wash powder.
This had the affect of lightly eating at the surface by being slightly acidic.
To counter this through clean in straight hot water and finally coated in alodine this forms a protective layer to stop any future corrosion from dampness.
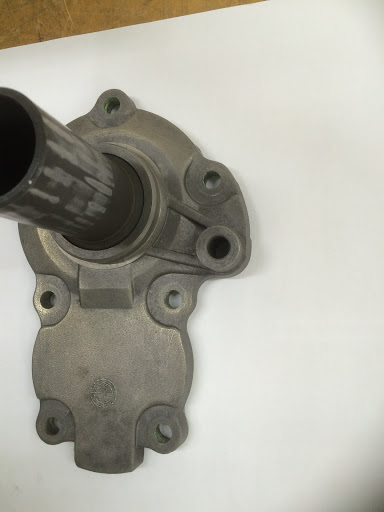
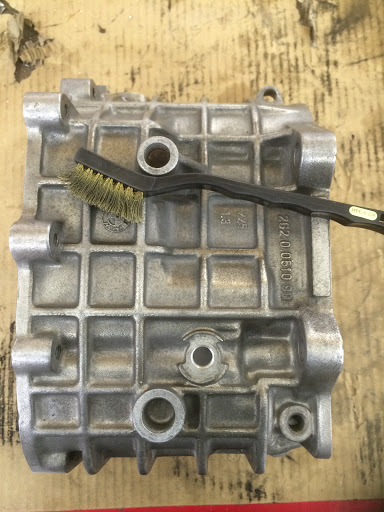
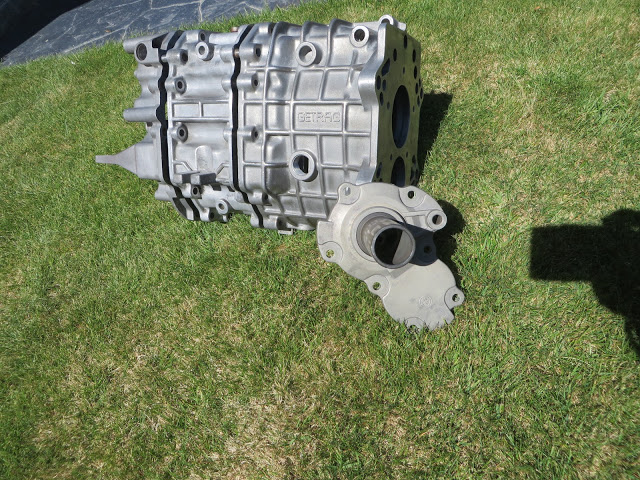
The cases took many hours with the brass pot scrub and brass wire brush and now near new condition.
I like the challenge of not only trying to fix things but bring them to factory new condition.
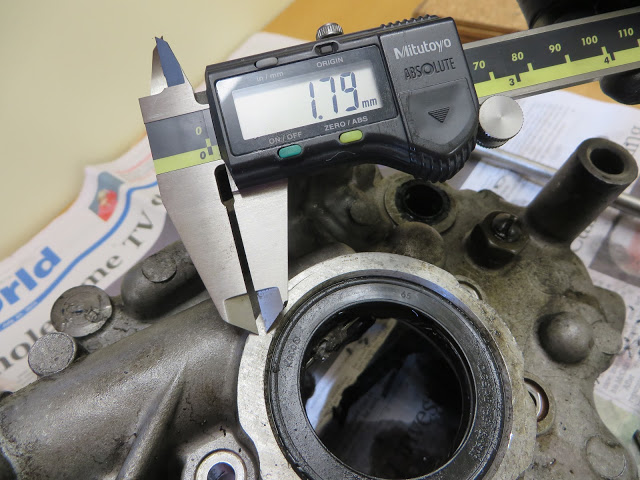
Next up is the synchro rings for a measure up, reverse on the left fwd synchro rings on the right.
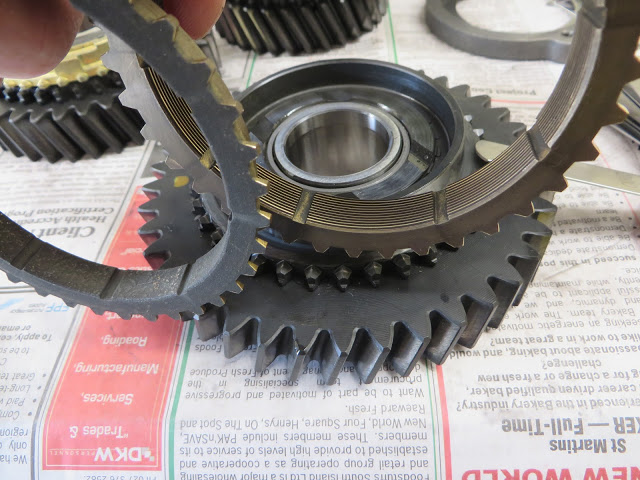
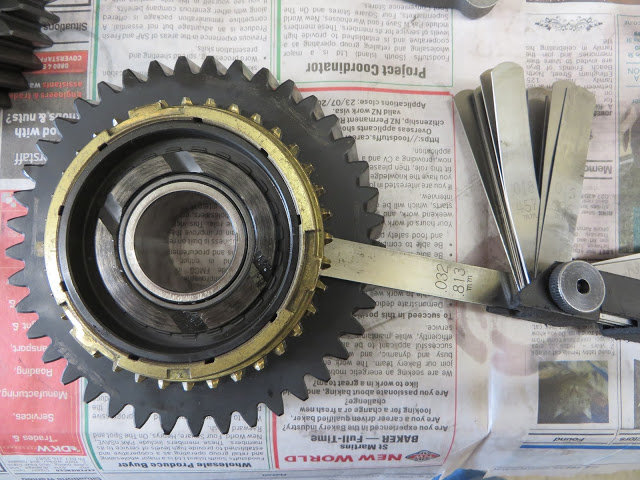
This is where things get interesting the wear from 160K od KMs is quite minimal and all fwd syncros with in spec with reverse borderline.
| Gear | Old Syncros | New Syncros | |||
| 1st | 1.35mm | 1.35mm | |||
| 2nd | 1.25mm | 1.31mm | |||
| 3rd | 1.12mm | 1.30mm | |||
| 4th | 1.12mm | 1.30mm | |||
| 5th | 1.05mm | 1.25mm | |||
| Reverse | 0.04mm | 0.08mm |
Reverse gear, 0.5-0.6 new less than 0.4mm replace.
Forward syncros 1.0 to 1.3mm.
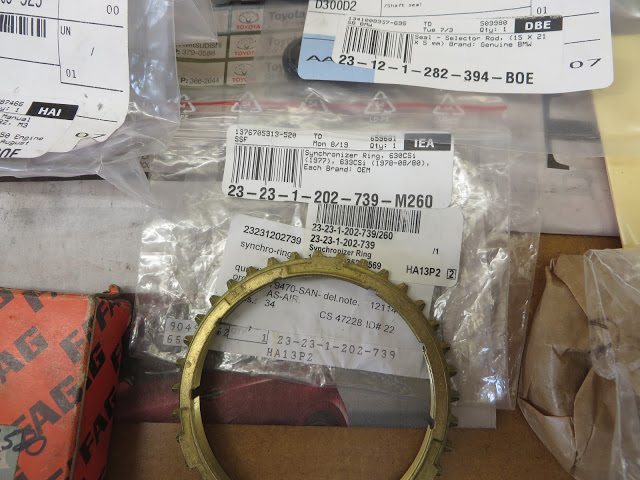
I used new oem syncs supplied by Pelican Parts they looked identical in every way to the ones removed and a lot cheaper than the BMW oem items.
For reverse I used the best used forward synchro and installed it in the new position reverse no worries.
It was my first go with a us cleaner was very simple to use added hot water from a tap and a detergent, it does have a heater just did not have a lot of time.
The housing was dead clean to begin with and after 1/2 hour removed it and no difference to the staining corrosion marks, not sure on the size but would be at least 10 litres.
Could be that 1/2 an hour is not long enough to take effect.
I was quite keen on buying one and would look at a one smaller in size as they are not very expensive and like the idea of using water just keeps the smell down in the workshop.

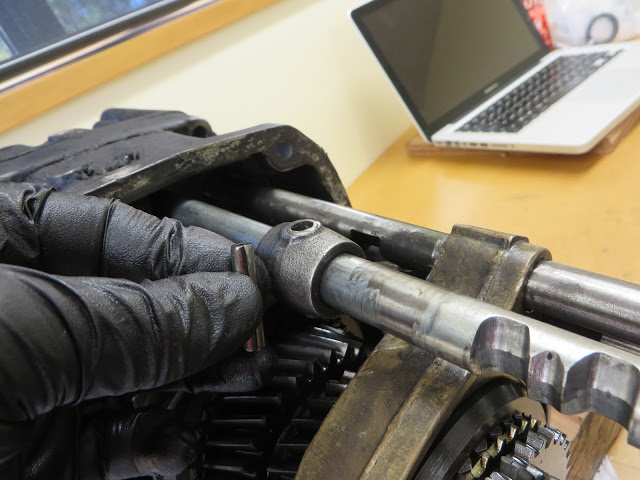
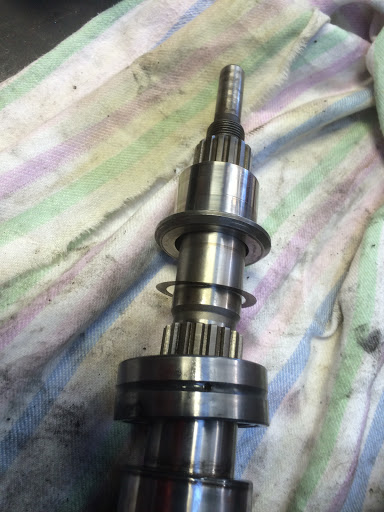
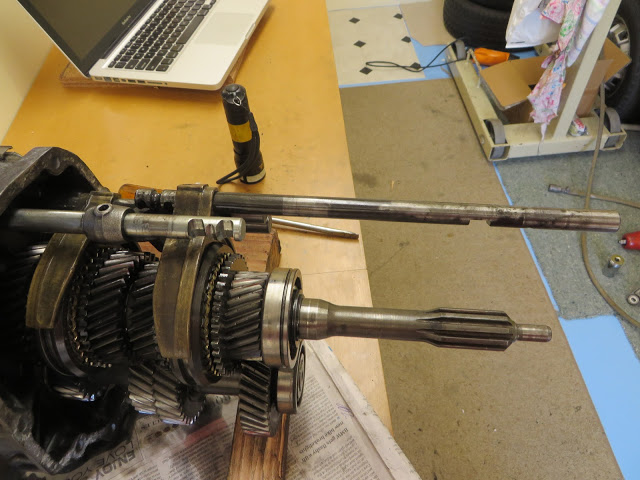
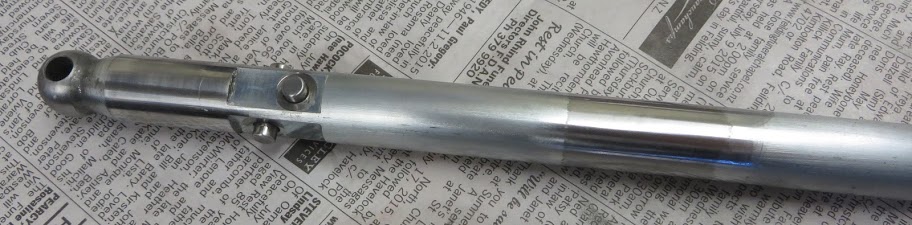
The shift rod 2nd from the left is the input shaft and you can notice the rings around it.
This is where the seal has been sitting a close look revels the shaft is coated in in what looks like zinc to stop corrosion only problem is it has a rough edge where the seal has worn through it.
What I did was polish the seal area and all the shift rods where they go through bushes just to help smooth gear shifting and prolong the seal life.
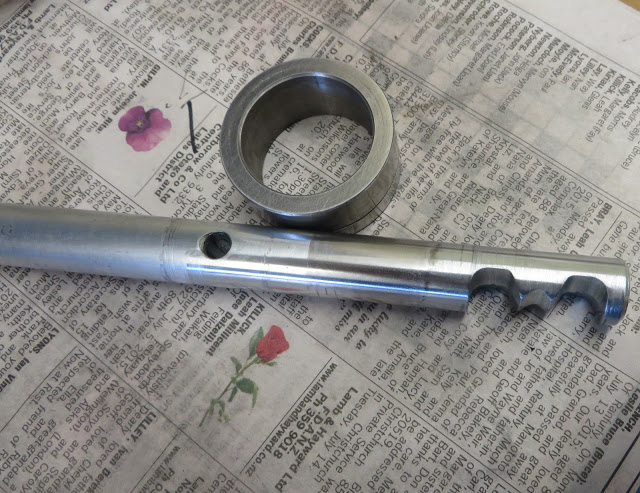
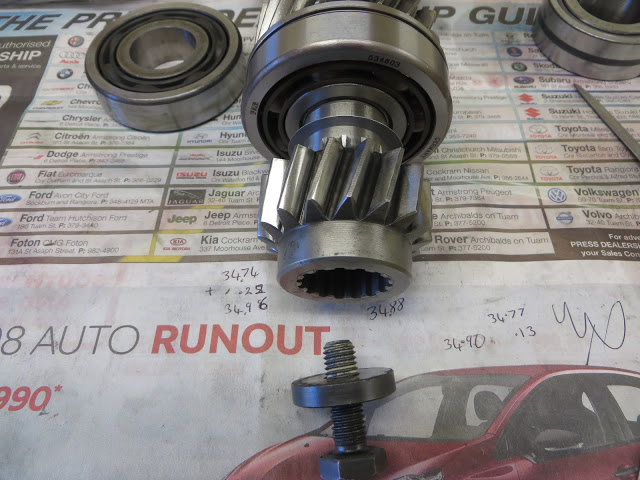
This is the single most expensive part I brought for the gearbox enough to make your eyes water.
It is the main shaft roller assembly inner sleeve and outer race.