Article by: Gerry at PhoenixMotorsport
Article applies to: BMW e31 models.
So here we have a procedure for replacing the line filter in the Pentosin line.
This filter is scheduled to be replaced every Inspection 2 on cars with ASC+T.
However, although I am a stickler for maintenance, and believe you cannot over-service the car, I see little reason to replace this filter but thoroughly recommend a regular clean.
The only time I would disagree with that, is should you suffer any failure in the Power Steering or Pentosin system where any debris could have entered the system, such as during a pump failure.
Also of note to these pics, is that this is on MY car so although the procedure is identical, you WILL have a different method of mounting the filter housing to your car although it is in the same position. So here we go…
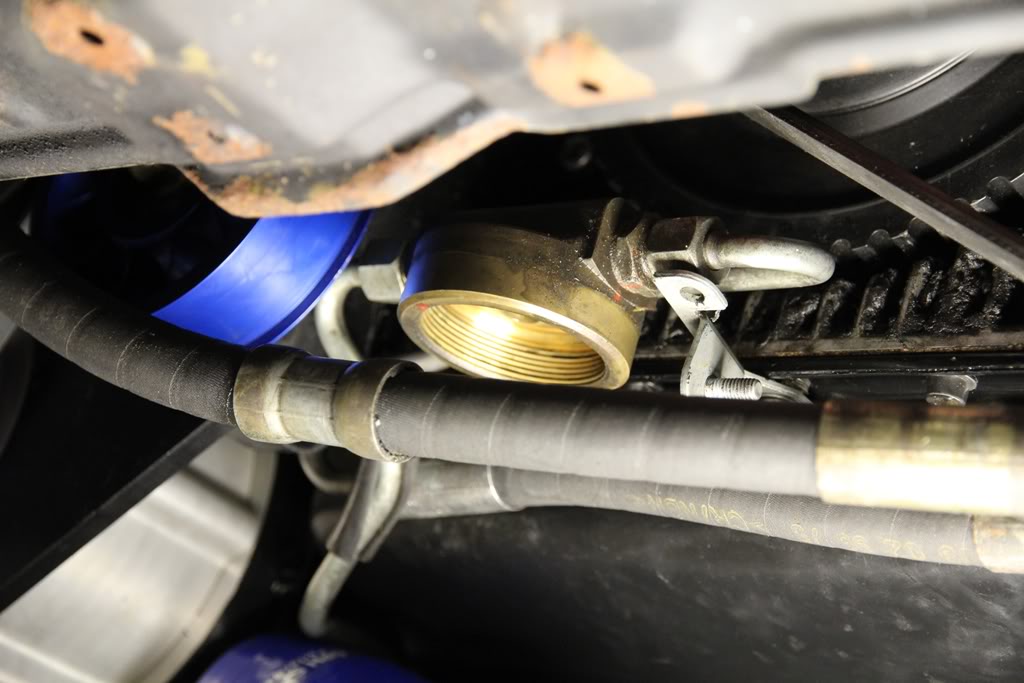
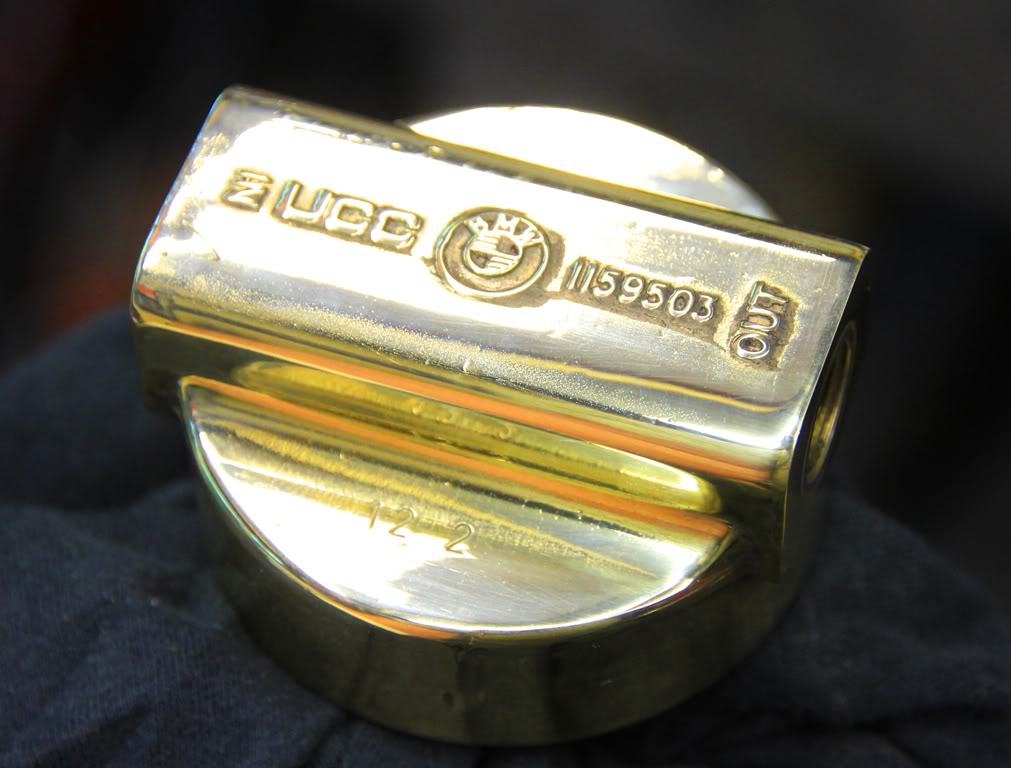
The filter housing is mounted on the front right hand side of the engine, at the lower sump pan gasket level. Take note before you start which end is the inlet and which is the outlet because it fits either way around but only works one-way!!
You can see the casting from under the hood with the orientation clearly marked.
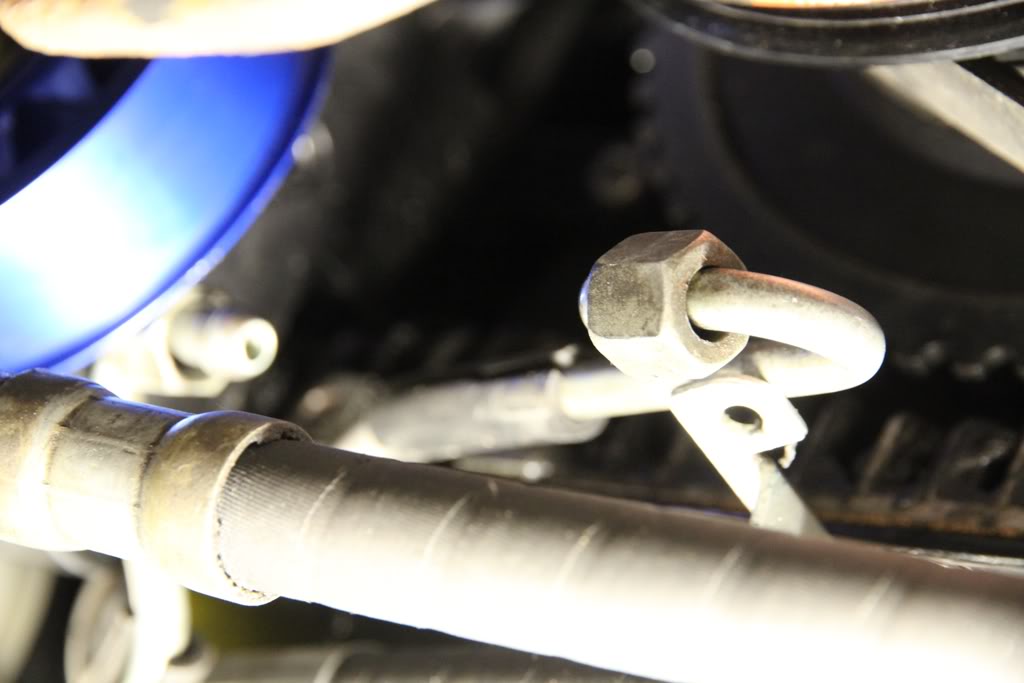
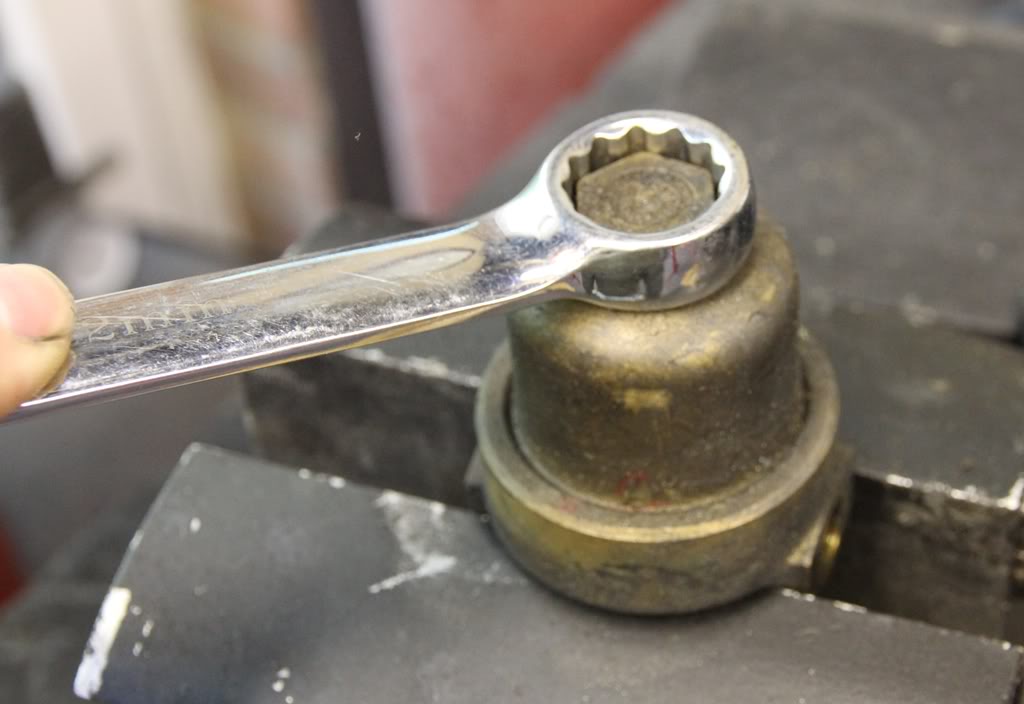
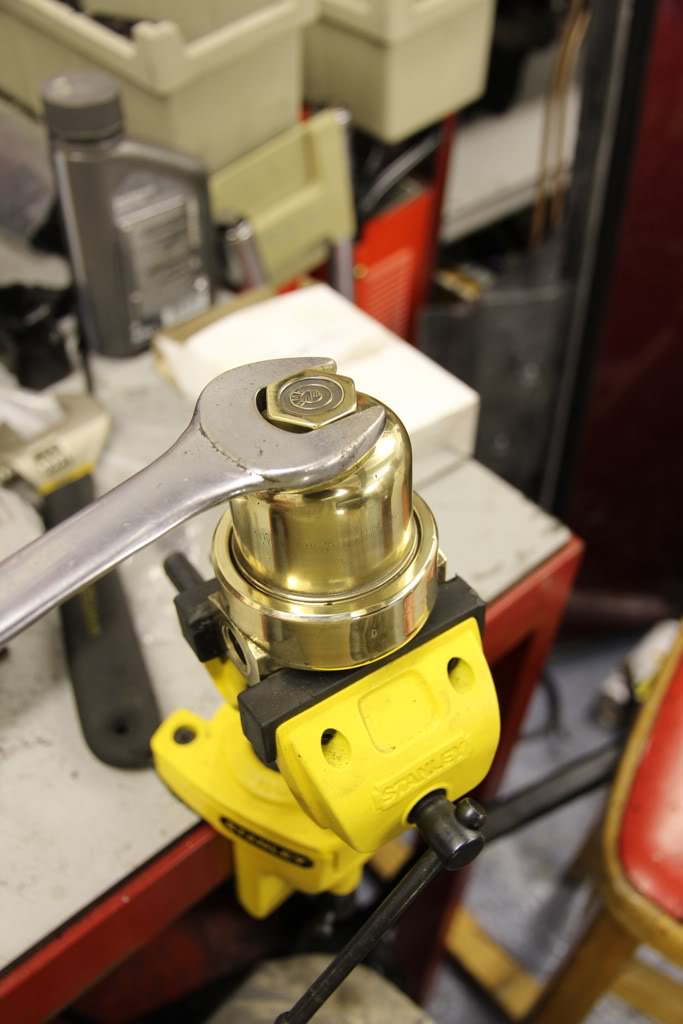
Firstly, undo the 22mm hex socket on the bowl of the filter housing and allow the system to drain.
Then, remove the bowl.
Inside the bowl is a small steel mesh filter with an “O” ring and a spring. The spring should stay in position in the bowl.
Now using a 17mm and a 19mm spanner, loosen the metal pipes on either end of the main housing and disconnect the inlet . . .
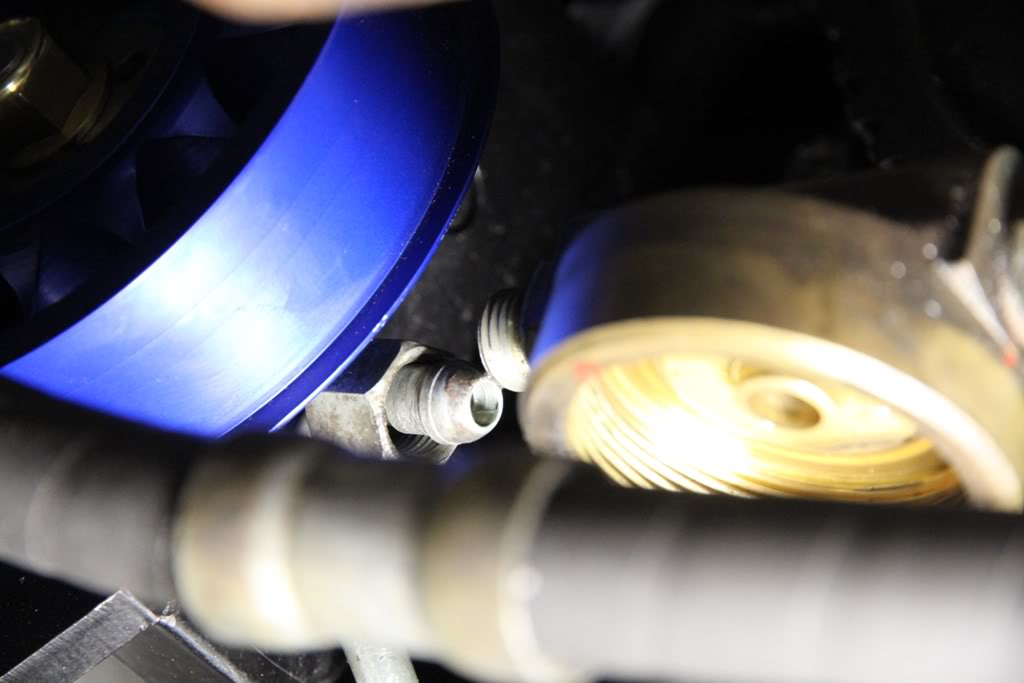
followed by the outlet and remove the housing.
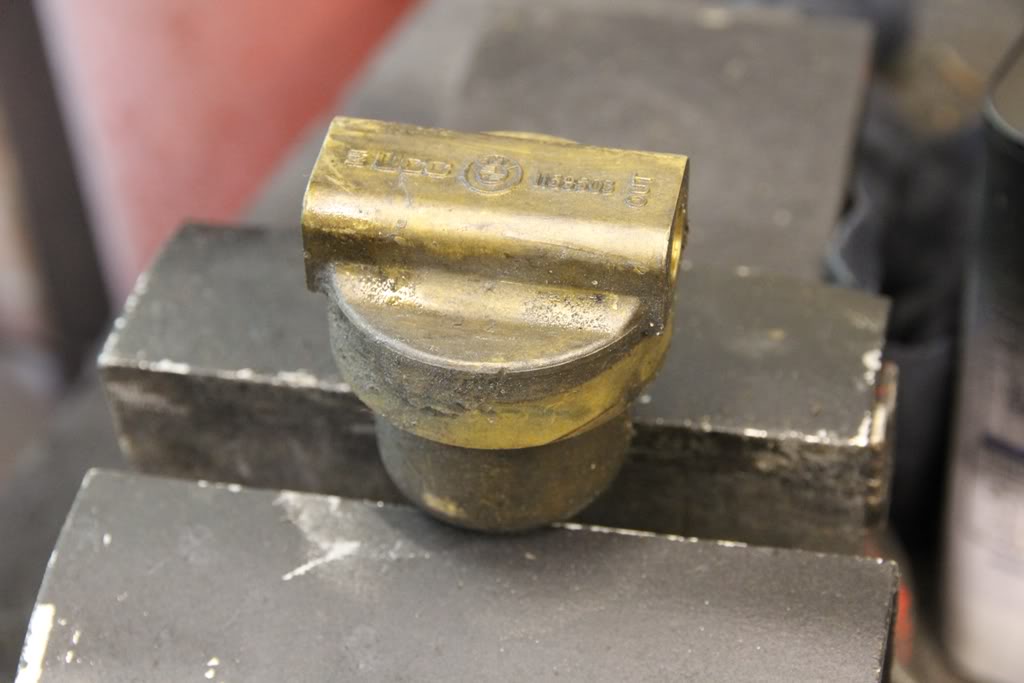
Backtracking a little, to show you what to expect whilst carrying out the above, I have reassembled off the car and redone it on the bench . . .
Here we have the complete housing MINUS the two metric M14x1.5 to 1/4 BSP end fittings.
Holding the body of the filter housing, undo the 22mm fluid bowl . . .
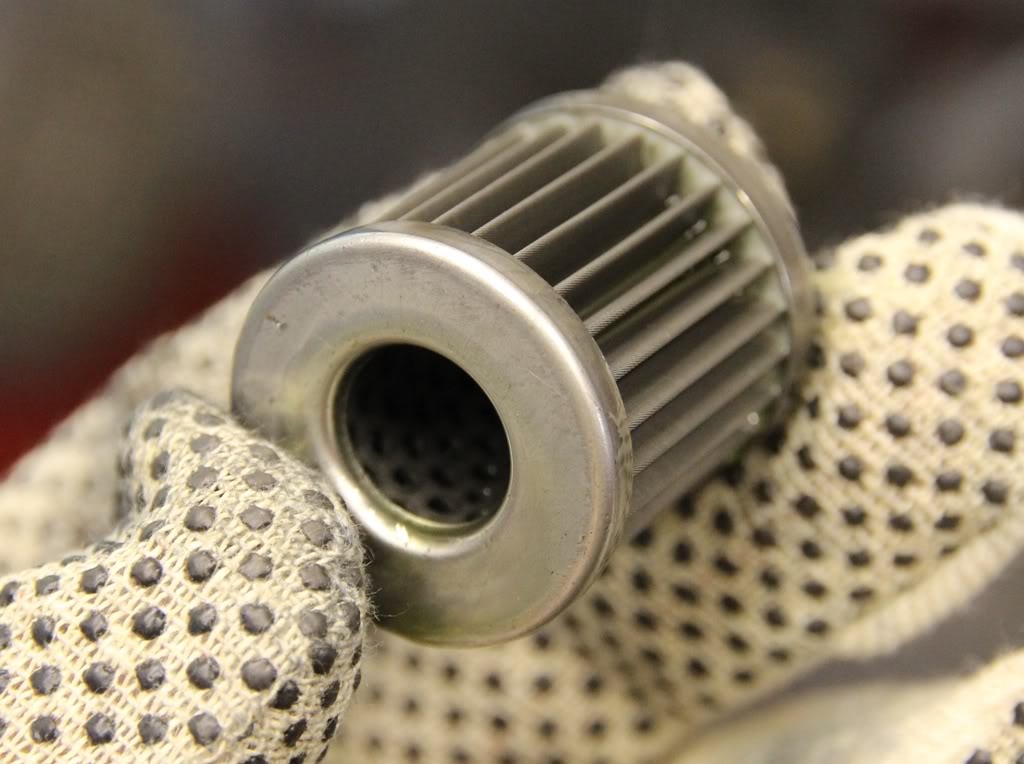
to reveal the filter.
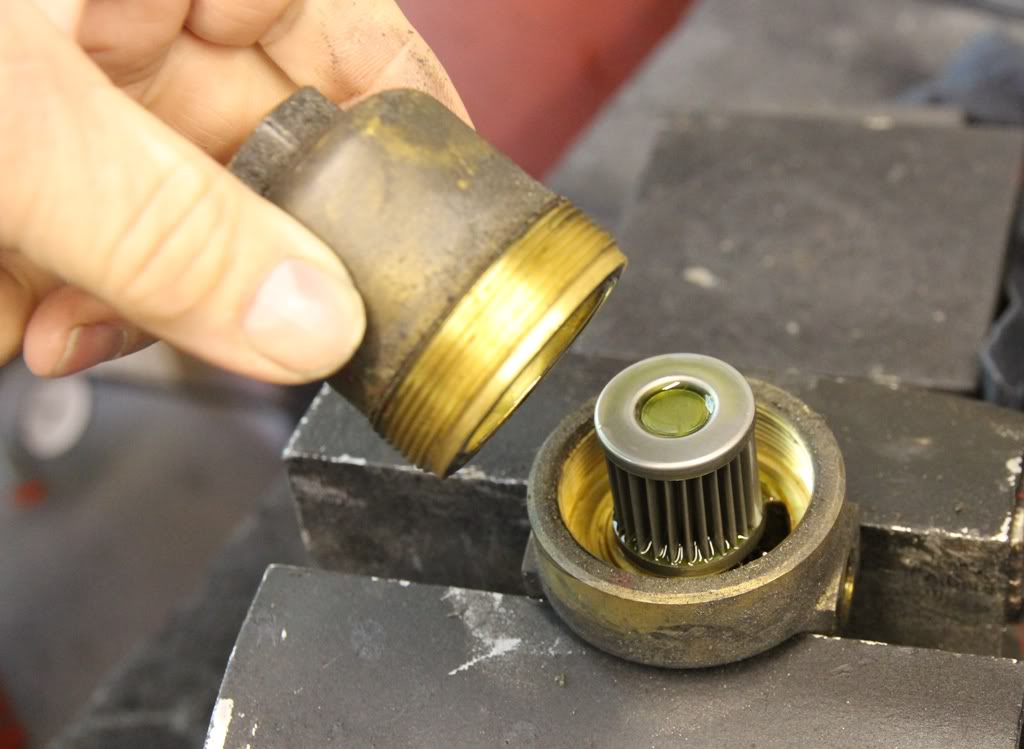
spring and bowl “O” ring and any sediment in the bowl . . .
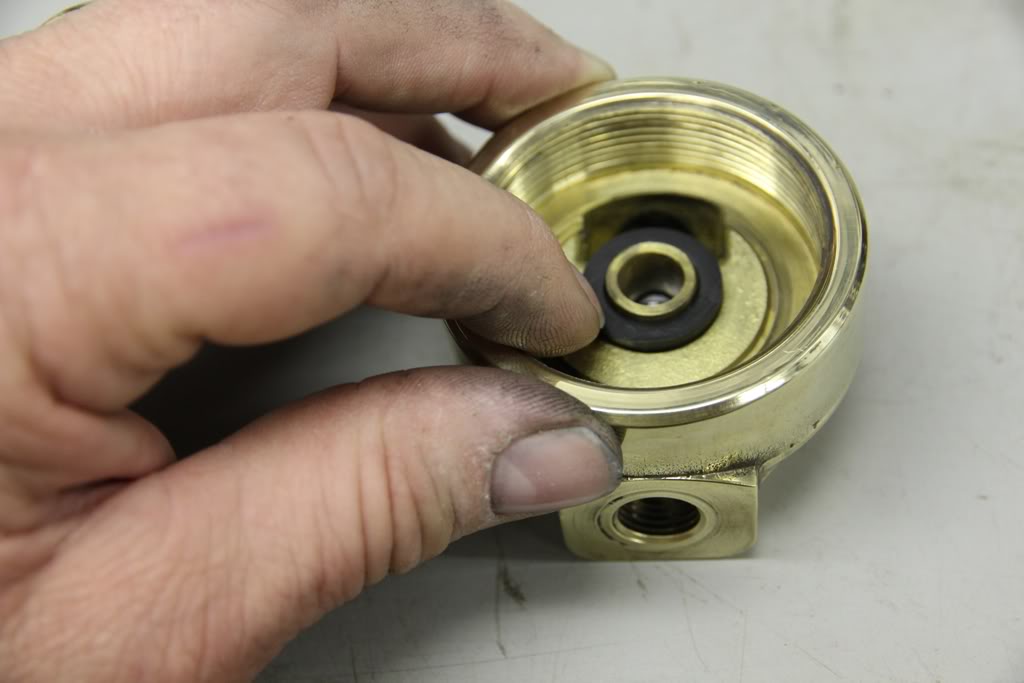
You can now remove the filter element to reveal its “O” ring . . .
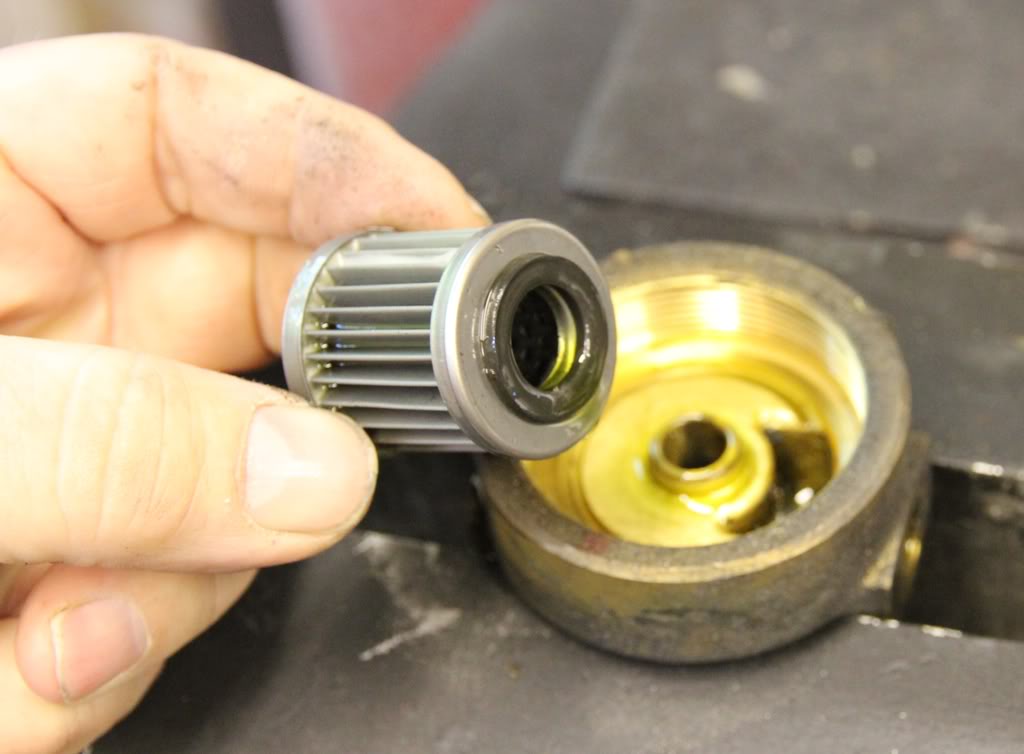
which can either stick to the filter as seen here, or more usually, stay inside the housing.
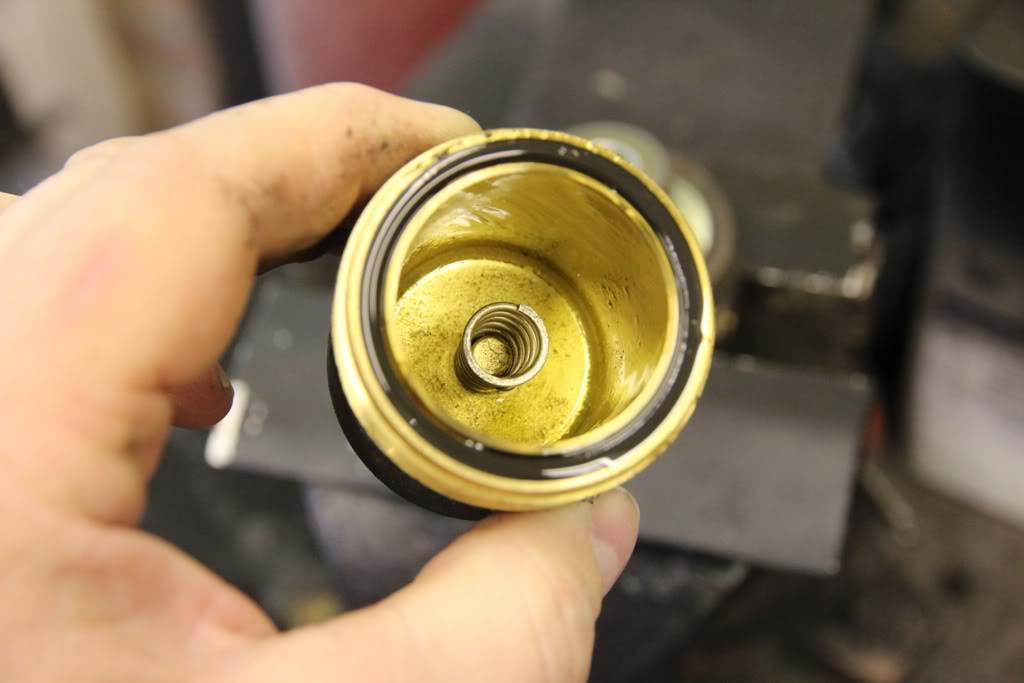
Here you can see a pressure/one-way valve inside the housing and is why it is imperative to reinstall the correct way round.
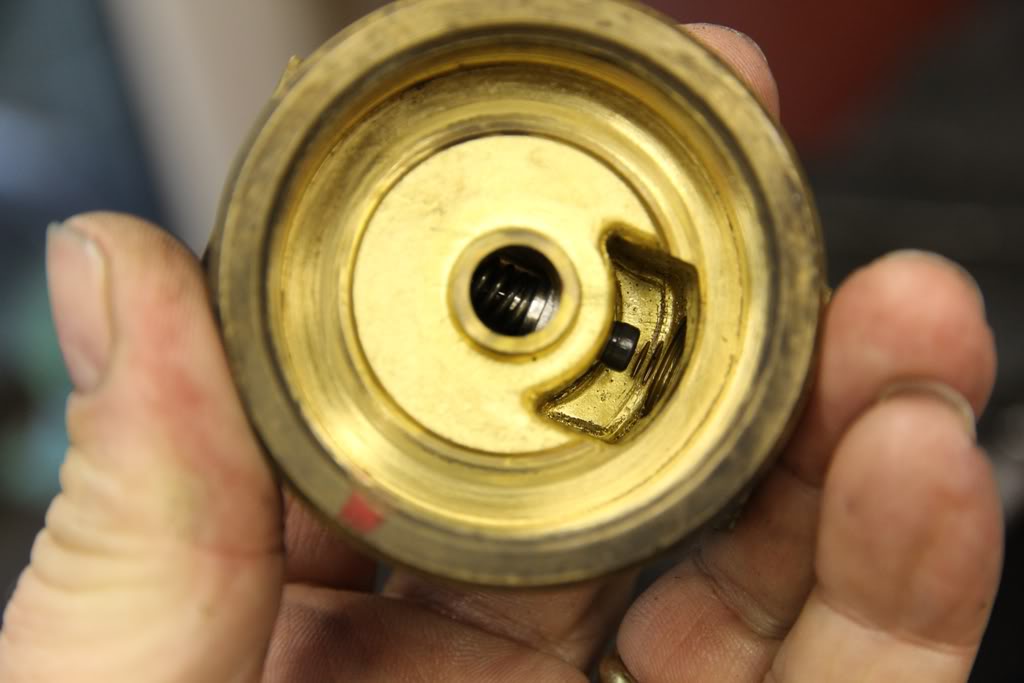
Here is the outlet side . . .

and here the inlet . . .

This filter has not been replaced or cleaned for 100,000m and as can be seen, it could easily be cleaned in some de-greaser and blown through with high pressure air to dry it.
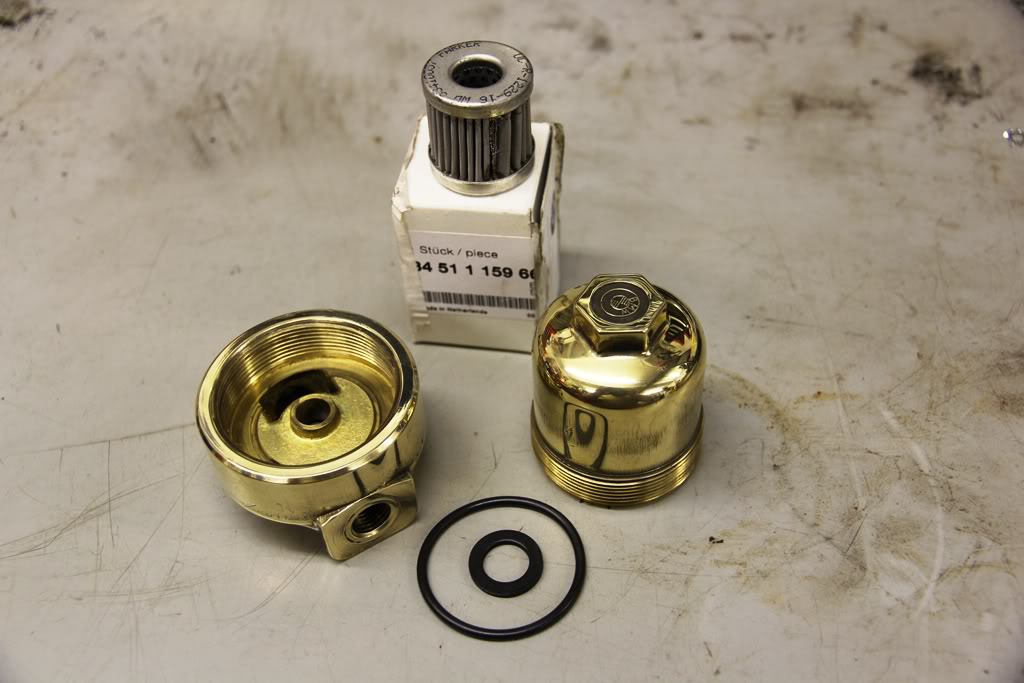
HOWEVER, I had already purchased my little filter kit . . . so after thoroughly cleaning the housing . . .
and bowl, I set about the reassembly.
Firstly installing a new filter element seal . . .
followed by a bowl “O” ring . . .
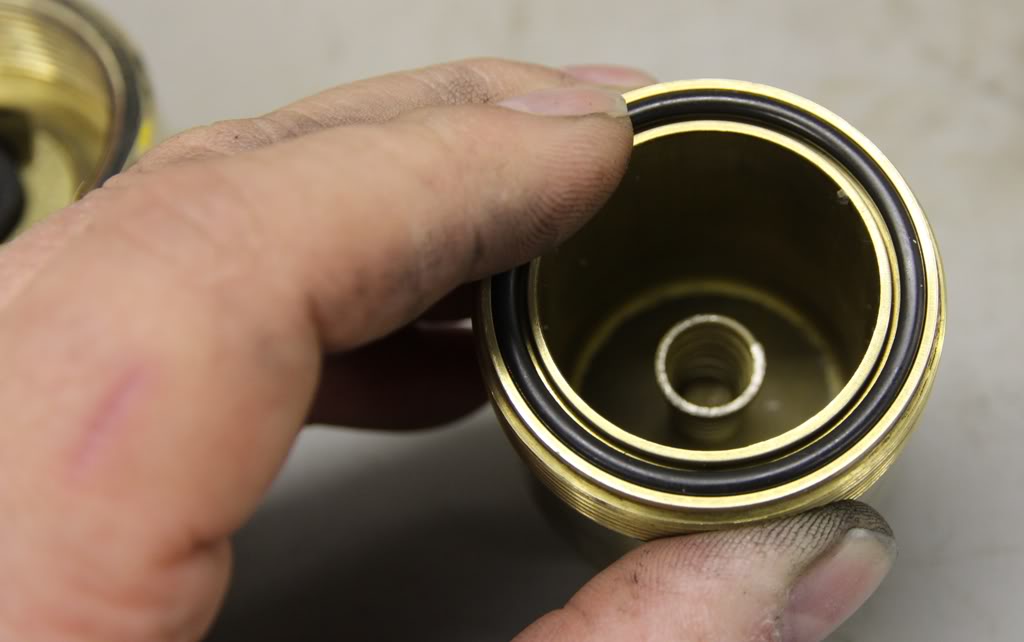
and then sitting the element squarely on the new “O” ring, and checking the spring being correctly set in the bowl still . . .

the bowl can be refitted and tightened. With the “O” ring seal, there is no necessity to use any thread sealant here.
So here we have the completed filter assembly ready to refit the Metric/BSP adaptors, and here I used a thread SEALANT, NOT a thread LOCK . . .

to complete the assembly, ready for re-installation.

Now, reusing those 17mm and 19mm spanners, the housing can be reattached to the pipework, and your mounting reattached.

and there you go . . . another simple but satisfying task undertaken that should hopefully be good for at least 50,000m!

Now we need to refill the system and we are ready to go. You could even take this opportunity to replace the canister filter seeing as you will hopefully be refilling with fresh Pentosin.