Article by: Gerry at PhoenixMotorsport
Article applies to: BMW E31 models.
So here we have a simple task, everyone is capable of, that could prevent a corrosion nightmare.
Recently, we have jacked cars using the under sill jacking pads, only to find the jack going up and the car staying firmly on the floor as the entire jacking area crumbles due to severe corrosion around the jacking points.
So here is an easy step by step method to…
- Check whether you need to worry or
- need to take remedial action or
- Just give it a good clean and some protection.
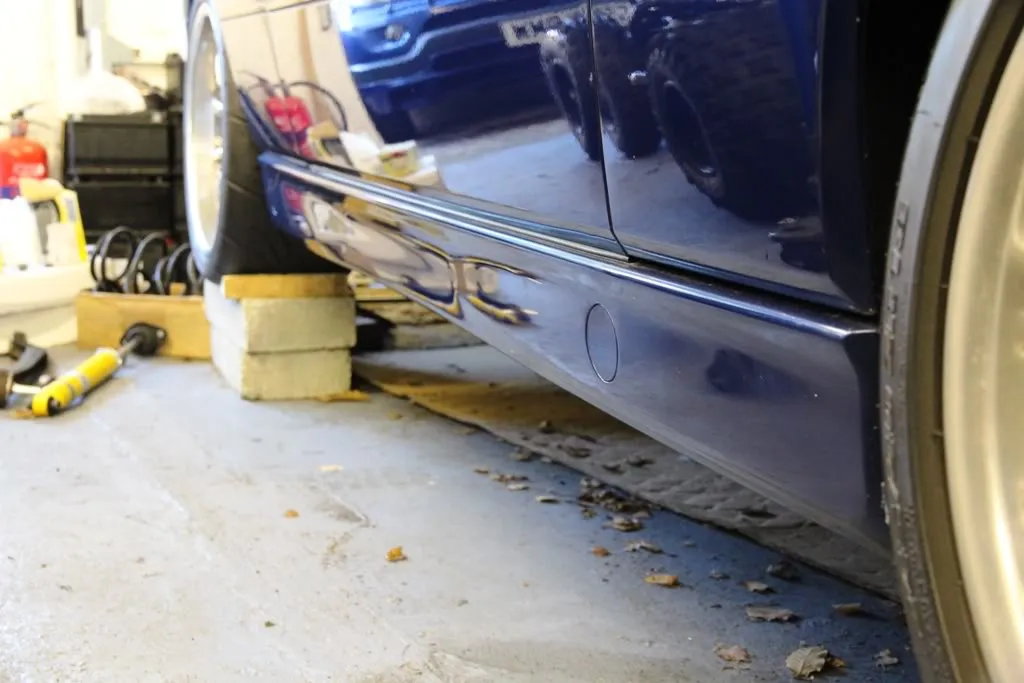
Here we start with the sill extensions from my own car. Looking pretty good, if just a little stone chipped underneath on the flat surface under the car.
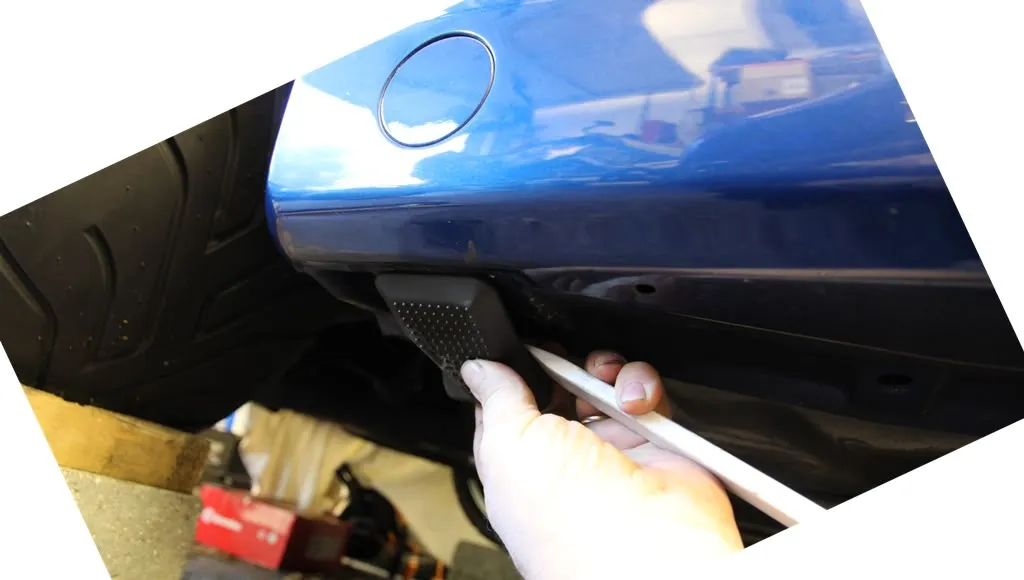
Firstly, we need to remove the hard plastic jacking pads (if they haven’t already fallen off) with our trusty trim tool. 2 fronts and 2 rears.
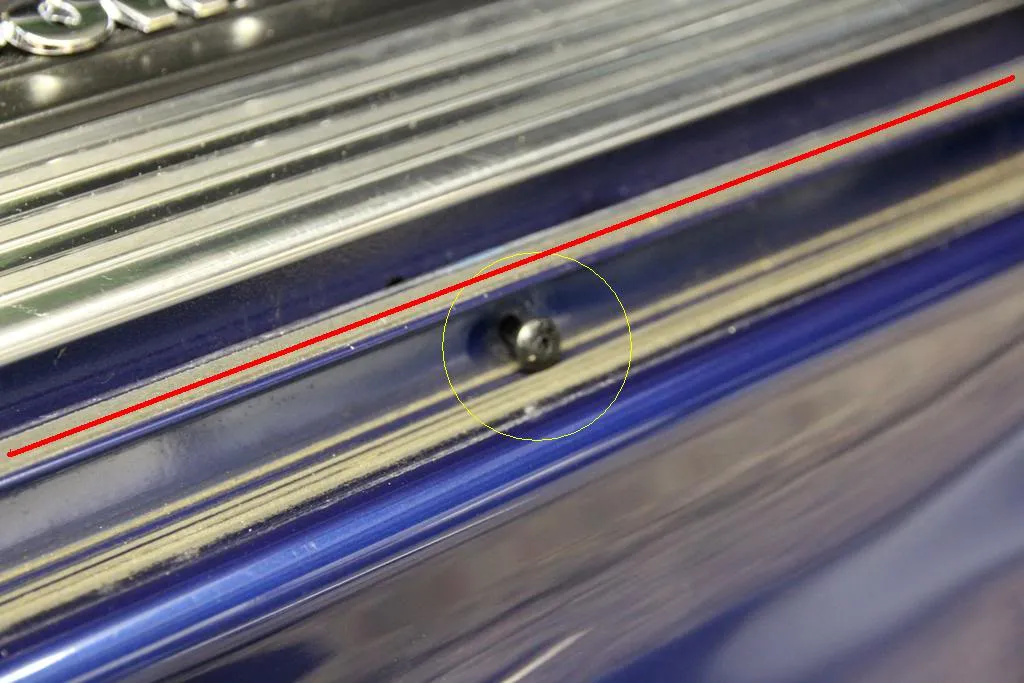
Now, working along the length of the car from one end to the other, use the trim tool to pop out the eight clips (51718108130) along the underside of the trim by using the tool between the metalwork and the plastic sill trim.
NOT under the heads of the clips.
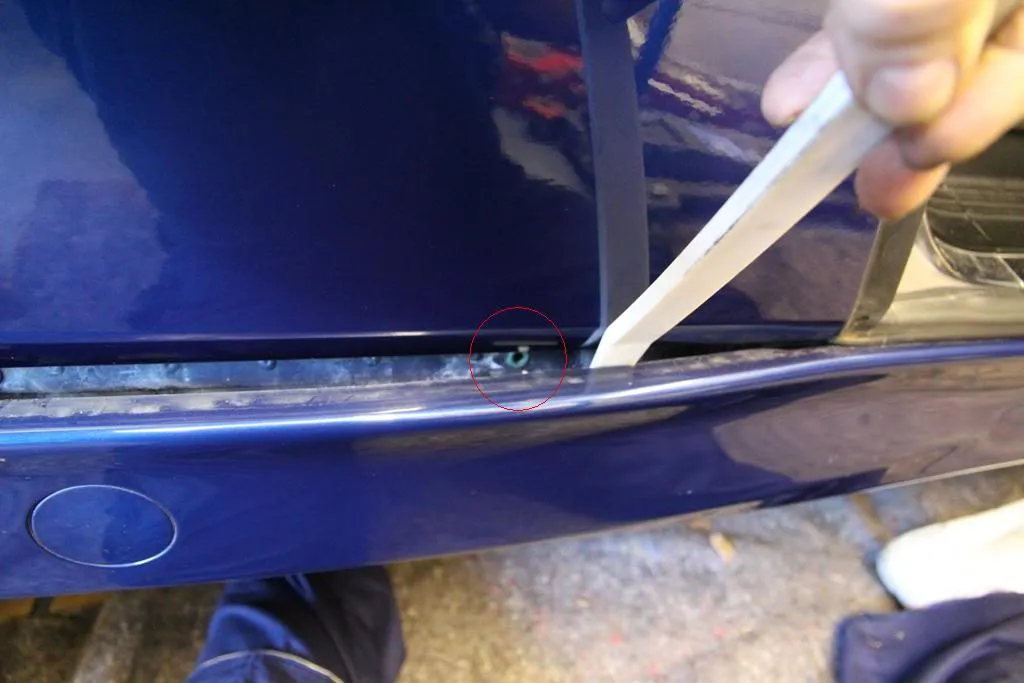
Next we need to remove the rubber seal along the trim under the door opening.
You should find that the top surface is stuck with double sided tape.
Where shown in red, so as to gently and carefully remove so as not to split the rubber, which is simply pressed in the side to reveal the 5 black expanding rivets (51161881149) circled. (ETK incorrectly states 4 per side).
The easiest way to remove these is to press out the small central pin which will then make them very loose.
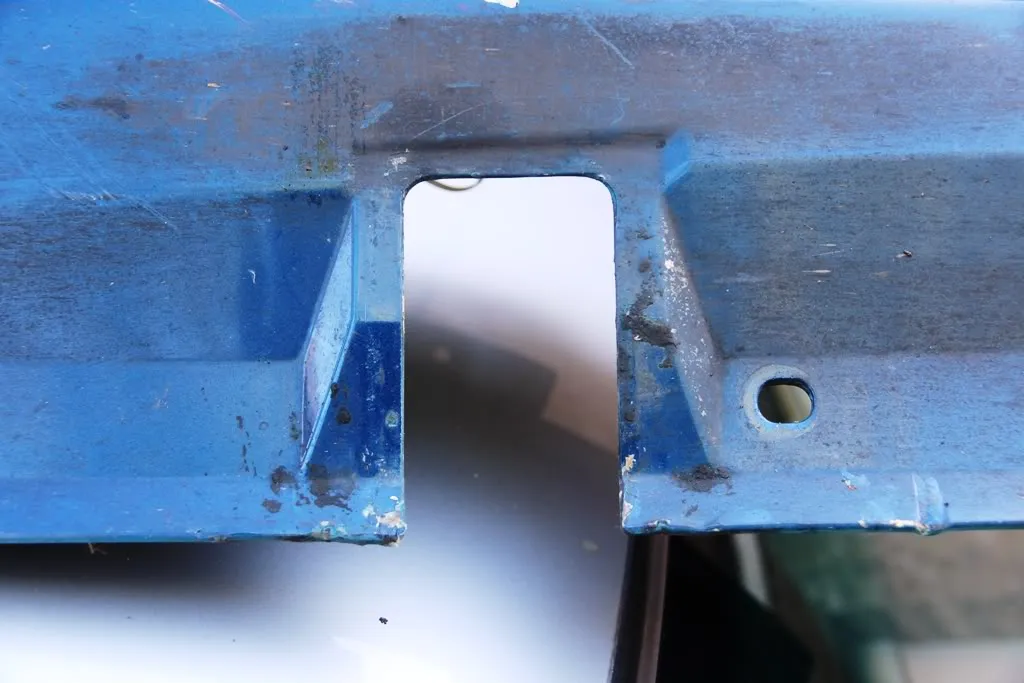
Now, starting from the rear of the sill, use the trim tool to ease the sill off the two rear poppers . . .
followed by the front one and the sill extension will now just fall off.
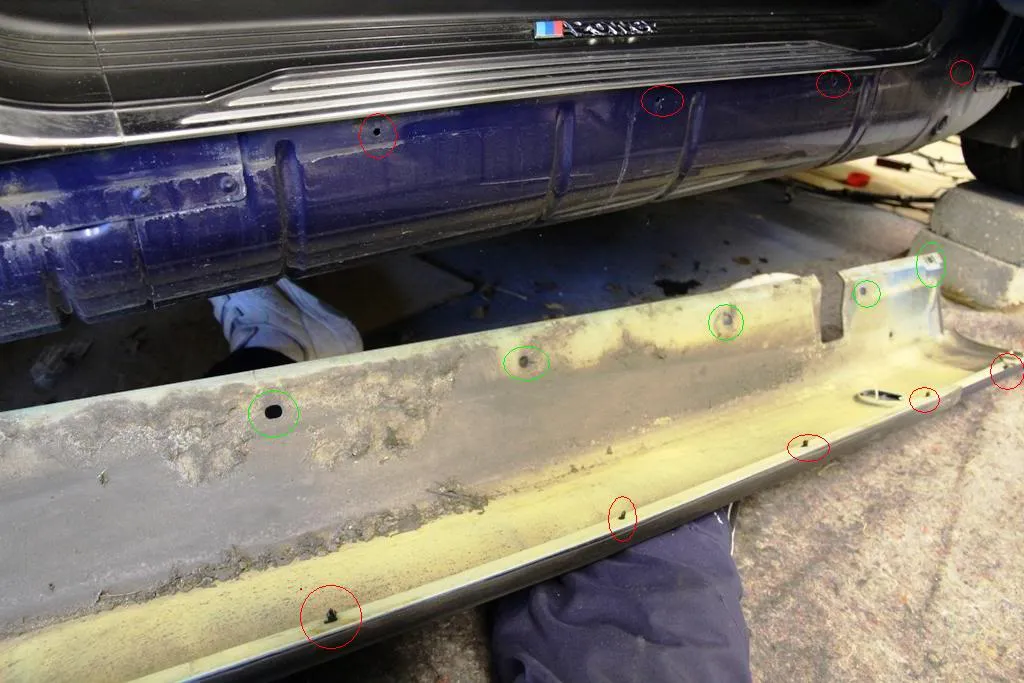
Red circles show the position of the expanding rivets and the green circles, the underside poppers.
You can now inspect the condition of the inside of the sill extension, here mine can be seen as VERY dusty. ![]()
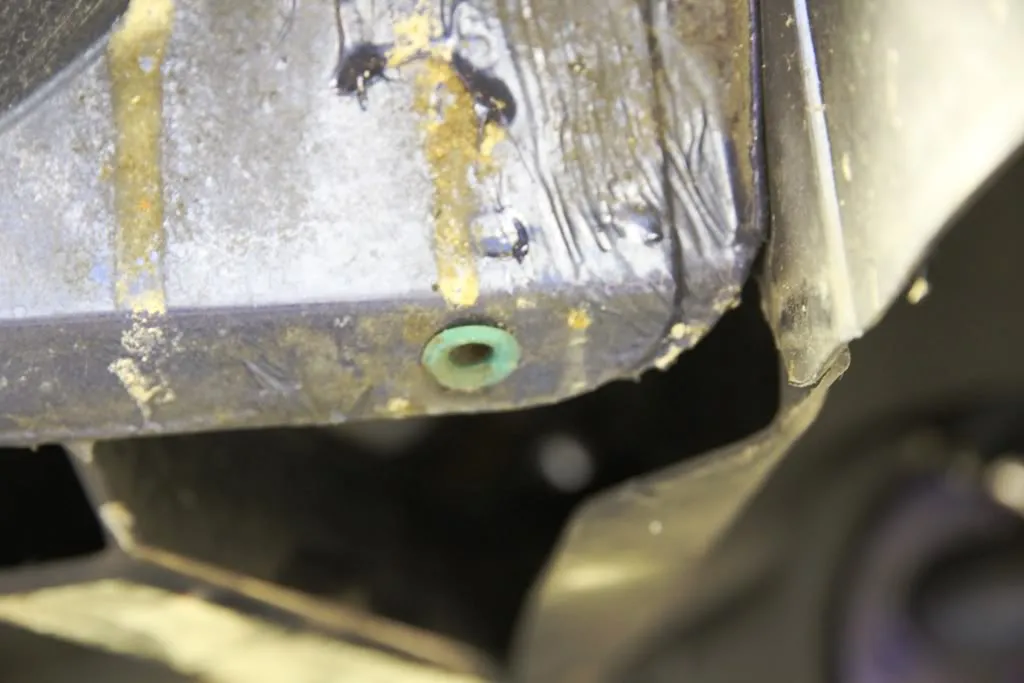
But more importantly, you can see if you have any corrosion around the front side jacking hole . . .
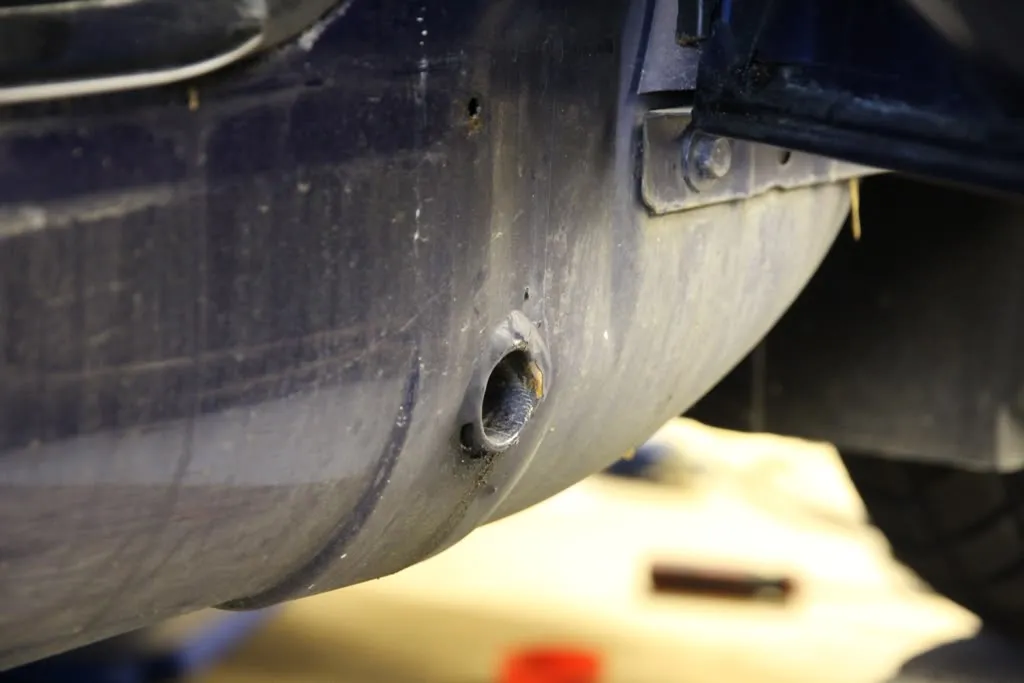
rear side jacking hole…..

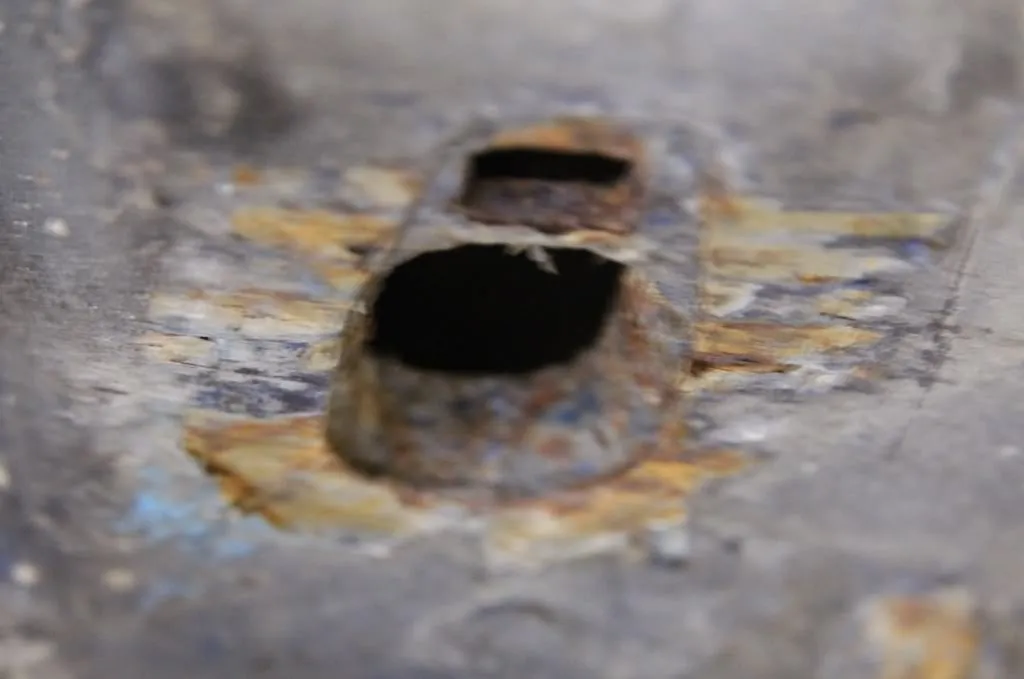
or, most importantly, around the jacking pad sockets, here is my front one…
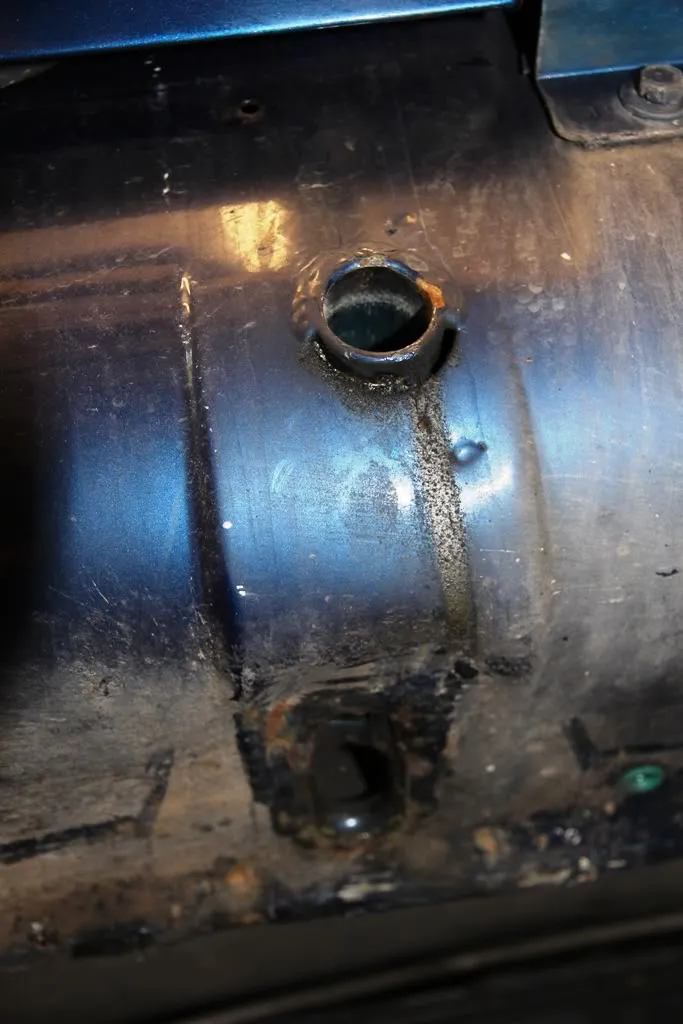
and here, the rear with SHOCK HORROR, a smidgin of surface rust…
The eight underside poppers clip into these green receptacles (51711932996) shown here..
and three of the same for the sides…..

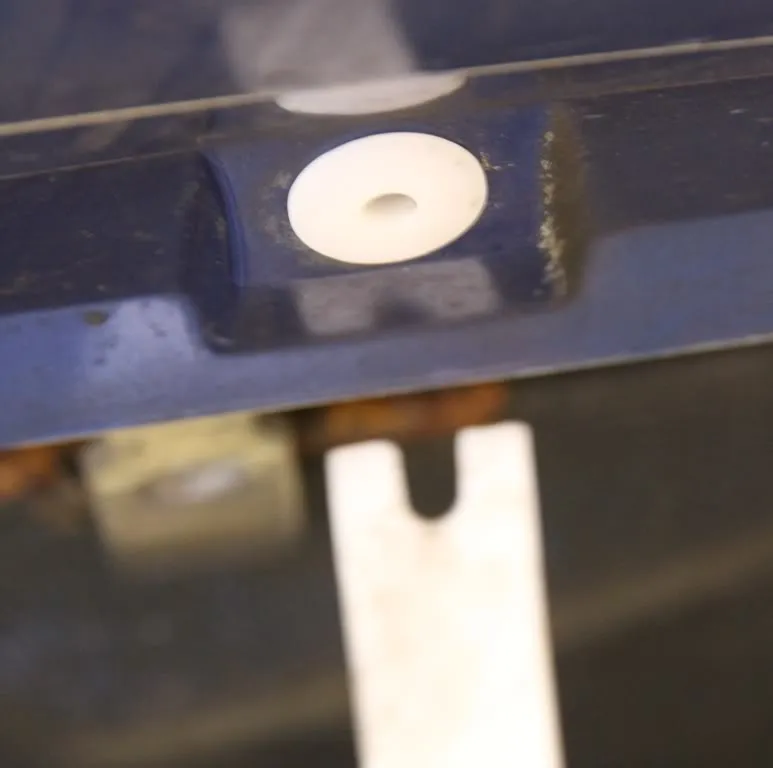
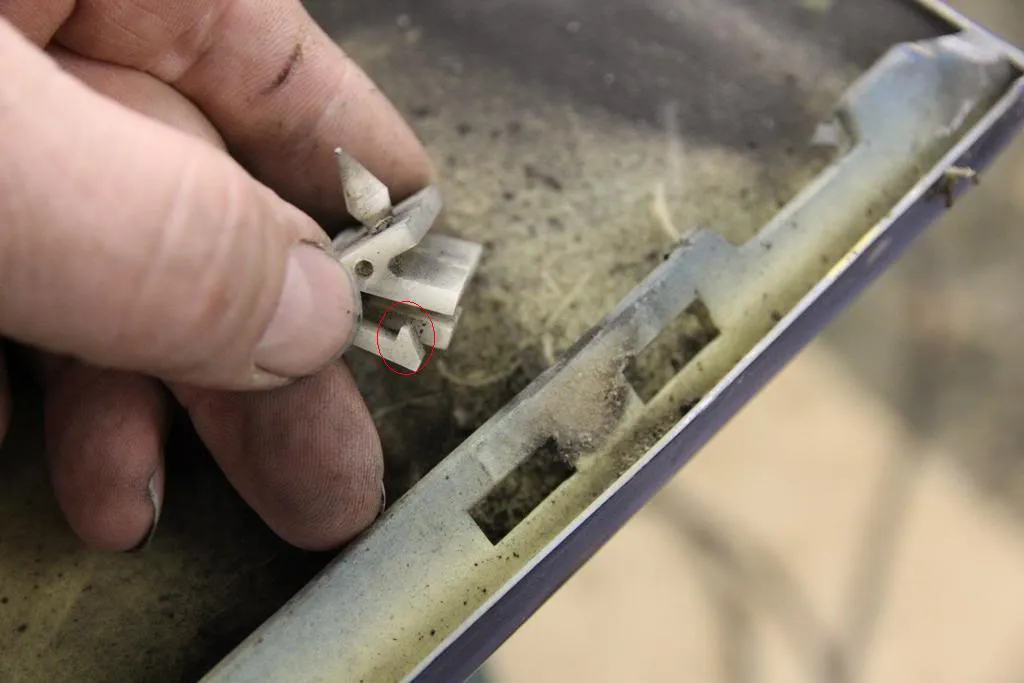
The top edge of the sill extensions are retained with three of these (51711970149) clips which are quite difficult to remove unless you press on the red circled area through the slot they are attached to.
You now have the opportunity to properly check and treat any corrosion appropriately, wash out any dust ![]() inside the sill extension.
inside the sill extension.
Also check the sill extension for any damage or splitting around the jacking pad mounting points.
Here you can see the dreadful neglect on my part of absolutely no polish around this area, with dirt and everything!!
All joking aside though, this is a very important preventative maintenance task.
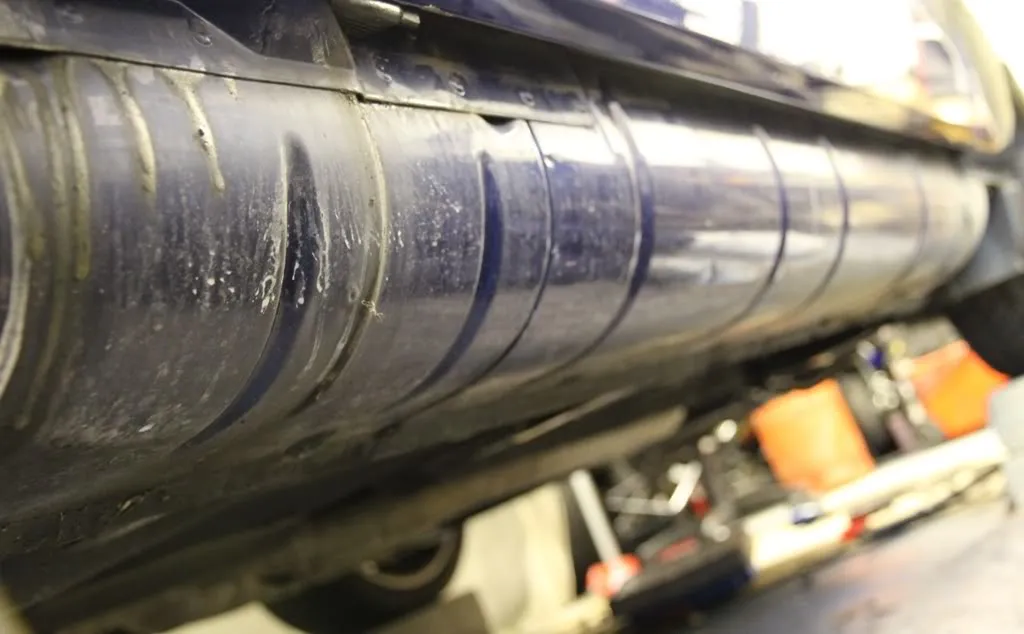
You can see from this last pic how body spray cavity wax, as used inside panels, has protected my car where I have previously applied it. (yellow yucky looking drips)
I have now thoroughly washed and treated the entire sill areas and had them repainted in a rubberized stone chip coating in body colour before refitting the sills with all new clips and fixings.
Quantities quoted are per side apart from the jacking pads which are per vehicle.
This is an hours job at max and could save thousands in welding and structural repairs.