
Article by: Gerry at PhoenixMotorsport
Article applies to: all e31 models.
So here we have a procedure to cover a whole number of tasks on the rear of the car.
The reason for the removal in this case was to replace a leaking brake pipe and handbrake cables, but could equally be replacing the sub frame bushes or differential removal.
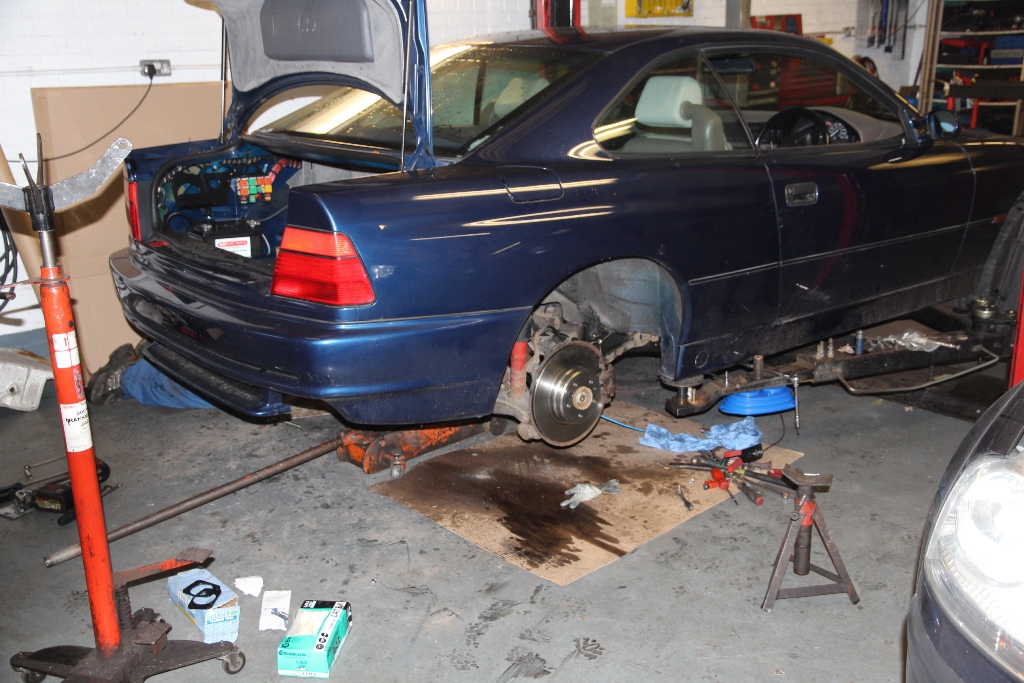
So here we brought the car into the workshop and first job was to remove the exhaust for access . . .

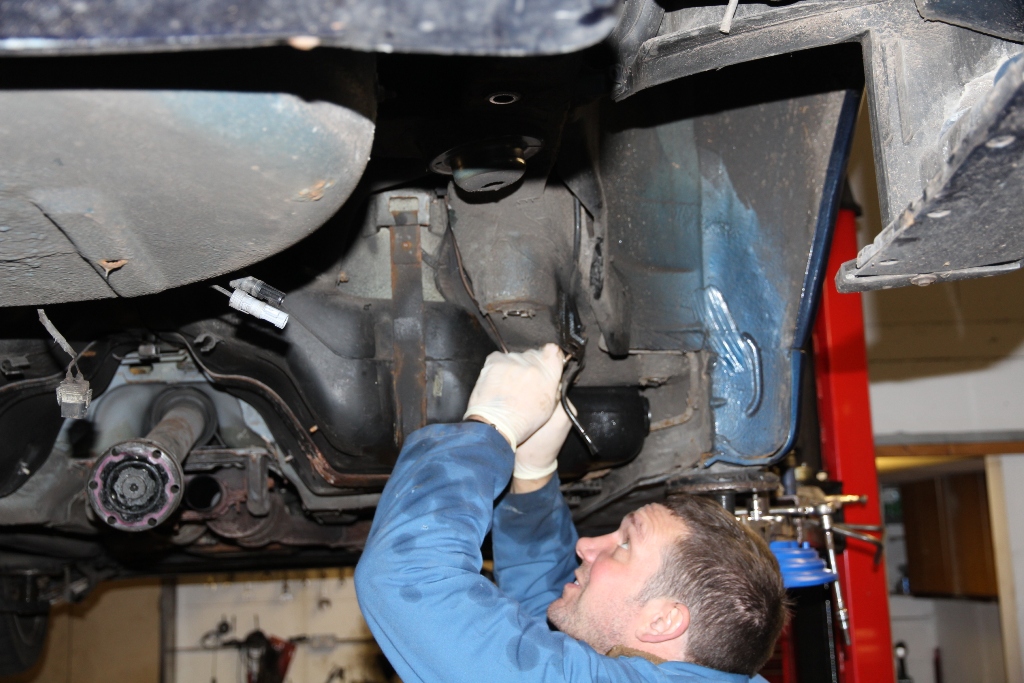
We then disconnect the rear caliper flexi hoses on both sides from the rigid pipes on the chassis here . . .
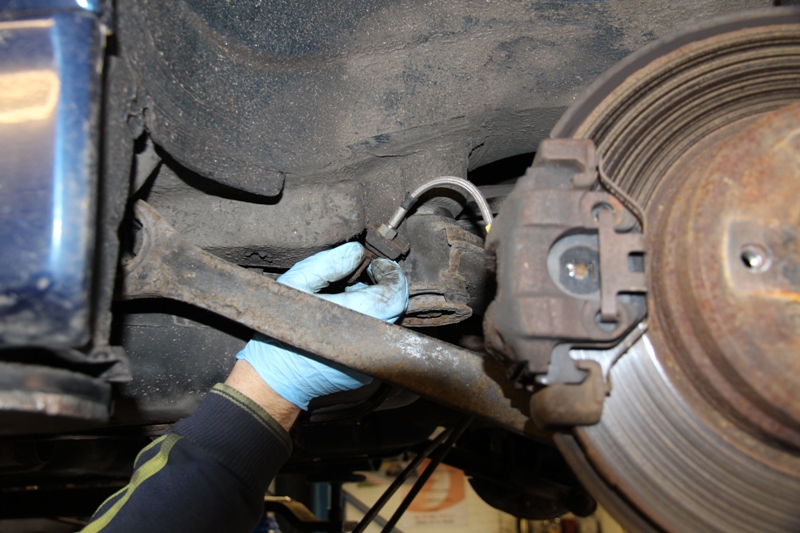
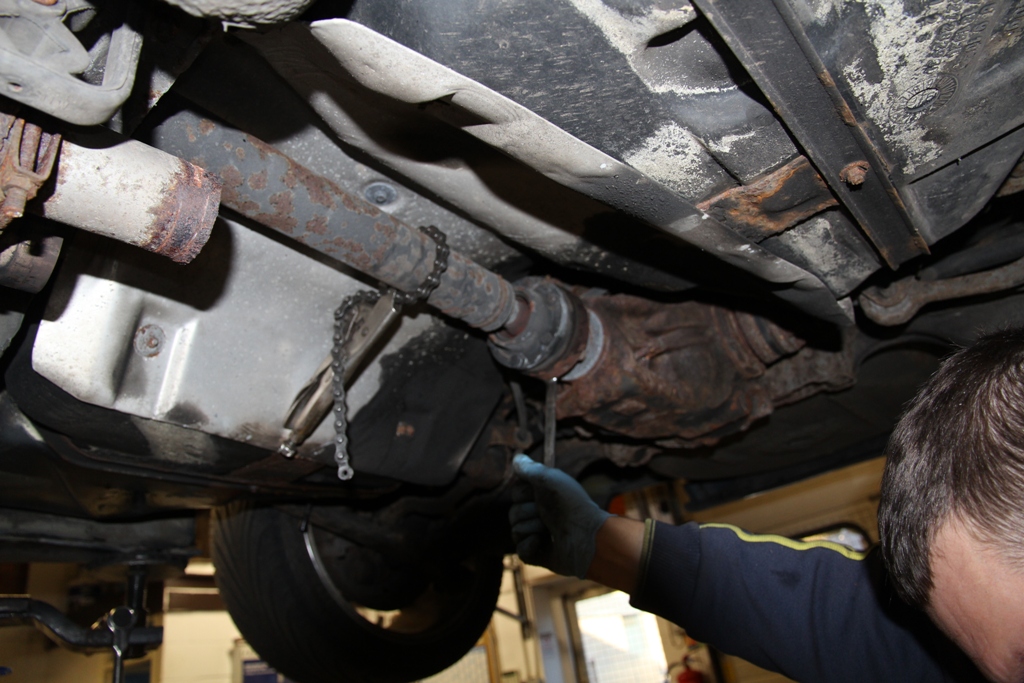
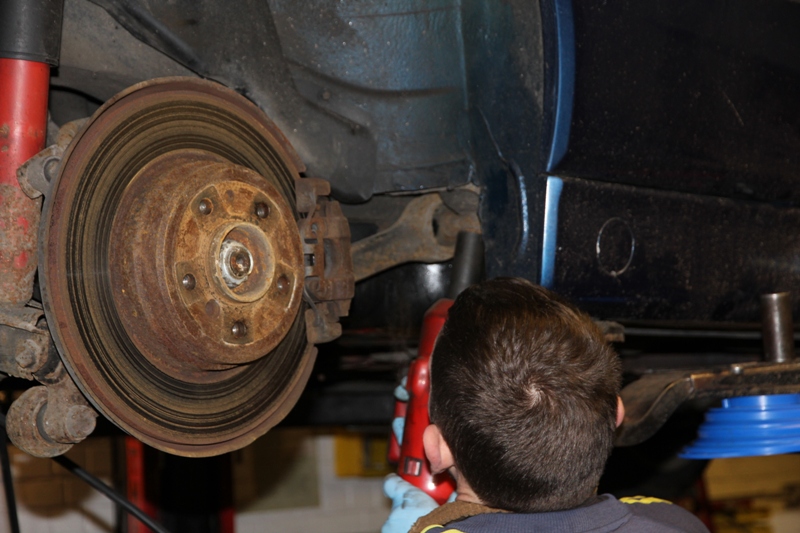
Then, by locking the prop shaft, seen here using a chain wrench, we undo the diff input bolts and tap out the studs . . .
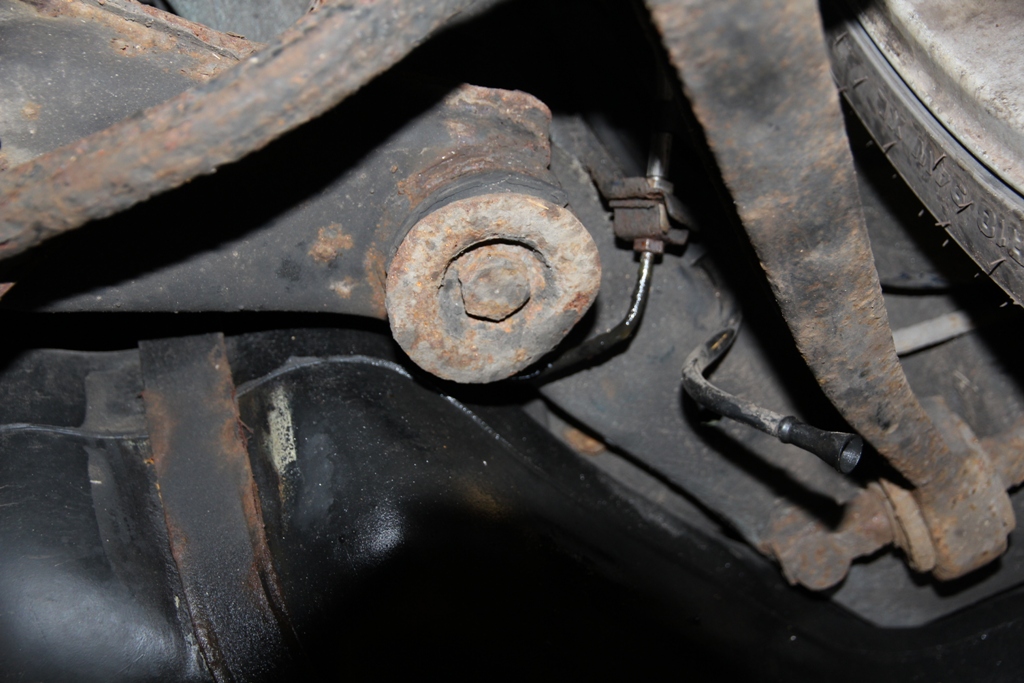
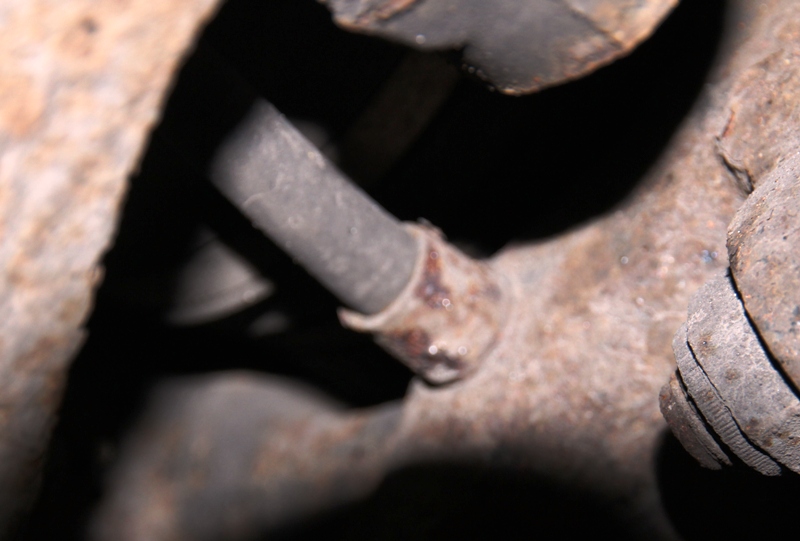
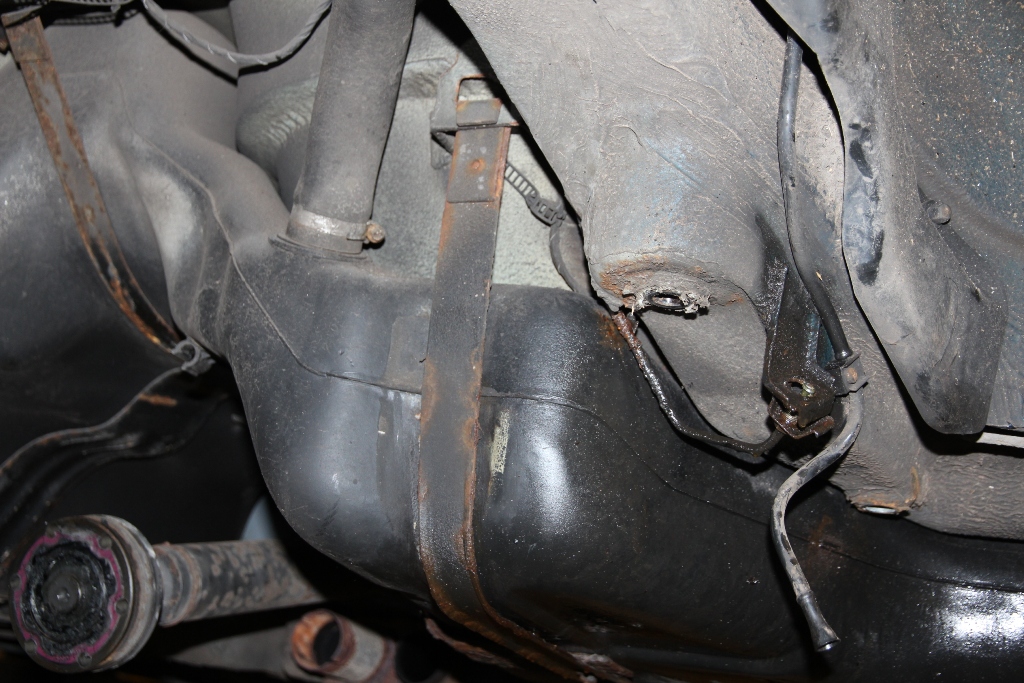
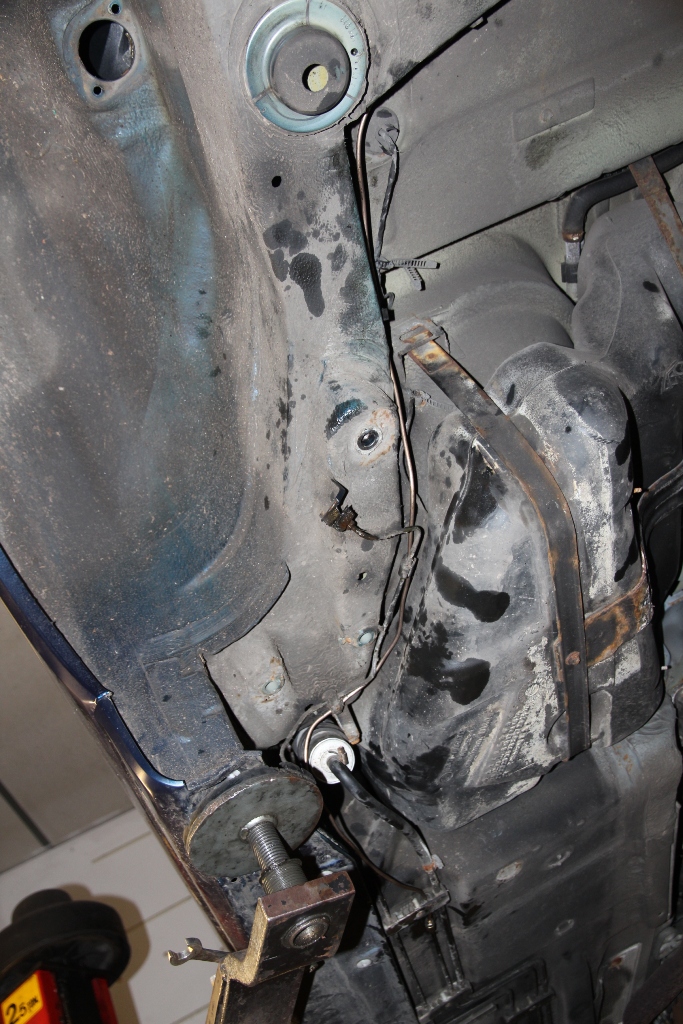
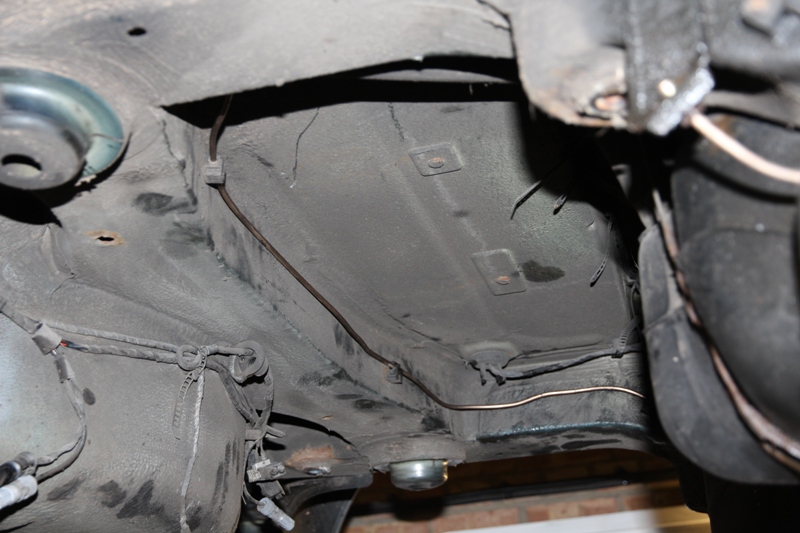
Here you can see the problems with this car.
It would appear that at some stage, the car has been jacked-up on a sub frame washer, has then slipped off and bent the brake hose so it rubs on the fuel tank.
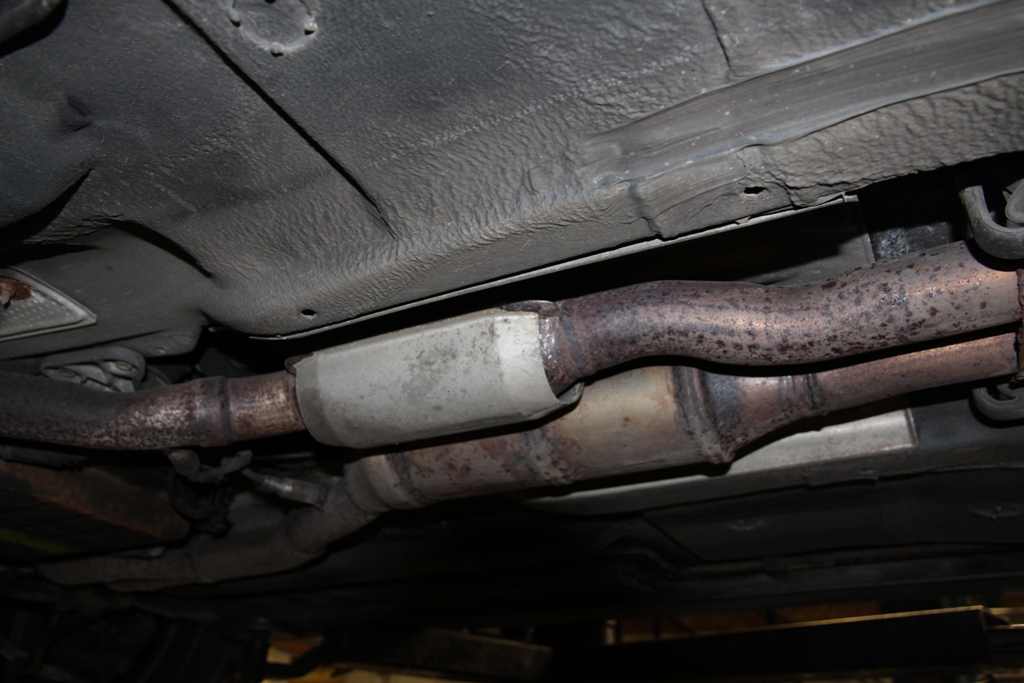
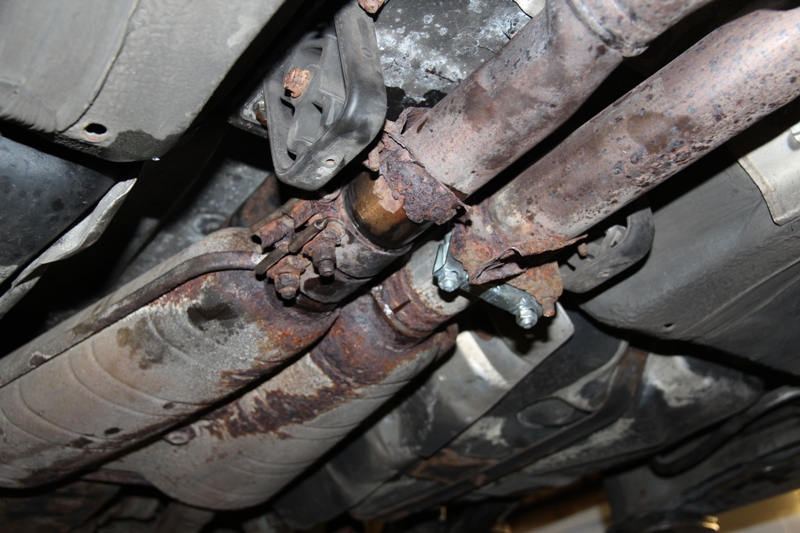
Here we can see that this car has clearly had an aftermarket catalytic converter installed on one bank.
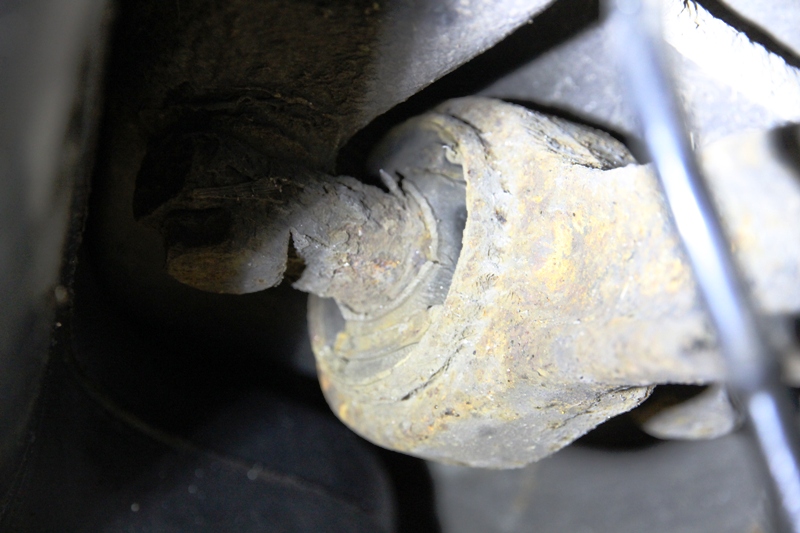
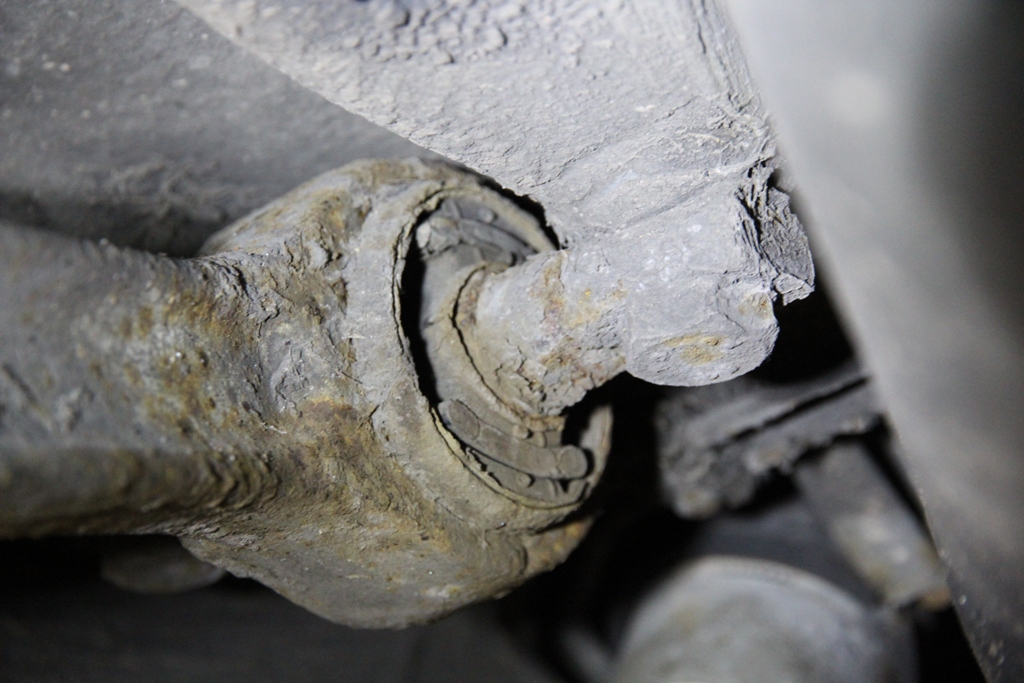
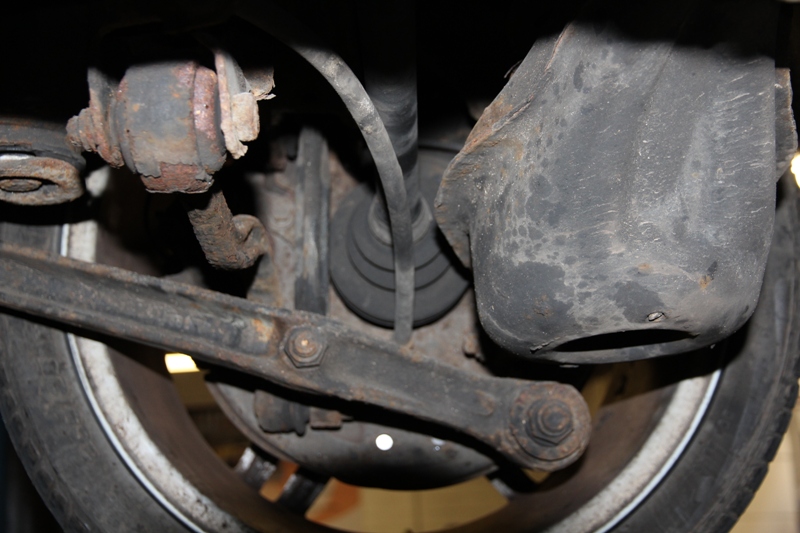
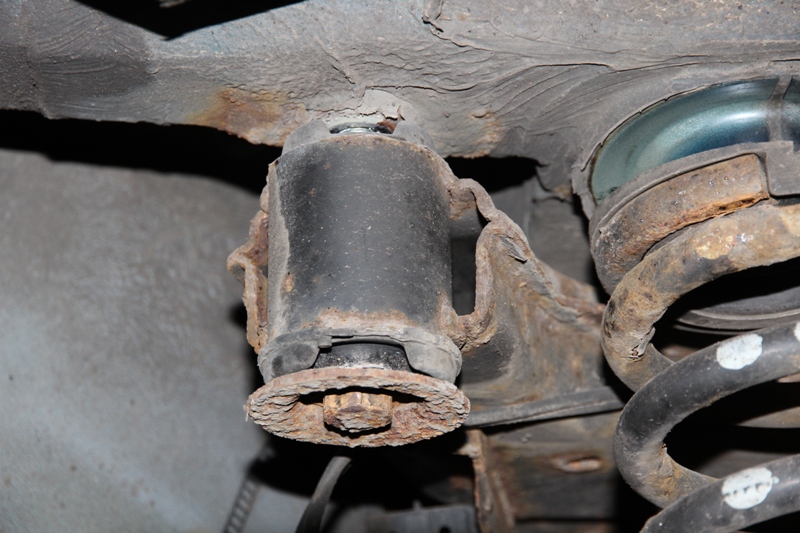
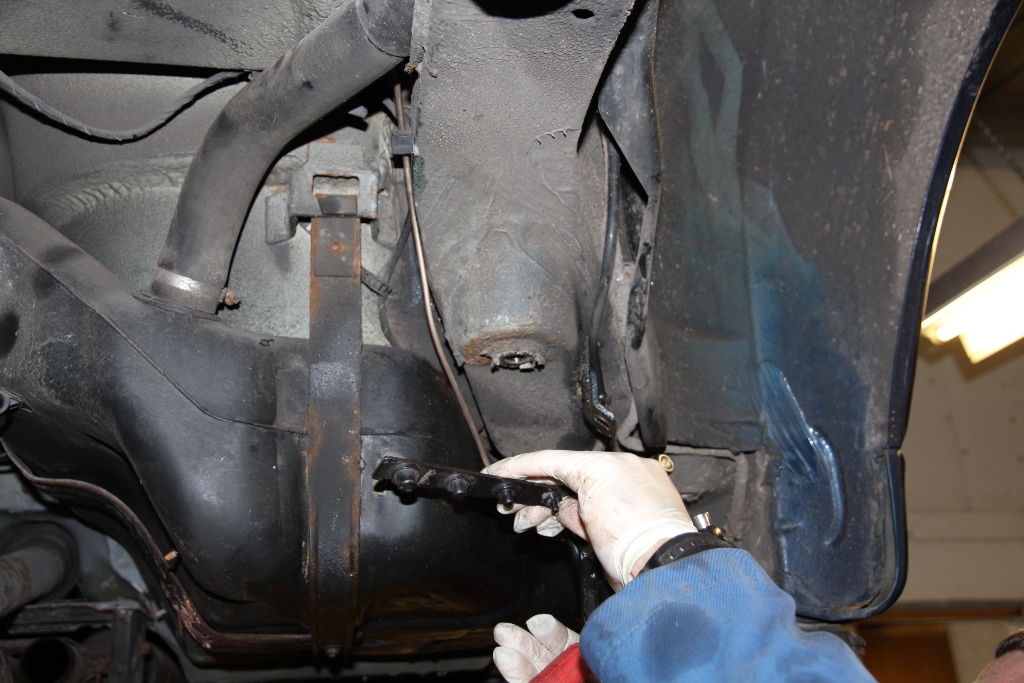
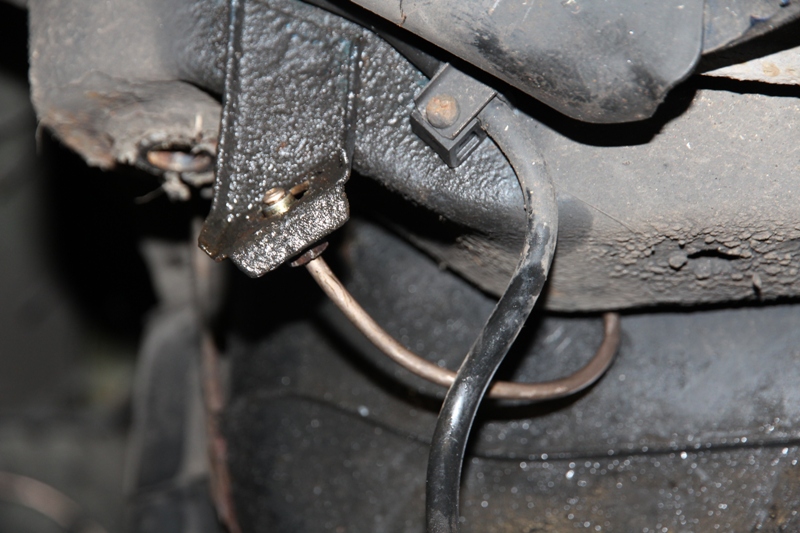
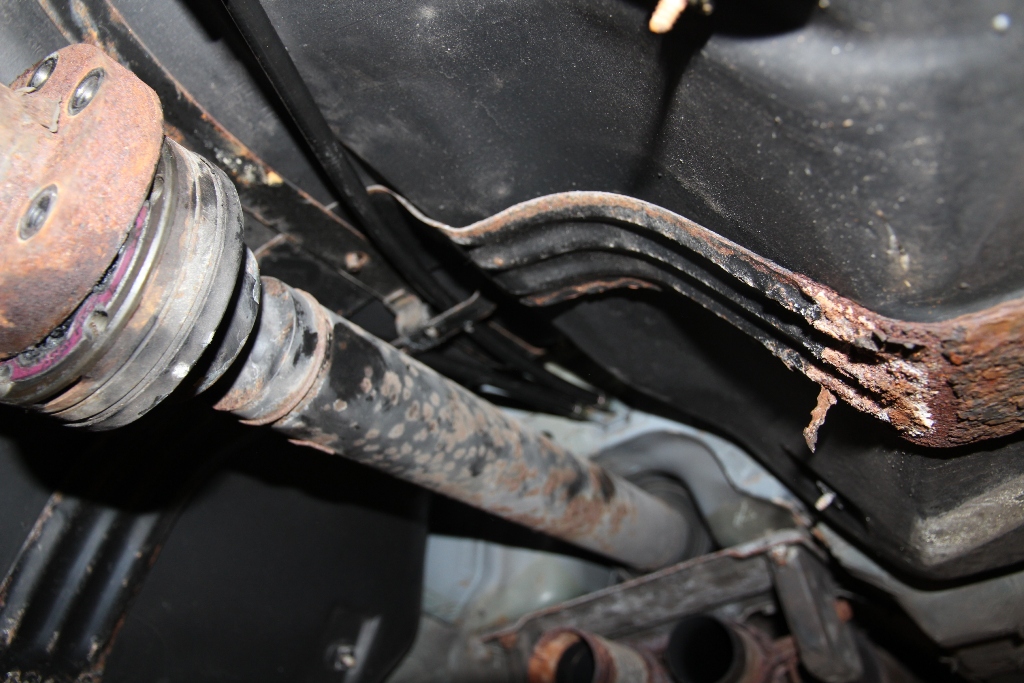
We now need to disconnect the front mountings of the rear trailing arms . . .
seen here in the advanced stages of coming adrift from the pins and mounts.
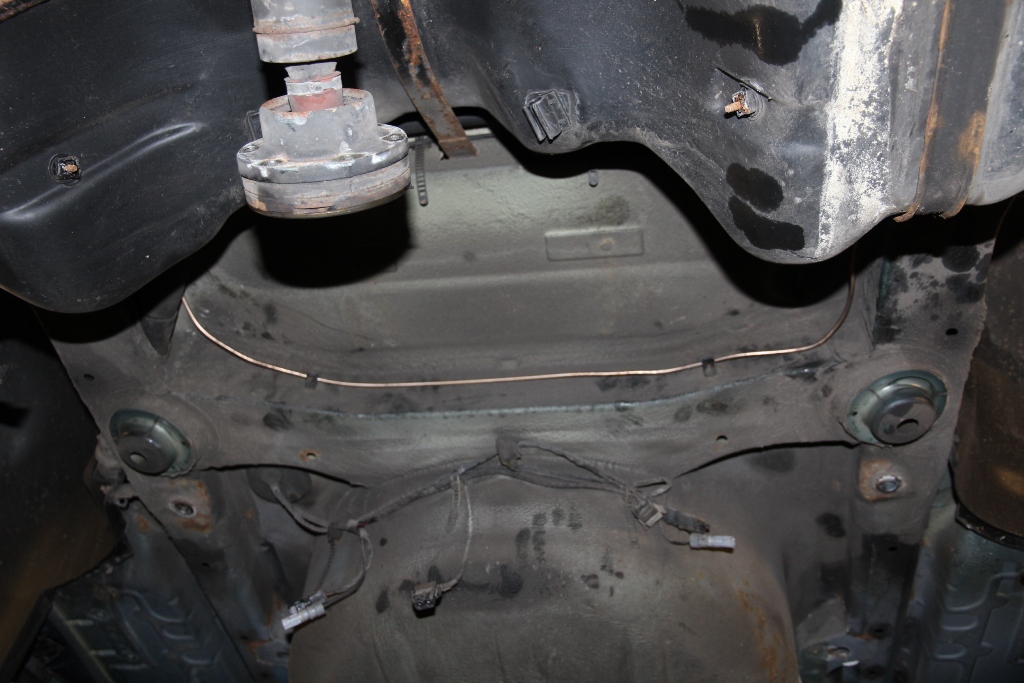
With the heat shield above the prop shaft removed, you can see where the 2 handbrake cables exit the floor of the vehicle . . .
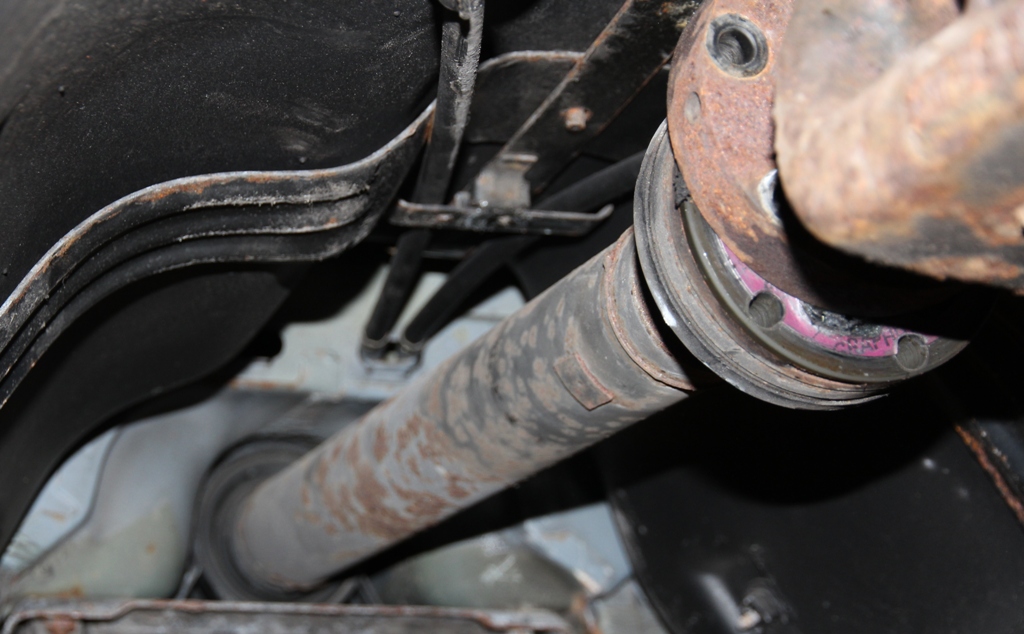
and swing under the drive shafts . . .
then enter the rear of the drum back plate.
Next job in removal of the sub-frame is to disconnect the ABS, rear brake pad looms . . .
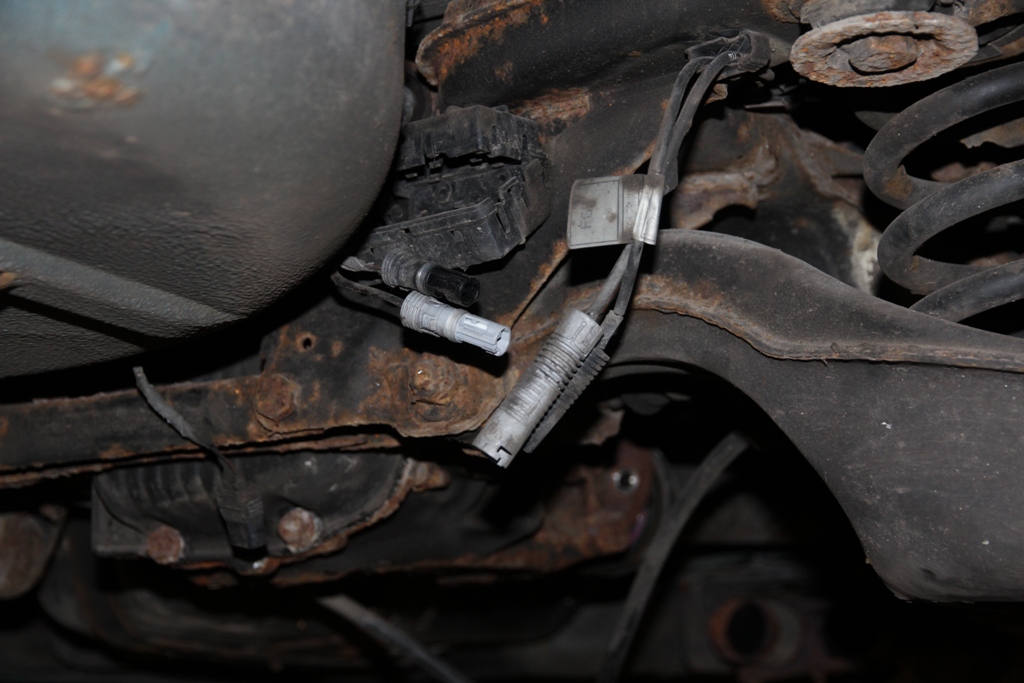
and the speedo sender connector in the back of the diff . . .
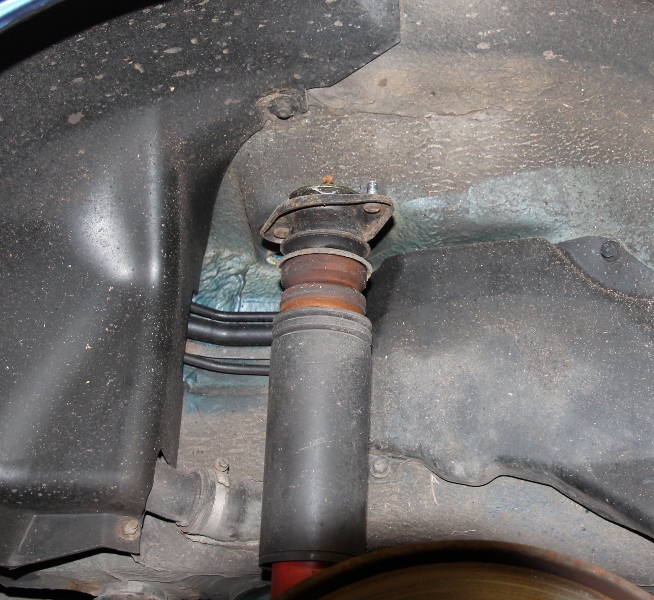
Now, working from inside the trunk, behind the side trim carpets, disconnect the rear strut upper mounts . . .
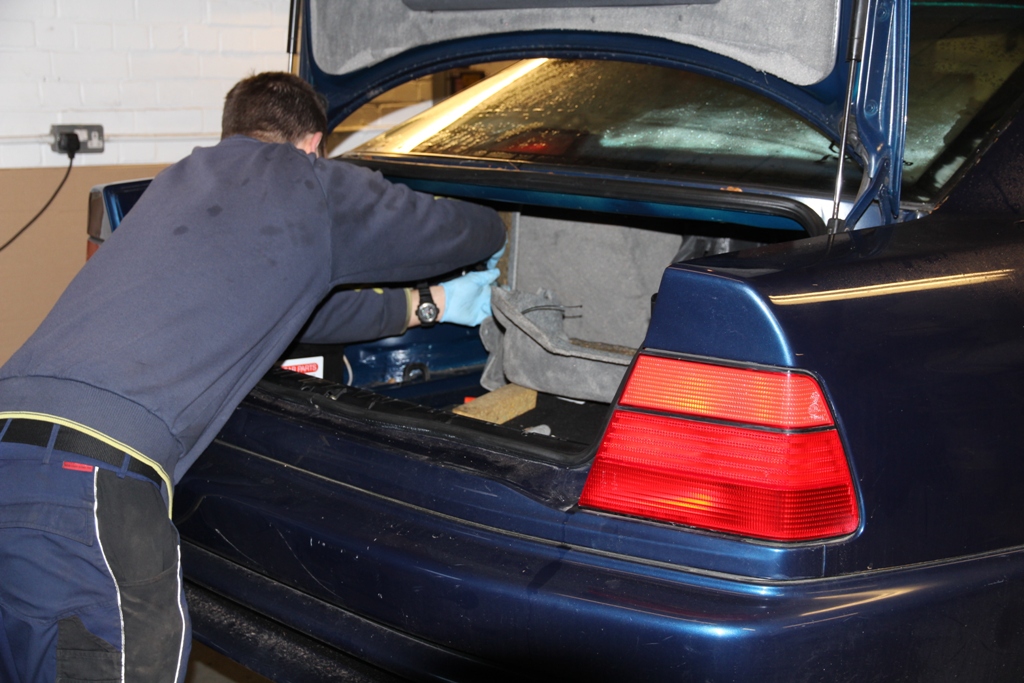
allowing the strut to drop down:
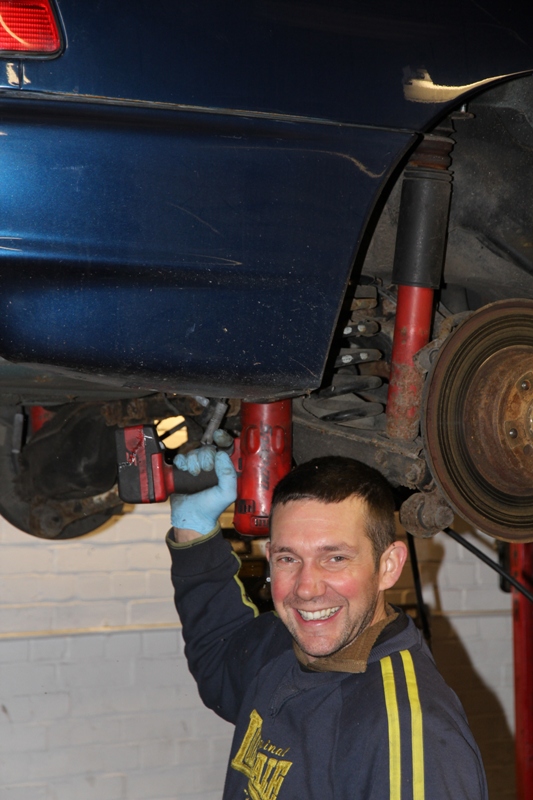
Then loosen the front sub frame main bolts . . .
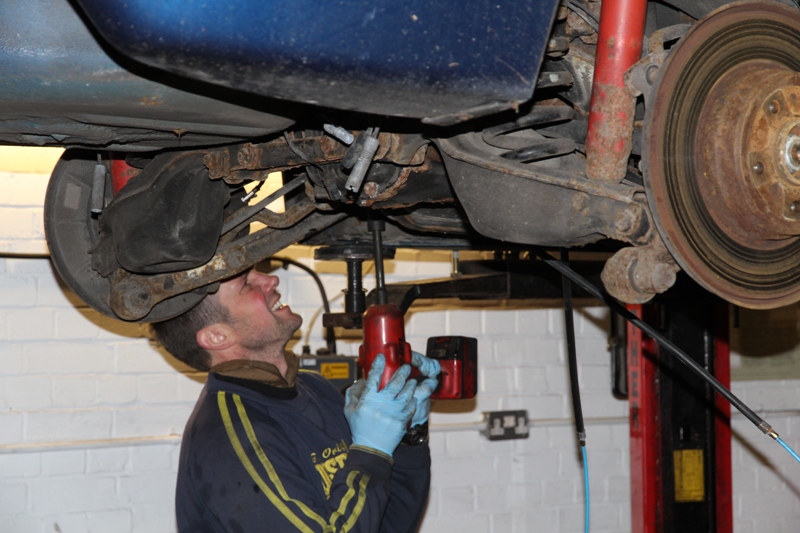

and the rear sub frame mounts. It can clearly be seen here just how much fun this is!!!!!
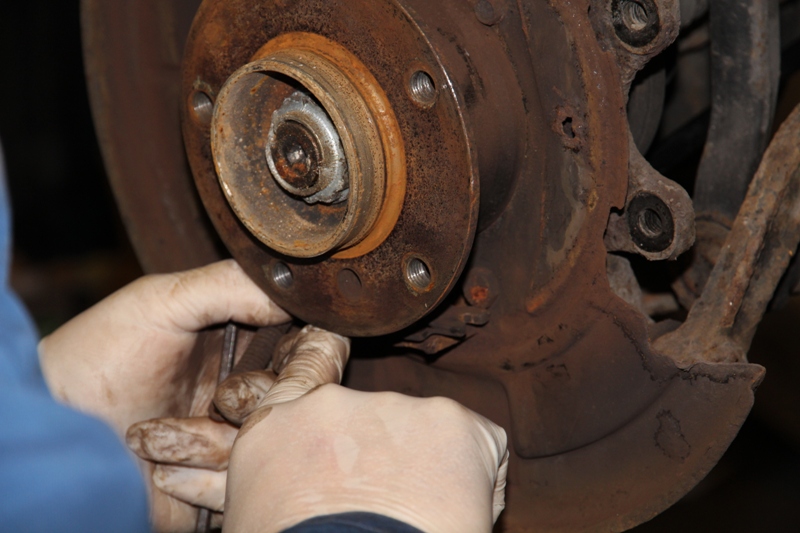
Here we see how the previous technician had decided not to refit the securing screw in the disc . . .
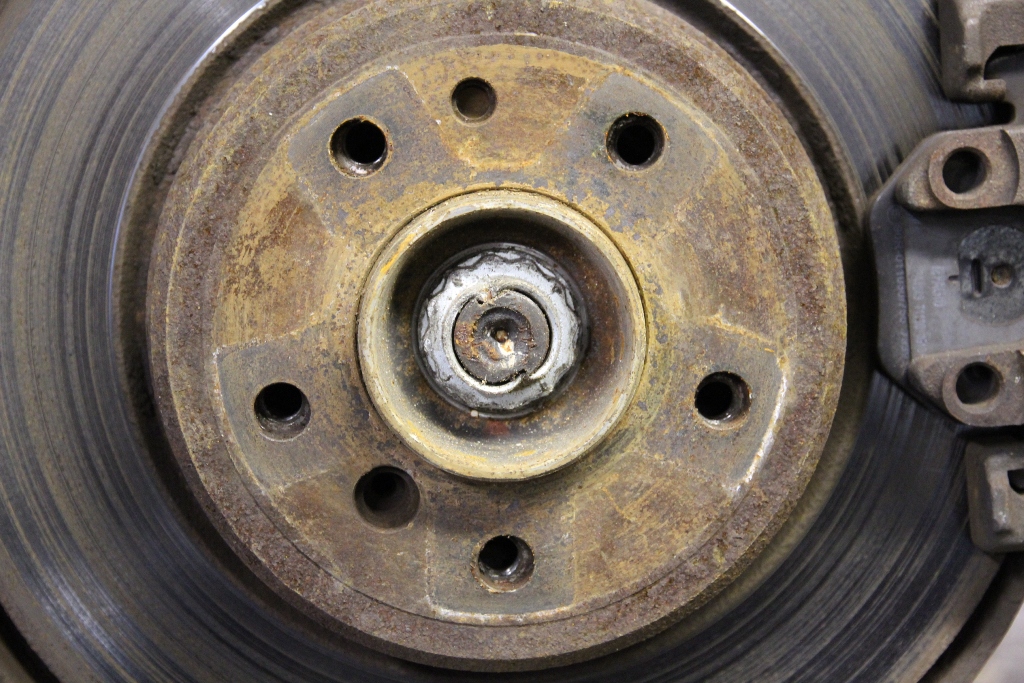
or even bother to remove the broken thread of it from the hub flange. (We however decided to do this for the excitement of the day.)
Next, remove the brake caliper by removing the 2x 7mm hex head socket screws and lifting it away . . .
followed by removal of the 2 bolts retaining the caliper mount.
Here we are cleaning off the corrosion to allow smooth fitment and operation of the pads in the sliders of the mount
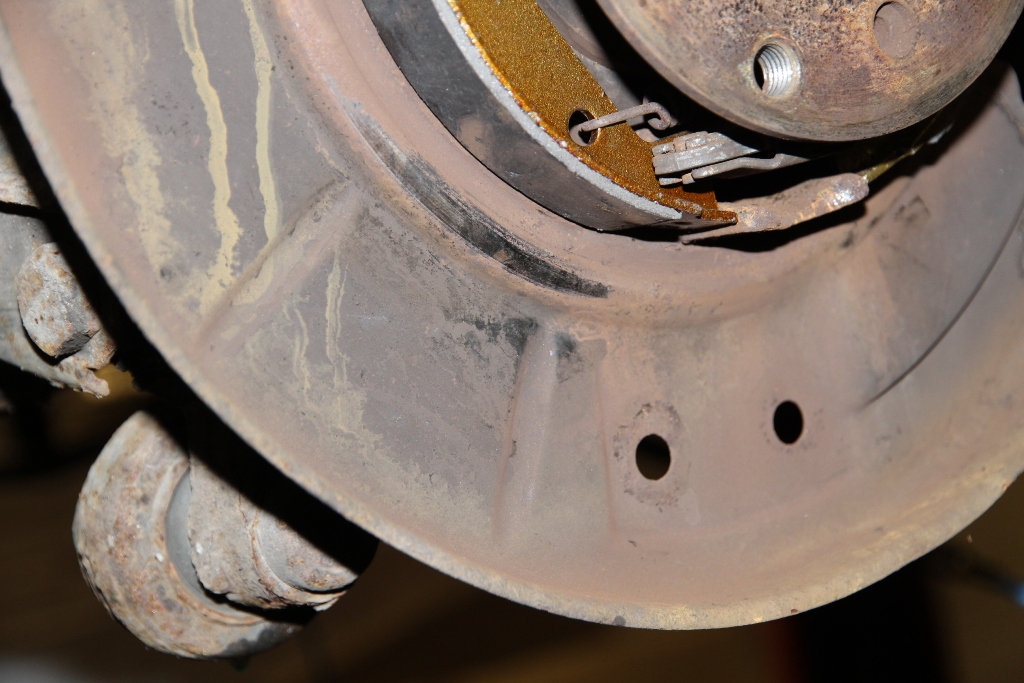
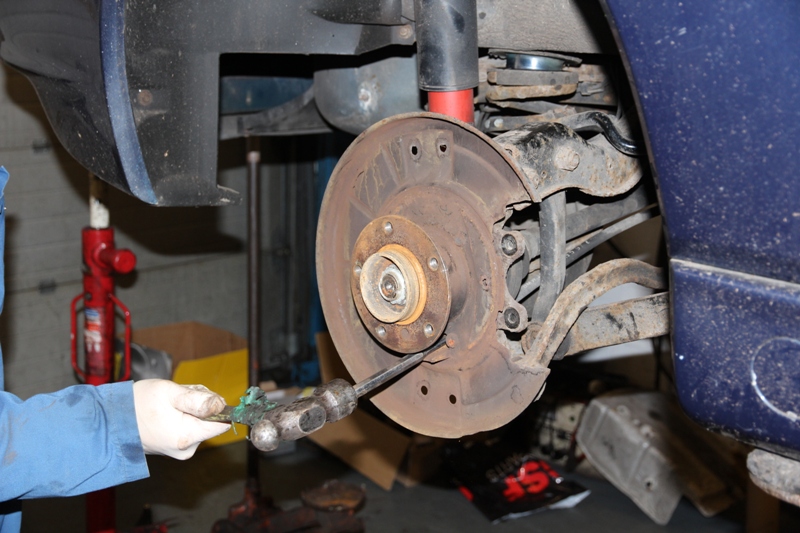
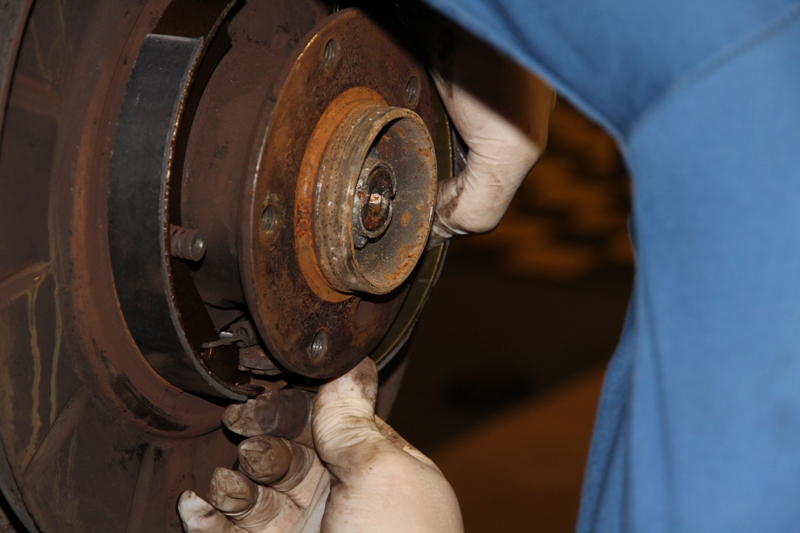
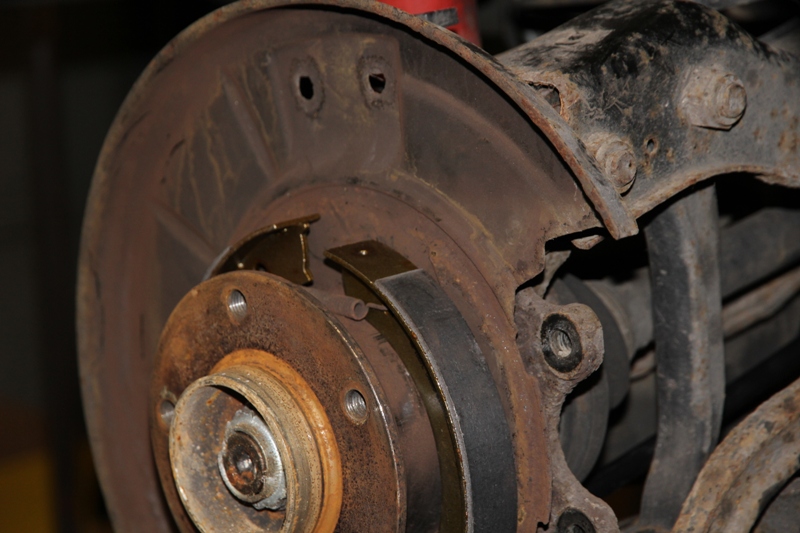
The discs can now be tapped with a mallet to free them from the hub flange and lifted clear to expose the handbrake shoes. Or as in this case, the back plate bent by the previous installer who left it as such so the disc rubbed on it, seen here at around 7 to8 O’clock . . .
Now, removing the handbrake gaiter from inside the car, remove completely, the 2 nuts on each cable to allow the cables to be pulled through the floor of the car as the sub-frame is removed. From under the car pull the cables through the floor and from out of the plastic clips on the underside of the car
As these cables are to be replaced anyway, we need to completely strip out the rear handbrakes
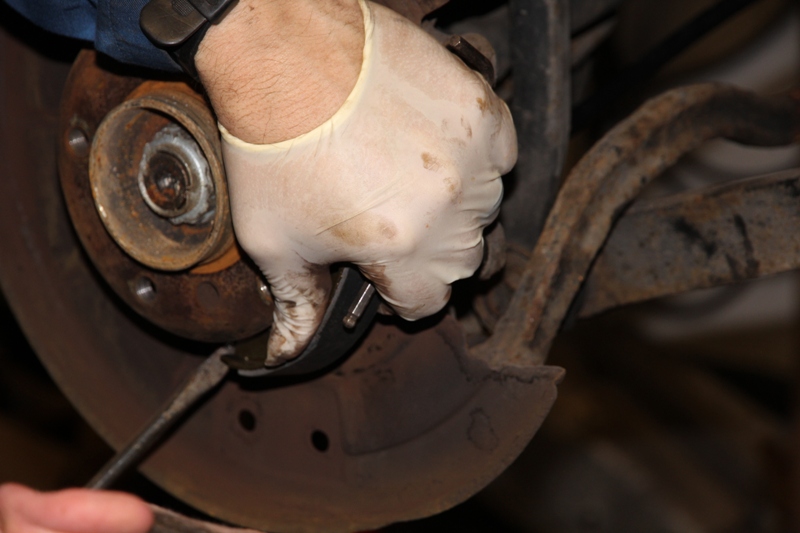
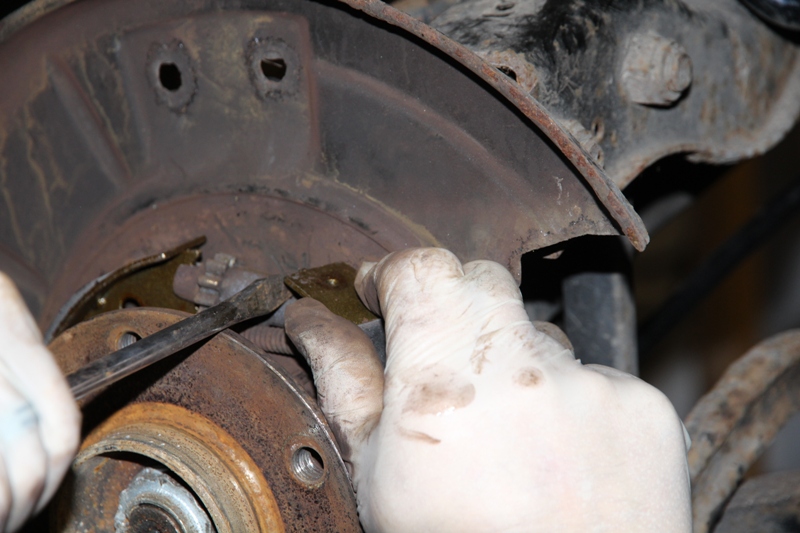
Replacing the shoes is a pretty straightforward job. With the disc/drum removed as described earlier . . . with a screwdriver, lift out the adjuster . . .
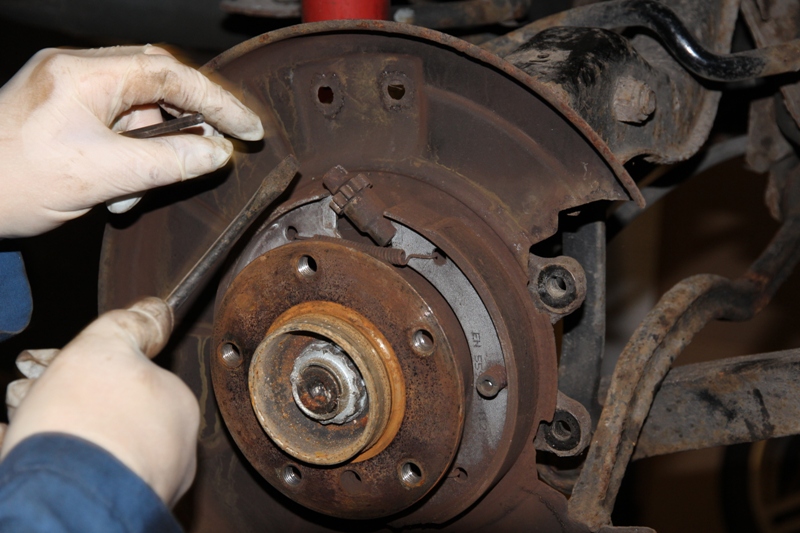
and using a hex key, remove the hold down springs by pushing in and turning a quarter turn in either direction.
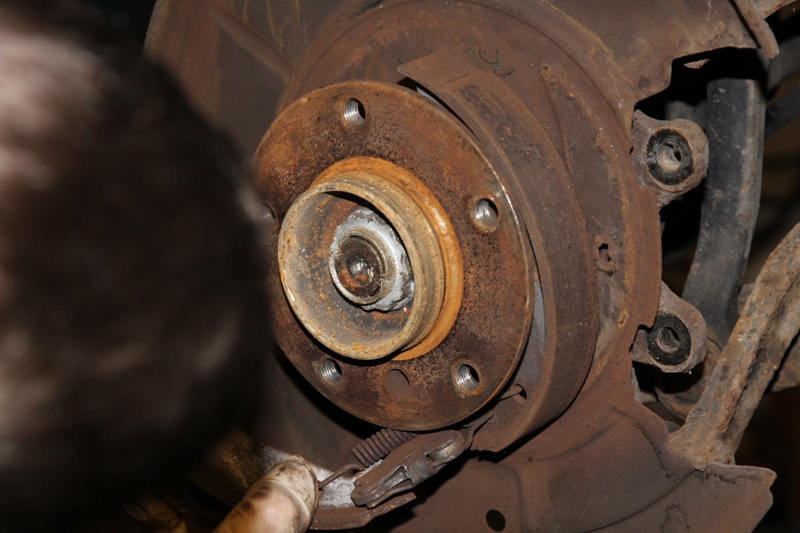
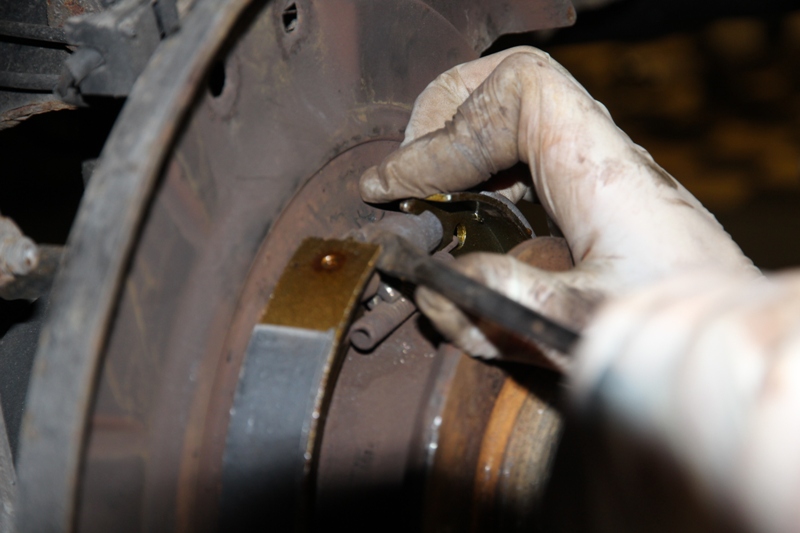
Then push the tops of the shoes together and remove the top spring:

The shoes will now be all loose and so you can now remove the lower spring and lift off the shoes, exposing the small handbrake mechanism.
Or alternatively, swing the shoes around the outside of the flange with the spring still attached and then remove from the mechanism.
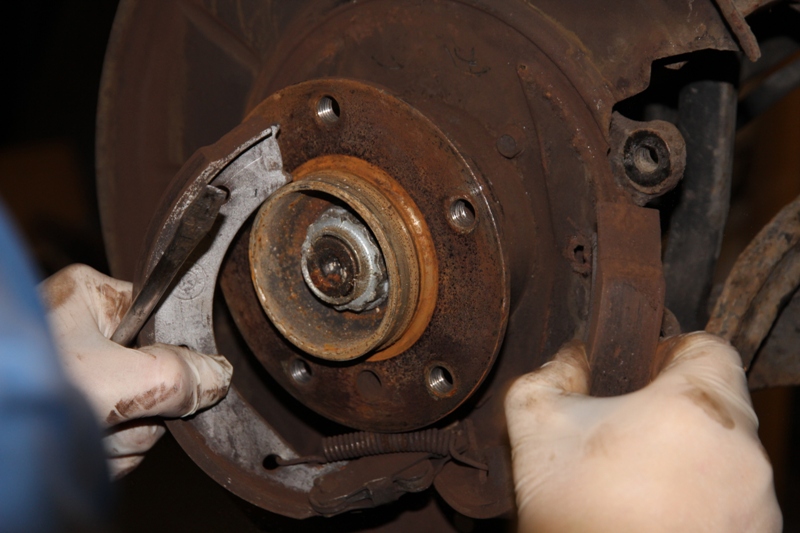
The handbrake cable comes through the back plate and is attached to the mechanism with a small easy to lose pin which when removed, allows the small mechanism to be removed leaving the handbrake cable exposed.
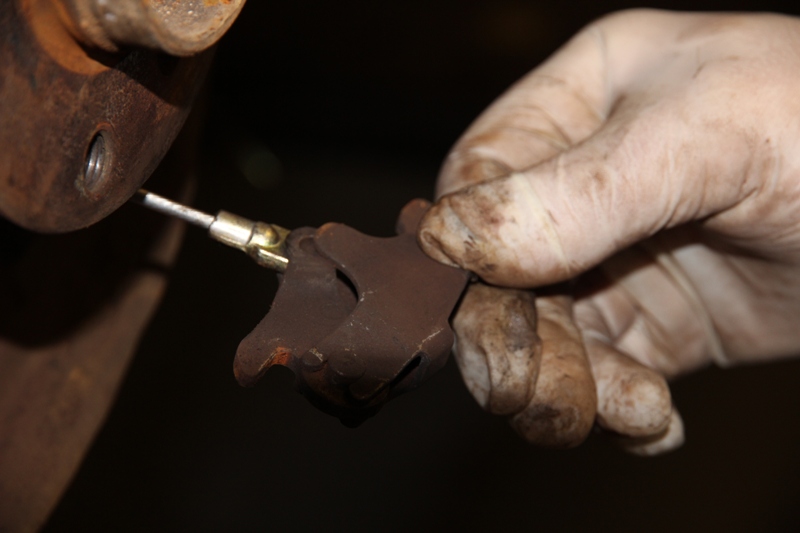
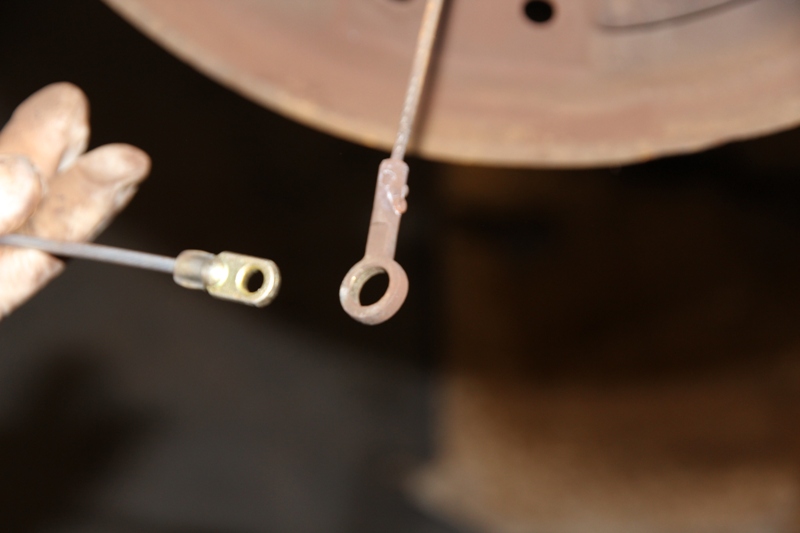
Here we see how our previous “BMW Specialist” fitted the completely wrong handbrake cable, explaining the failure of the statutory test.
New BMW cable on the left, existing cable on the right.
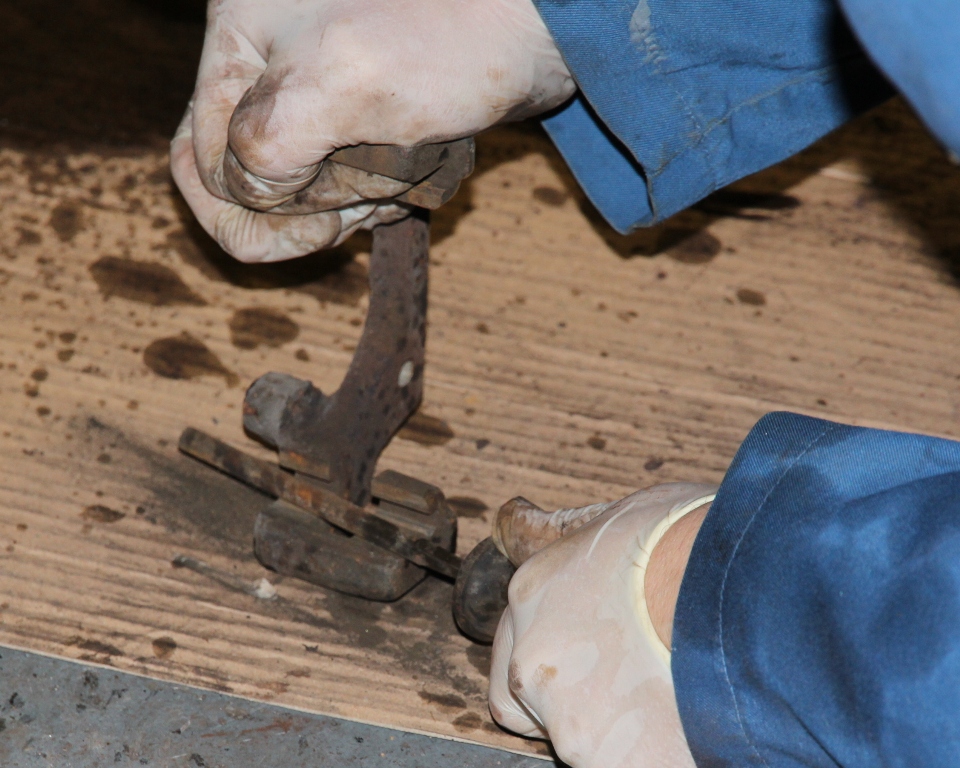
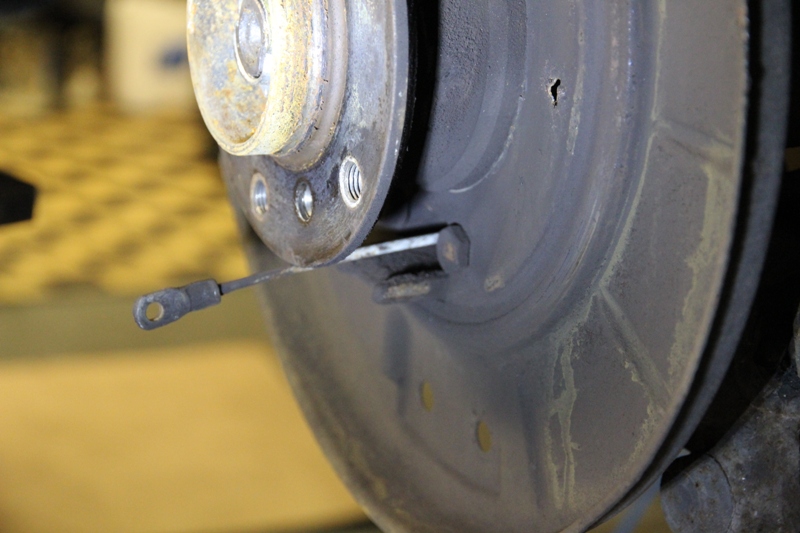
There now lies the task of removing the extremely corroded handbrake cable from the hub carrier and there is no subtle way of achieving this on a 15 year old car so
. . . followed by a cleaning of the hole with a small file.
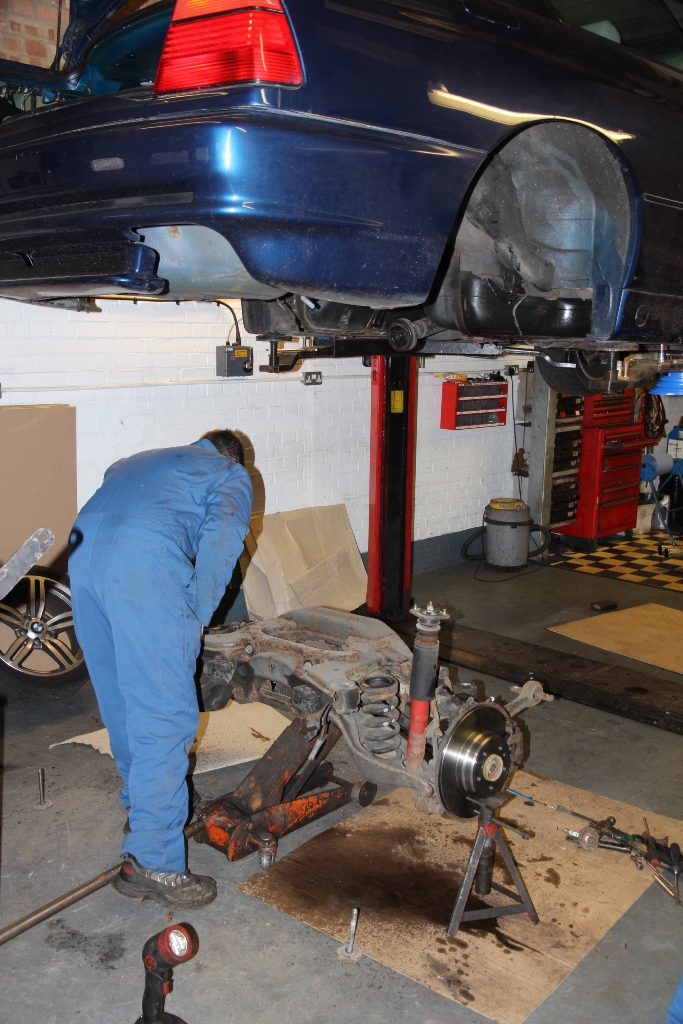
Now, lowering the car down and supporting the sub-frame on a jack and stands, we can completely remove the sub-frame bolts and lift the car off the sub-frame
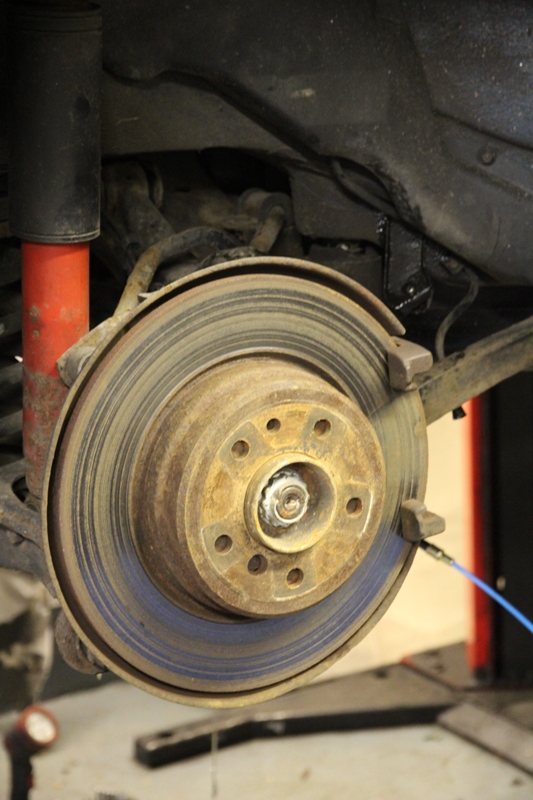
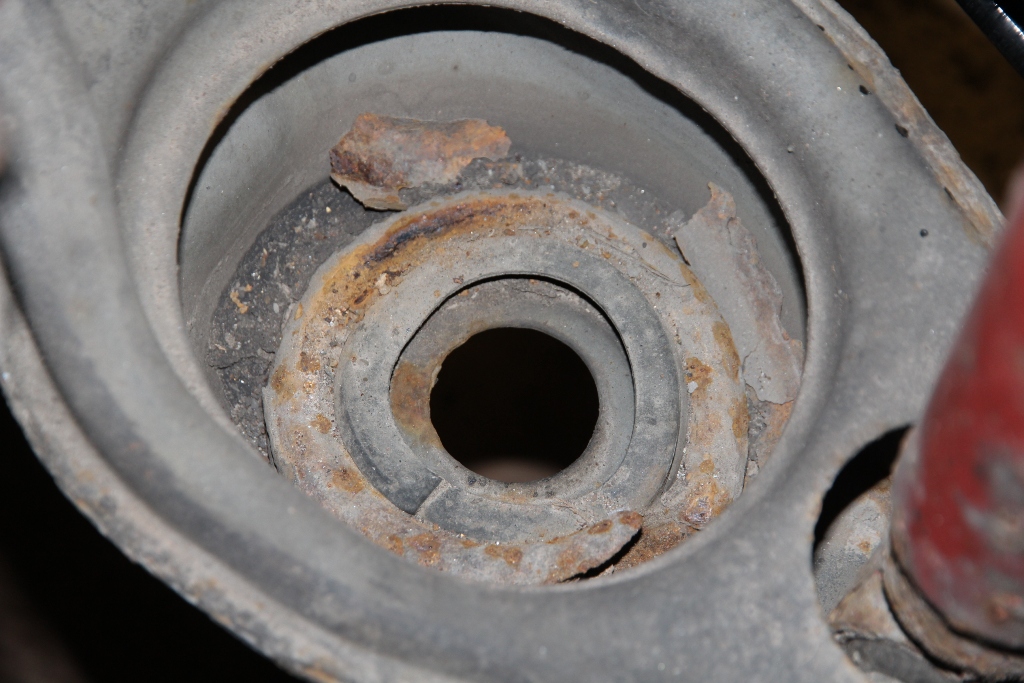
Oh shock and surprise, a broken rear coil spring . . .
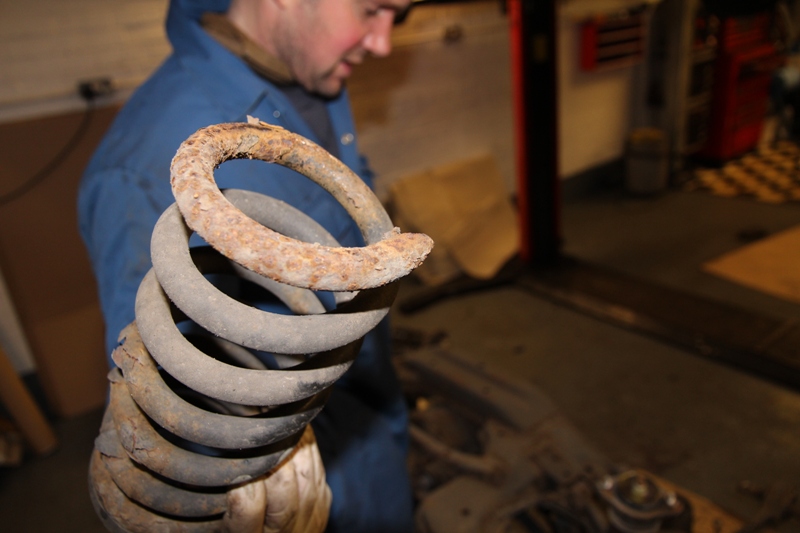
Which looks like it’s been that way for a while undetected
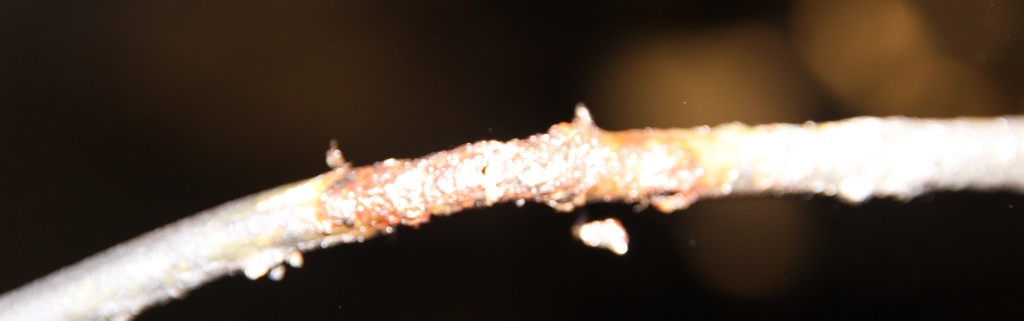
The chafed hose and the consequences can now clearly be seen . . .
So with a few meters of brake line and some fittings, we get to work . . .
Here the damage and tiny hole in the old line can be seen . . .
Here it is clear the impossibility of doing this with the sub-frame in . . .
We can now lower the car back down onto the sub-frame and get the 4 main mounting bolts started . . .
Lifting the car back up, we can feed in the floor heat shield . . .

and lowering the nose of the diff slightly, re-position the prop shaft into the drive flange and then tighten all 4 sub-frame mounting bolts.
Refit the exhaust . . . here the center mount has probably seen better days!
We can now reinstall the rear brakes.
Refit the small handbrake mechanism on the handbrake cable…
followed by one shoe and its hold-back spring . . .
and the bottom spring and the other shoe . . .
Then the top spring . . .
and adjuster . . .
Now using a screwdriver, turn the adjuster a few slots at a time . . .
until the disc only just slides over the shoes but without binding.
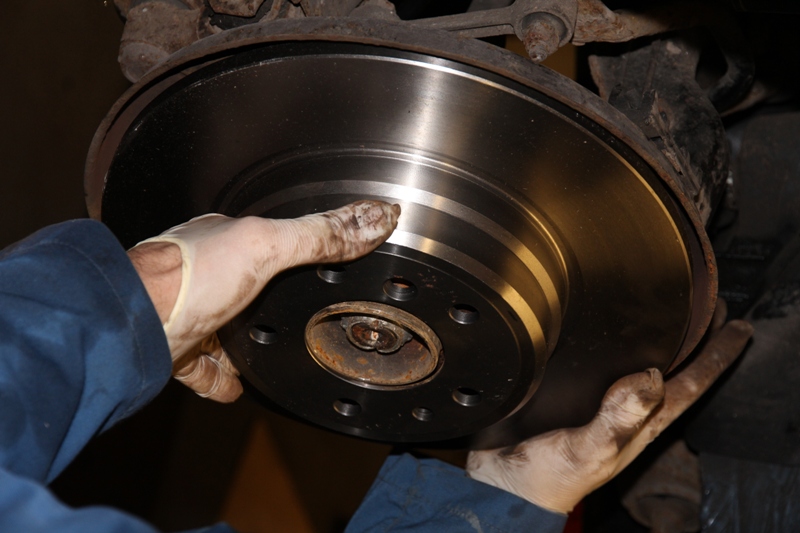
The disc retaining screw can now BE FITTED . . .

and the disc checked for free movement without binding. A tap with a mallet on the hub area of the disc will help centralize the shoes.
The calipers can now be refitted with new pads, reattached to the brake pipes and bled.
Now refit the wheels, double check all the bolts and fixings, re-inspect all hoses and cables are both reattached, routed and clipped correctly and you are ready to go!