Article by: John Krawzcyk
Article applies to: all BMW models with a viscous cooling fan clutch.
These next few pages attempt to graphically demonstrate the Plumley Procedure for rehabbing Porsche 928 mechanical fan clutches.
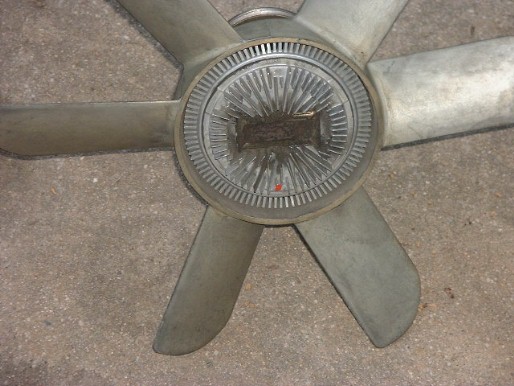
The one shown below is from my 1979 and it typical of the earlier model fan clutches.
Keep in mind this fan clutch is slightly different from the one described in the Plumley Procedure.
However the basic principles of the repair procedure still apply.
This article was originally written for a Porsche 928 (we won’t hold that against them too much ;)), but the fan clutch and repair process is exactly the same for BMW.
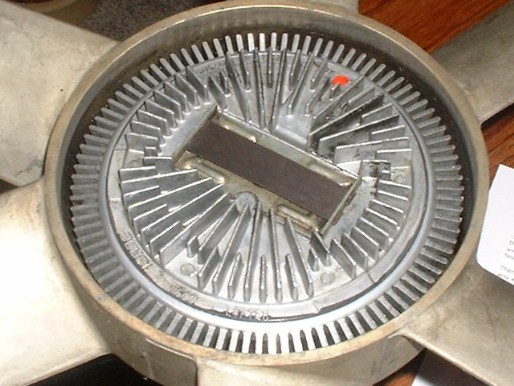
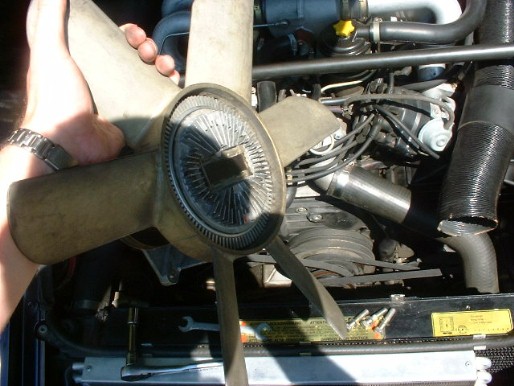
The fan/clutch assembly from my 1979 928.
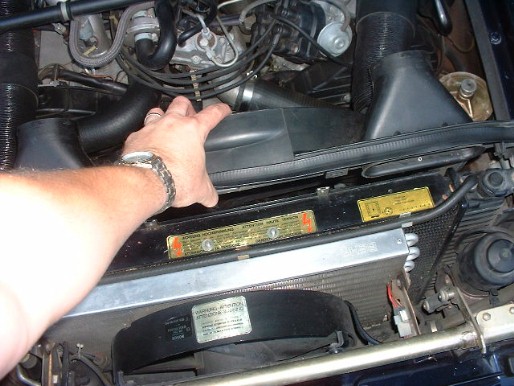
The first thing I did is remove the air intake tubes from the upper fan shroud and then unbolt the (2) 10mm bolts holding the upper fan shroud to the radiator shell and lower fan shroud.

I lift straight up and out:
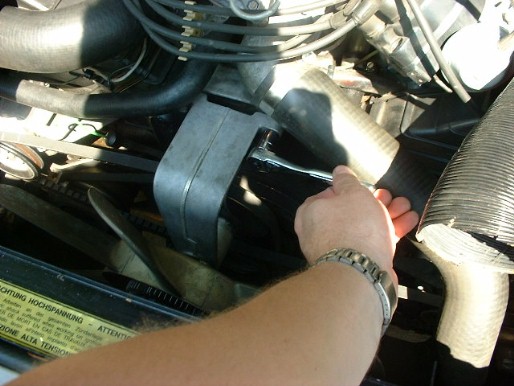
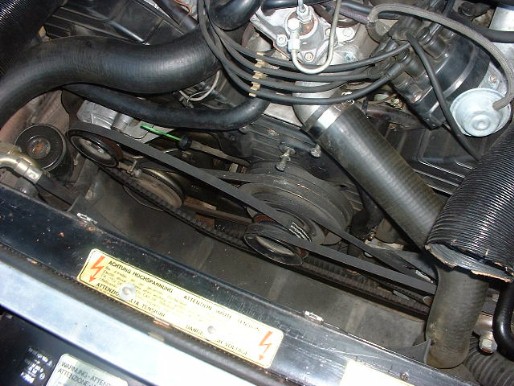
Next, I removed the (3) 13 mm bolts holding the fan bracket to the motor. There are (2) on top and (1) below hidden from view by the bracket.
You may want to use a 13 mm open end wrench because there isn’t much clearance between the pulley and the ratchet with the socket attached.
I was able to get it with a 1/4 ratchet w/13 mm socket. I then removed the fan belt belt off the pulley and lifted the fan out of the engine compartment.
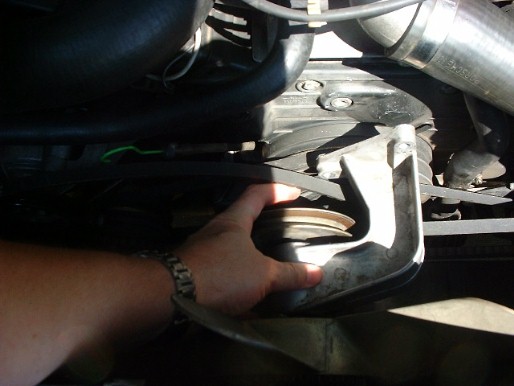
I took approximately 10 minutes to do all this.
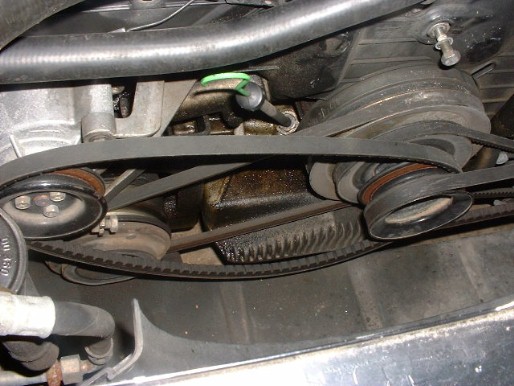
Wow! Look at all that room! Good time to try out my new Jay Kempf timing belt tension check tool.
I can even tighten the oil pan bolts I could not reach when I did the oil change.
Time to clean. . . BEFORE:
AFTER:
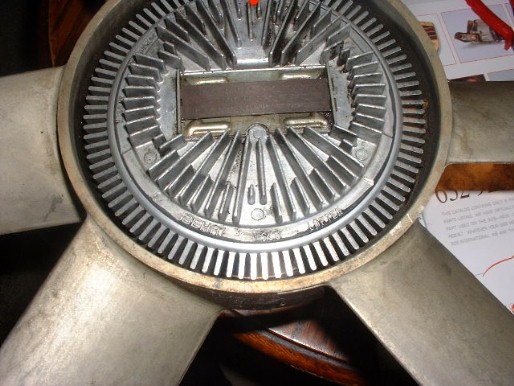
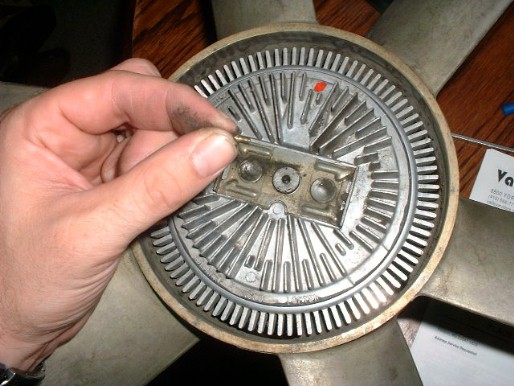
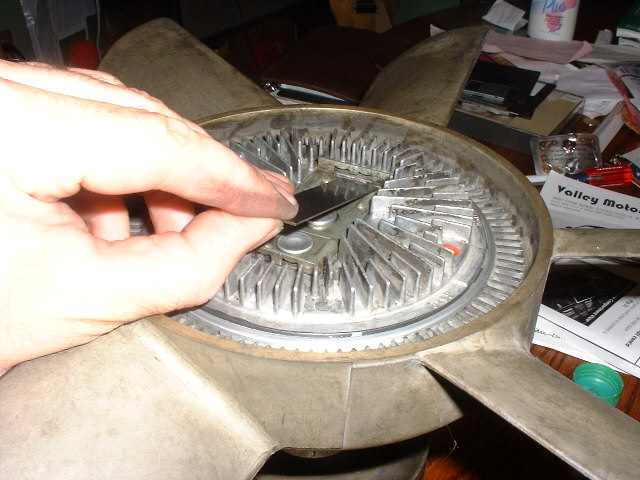
Bimetal strip/pin removal in 4 easy steps:
1. Push down slightly on the bimetal strip.
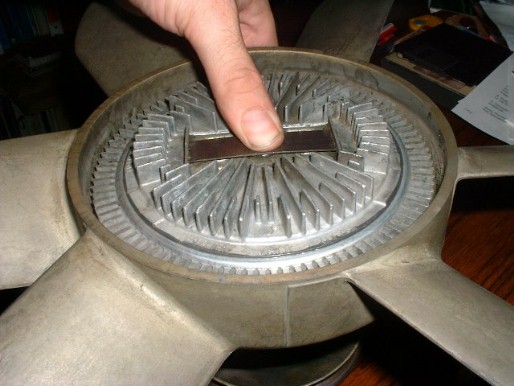
2. Slide one end under the retainer to clear the tabs at the opposite end.
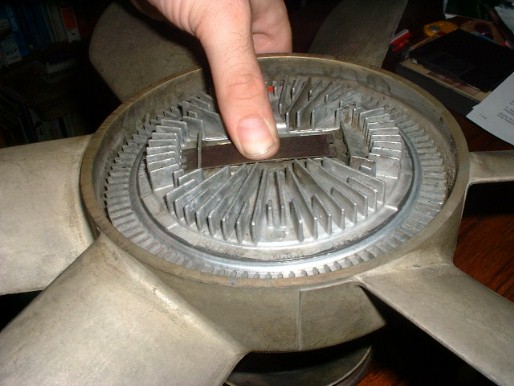
3. Lift up and out…
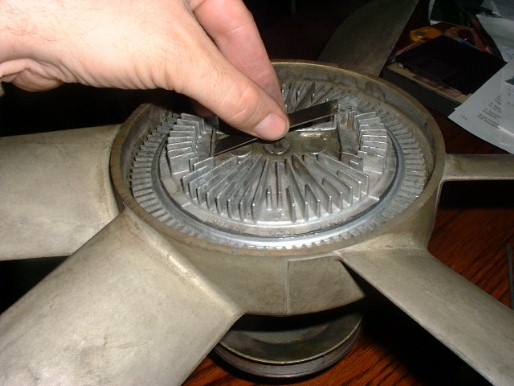
4. . . . to expose the small brass pin and fill hole in the middle. Remove the pin and. . . Viola! I’m ready to refill with new silicone oil.
Many thanks to Dan Brindle and John Pitman for the advice on how to get the strip out.
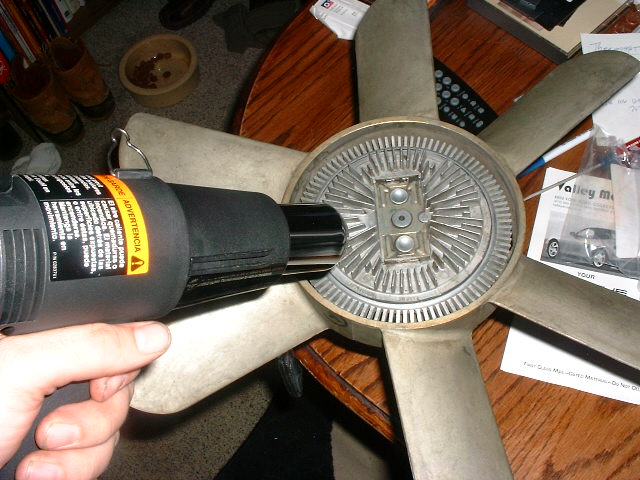
Time to refill the clutch with oil.
After clamping the fan bracket to this table with a 3″ C-Clamp, I used a heat gun purchased from Home Depot for $25 to heat the fan clutch while spinning it.
Be careful not to overheat and damage the clutch.
“This expands the air in the clutch and moves the oil in the clutch to the outer edges,” says Wally Plumley in his write up of this procedure.
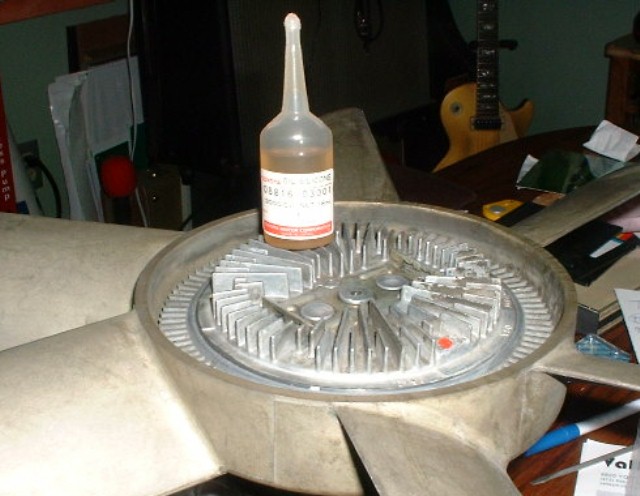
To again reference Wally Plumley, “Remove the heat source.
Continue to rotate fan and clutch, and drip the oil (Toyota silicone oil, part number 08816-03001-get (2) each) into the grommet (fill) hole.
The combination of cooling and rotation will pull the oil in and distribute it to the outer edges.
When oil stops going into the hole, repeat the cycle of heating and cooling.”
Once the oil is in, I put all the parts back together. . .
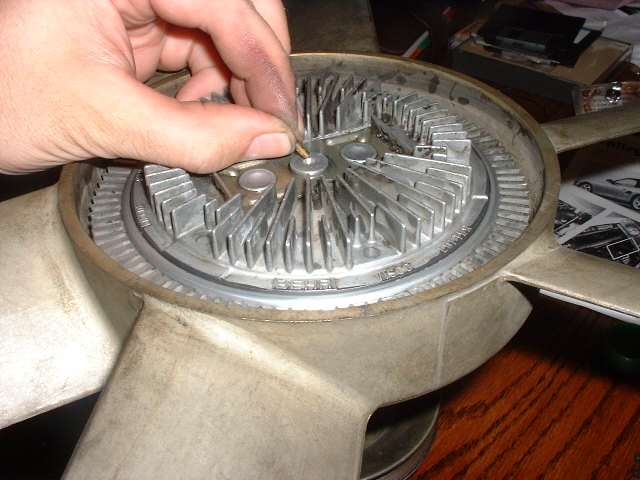
. . . making sure the bimetal strip is right side up.
On mine it was easy since my strip has watermark like markings on the exposed side (right side up).
Time to put it all back into the car in reverse order I removed it.