Article by: Sean
Article applies to: all e32 and e34 models (all models with normal seats, no sport seats.)
Problem:
It was painfully obvious to me that the drivers seat wasn’t up to the 440.000/275.000 miles my car has put on the odometer until now.
Although the leather was still in pristine condition (an aspect of just a very good quality of leather), the foam inside was deteriorating.
Last year, my lower backache (grandpa speaking here . . .) was getting worse after spending an hour or so behind the wheel.
The difference with the -almost unused- passenger seat was huge, as I noticed when somebody else drove my car with me as a passenger (a rare situation when I am sober).
I noticed before that the seat cushion and back rest of the driver seat looked identical to the passenger seat.
This gave me some thinking . . . could the seats be swapped from left to right?
And they could . . . read on.
Let’s start unbolting parts:
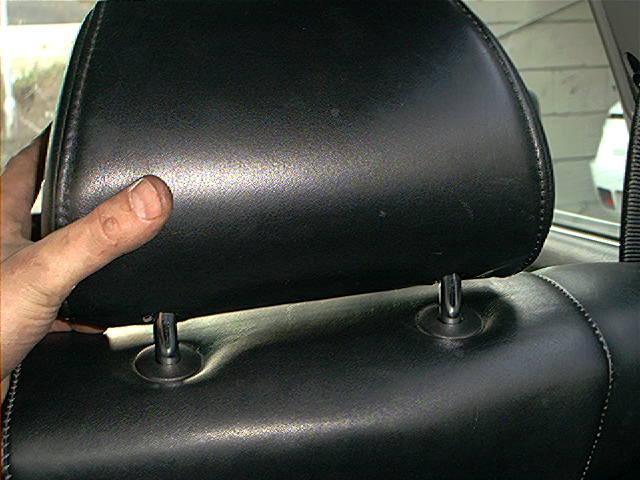
Removing the front seats is pretty straightforward. First remove the headrest.
Just yank it upwards:
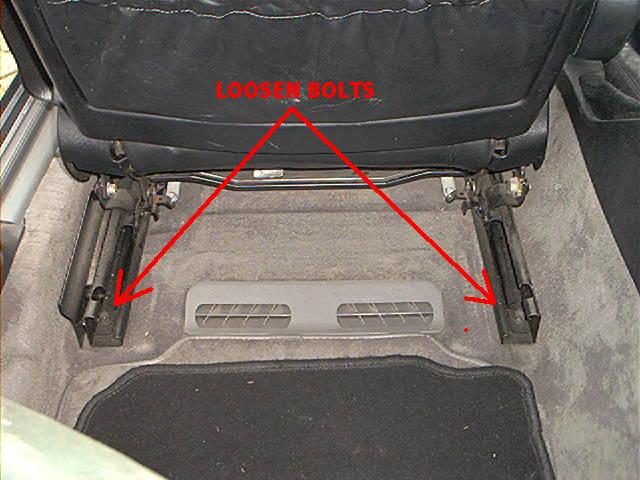
Adjust the seats to the highest position (depress back seat lever) and slide the seats forward, exposing 2 bolts at the rear.
Remove them:
Remove the bolt holding the seat belt to the chair:

Now remove the cable for the seat belt height adjustment (tiny metal wire). Forgot to take a picture of that.
That was about it. Lift rear end of the seat up and slide seat forward out of the front brackets.
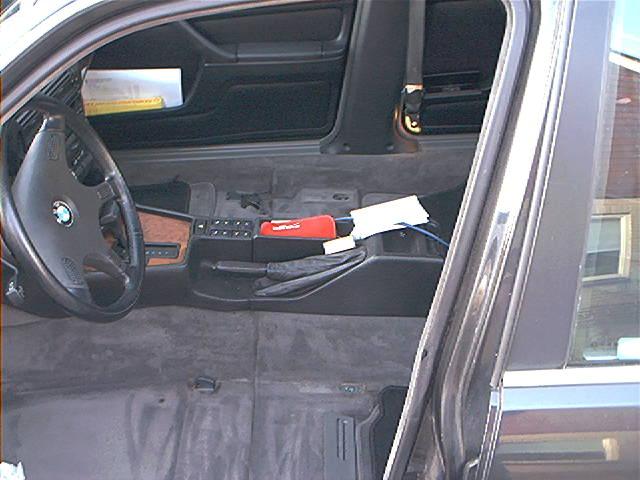
When removing, be careful not to damage the steering wheel, paint or interior while removing the seat from the interior.
I took the chance to clean the interior while I was at it:
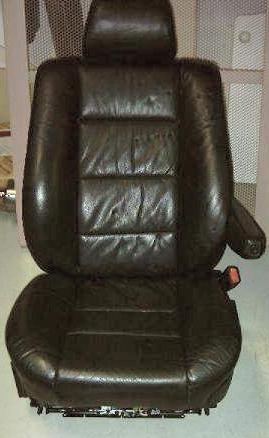
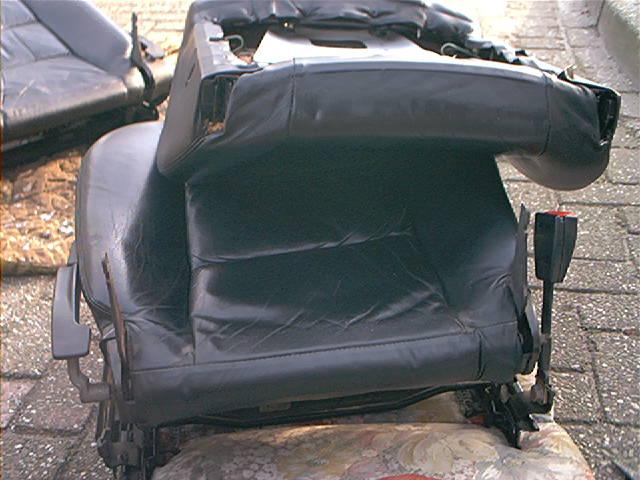
When both seats are out, now comes the fun part of disassembling the seats.
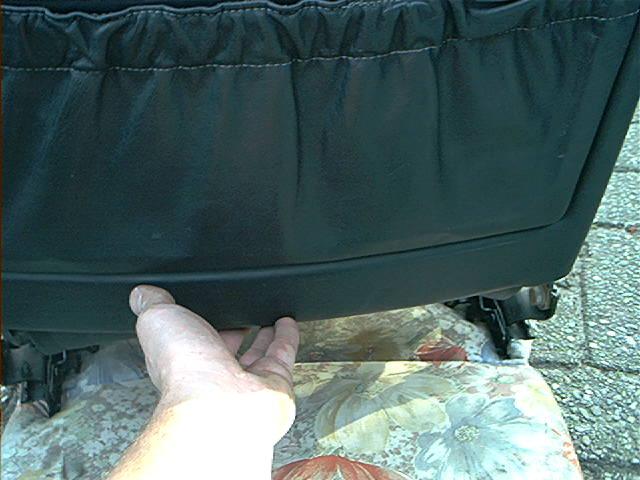
First we start with the backrest. Pull the bottom of the trim back panel (just yank it towards you).
Note: some seats seem to have screws at the left and right side, so check that out before you start pulling:
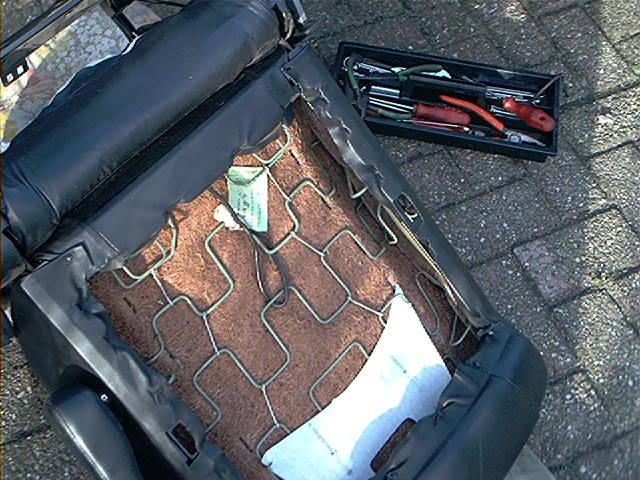
To my surprise I found the wiring of the back rest heating. But I don’t have heated seats!
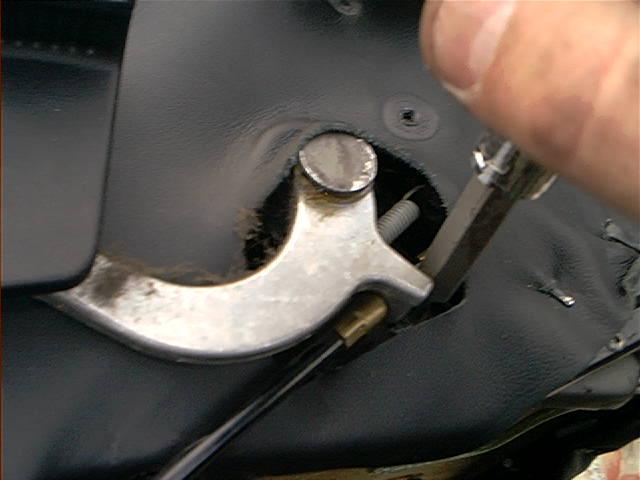
It is actually very, very easy to swap the backrest. Search carefully for 2 levers located at the bottom, hidden behind the leather:
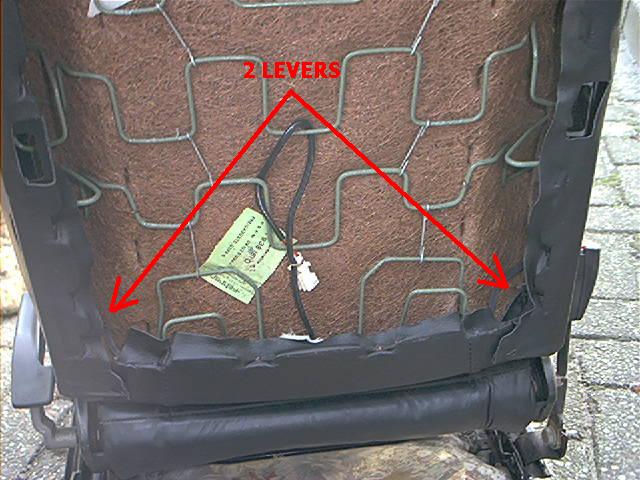
Push lever down on left and right side:
And yank the backrest up:
That was easy! Notice the metal brackets which holds the backrest to the seat cushion:
Wait with the reinstalling of the backrest. You can already swap the armrest.
Just 2 bolts. And yes, the other backrest has mounting holes for it:
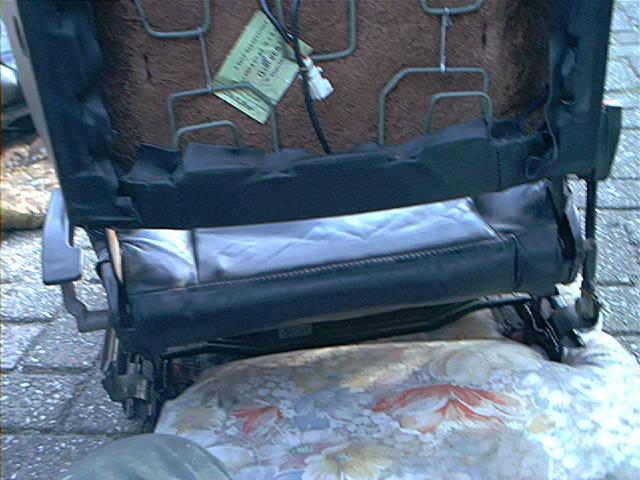
Now comes the though part, swapping the seat cushion.
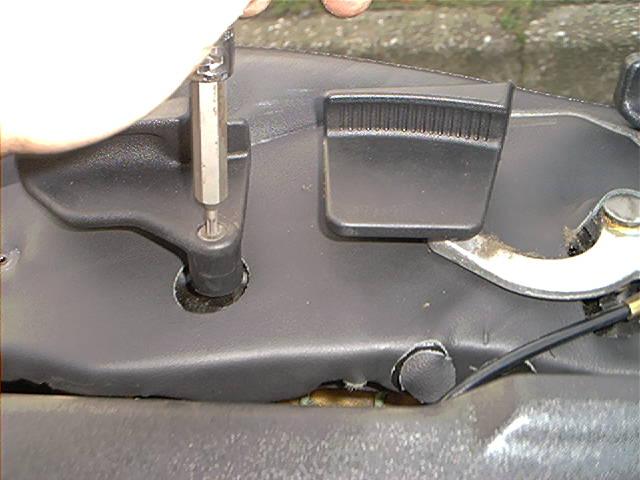
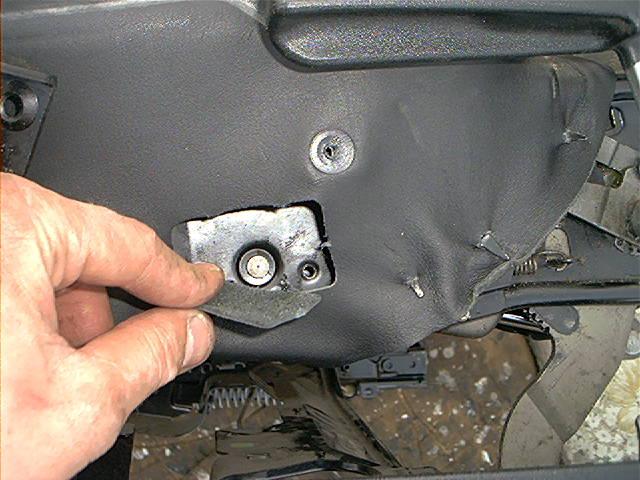
Remove the 2 trim covers (picture shows seat in car but that was a mistake, do this after you remove the seat from the car):
Remove the levers:
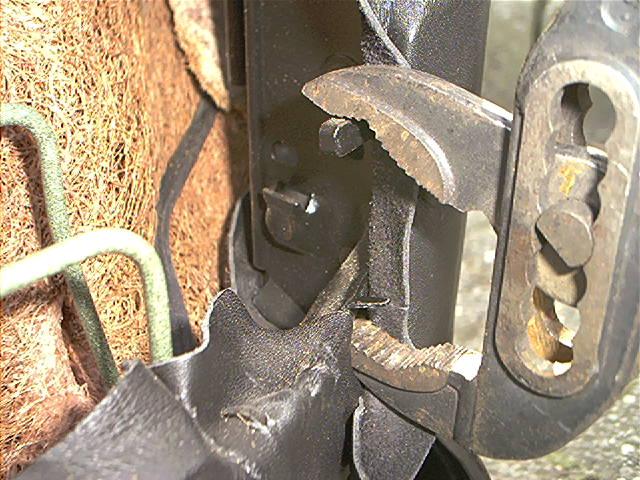
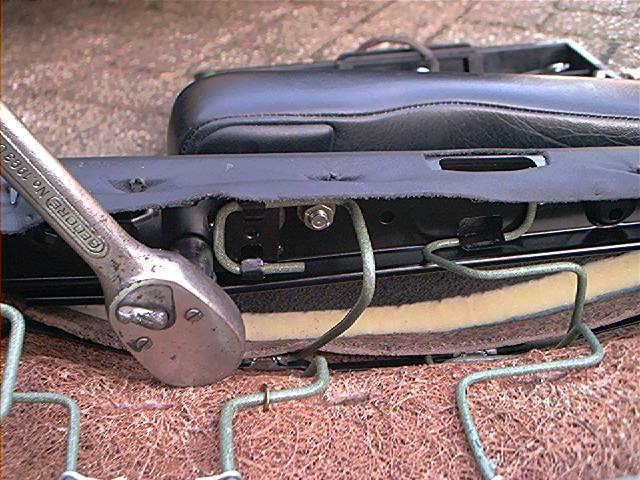
The seat cover (leather and cushion) is mounted to seat frame with a dozen metal ‘thingies’.
You have to bend them a bit back to easily remove the cover:
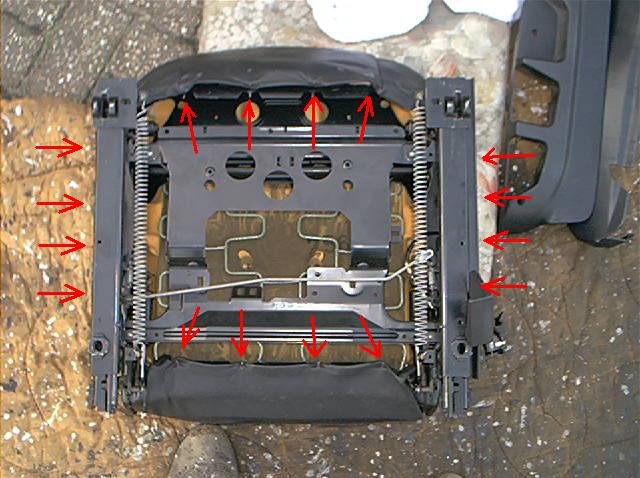
If you have done them all, the seat cover (and foam) can easily be removed from the lower seat frame.
Notice the springs.
I didn’t swap them from the other seat, later on I regretted that:

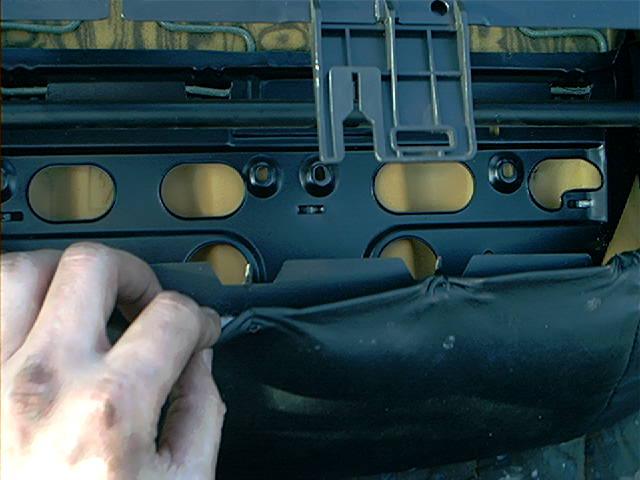
Now you can transfer the seat cover to the other frame and transfer the backrest.
Use some sort of awl (large needle) to find the holes in the leather when reinstalling the seat cover.
Use a small hammer to press the metal thingies back in place. The nice thing is that the leather already has holes for the levers, as shown here.
Left and right are indeed identical. Just remove these tiny bits of leather so you can install the levers back:
Now reinstall everything and enjoy a new ride! For me, it made a huge difference. Also for my wife, who refuses now to sit next to me.
I told you, my chair was in bad condition..
Additional information on electrical seats by Johan:
The procedure is generally the same for electrical seats. But most cars with electrical seats have a driver seat with memory.
This means all the motors have a position sensor so the memory system can determine the setting of the seat.
So after changing the leather from the seat base you will also have to change the headrest motor or the entire headrest assembly.
If you remove a couple of hooks you can pull the upholstery back enough to undo the two screws holding the motor:
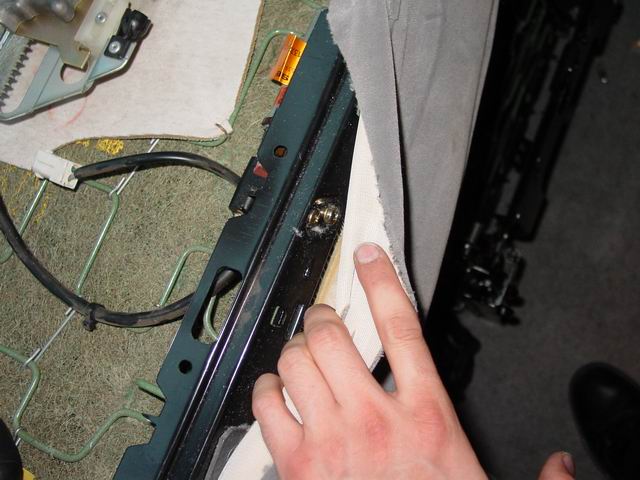
Same goes for the top screw at the bracket that holds the assembly to the frame.
There is not a lot off room when refitting the bracket and the screw. This can take over 30 minutes. So be patient here.
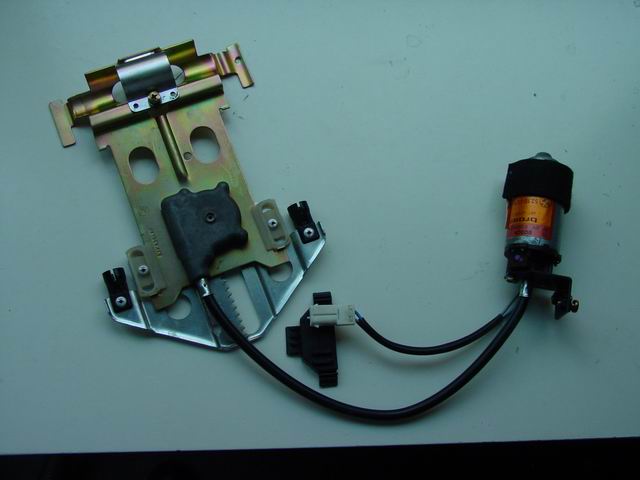
The headrest motor without position sensor:
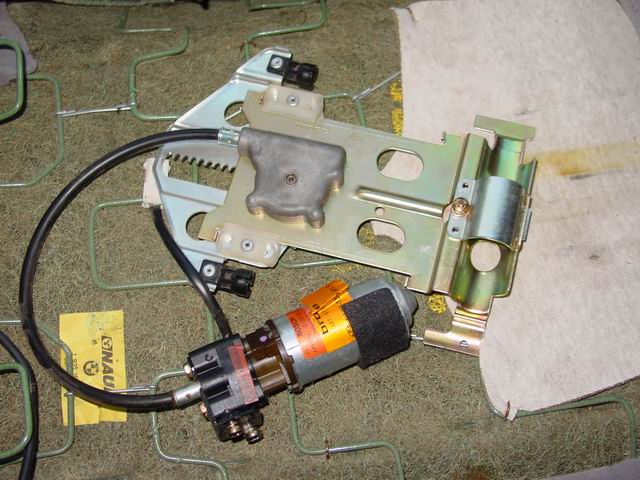
The headrest motor with position sensor:
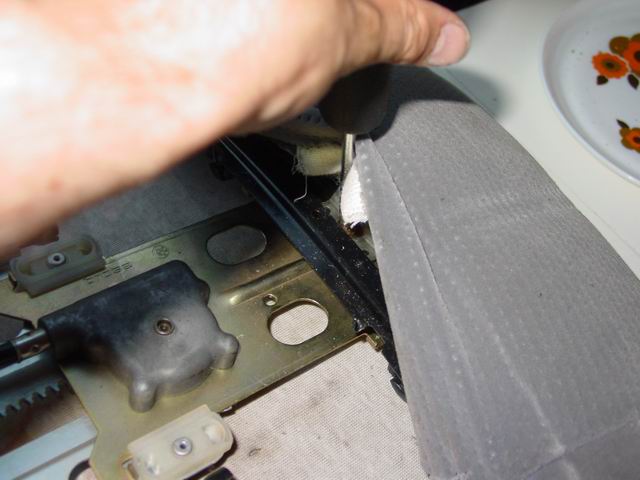
You will also have to cut a hole in the leather on the other side to make room for the seat adjustment switch.
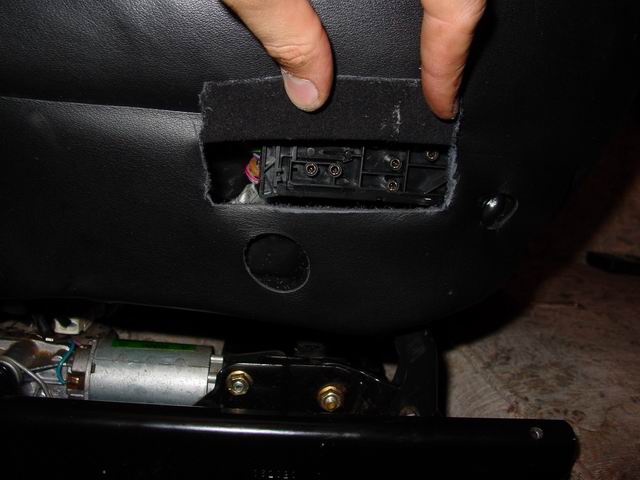
Additionally you might have to move the lower back support with it’s switch.
The support is held in place with one torx screw. If you undo it you can maneuver it out of the seat.
There is not much room but it can be done. The switch just pops out and the other seat is pre-wired.

Total amount of parts and cost:
None! Are these kind of repairs simply the best eh?
Total amount of time:
It took me few hours, but I had to think things out and fiddle around a bit.
Skills needed/difficulty level:
Wouldn’t bother.