Article by: GSXRliterbikz
Article applies to: all models with the M60/M62/S62 V8 engines.
First of all, I’m not a professional. I just love DIY. So the info here is just meant to help.
To begin with, find TDC and install a flywheel pin (sorry, no pic). I then removed everything from in front of the motor.
You could go about that however you want in whatever order you want.
I started by unplugging all the wires that come from the electrical boxes on top of the motor.
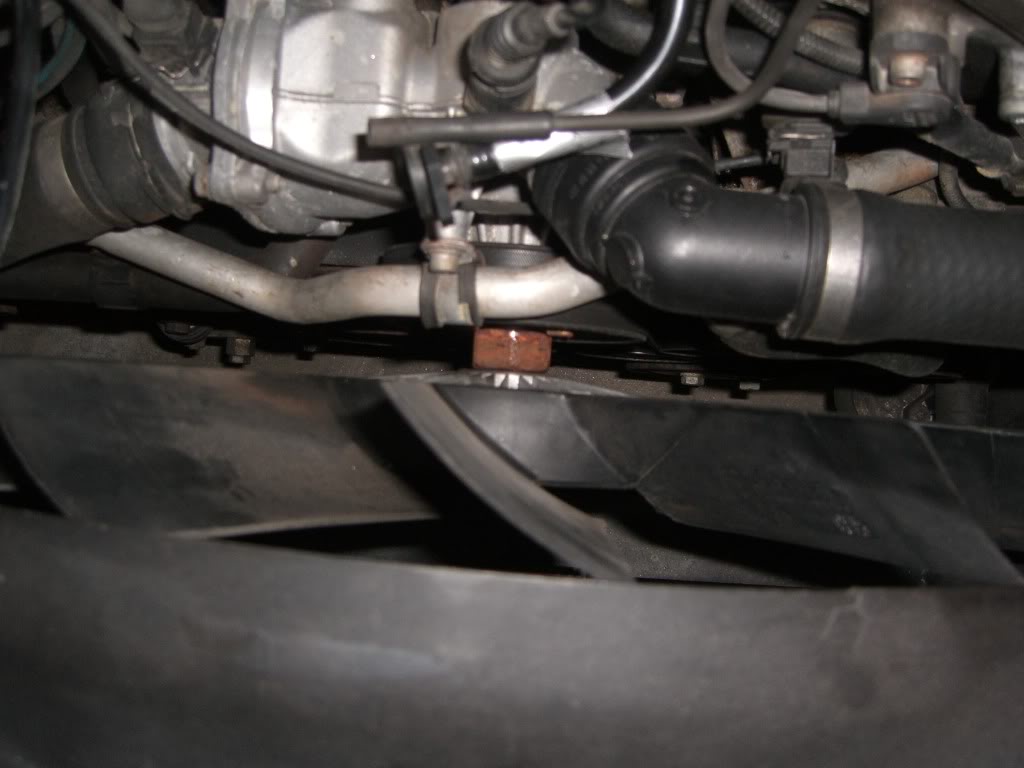
Next was the fan and shroud.
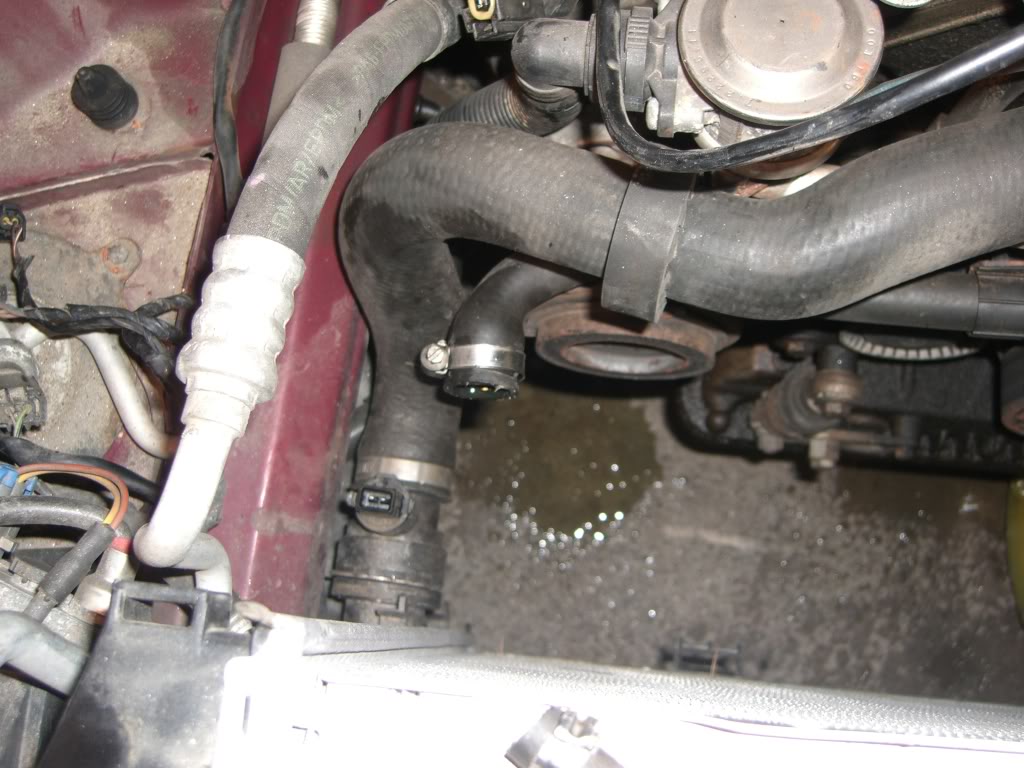
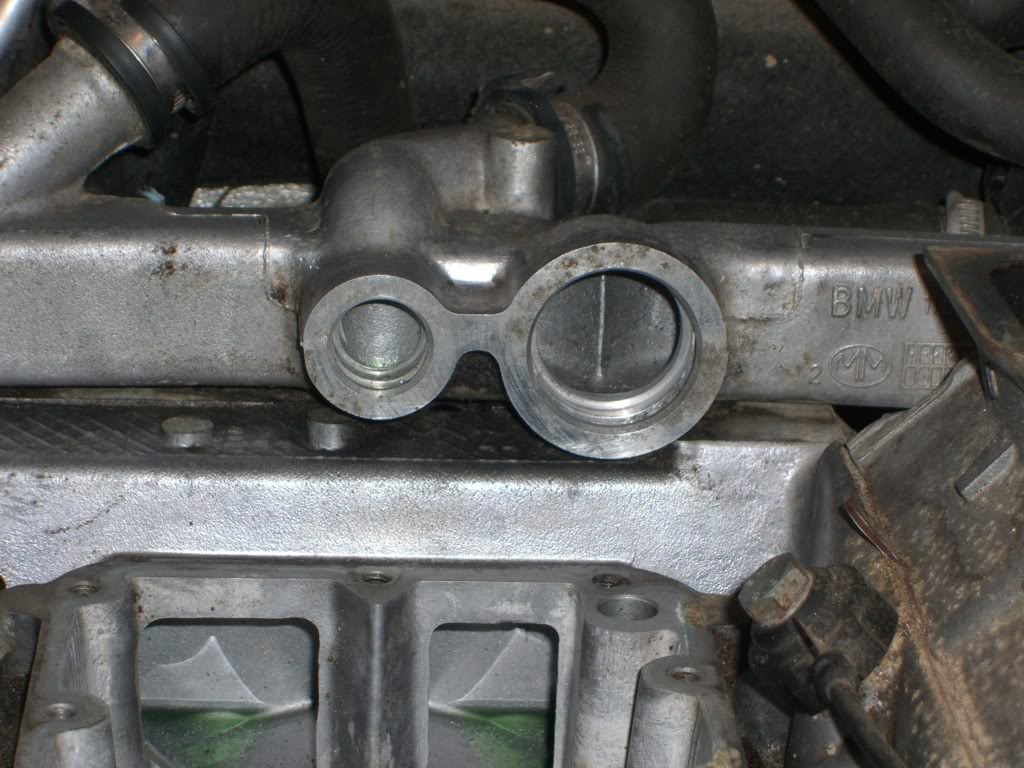
Radiator and tank:
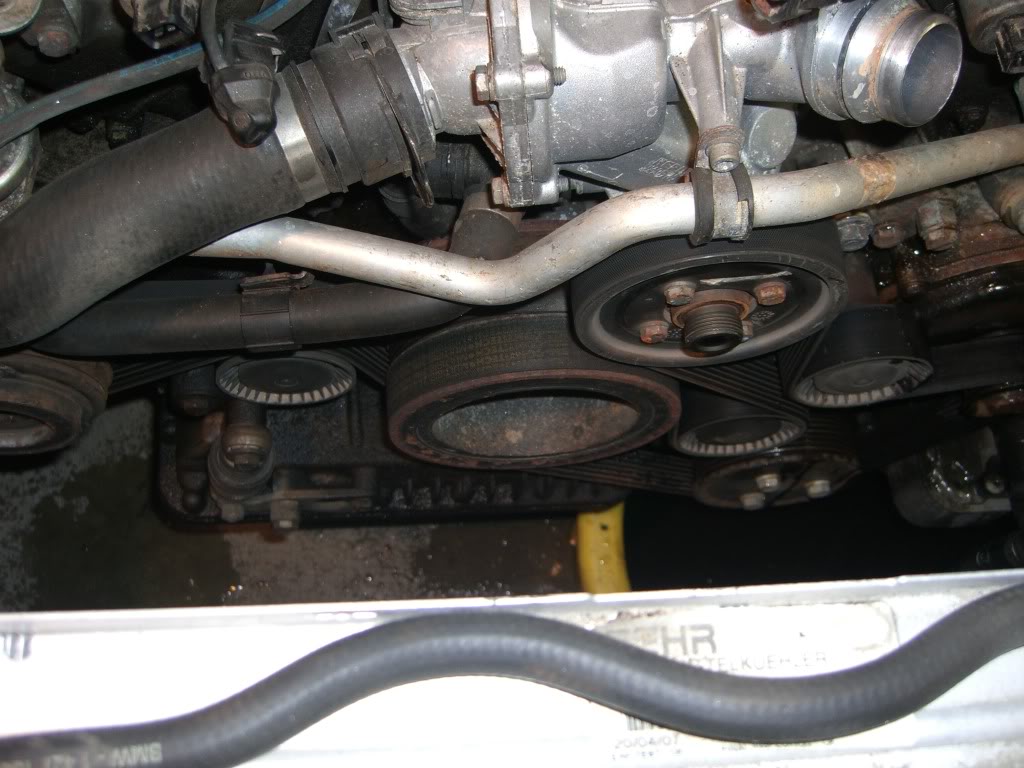
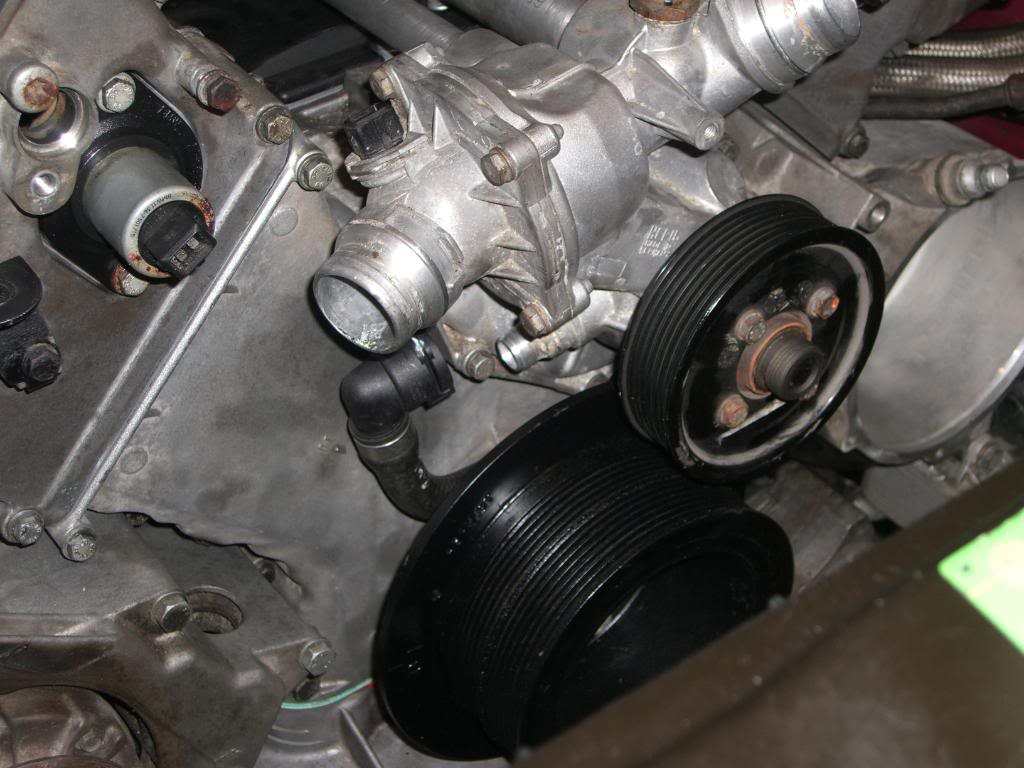
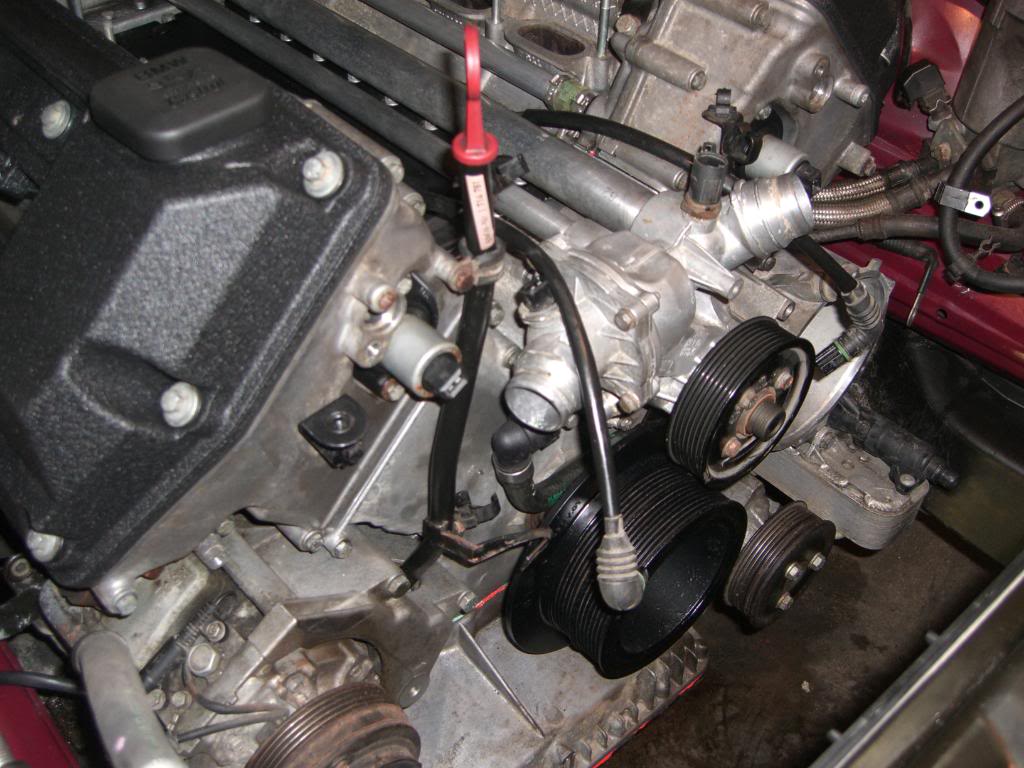
Then all this crap can come out. Hoses, belts, pulleys, air hose and pump, water pump, tensioner pulleys. . .
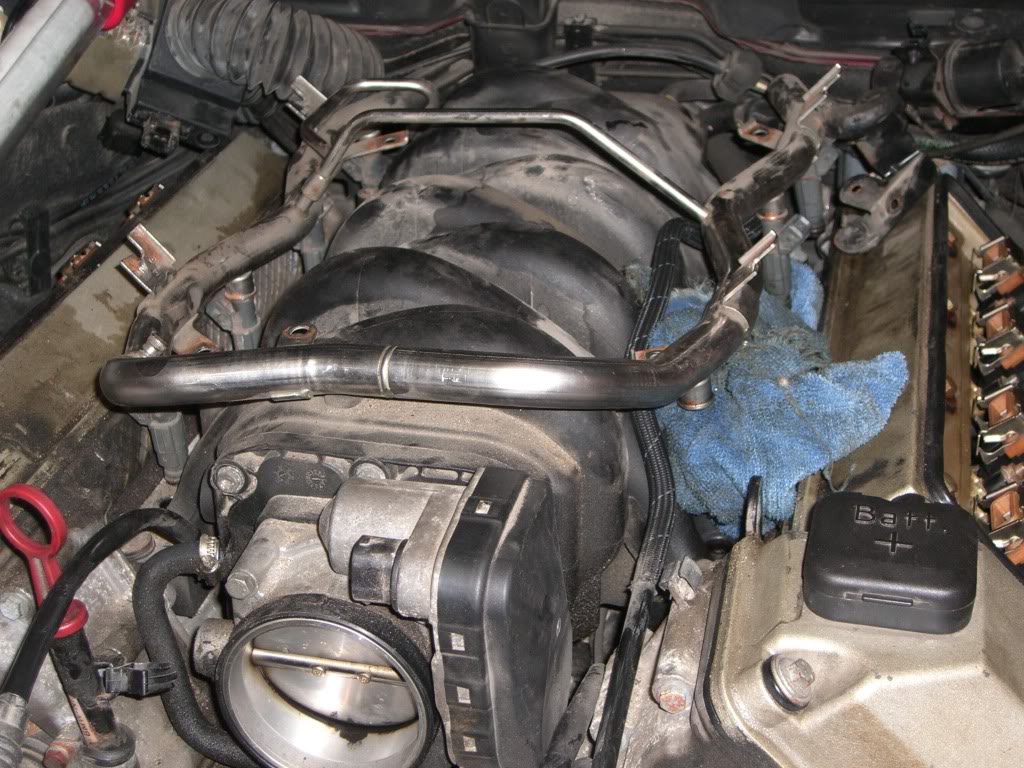
Then I moved up top and removed the electric box and unbolted the fuel rail.
It’s possible to eliminate steps here by just removing the whole manifold with boxes and fuel rail and injectors still attached.
I wanted to replace all the injector o-rings and clean the intake, so I took it all apart.
A good idea before starting this project is to depressurize the fuel system so it doesn’t leak everywhere when you pull the injectors.
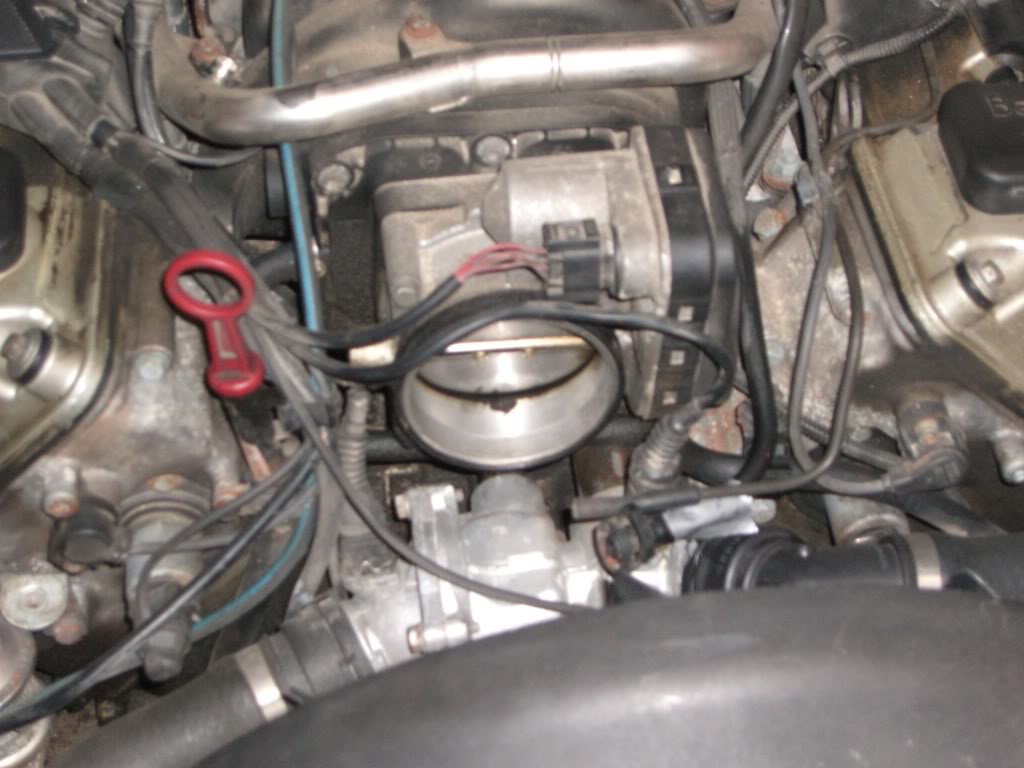
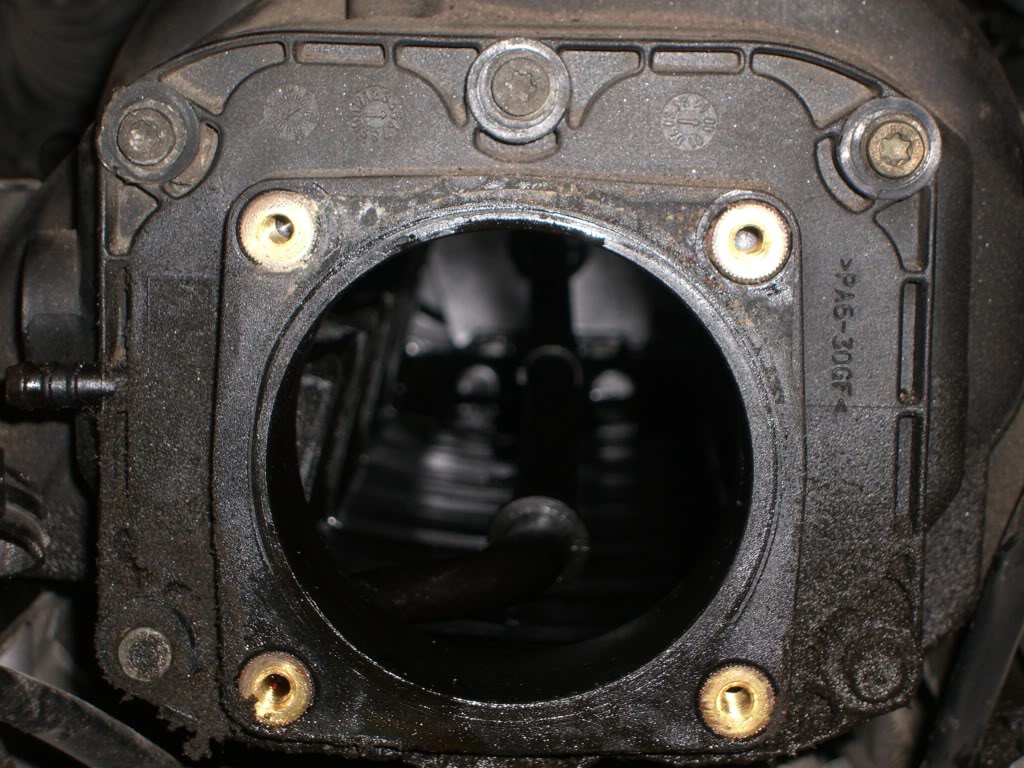
Throttle body removed:
Here are the pulleys and pumps removed. Next I removed the dipstick and alternator:
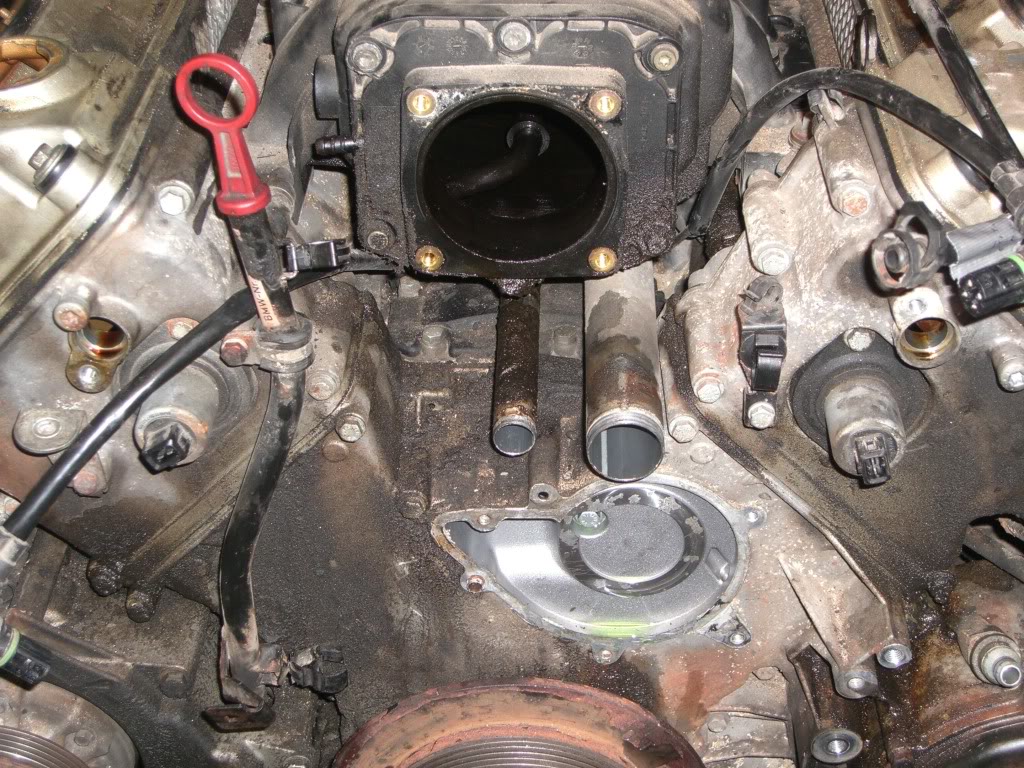
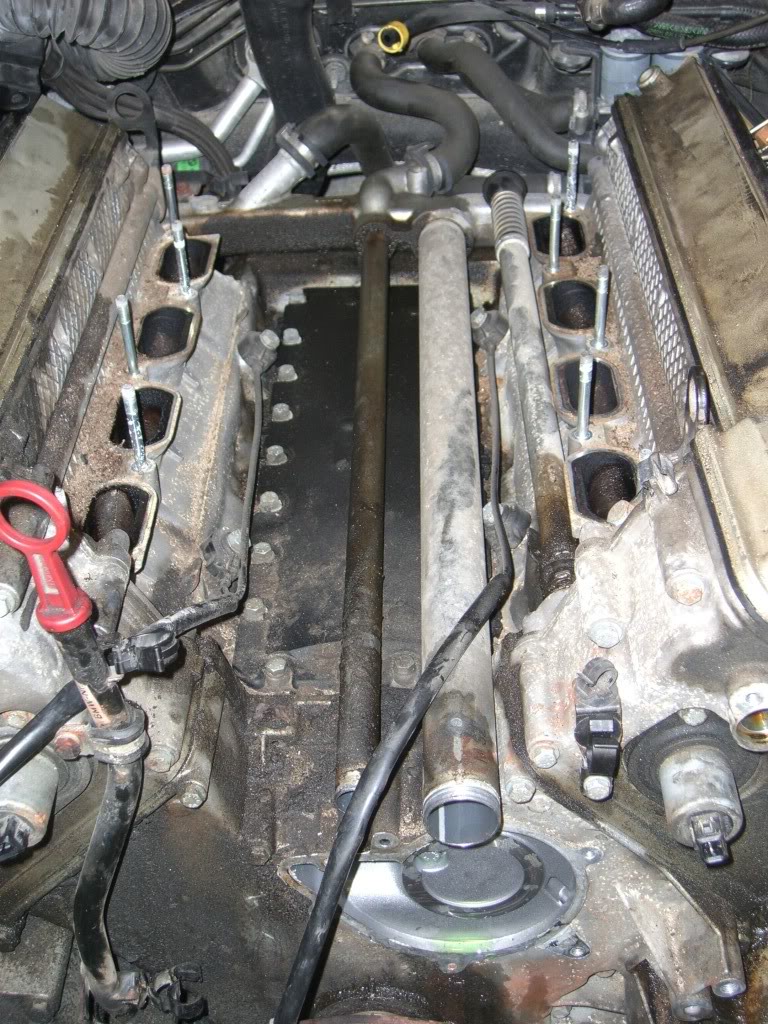
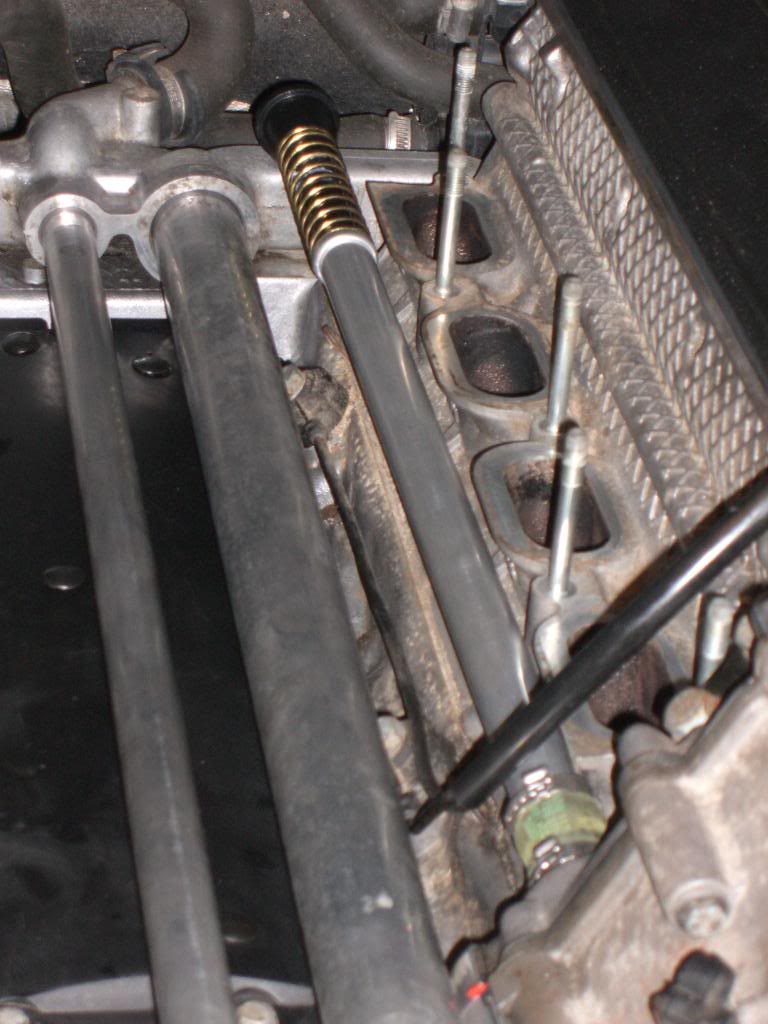
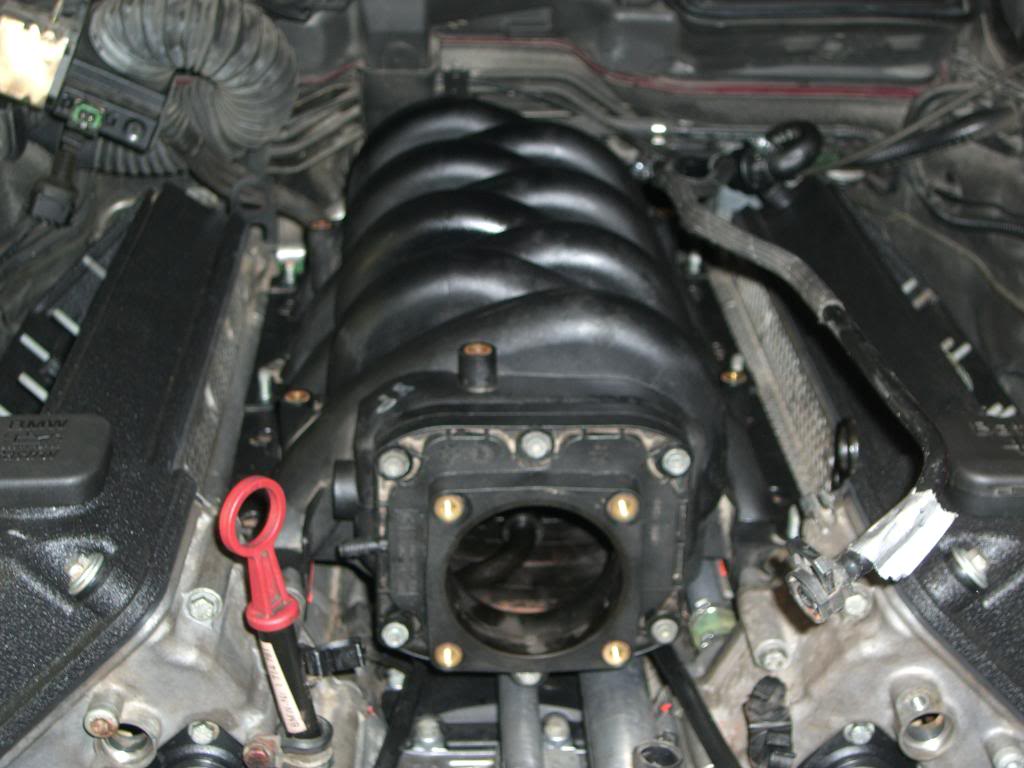
Intake removed. Stuff or tape off the intake ports to prevent stuff falling in. Now is a good time to check the rear water hoses for signs of wear.
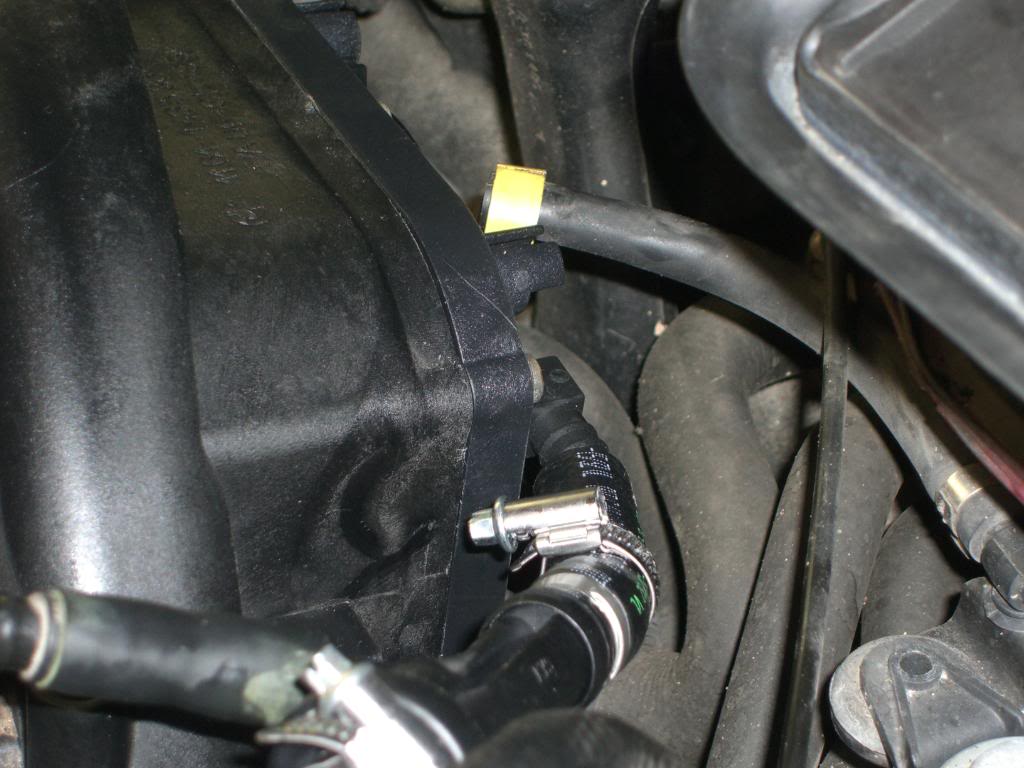
Also look over the rear coolant manifold. I left mine in place, but it would be super easy to pull it and replace the gaskets.
This tube was replaced. I think I forgot to list it in the parts list below.
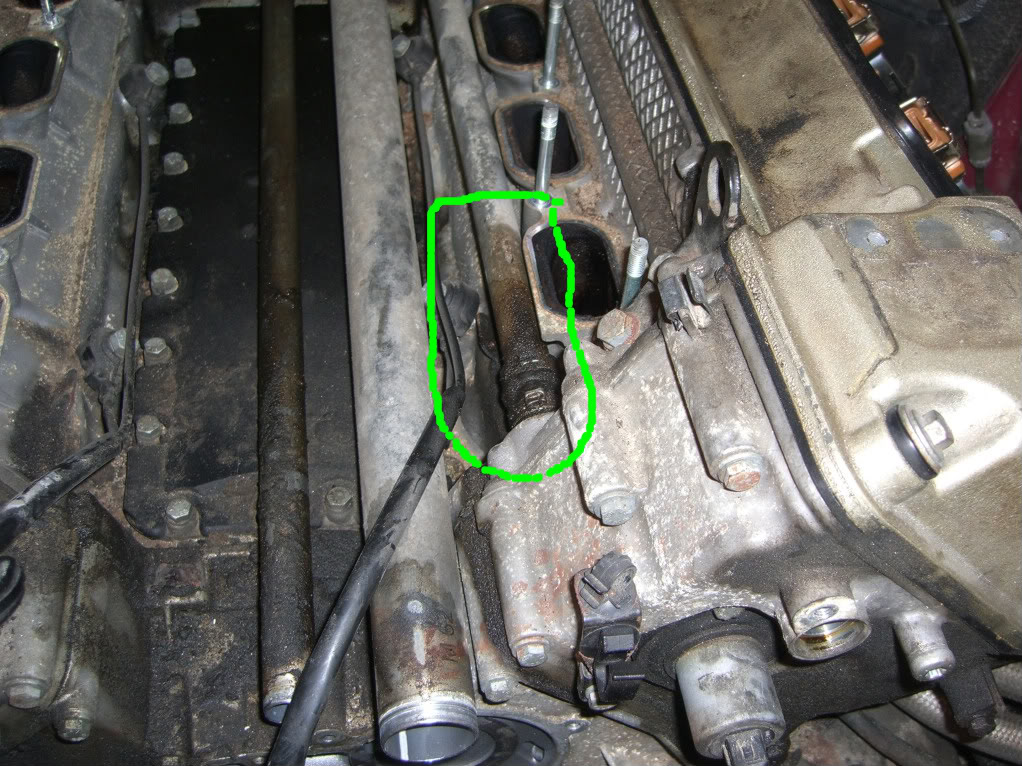
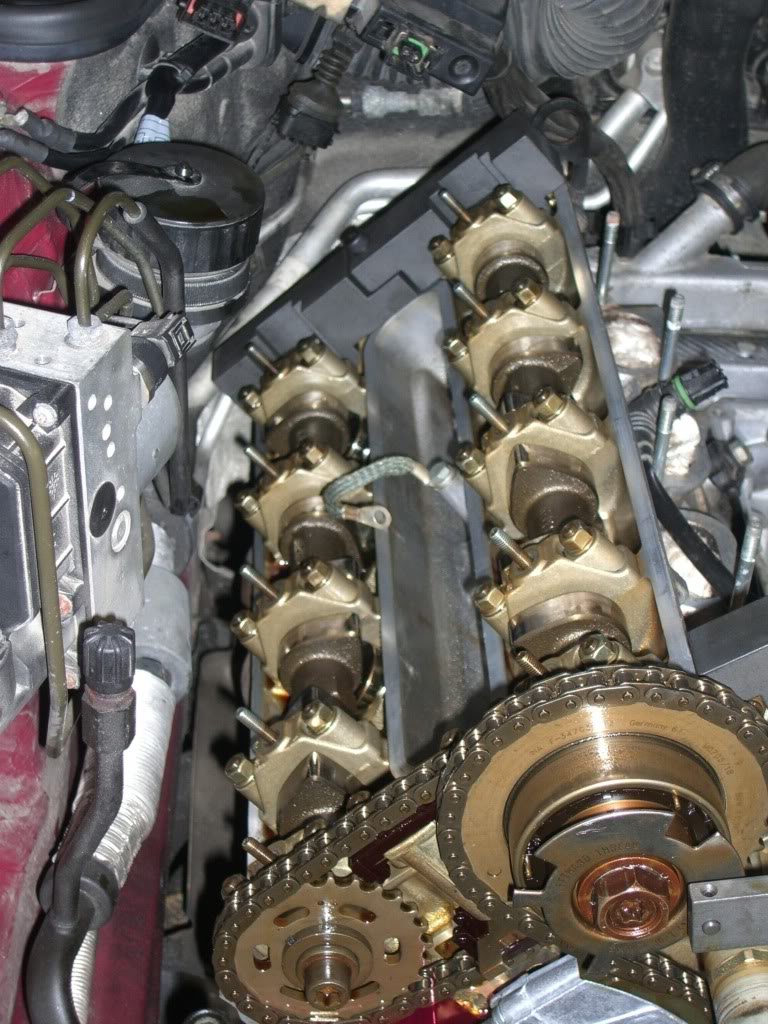
Valve cover removed. This nut was loose on my car:
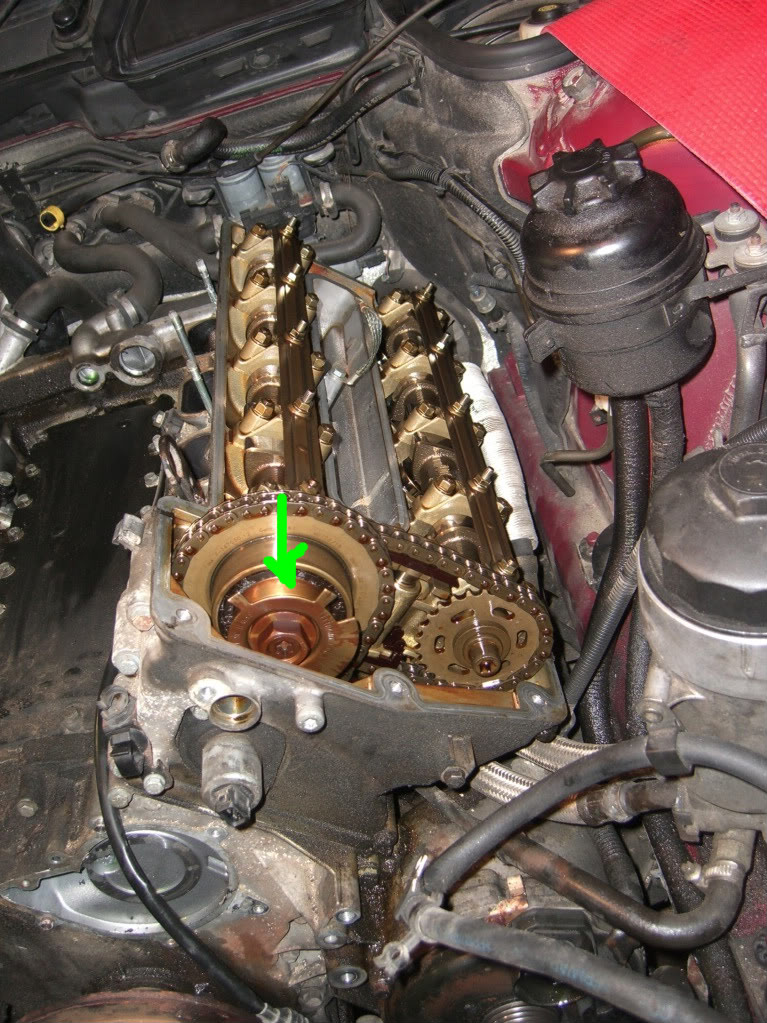
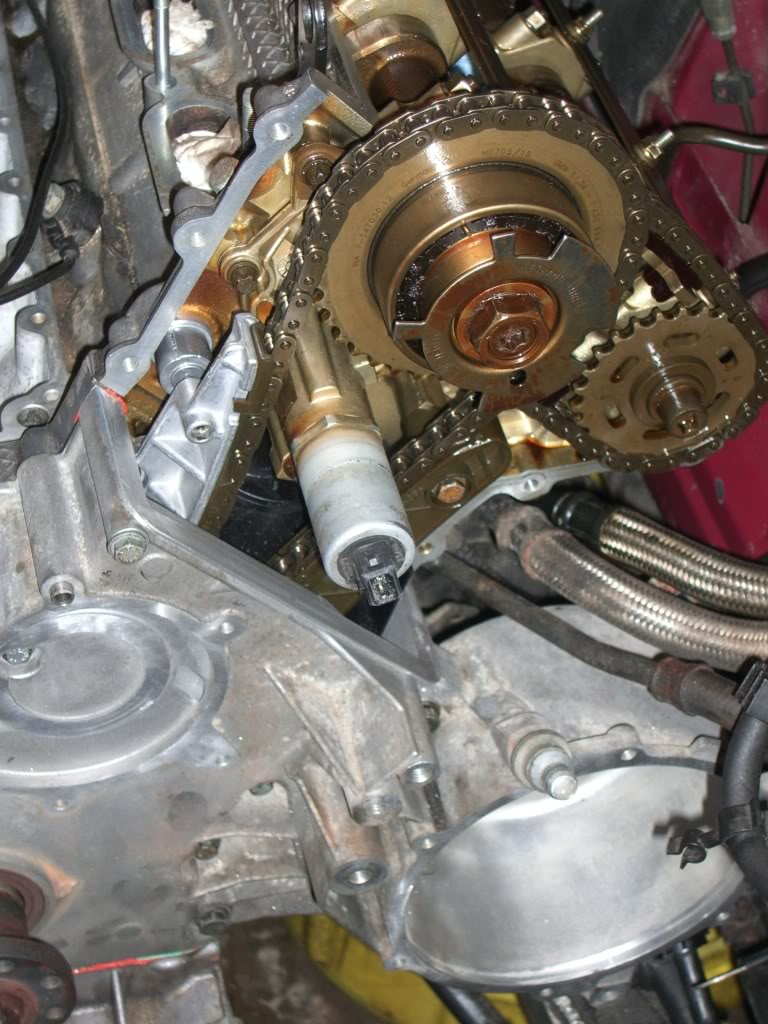
Upper covers removed. To do this the vanos seals come off as well as the chain tensioner on the pass side cover (cyls. 1-4). I have a close up shot of it a little further down.
Tie the chain together so it doesn’t skip teeth, unless you plan on timing the motor (I say its a must), then it won’t matter.
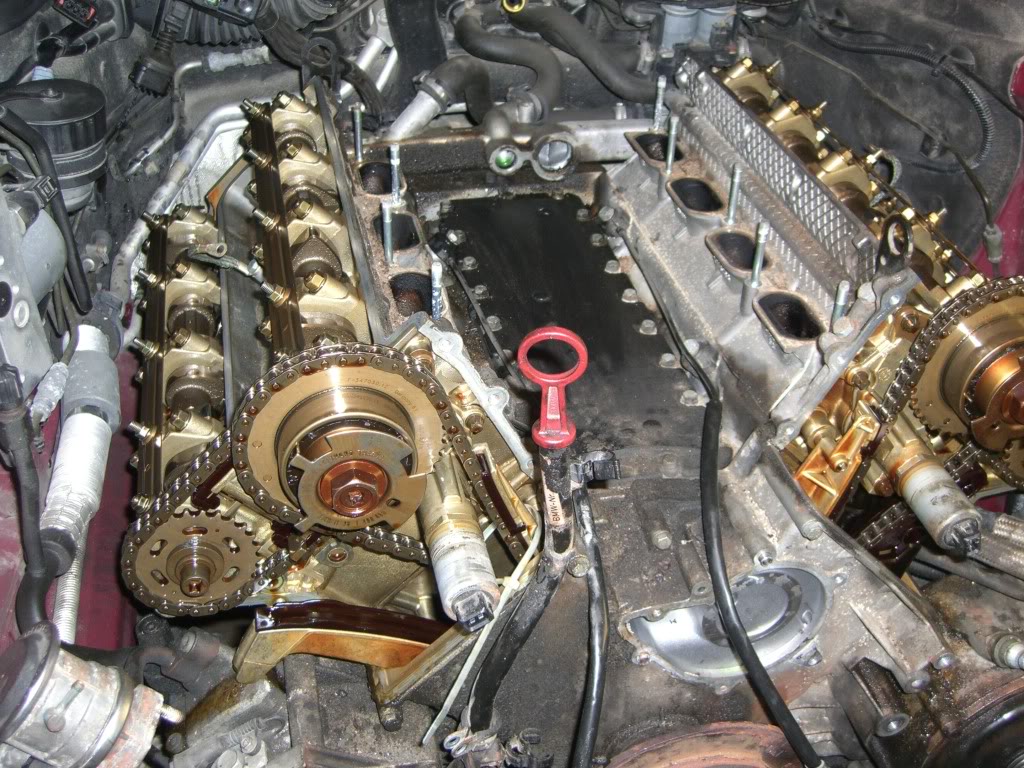
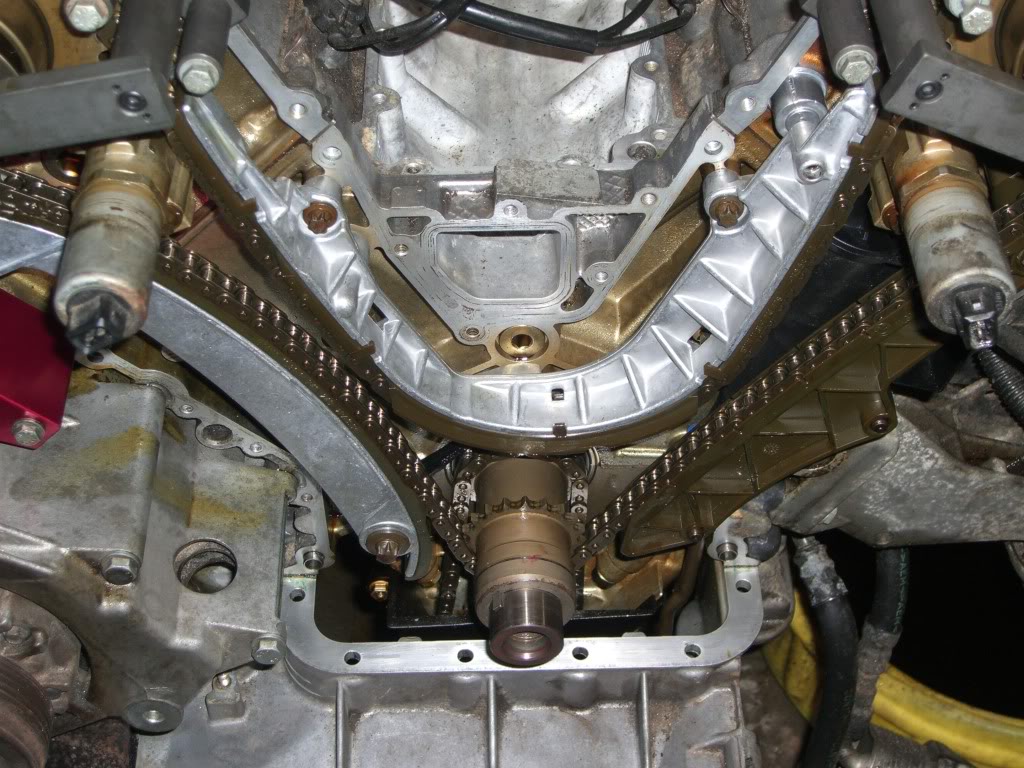
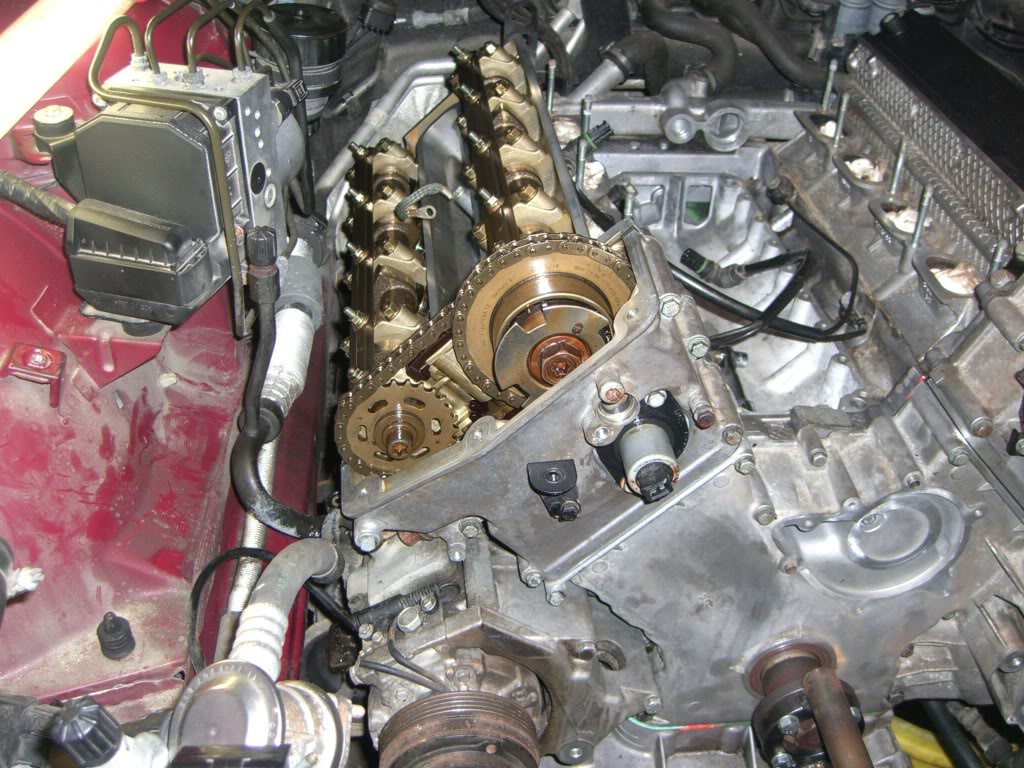
Valley pan removed, and coolant pipes. You can see the zip-tie holding the guide rail and chain together. I didn’t mess with the knock sensors.
I was told they are super sensitive and need to be torqued to a very specific number to work right. It wasn’t a big deal to work around them.
I suggest replacing the black plastic cover on the valley pan. Mine was super brittle and broke most of the tabs holding it on.
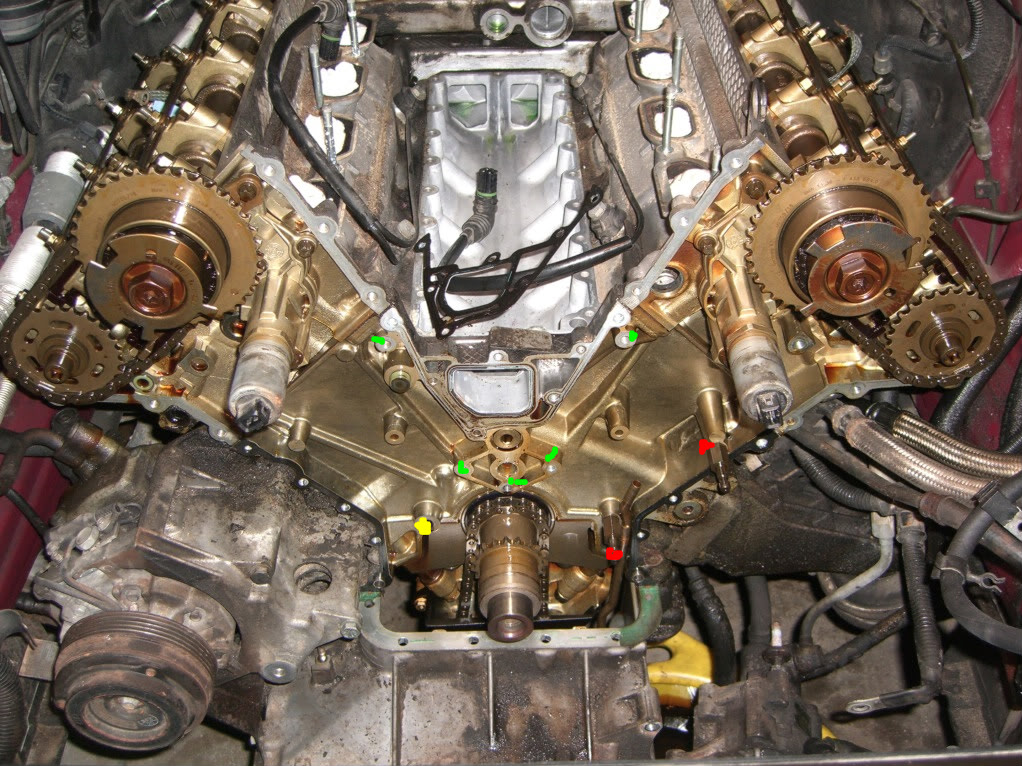
I didn’t take a pic of the old rail still on, or me using the crank holder to pull the Jesus bolt off (sorry). The green dots are the bolts for the u shaped rail.
The lower right bolt would be a pain in the rear with the chain still on. Not even sure it would be possible. Red dots are the right side guide rail.
The lower one is just a snap in pivot point and the upper one is a bolt. There is also a bolt just below the upper red dot that fastens the oil separator to the rail.
You can see it in later photos of the reassembled rails. Yellow dot is the left rail bolt. It has some parts that connect to the u shaped one.
Just below the left exhaust cam you can see a green o-ring. Replace that. It’s for an oil passage to the chain tensioner. I forgot to order it and that held me up a couple of days.
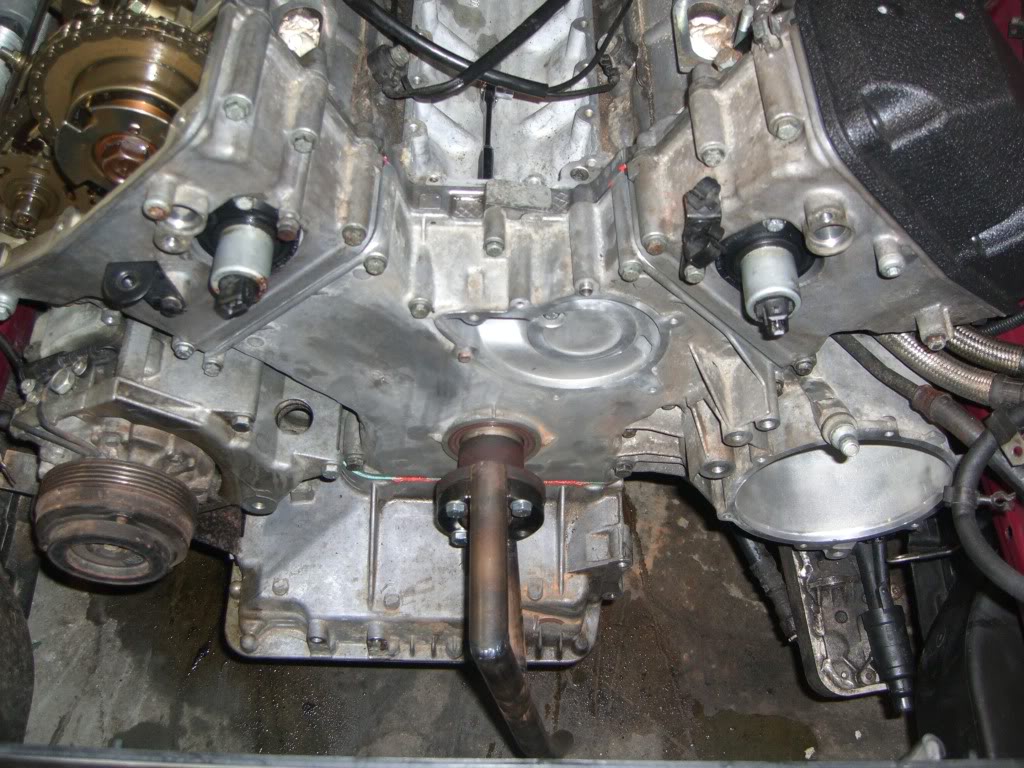
Now is a good time to clean all gasket surfaces. Also, to remove the lower cover there are 6 bolts on the underside of the cover. 5 inside the oil pan and one just outside it on the drivers side.
Here is the new rails installed. You can see the new oil separator behind them. The green box is a grub screw that holds the oil separator in place.
The red box is the bolt that I think would be difficult to remove with the chain installed.

These are the cam locks used to time the motor.
Another close up of the rails. You can see a little better the grub screw and the bolt I mentioned would be hard to remove with the chain in place.
You can see its recessed into the rail so that the chain covers part of it.
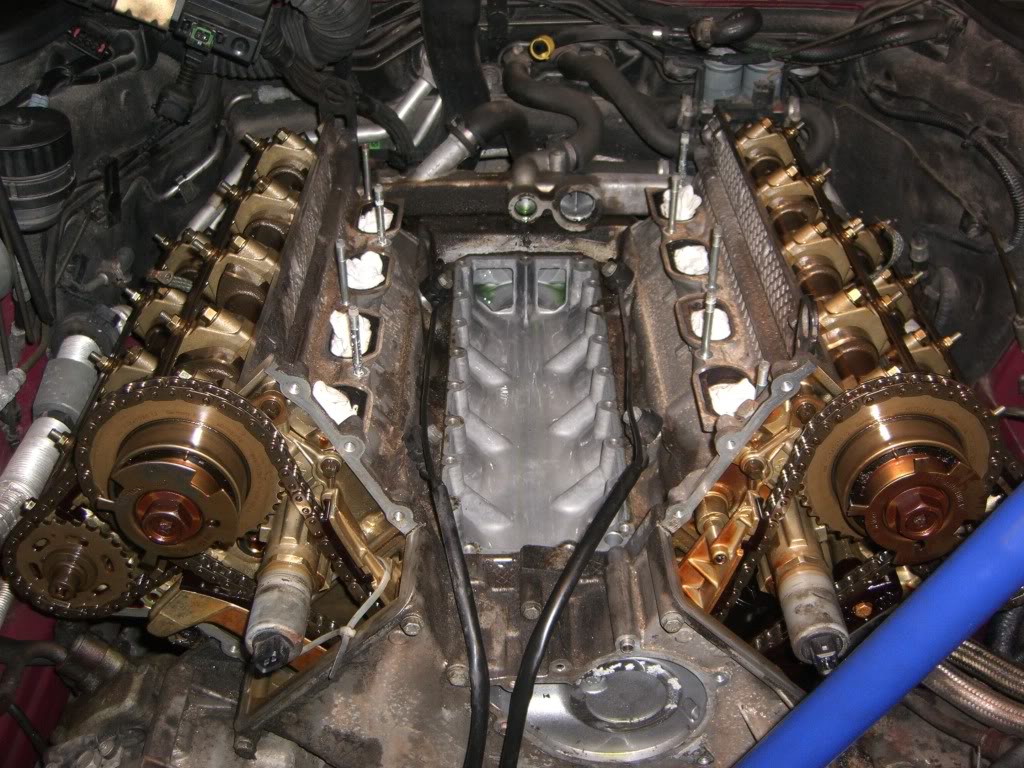
Lower cover back on. I chose to not remove the upper oil pan. Instead I bought a new gasket and cut the section that was exposed.
When reinstalling I used sealer where the cover met the upper oil pan and engine block. I put a new crank seal on too.
To install the cover I was told to push down firmly and tighten the lower two 13mm bolts on the front of the cover, then alternating left to right, do the all the front bolts.
Then tighten the bolts on the underside.
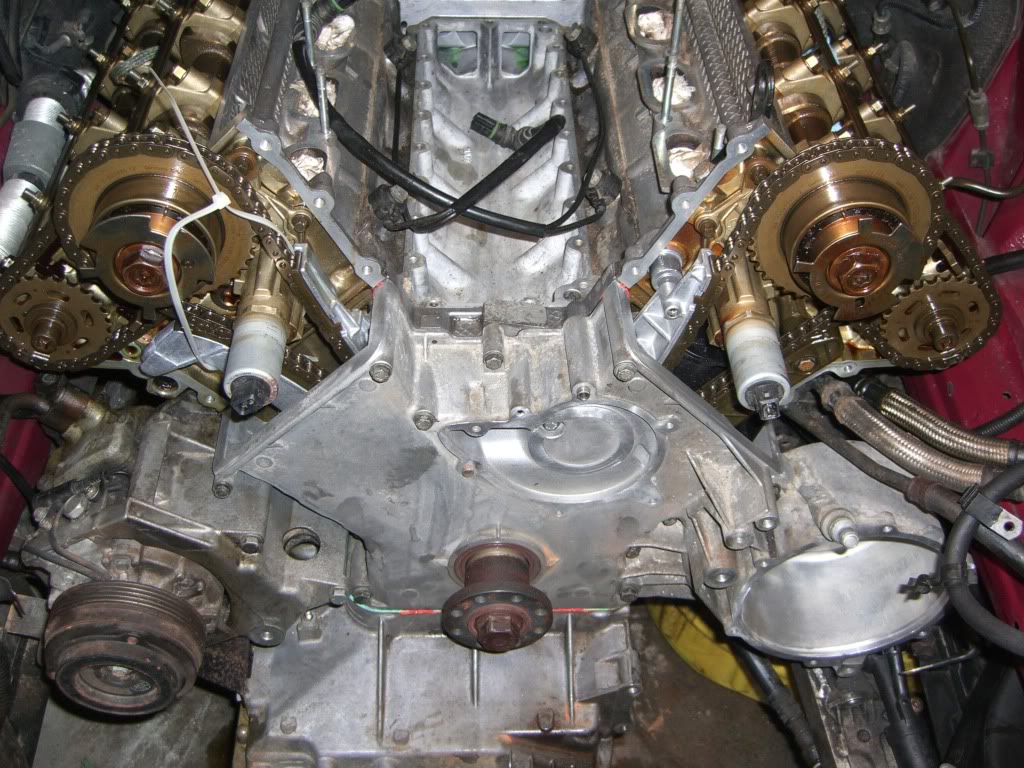
Just before installing the upper covers I put some sealer on the joint where the lower and upper covers meet the block. To reinstall them temp. put the valve covers back on.
There are two ways. BMW makes a special shim that goes between the valve cover and upper cover. I just doubled up the old gasket.
As you tighten down on the valve cover it pushes the upper cover down. Once the upper cover is level with the head, install the upper cover bolts in a alternating, left to right pattern.
Once they’re tight, remove the valve cover and check to see if the upper cover is level with the head. If it’s not, do it over.
It took me two tries on the first side to get it right. Check the misc information section for torque specs.
Here is the other side. After it’s in, install the tensioner.
Here is the crank holder putting the crank bolt on. You can also see the new vanos seals installed:
Here is a shot of the chain tensioner on the pass side upper timing cover. There is a metal crush ring that should be replaced.
Make sure you clean all the o-ring spots too.
Here is the dipstick hole. I installed a new o-ring and metal washer.
Now its just a matter of reinstalling stuff. I’ll post up some pics of various parts. Depending on what order you took stuff off will determine how you put it back on.
Just remember to lube all your o-rings as you put them in. You don’t want them tearing or not seating right. Don’t forget the injector clips (like I did) if you removed them.
New valley pan.
Water pump and tubes.

This coolant pipe goes to the trans cooler.
OSV tube.
Dipstick and power steering pump reinstalled.
OSV and hoses, also new jet pump that broke when I was removing it.
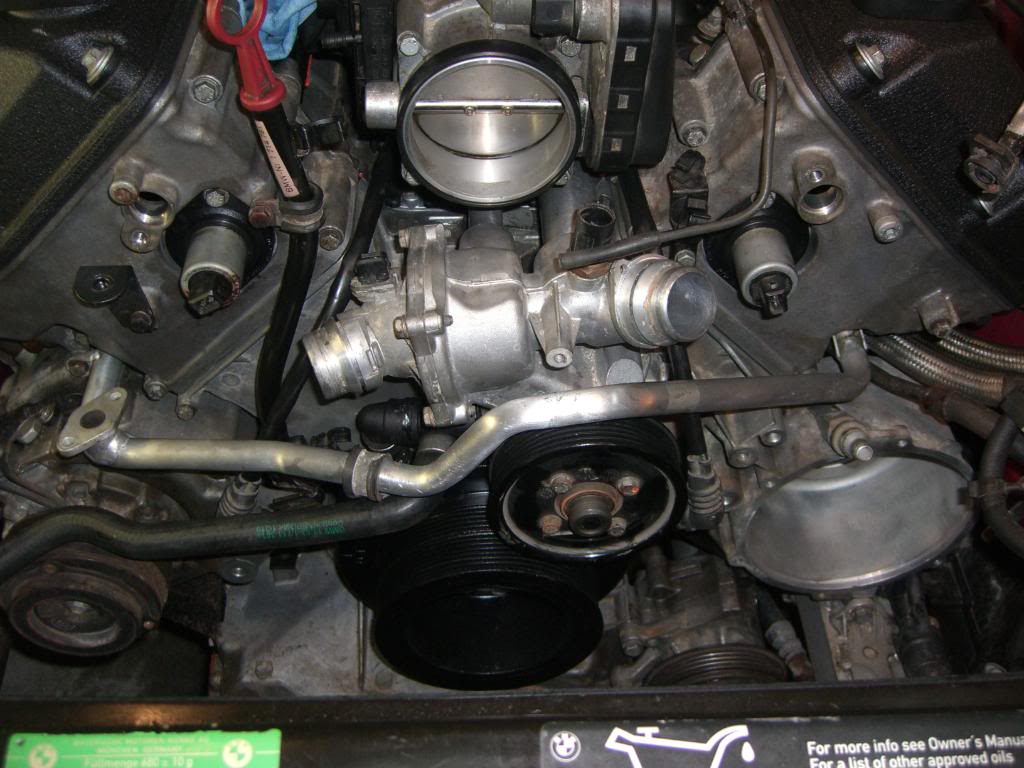
Intake reinstalled.
Throttle body and air pipe reinstalled. The o-rings on the air pipe were a little tricky to seat right. Oil them and take your time.
That’s pretty much it.
So here is my parts list:
| BMW Part Number | Description | Price | QTY |
| 32411093596 | Seal rings - power steering lines | $1.98 | 3 |
| 32411093598 | Gasket - power steering lines | $2.22 | 1 |
| 11531710048 | Water pump o-rings - large pipe | $2.49 | 2 |
| 11531711381 | Hose - to exp tank | $37.50 | 1 |
| 11531711384 | Water hose - hard pipe to trans cooler | $71.67 | 1 |
| 11537501777 | O-ring - for above pipe | $3.35 | 1 |
| 07129952113 | Clamp - for hose to exp tank | $3.47 | 1 |
| 11511731372 | Gasket Asbestos free - water pump | $9.09 | 1 |
| 12611744292 | Gasket ring - oil level sensor | $7.13 | 1 |
| 07119963300 | Gasket ring - o-ring for drain on alt | $1.61 | 1 |
| 11617501563 | Rear cover - osv | $86.93 | 1 |
| 11611440135 | Jet pump | $71.57 | 1 |
| 07119901511 | O-ring - air pipe in front of covers | $1.07 | 2 |
| 11727505259 | Secondary air pump gasket | $9.09 | 1 |
| 12317507996 | Alternator gasket | $14.95 | 1 |
| 13547510433 | Gasket - throttle gasket, o-ring | $13.17 | 1 |
| 13641437474 | O-ring - injector o-rings | $8.07 | 16 |
| 11141742042 | Valley pan w/ plastic cover | $97.04 | 1 |
| 11151705301 | Vent pipe | $50.54 | 1 |
| 11141275466 | Front crank seal | $38.60 | 1 |
| 11151705272 | Oil separator - under timing cover | $64.16 | 1 |
| 11311745406 | Guide rail - left side | $46.83 | 1 |
| 11311741236 | Tensioner | $102.51 | 1 |
| 11311741777 | Deflection rail - u shaped one | $147.77 | 1 |
| 07119963355 | Drain plug | $1.37 | 1 |
| 11129071590 | Valve cover gasket - left | $16.84 | 1 |
| 11129071589 | Valve cover gasket - right side | $48.51 | 1 |
| 11121726537 | Bushing | $2.57 | 16 |
| 11121721879 | Valve cover gasket seal | $6.50 | 6 |
| 11141436978 | Gasket set - lower cover | $59.40 | 1 |
| 11141741532 | Profile gasket - upper cover 1-4 | $6.95 | 1 |
| 11141741533 | Profile gasket - upper cover 5-8 | $10.83 | 1 |
| 11141435023 | Gasket - vanos solenoid | $10.85 | 2 |
| 11131742109 | Gasket - upper oil pan | $30.41 | 1 |
| 11431715614 | Flat washer | $7.44 | 1 |
| 11431707164 | O-ring | $5.40 | 1 |
| 11131436324 | Oil pan gasket - lower | $33.10 | 1 |
| 11151736140 | O-ring | $11.26 | 1 |
| 11151747978 | O-ring | $8.81 | 1 |
| 11151439989 | O-ring | $3.09 | 1 |
| 11611745195 | O-ring | $5.39 | 1 |
| 11611729727 | Intake gasket - throttle to intake | $10.83 | 1 |
| 11611729728 | Intake end gasket - intake to osv | $10.83 | 1 |
| 11611433328 | Intake manifold gasket | $15.77 | 4 |
| 11531710055 | Water pump o-ring - small tube | $2.11 | 2 |
| 07119963200 | Seal ring | $0.99 | 2 |
| 13621433077 | Coolant temp sensor w/o-ring | $15.95 | 1 |
| 13721736675 | Air filter | $11.53 | 1 |
| 11141736758 | O-ring - under 1-4 timing cover | $4.60 | 1 |
There are probably some things I’m missing (can’t find all receipts). Also, there may be somethings you could reuse.
This list just gives you an idea of what’s needed. I was doing power steering lines at the same time so I have some washers and o-rings listed here that might be for those.