Article by: jmciver
Article applies to: written for the E36, but applicable to all BMWs.
One of the few things I disliked about my M3 was the lack of meaningful instrumentation. I mean who needs a MPG gauge in an ///M Car? Since the spot below the OBC was already used for something else, I decided to go the a-pillar route.
DISCLAIMER:
This modification is to be followed and used at the sole risk of the individual performing it. When performing any modifications, there will always be the risk of damage to the car.
MODIFY AT YOUR OWN RISK. Read the procedure carefully and be sure that you feel comfortable with the modification before you begin.
Now on to the fun stuff!!
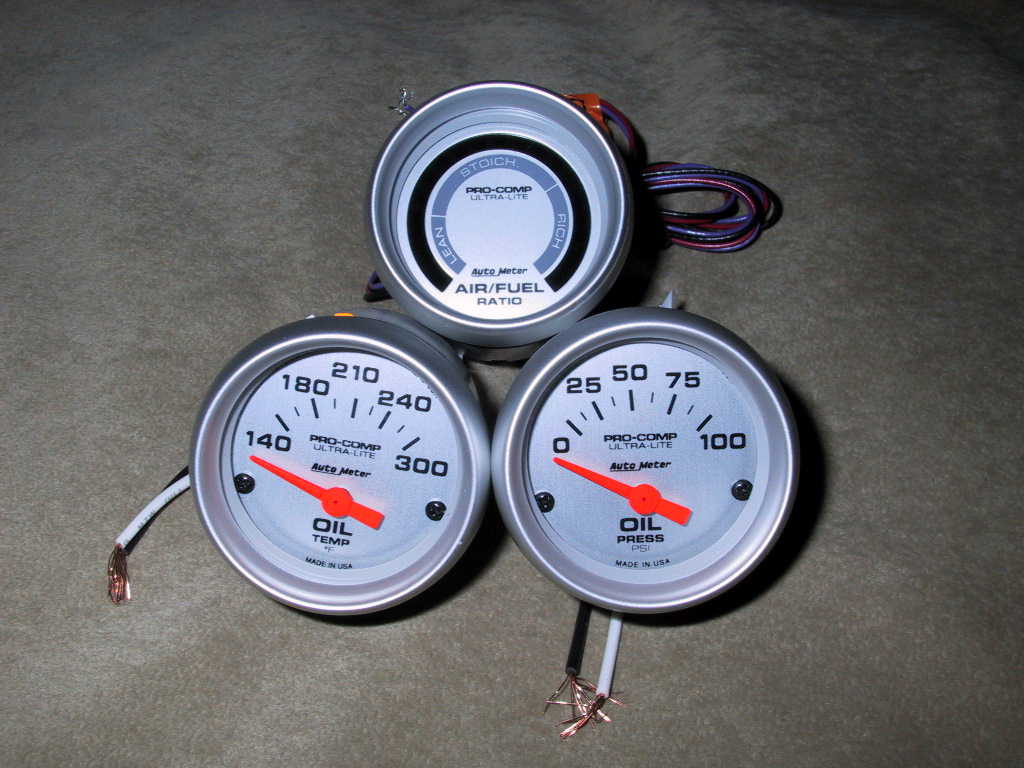
The Gauges:
These are the three gauges I chose to install. They are from the Auto Meter Ultra-Lite series.
I chose them since they also match the silver instrument cluster gauges that are installed in the car. Oil temperature and pressure are pretty obvious.
I chose the Air/Fuel Mixture gauge since I will be installing a nitrous kit in the near future.
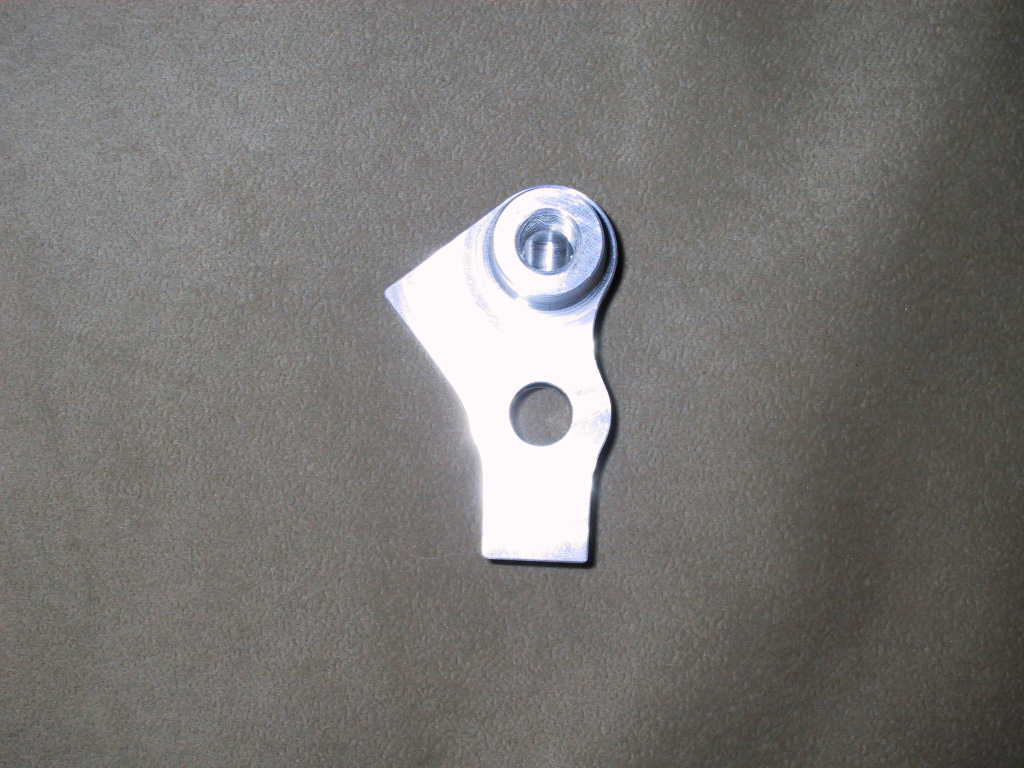
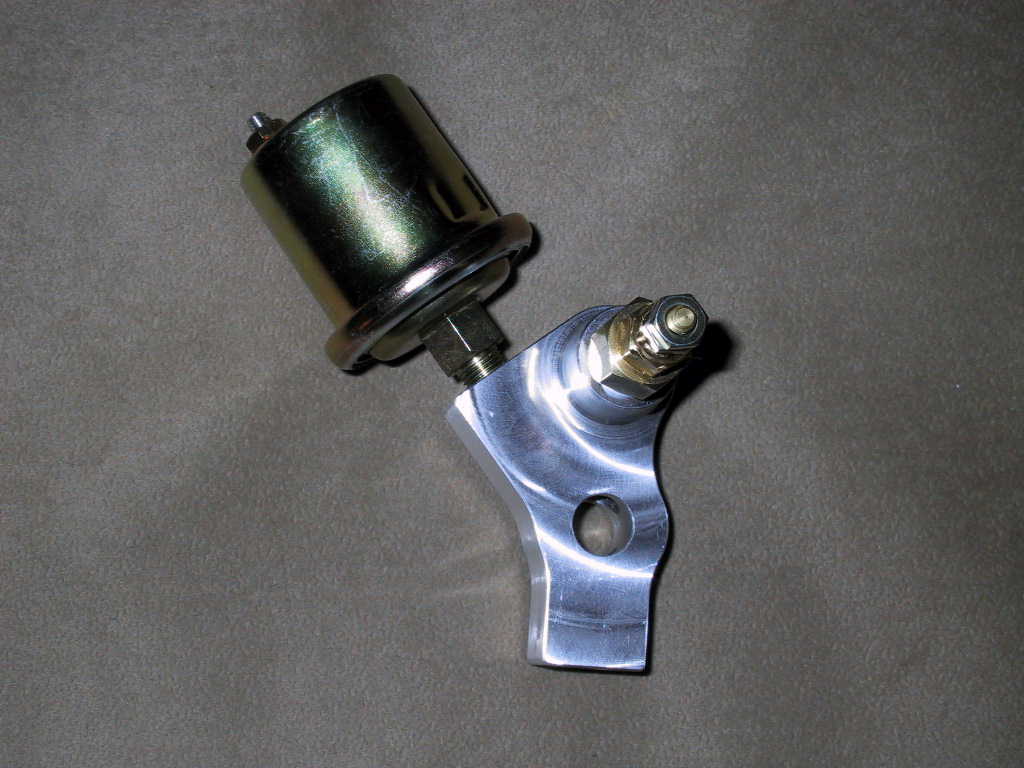
Oil Distribution Block:
To attach all of the senders, I decided to go with the oil distribution block developed by JTD Designs.
This design proved to be a cleaner and easier install than some other methods out there.
In this shot you can see where then temperature sender is installed and where the oil distribution block is attached to the oil filter housing.
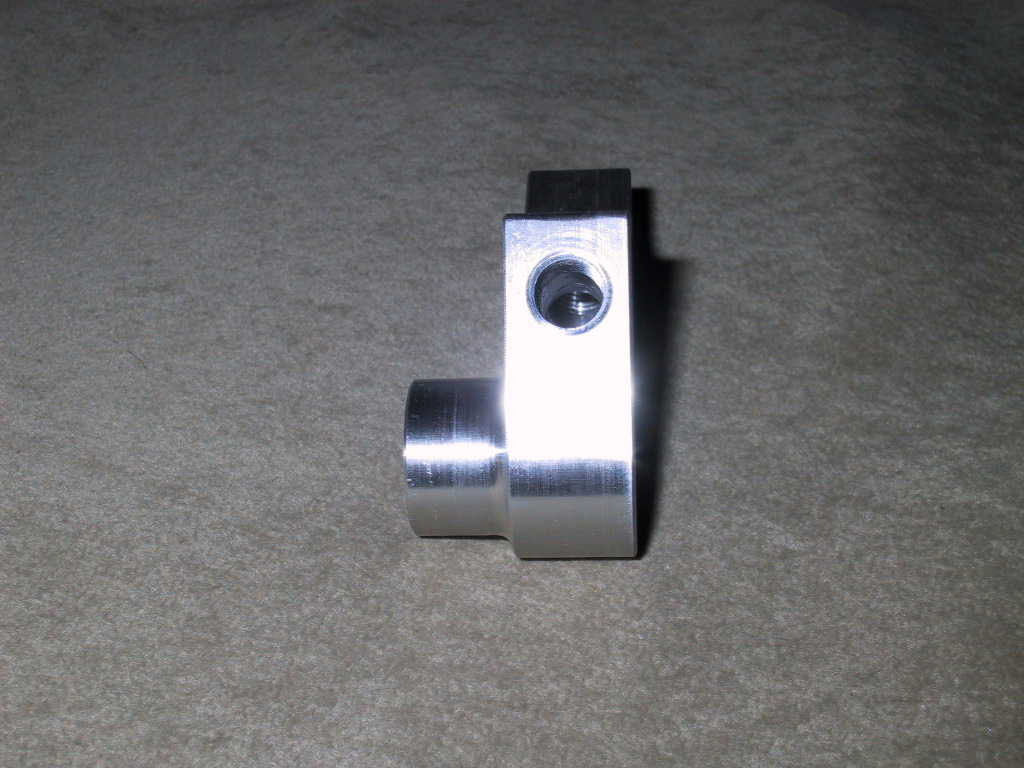
Oil Distribution Block:
Here you can see where the pressure sender will be installed.
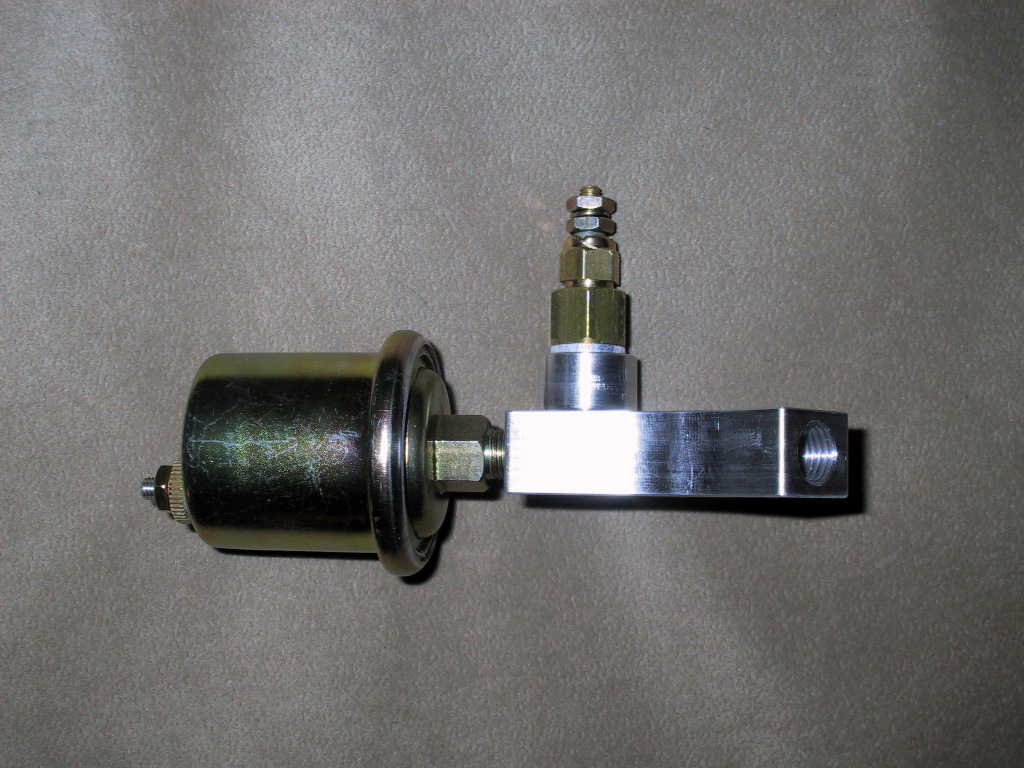
Senders Installed:
In this shot you can see where the pressure sender and temperature senders are installed.
The pressure sender required a 1/8″ NPT fitting.
The temperature sender required a 1/8″ NPT fitting as well but the ODB had a 12×1.5 Metric fitting.
I ended up using a 1/8″ NPT to 12×1.5 Metric adapter in order to use the temperature sender from Auto Meter.
Senders Installed:
Here is another shot of the ODB with the senders installed. In this shot, you can also see where the factory oil pressure switch, or “idiot light” as it is sometimes called, will be installed.
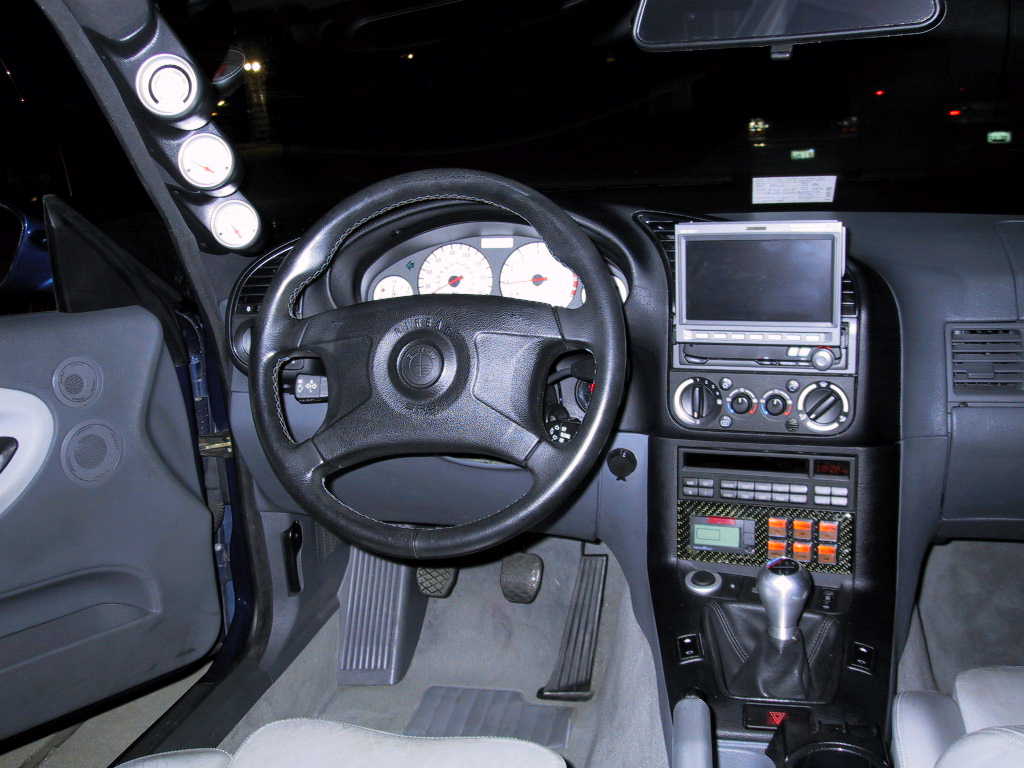
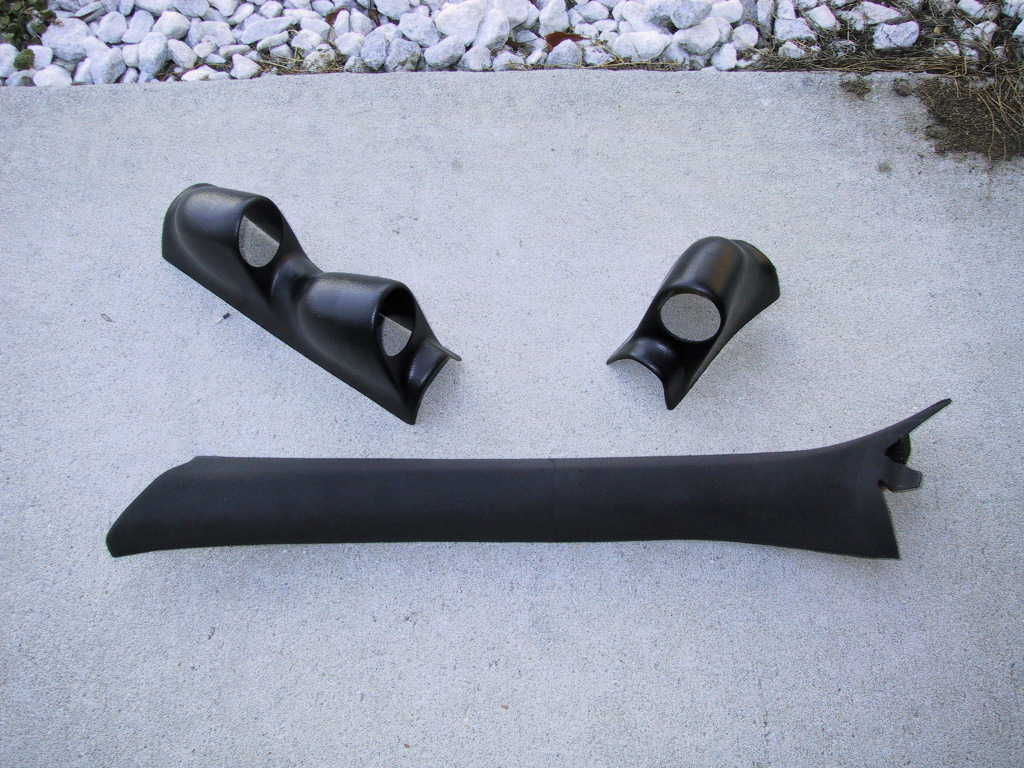
A-Pillar & Pods:
I could not find a triple pod for the a-pillar on an E36 so I decided to go with a double and a single pod.
Test Fit:
Attaching the pods to the a-pillar was pretty easy. Just a matter of drilling four holes on each pod and using the fasteners that came with each pod.
I used a dremel tool to trim down the edges in a few places to ensure a proper fit. Here you see a test fit to see what everything will look like.
As you can see, all of the gauges are very visible while in the drivers seat. Makes you wonder why nobody makes a triple pod for the E36.
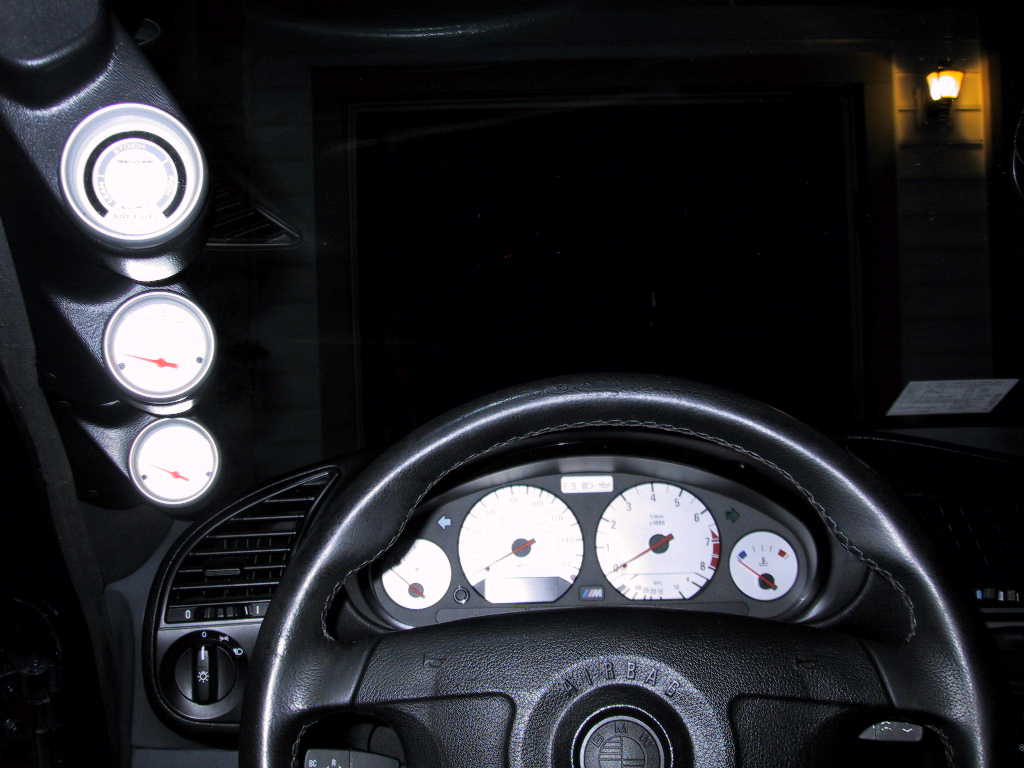
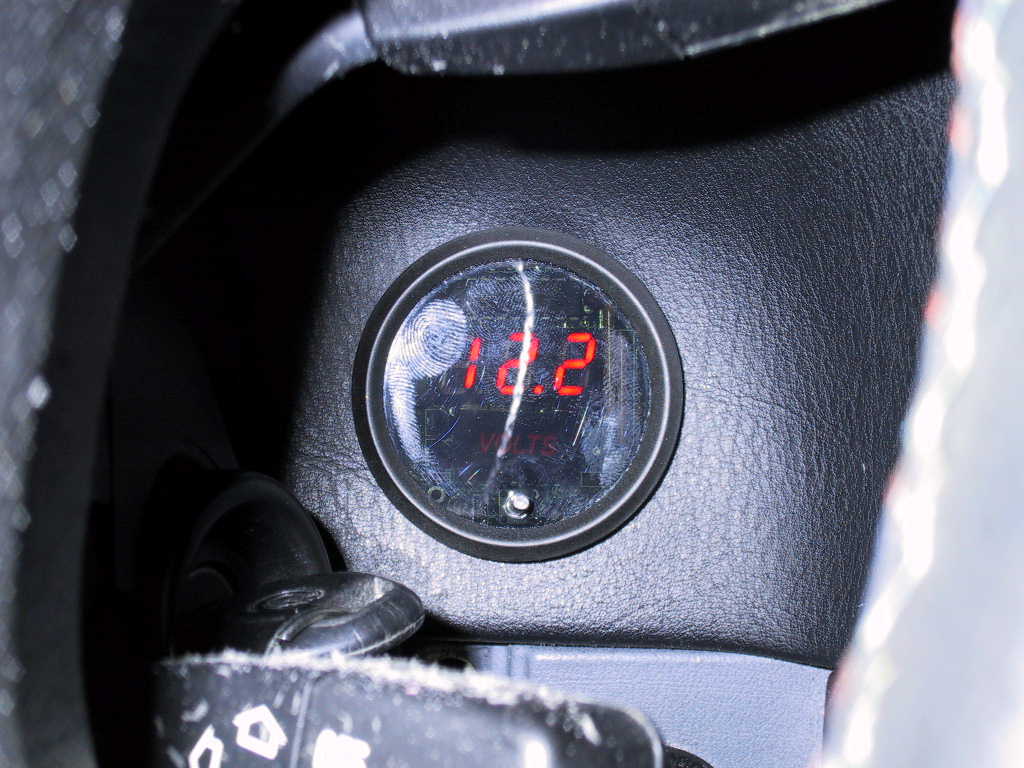
The Voltmeter:
After ordering the above gauges I decided that I wanted to have a voltmeter in the car, but where would I put it? I decided to mount it just to the right of the steering column.
It is not as easy to see while driving as the others are (I have to move my head a bit) but I have gone this long without one so I didn’t care too much. Wiring was pretty easy.
Find a switched 12V source and a ground.
It even had a dimming wire that I tapped to the dimmer switch so that it only dims when the lights are on (however the gauge is not dimmed by the factory dimmer switch, this was the closest wire that was switched when the parking lights came on).
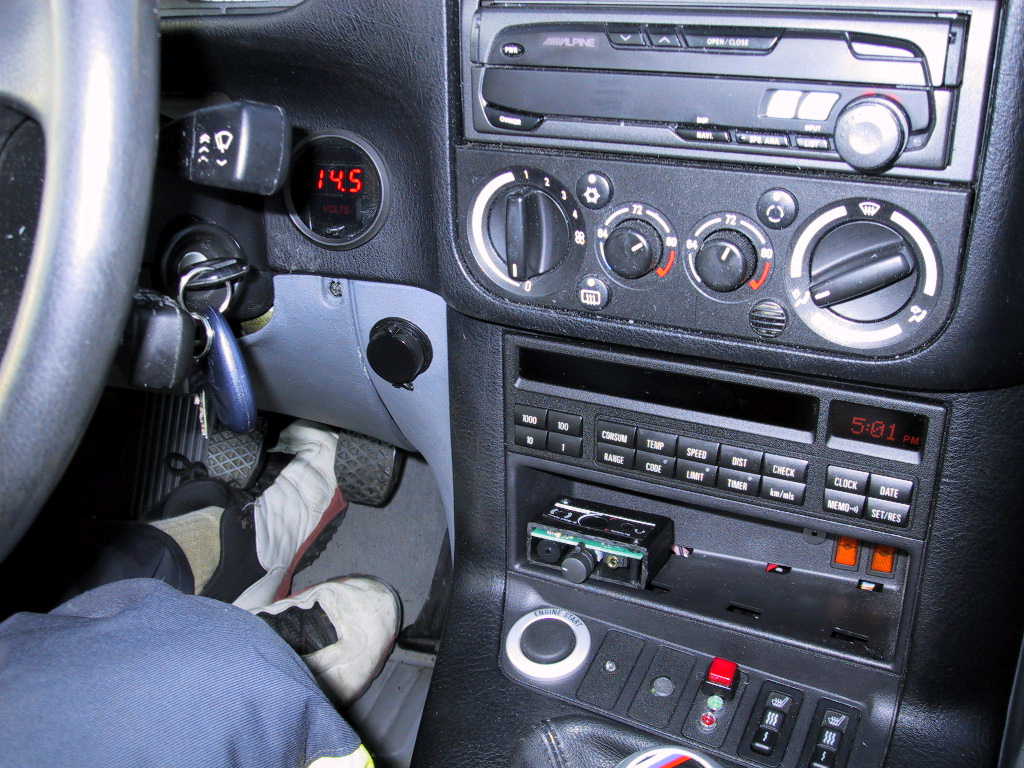
A Better View:
Here is a wider view of the gauge. I chose to go with a Nordskog Performance gauge here for a couple of reasons.
One, since the gauge was not going to be visible like the others, I did not care if it matched the others. In fact, I wanted it blend into the dash a bit.
Two, and this is the most important one, the depth of the gauge was only 3/4 of an inch unlike the 3 inches of the Auto Meter gauges.
This meant I had enough clearance to mount it in that location.
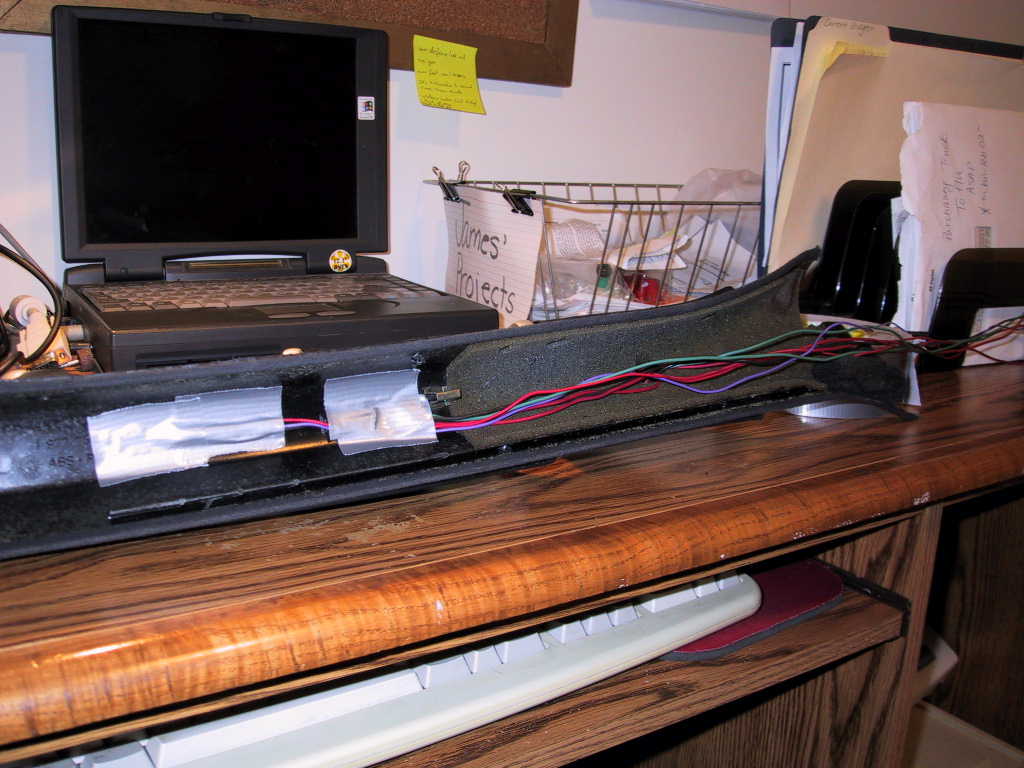
Back To The A-Pillar:
Here you can see the gauges mounted on the a-pillar and the wiring. I drilled a hole behind each gauge pod.
To minimize the amount of wire that went under the dash, I tied all of the grounds together, the power and the illumination as well.
I used some duct tape to help hold the wires in place.
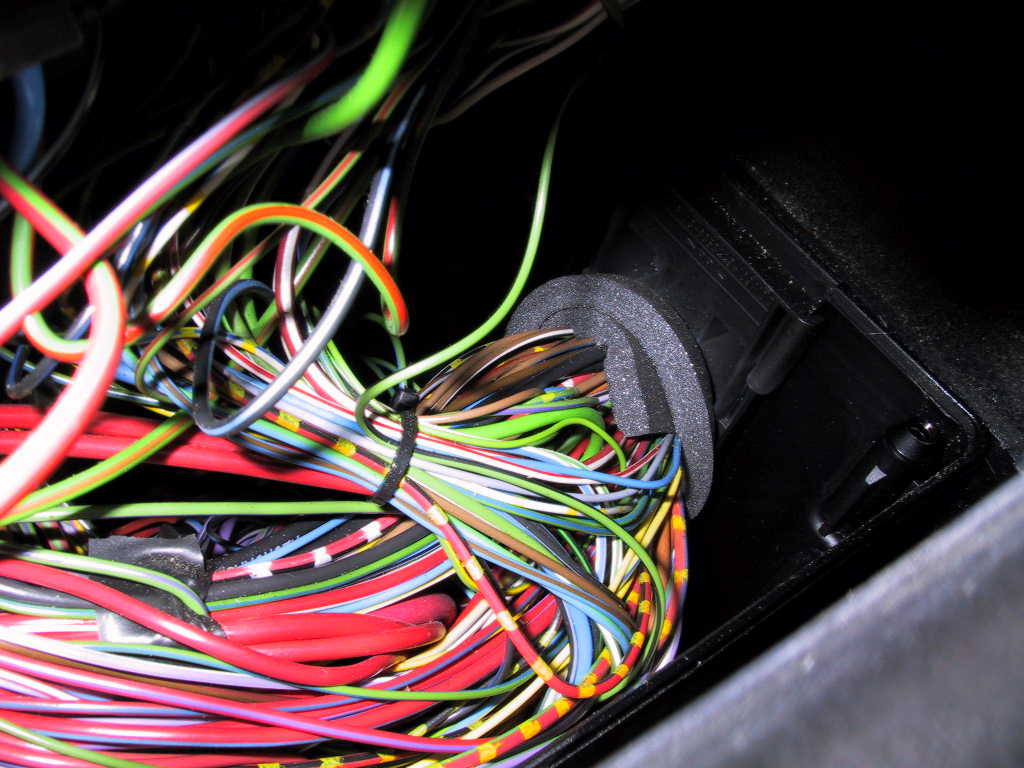
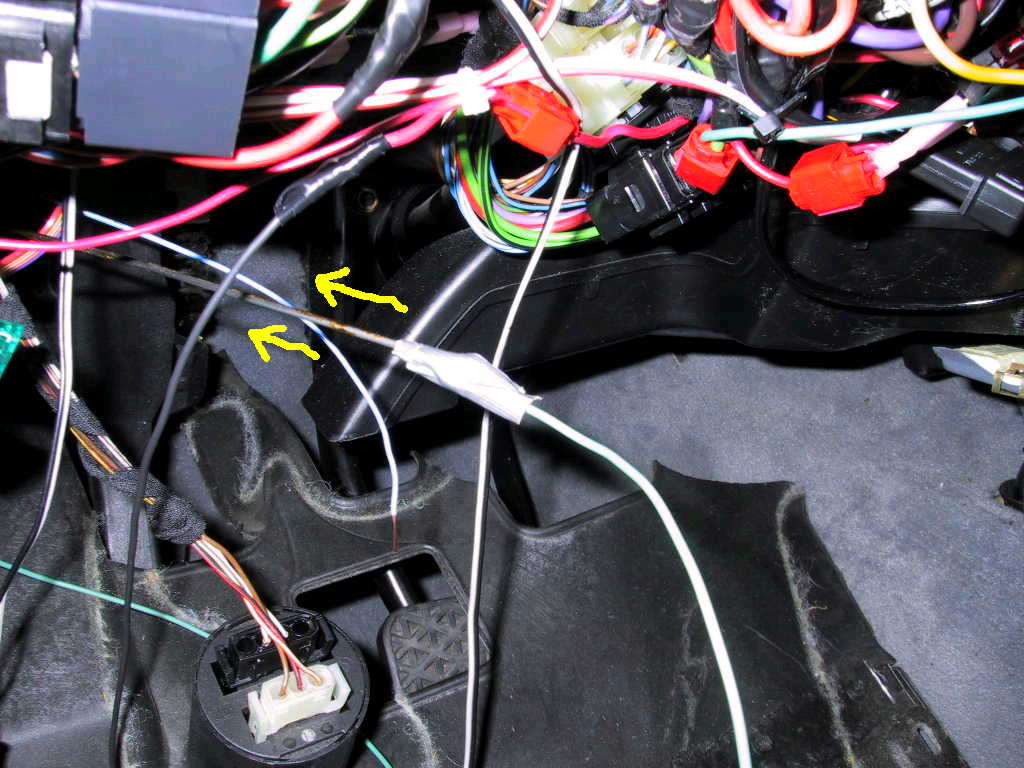
Routing The Wires:
To keep the wire runs relatively short, I chose to go through the fire wall on the drivers side.
First, you need to remove the top of the fuse box. It is held down by four torx screws on each corner. One screw is under the fuse panel lid.
The other three are outside of the lid. I chose to go from the engine compartment to the to the passenger compartment.
I used a wire hanger that I straightened out to pull the wires back through to the engine compartment (far right).
The Finished Product:
Here is the finished product. I ended up installing a kill switch for the Air/Fuel gauge and installed it on the lower dash.
That way if the LEDs ever start to bother me, I can turn them off.