Power Seat Gear Replacement
Article by: 013137
Applies to all e36 models with power adjustable seats.
Earlier tonight while I was doing my power seat gear install I decided to make a DIY out of it, and here it goes.
In this DIY I will be replacing my recliner gear.
Tools needed:
1.)Torx screwdrivers or socket bits (T-30, T-25, and T-20)
2.)Socket and ratchet to remove the seat (5/8″ socket)
Project time:
1 Hour 40 Minutes (You actually should complete it faster, stopping and taking pictures for this DIY is what made the install take longer for me)
1.)The first thing that you are going to want to do is to remove the 2 plastic caps which are covering the 2 nuts that hold the front of the seat to the floor of the car (one nut and cap on each side):
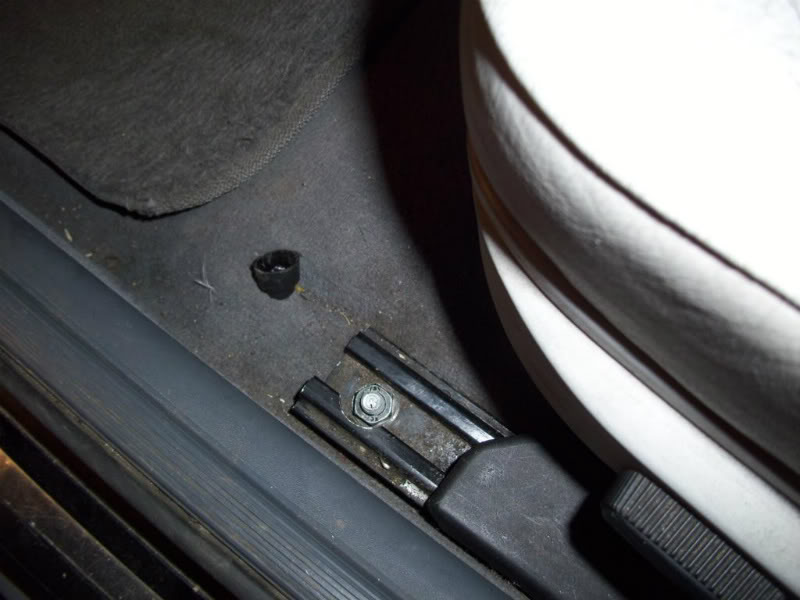
Now you can remove the 2 nuts, they require a 5/8″ socket.
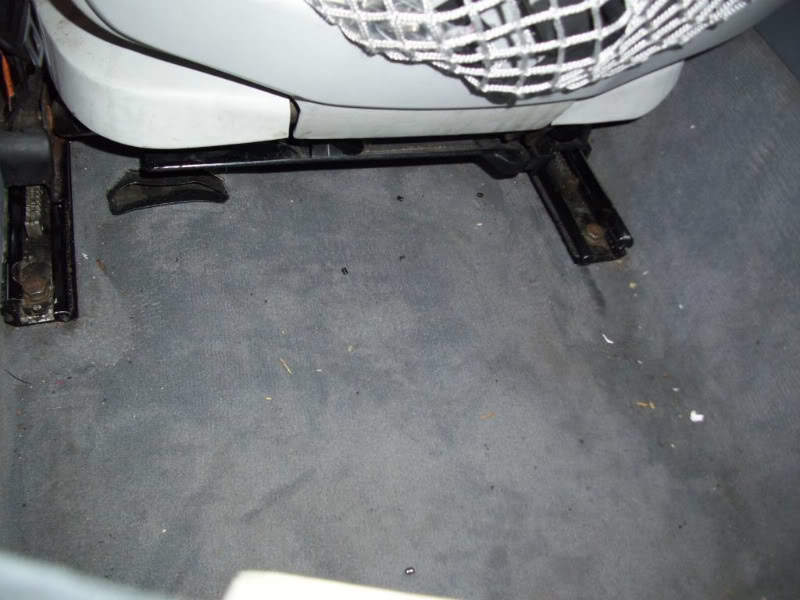
2.)Now you are going to want to remove the 2 bolts that are holding the rear of the seat down to the floor, they use the same size socket as the 2 front nuts did:
3.) Now that the seat is completely unbolted, you are going to want to go to your trunk and remove the cable from the negative terminal of your battery, doing so will prevent an unwanted airbag light from appearing on your dash once you unplug the seats wire harness.
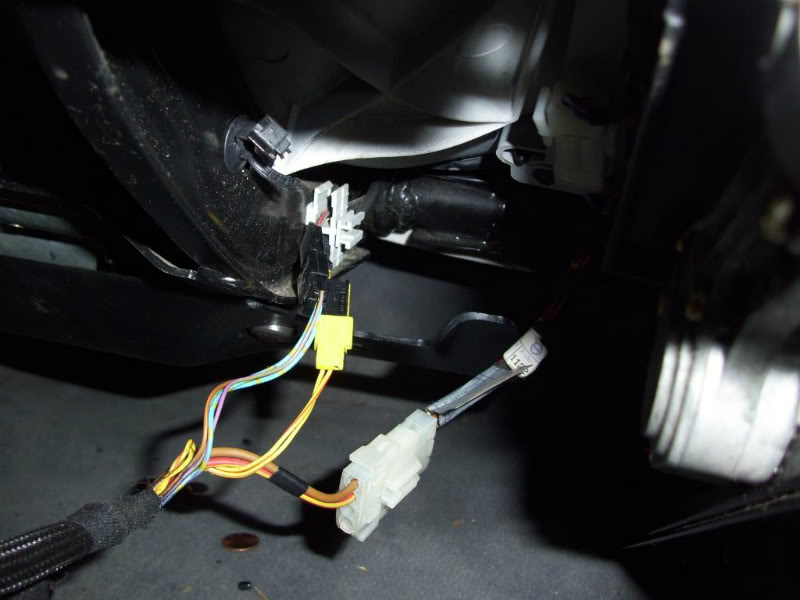
4.) Now that you have removed the cable from the battery’s negative terminal, go back into the car and tilt the seat back and peek under it, you will see the wire harness which is 1 large and 2 small female and male connectors, carefully disconnect all three of them: