Article by: AHenry014
Article applies to: all models with the crap pulley driven viscous clutch fan.
This is installed on my v8 car, a ’94 touring with the b40/6spd swap.
I first installed it on the stock radiator 540i/6 rad with minor trimming to the Volvo shroud, and it is now installed on the Mishimoto e36 m3 rad (see morozo’s PSA thread) as you see here. Just some more trimming involved.
I’ve heard about this install being done on i6 cars, so it can be done.
Specs:
- Fan is two speed, high and low
- Fan rumored to be ~3000 cfm, so it’s a beast
- Fan module is ground switched, just as the stock radiator sensor is
- Fan module takes care of the transition from low to high speed
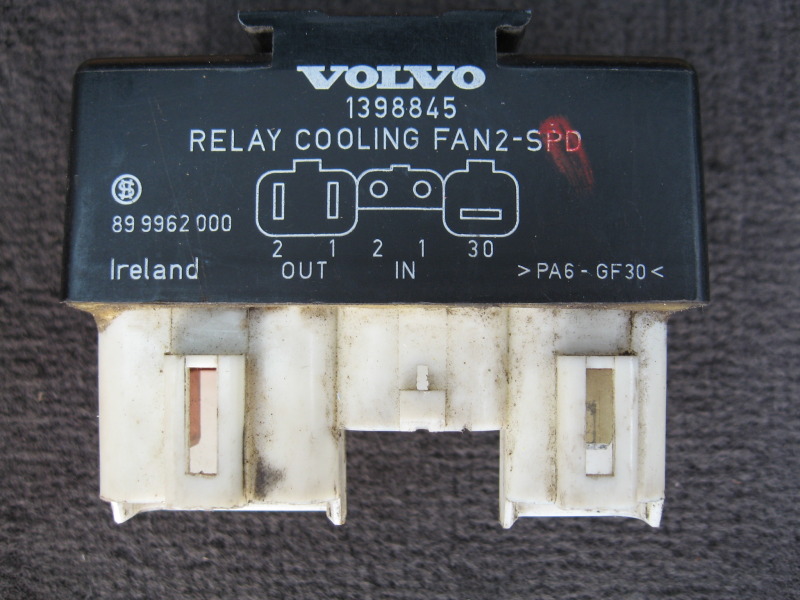
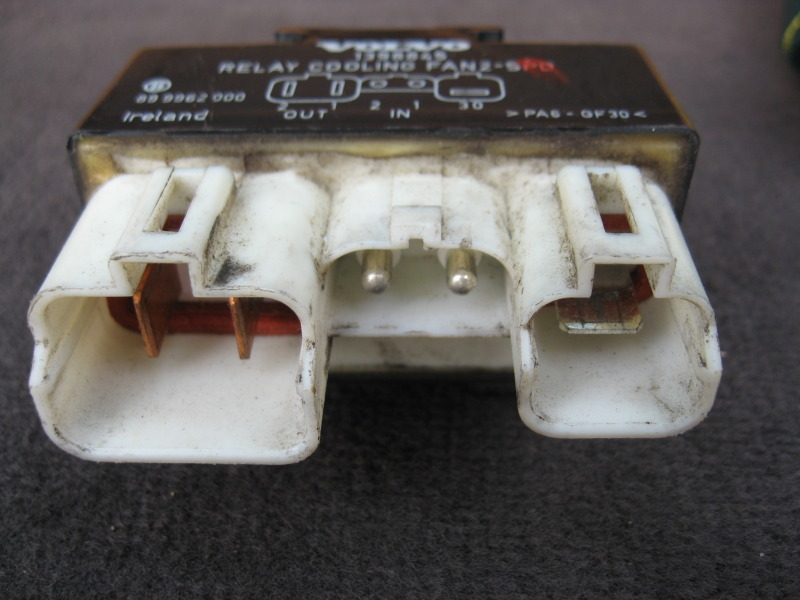
Step one: Gather necessary parts. You need the fan and the wiring (its already attached to the fan), the fan relay module (and the other two plug/pigtails that plug into the module), some sort of fuse and wiring bits. I believe the fan i got came from a mid-90s 850 sedan. These fans were used in a slew of Volvos from the 90’s (and possibly newer), so look around the junkyard, you’ll find one. I’ve also been told that there are possibly two versions, both interchangeable – one with more curved blades. The more curved bladed models are quieter. Get the shroud too obviously.
Step two: Remove your current clutch and shroud. If your clutch is seized like the two I had, they get thrown in the trash.
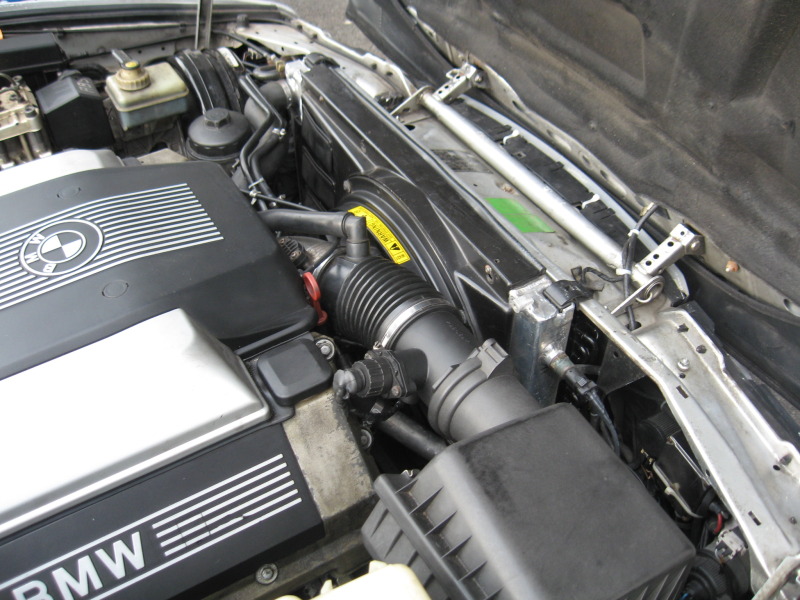
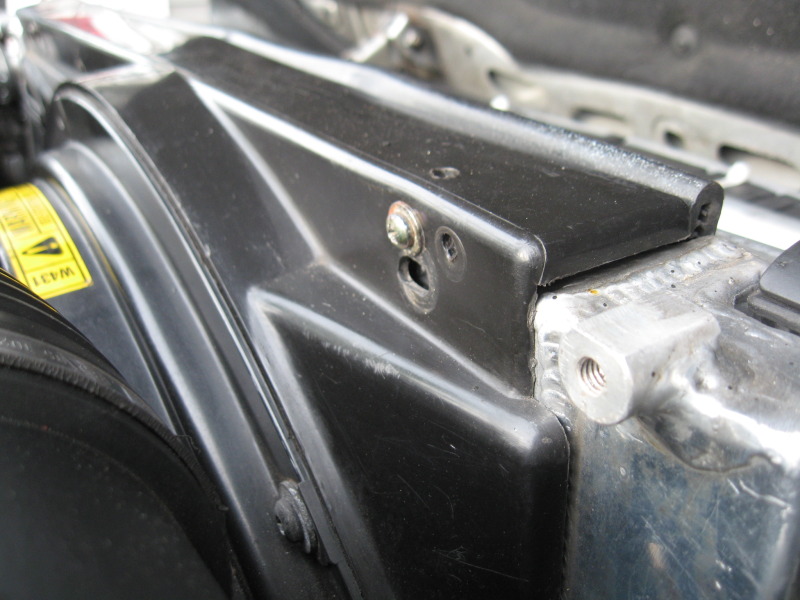
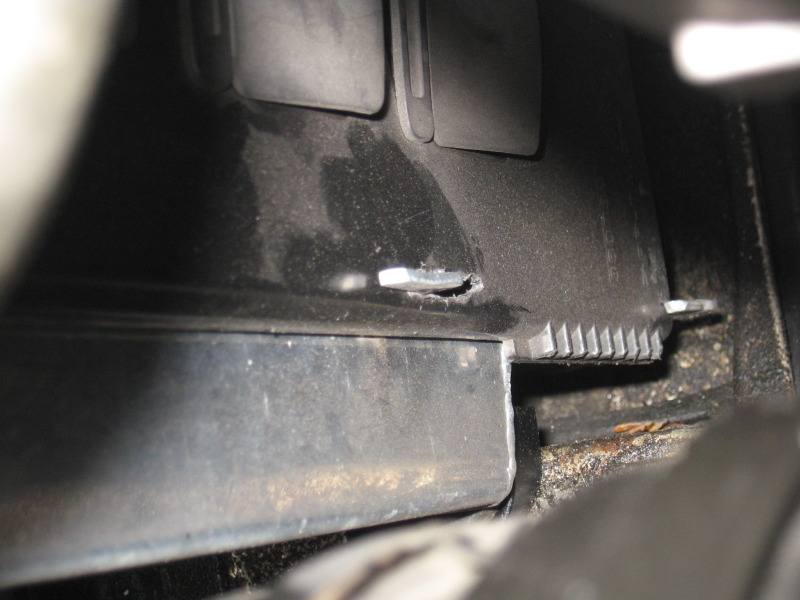
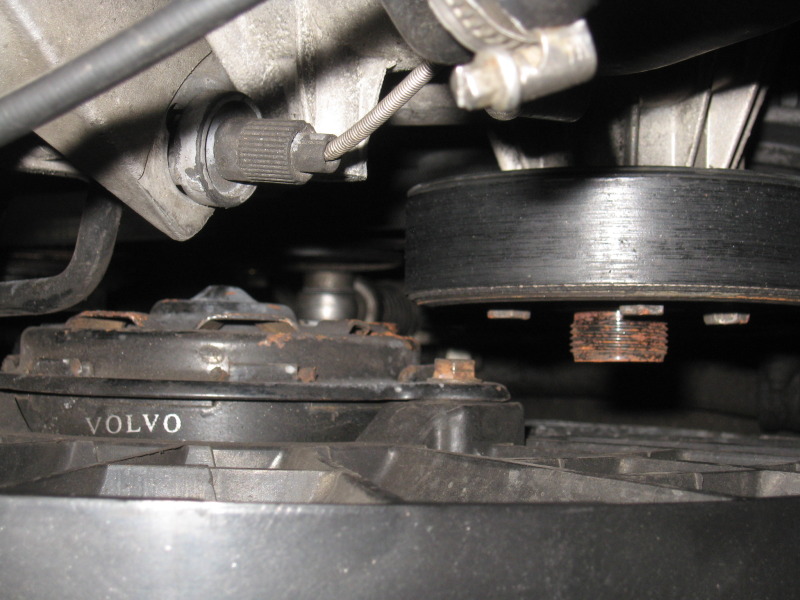
Step three: Trim the fan to fit and mount it. This is up to you. The top is easy since there is a part of the shroud that “hooks” over the top. I drilled two small holes in the radiator upper metal piece and installed two speed nut like things on it. I then drilled two corresponding holes in the shroud and used two screws. Top is done. The bottom i just zip tied on the original radiator. With the Mishimoto, I used the hook that’s OEM to e36’s to mount the drivers side bottom. Zip ties on the pass side. again, this is up to you how to mount it. It fits almost perfect on the stock radiator with almost no trimming. It slides into a grove on the drivers side (look at how it comes off the Volvo and you’ll see what i mean), then zip tie the pass side. Super easy. The distance to the water pump pulley was close, so keep an eye on that. I also had to trim a little bit from the fan itself to clear the intake tube.
Step four: Wire up the module. Pick a spot where you want the module to go and mount it in a way that it is removable. Keep in mind that the fan wiring is only so long, so use it as a guide, or extend the wiring.
There are three plugs on the module, one for the fan plug, one for the power, and one for the wires that trip low and high speeds.
The first part of this involves the main power wiring. This wire is pretty big (10 or 12gauge). I powered mine directly from the jump terminal in the engine bay. It has power all the time. Yes, if my radiator sensor somehow dies and shorts one of the speeds to ground, it will kill my battery.
I should relay this to an ignition powered wire, but i didn’t. Oh well. On this wire I used a pretty unique fuse. Its a self resetting fuse that can handle high current draw. I got it at Autozone for like 6 bucks.
I used a 25A/30A, don’t remember exactly (see: http://www.amazon.com/COOPER-BUSSMAN…/dp/B001PT7X8W).
These things are cool. If you get a short, they stay open till you fix it. The last fuse you will ever buy for this job. Once this is ran, leave it unplugged until the end for safety.
Second, cut the wiring behind the radiator fan sensor and leave a couple inches.
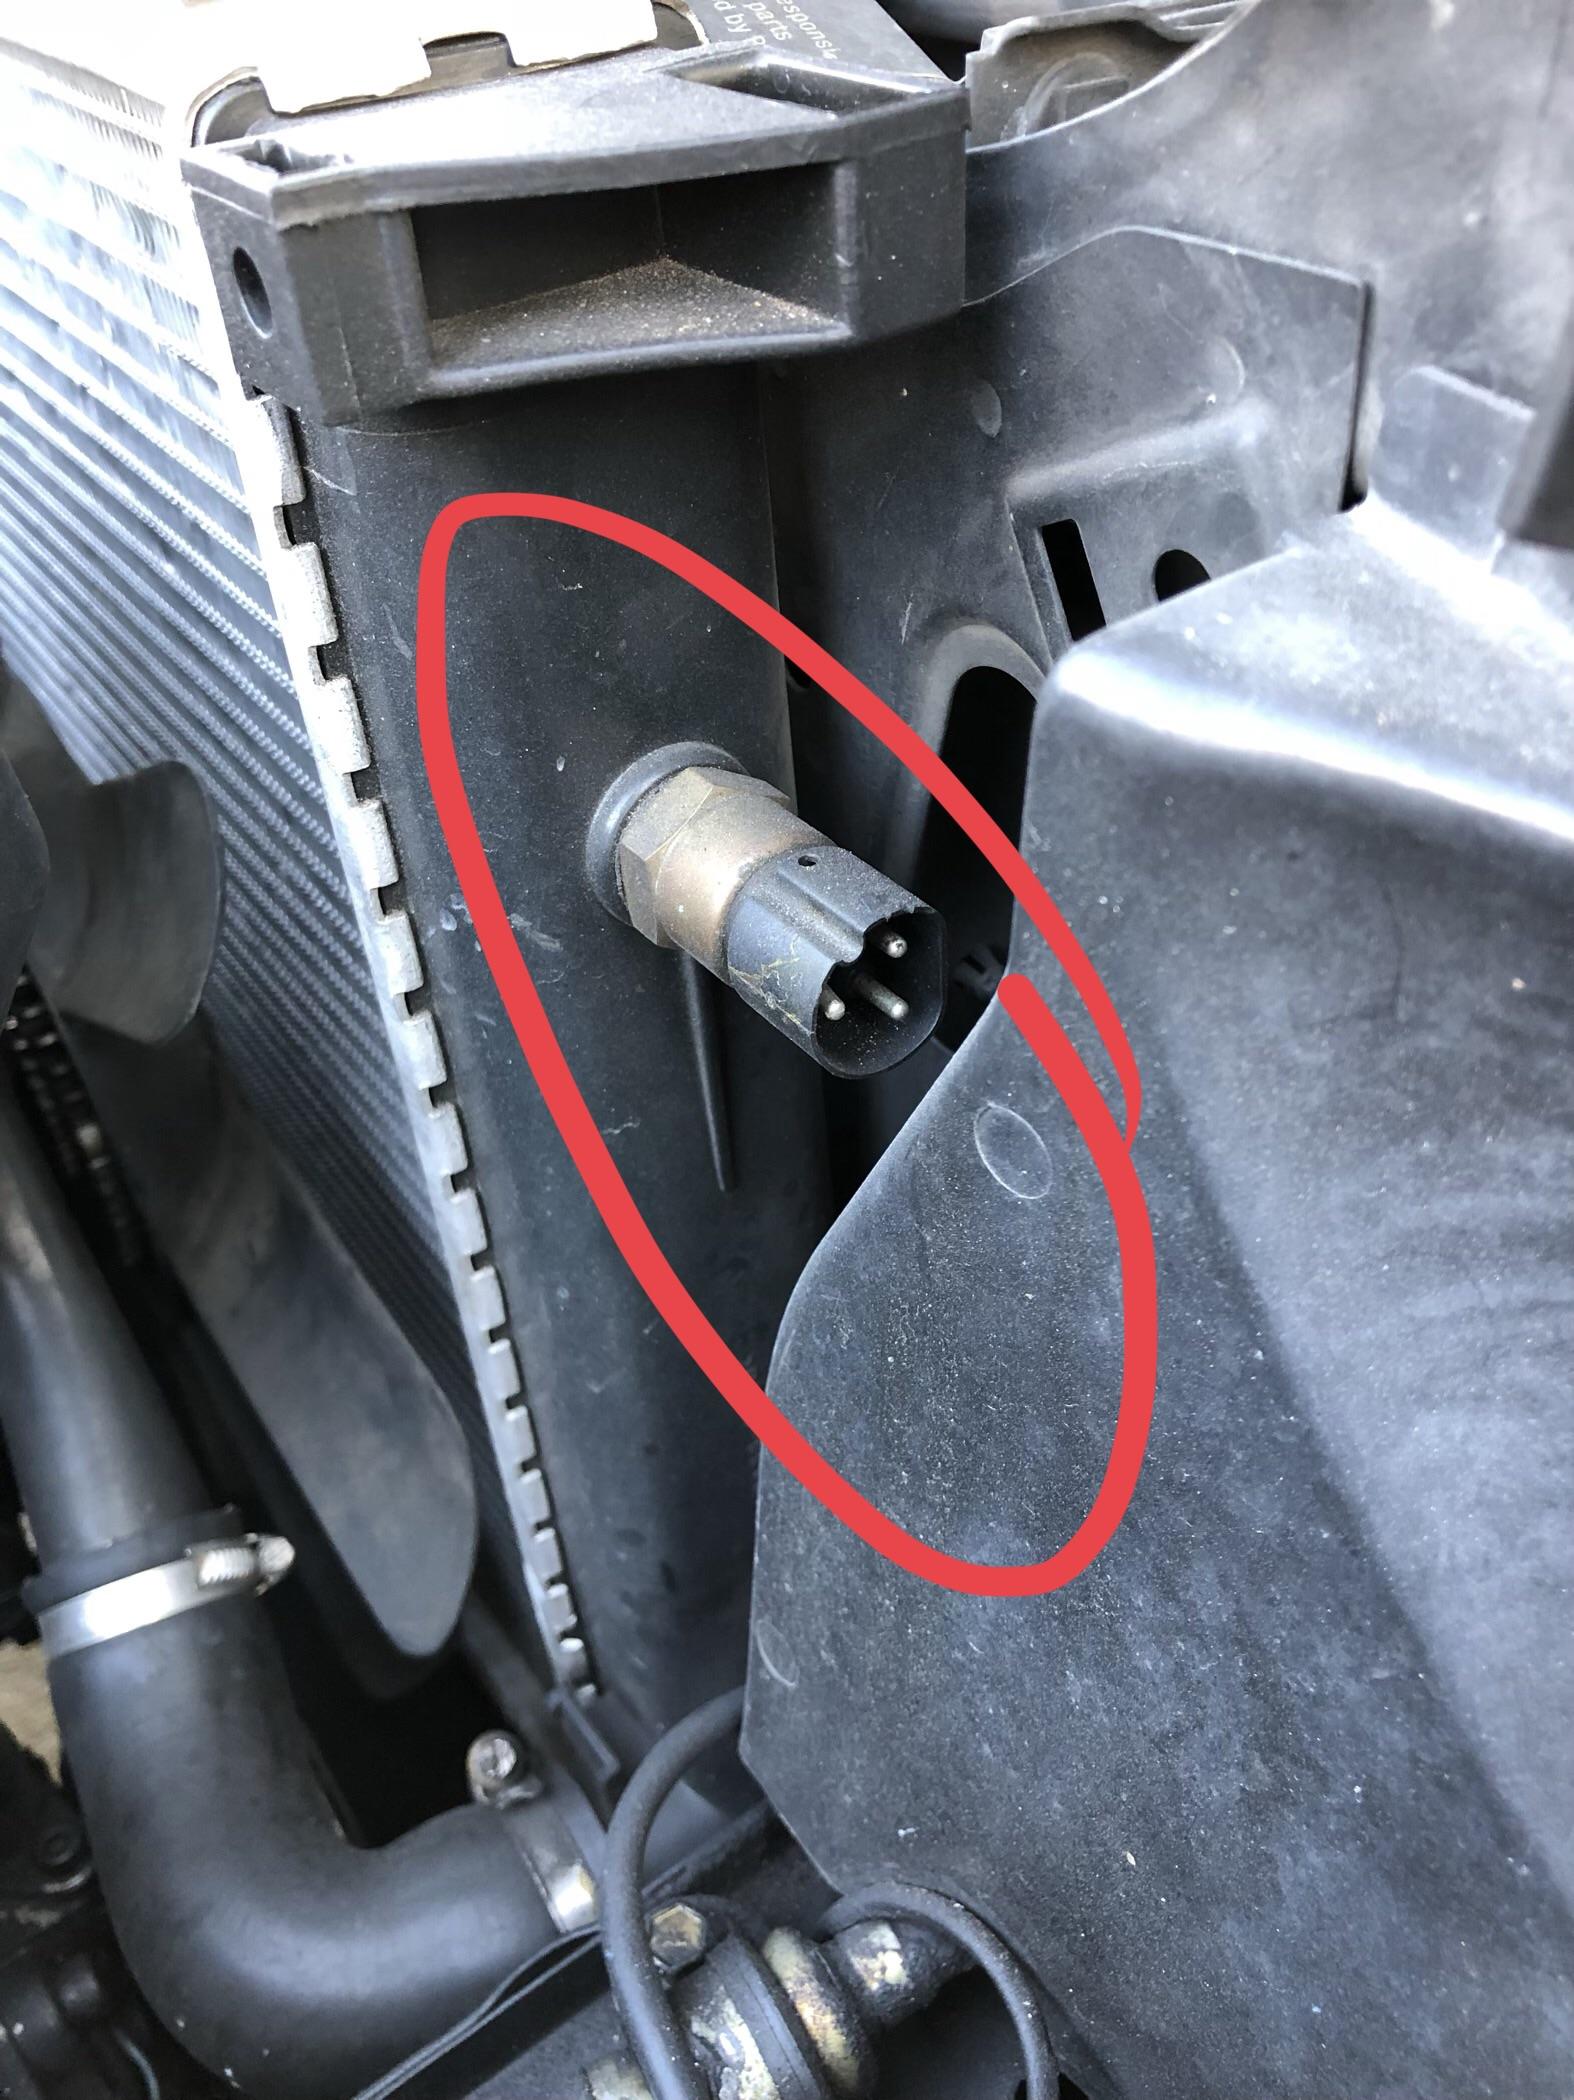
You can leave the brown wire attached if you choose, i chose to make my own (there’s a convenient ground post right behind the headlight on the pass side).
Tape individually and tuck the stock wiring away.
Be sure not to short anything out here. The purple wire on the OEM plug is for the low speed trip, the black for the high speed.
One the module side, the center plug is for these trip wires.
Pin 1 is for low speed, attach this to the purple wire from the OEM harness.
Pin 2 is for high speed, attach this to the black wire from the OEM harness.
The last thing to do is to plug in all the wiring to the module and make sure the ground wire from the fan harness is grounded.
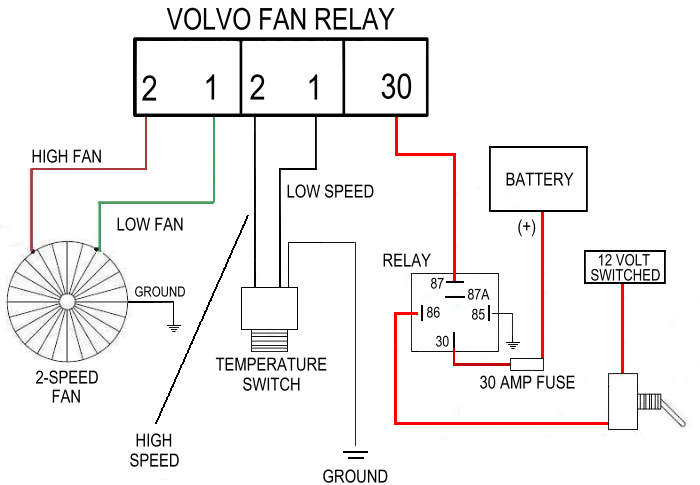
To test, jump from the purple wire to ground and make sure low speed kicks on, and the same for the black wire for high speed.
Now as long as your radiator sensor is good, everything should work fine! One thing to note is that this is now a totally independent system from the engine and A/C.
The front a/c condenser fan will no longer kick on under an overheating situation, as it did stock. This is fine since there’s no reason to be redundant IMO.
This Volvo fan is a beast and does its job well.
The front condenser fan still kicks on when the a/c tells it to, just as OEM, so that’s no problem.
Now for pictures:
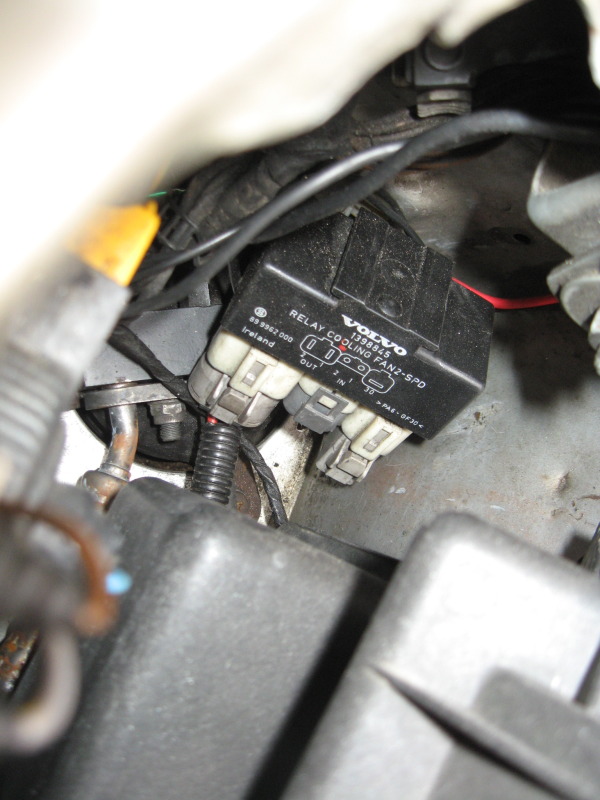
Module, left is fan plug, center is trip plug, and right is main power:
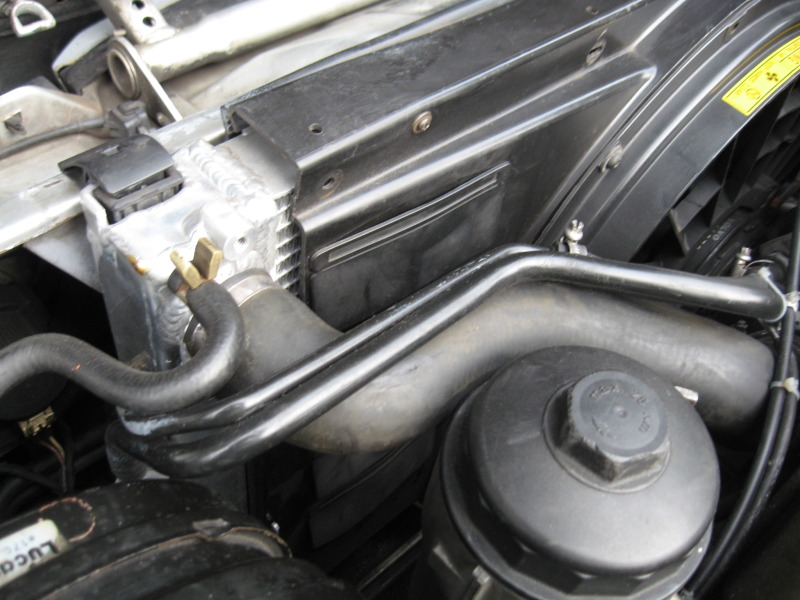
How it looks . . .
Upper mounting screws:
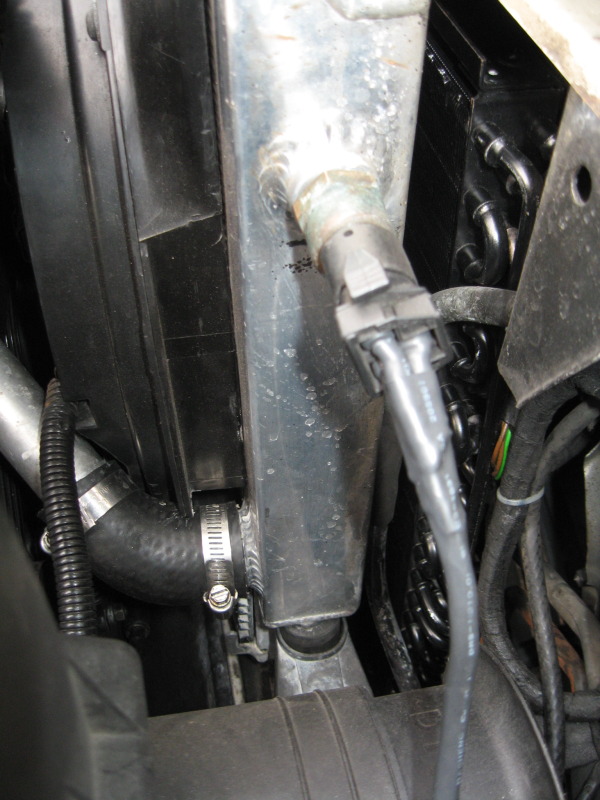
Lower mounting, drivers side:
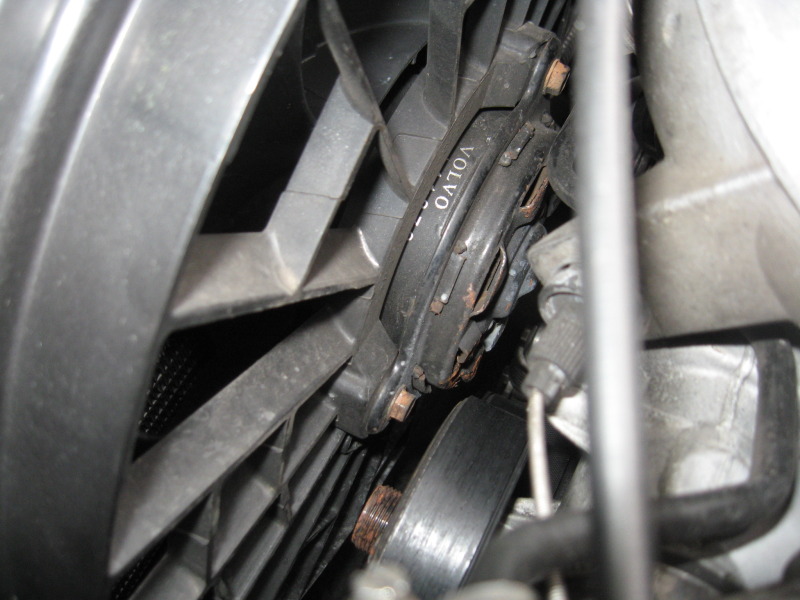
Close to the water pump pulley.
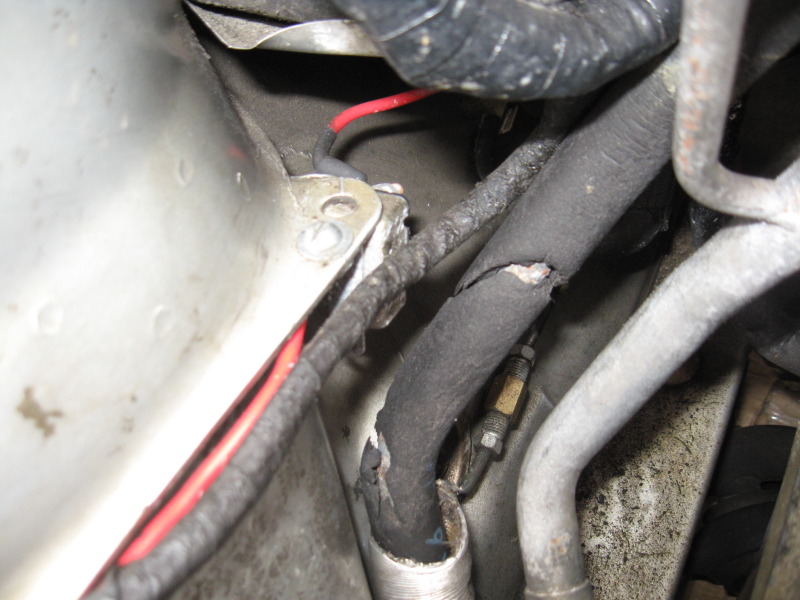
Module placement, fuse, and wiring . . .