Article by: Timmay77
Applies to: All BMW e39 chassis models.
I know this is a touchy subject, using Powerflex bushings in the thrust arms. I don’t want this thread turning into a heated discussion about it. If you feel this is not the right route, please start another thread and discuss it there……
This is not a DIY, just some information and pictures. If you work on your car and it falls on you, or you rip your arm off, don’t blame me….
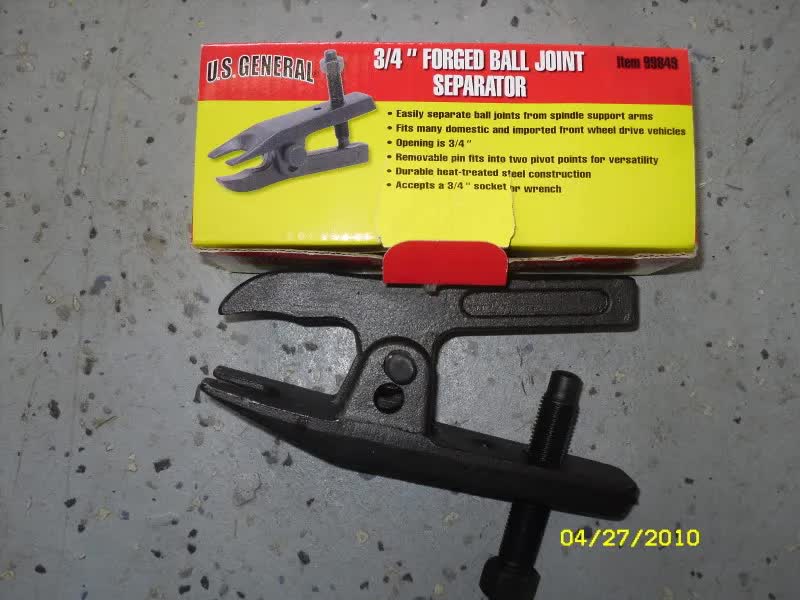
Now then, on with the good stuff. I ordered my Powerflex bushings from Bimmerzone (thanks guys) a few weeks ago and finally got time today to install them. Not too bad of a job. Only had to make 1 run to Harbor Freight to buy a ball joint press.
On with the pictures….
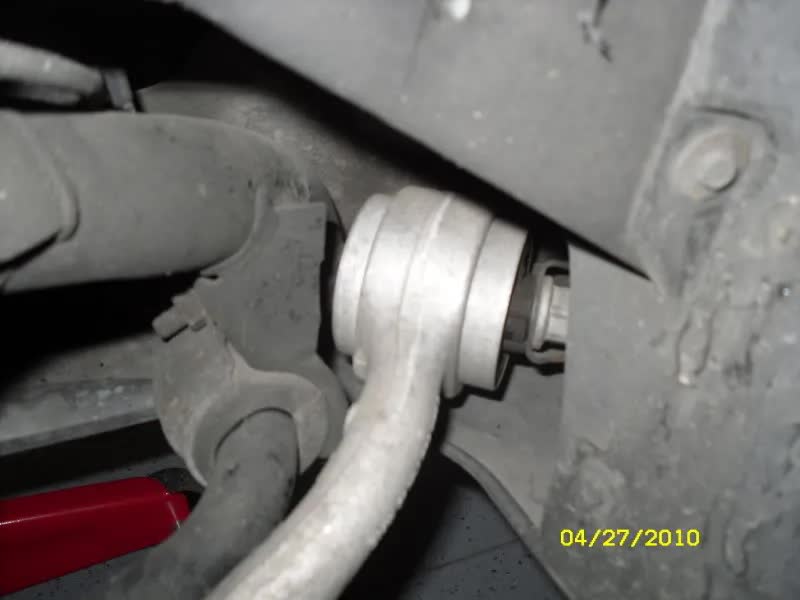
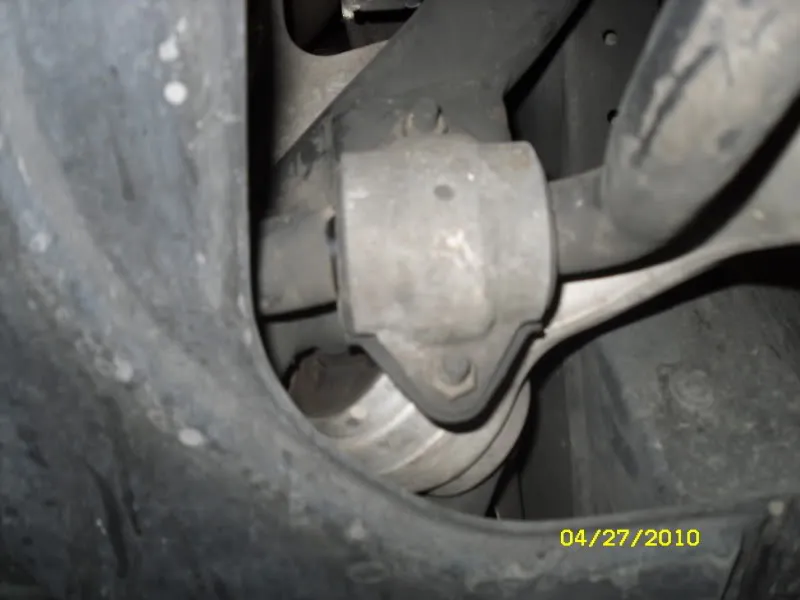
First I jacked up the car, secured it and removed the front tires. Then we get a nice view of the thrust arms.
1.
2.
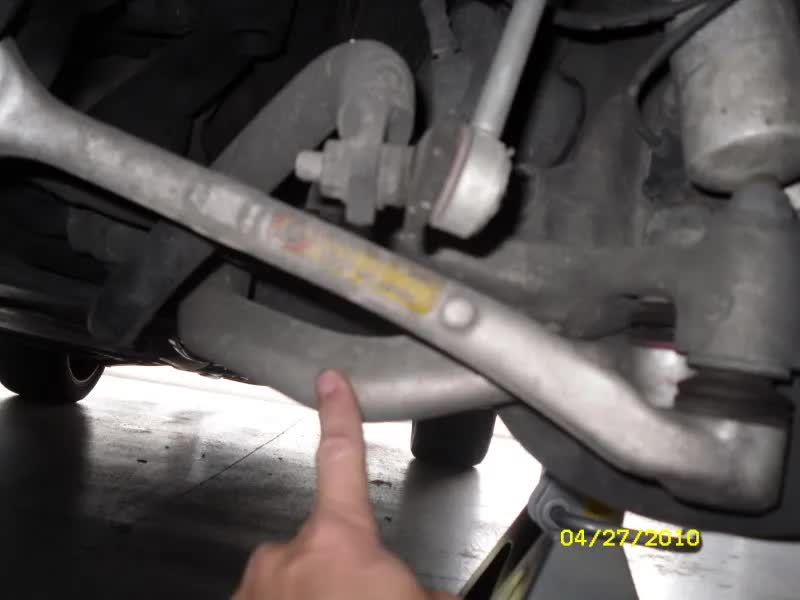
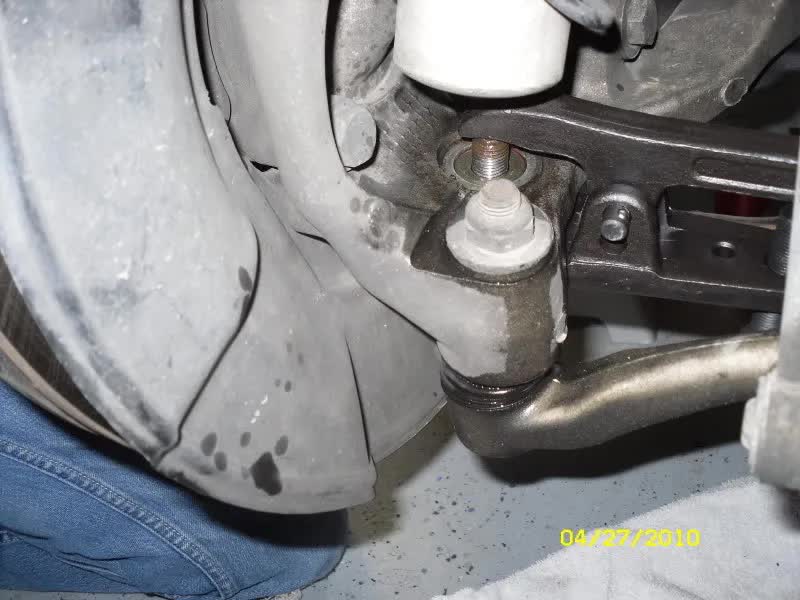
3. Here you can see the front side of the arm that attaches to the knuckle. The bolt that needs to be removed is covered by the bottom of the shock. I just loosened the shock mount and slid it down a bit so I could work on it. Of course I marked everything so I could put it back correctly.
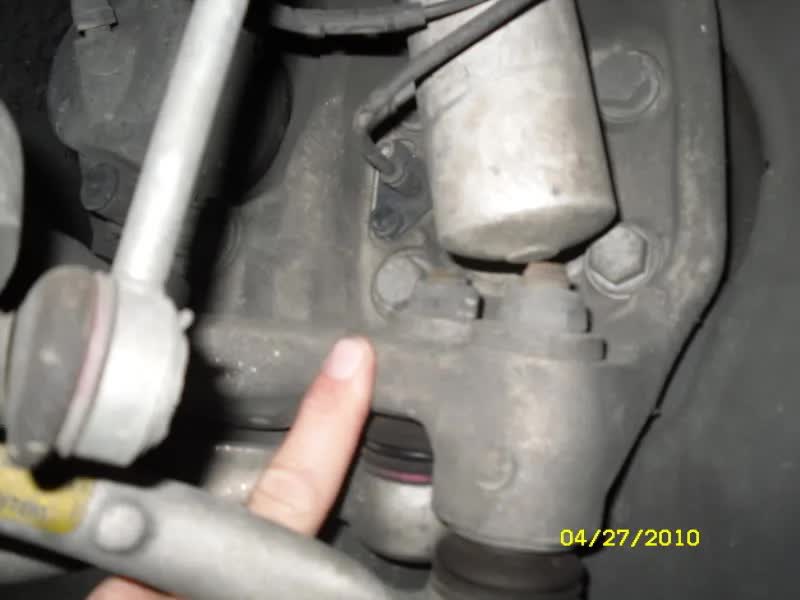
4. In order to get at the rear of the thrust arm, pictured in photo #1, you need to loosen the front sway bar by removing the 2 brackets shown here.
5. I loosened up the ball joint at the front of the thrust arm first. (22mm wrench)
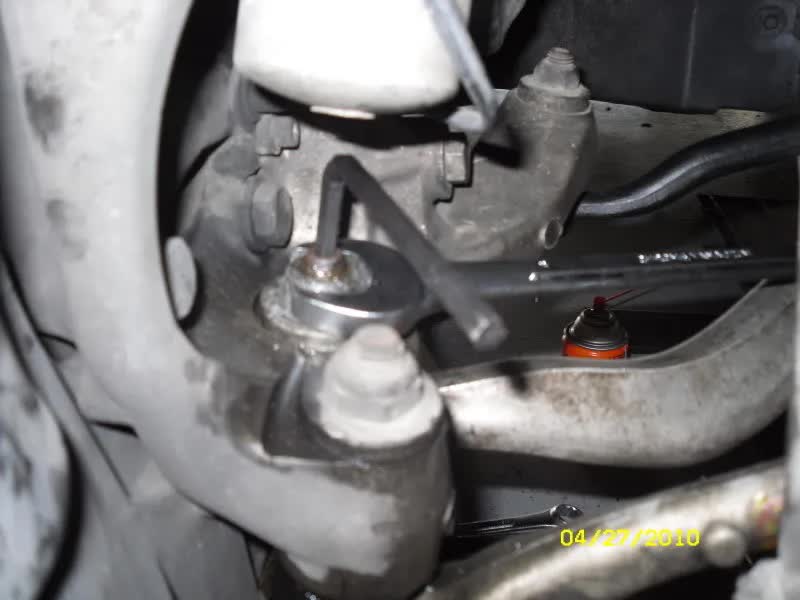
6. I then used my handy dandy ball joint press I bought at Harbor Freight for $17.99 to remove it from the knuckle.
7.
8.
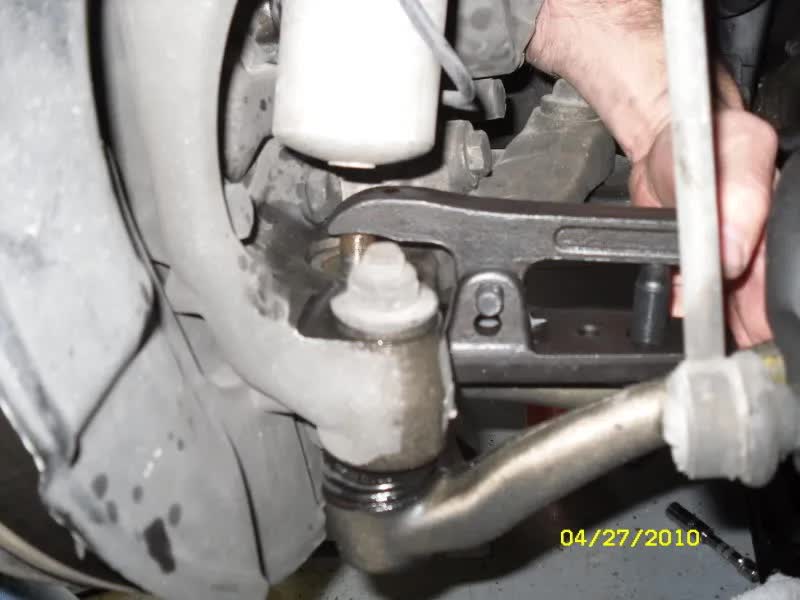
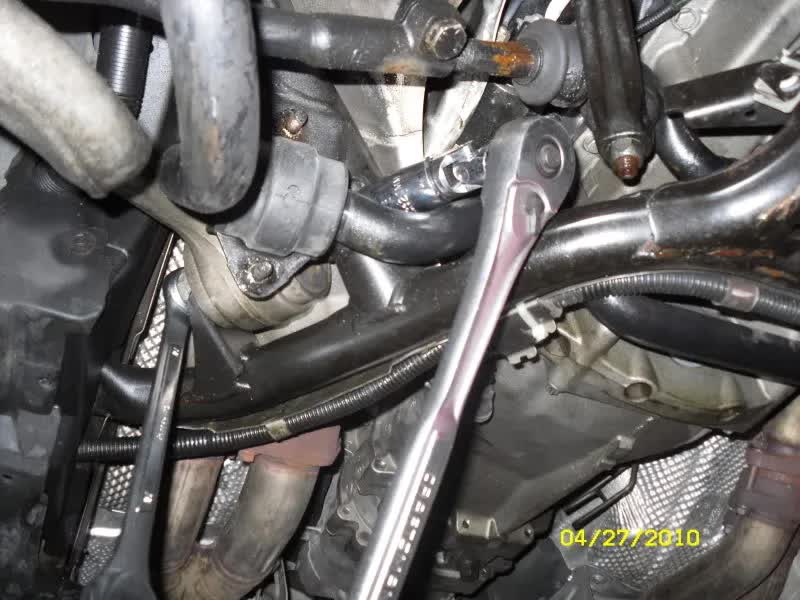
9. I then went to work on removing the rear with a 21mm wrench and a 21mm socket/universal/ratchet.
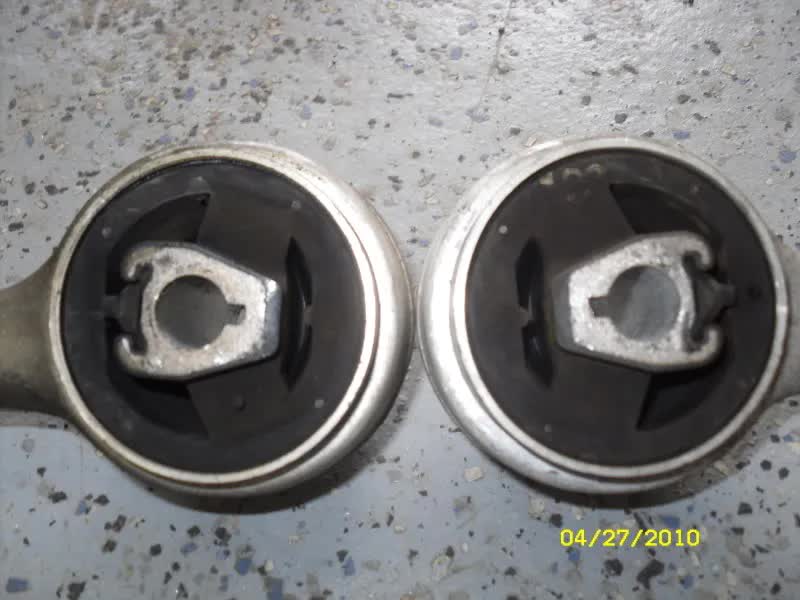
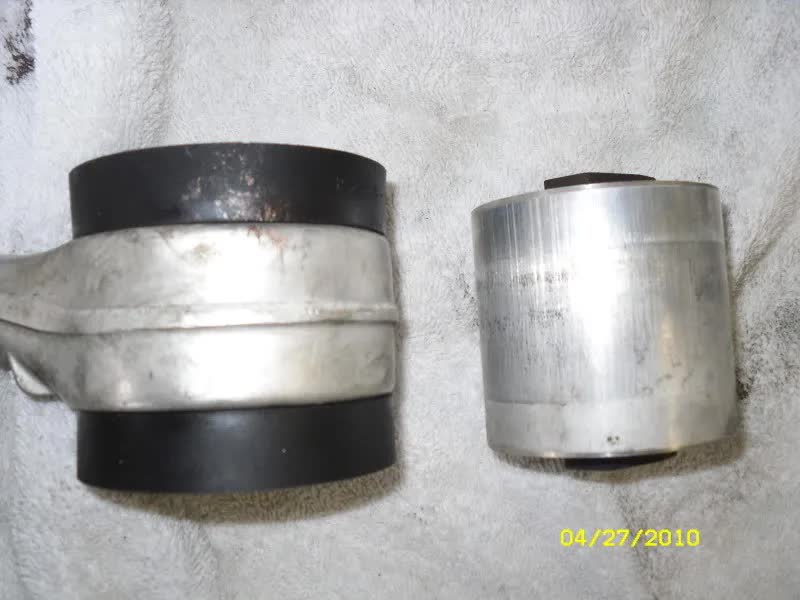
10. With the arms removed you can see my OEM thrust arm bushings weren’t in THAT bad of shape.
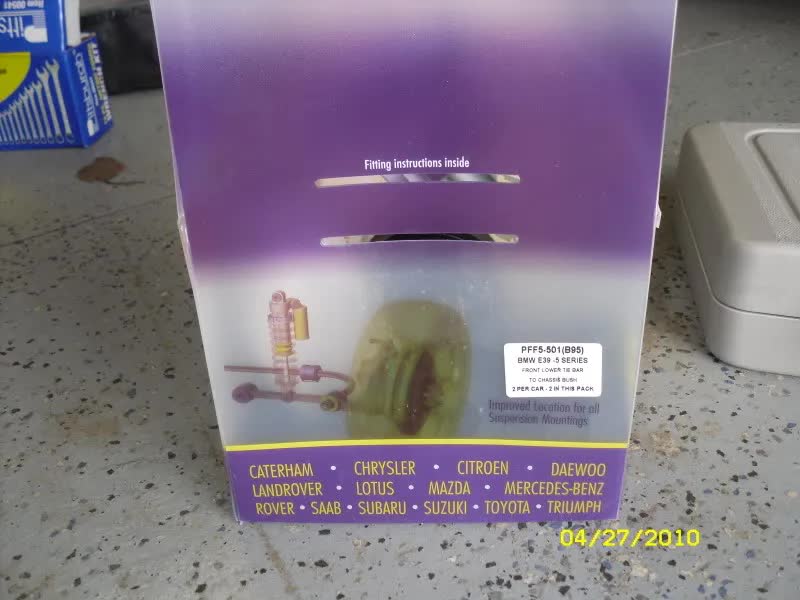
11. Now for the new stuff, Powerflex Bushings.
12. And a `lil lube.
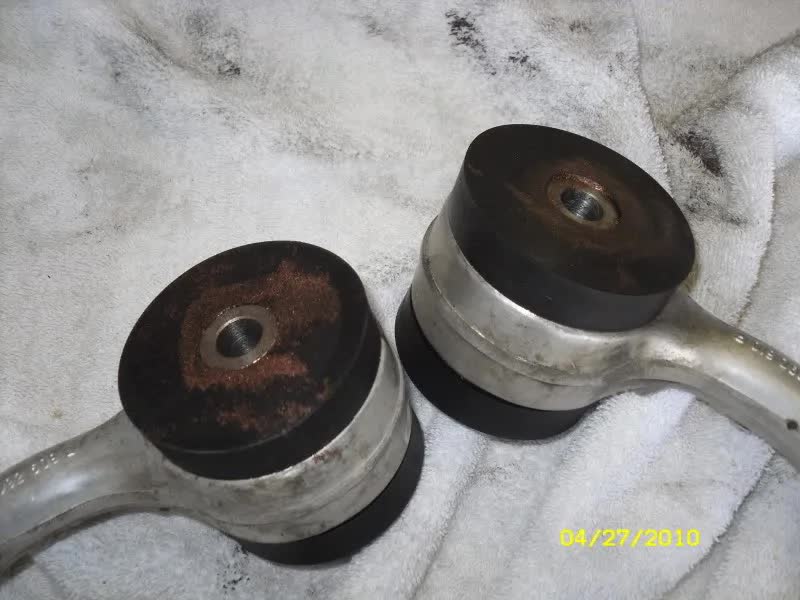
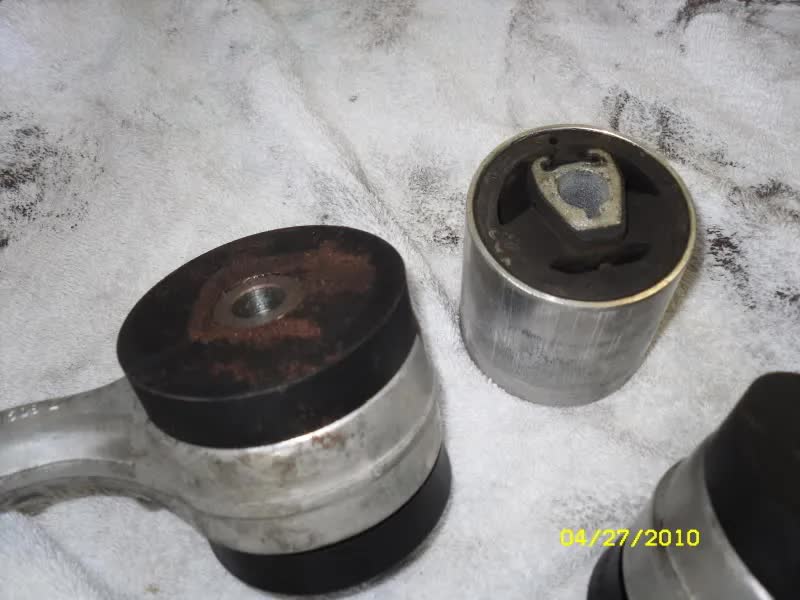
13. I took the arms to work and pressed out the old bushings with an Arbor Press and a 46mm socket as a pressing device. Fit perfectly. I’m not allowed to take pictures at work, sorry, dog food is TOP SECRET stuff. So here is the finished product.
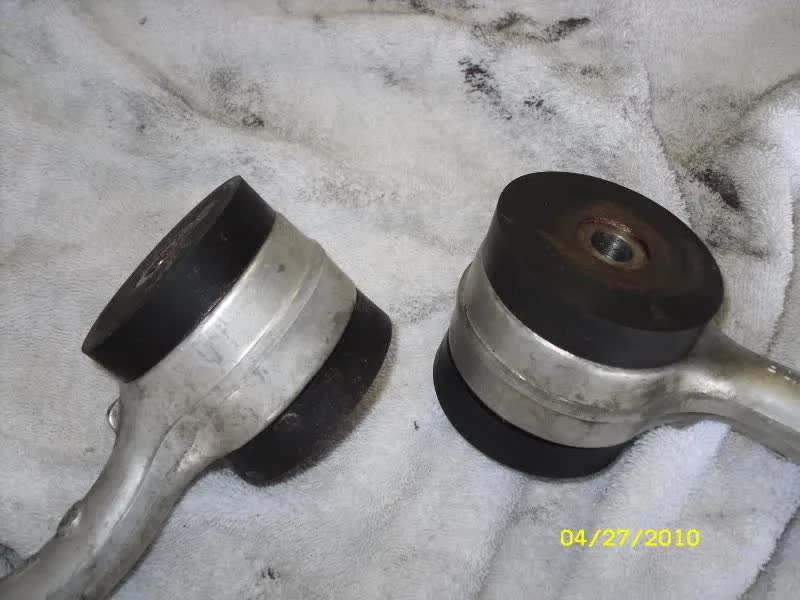
14. You can see some of the copper colored lubricant sent with the bushings that I used for assembly.
15.
16.
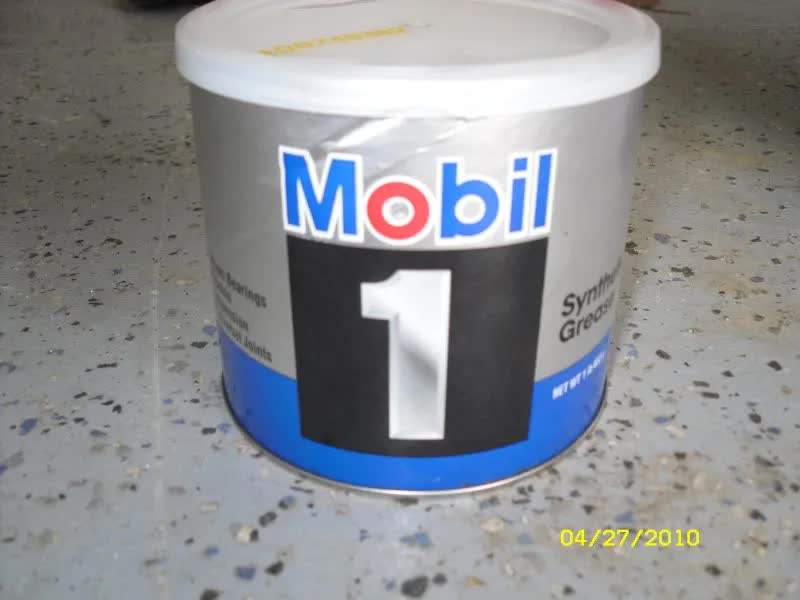
17. I used the Mobil One stuff to install the bushings to the car.
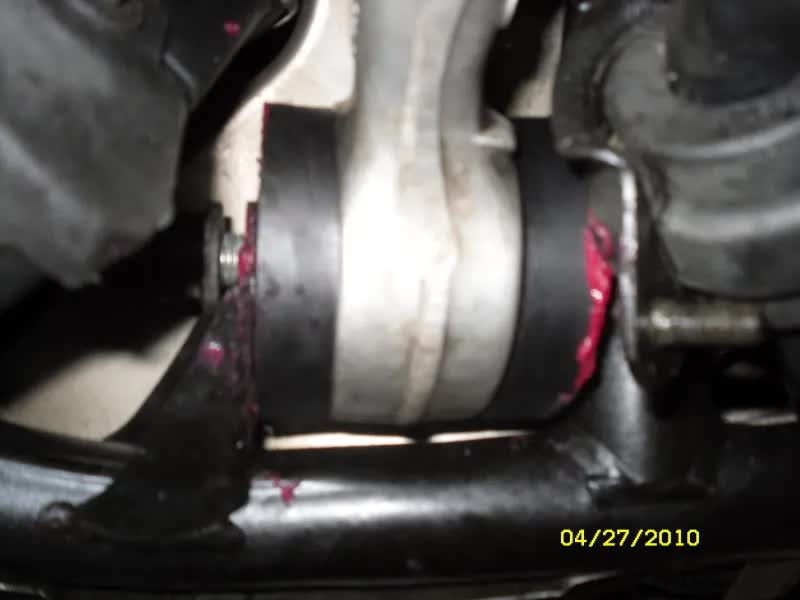
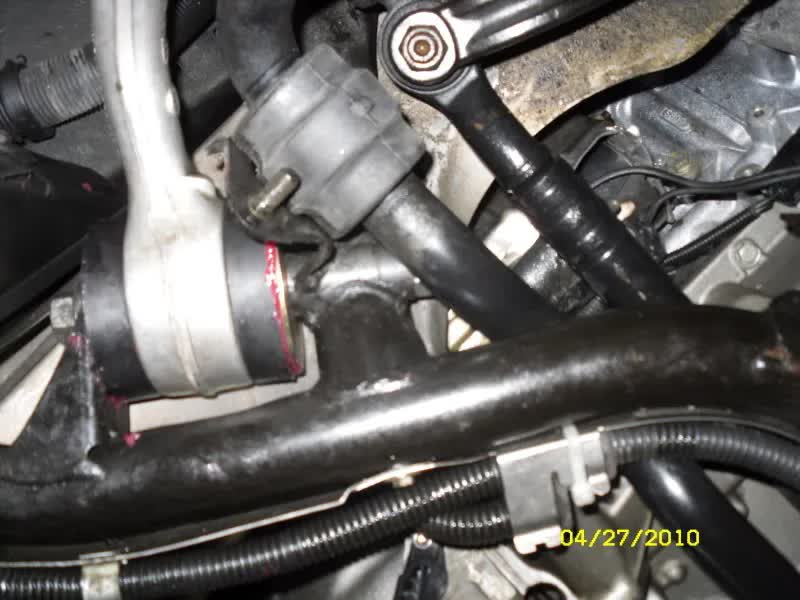
18. On the driver’s side I was able to install both metal washers sent with the kit. On the passenger’s side I was only able to get one washer in. I may take it back apart this winter and work some magic to install both washers. Who knows….
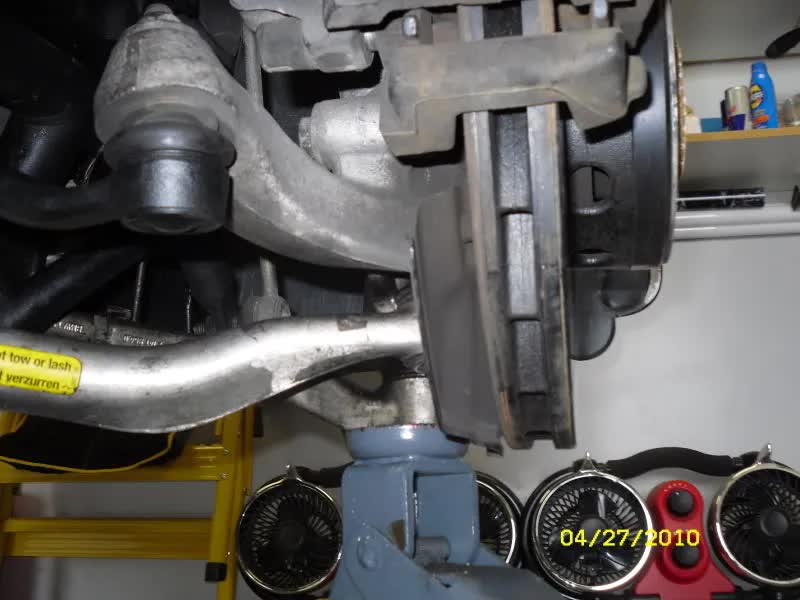
19. One tip, when putting the knuckle back up on the shock, I find it easy to use a jack to JACK the knuckle up on the shock.
I am getting an alignment tomorrow and I will report back in a few weeks my findings.
I would like to thank T McNasty for answer all of my questions BTW. Very nice guy……