Article by: J Irwan
I was searching for a DIY for Pusher Fan (aka air conditioning fan aka electric aux fan) and could not find one with pictures.
So I thought I took some picture when I did mine this past weekend.
Car was running great with no issue or noises. These past few days the weather was getting warmer and all of sudden I notice the temp gauge creeping up past the middle mark in traffic light. I saw about 100C when it was 68 F outside. (I never turn off my AC in winter, I just adjust the temp dial to heat).
And the car was not driven hard at all to be running that hot, so I knew its gotta be the pusher fan. (considering the car has 82K and I replace the fan clutch + fan at 48K)
As soon as I hopped on the freeway the temp goes back to normal (middle mark). I saw 83C when cruising on the freeway.
I checked the fuse #75 from accessing under the glove compartment and the fuse looks good.
Part Needed:
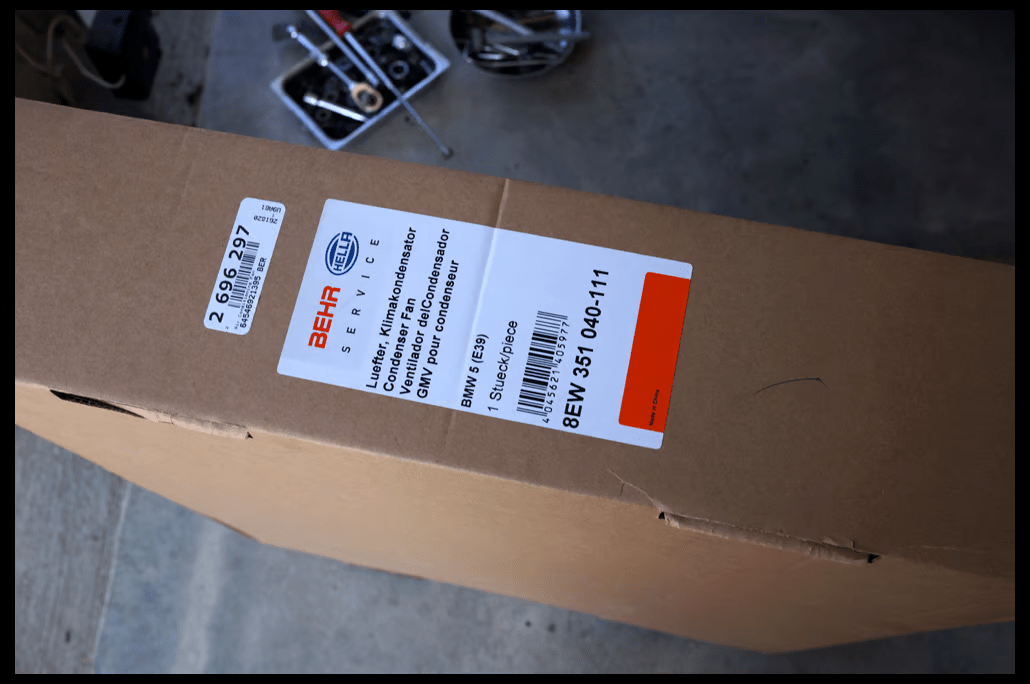
- Pusher Fan (64546921395)
Tools Needed:
- 8 mm socket/ratchet
- 10mm socket/ratchet
- 13mm socker/ratchet
- allen key (needed to remove the fastener)
- rubber mallet
- long extension (helpful to remove the headlight)
- black zip tie
- cutting pliers
- screw driver to take off the bumper impact-strip (for cars with PDC, you need to remove it if you want to disconnect the PDS sensor wiring)
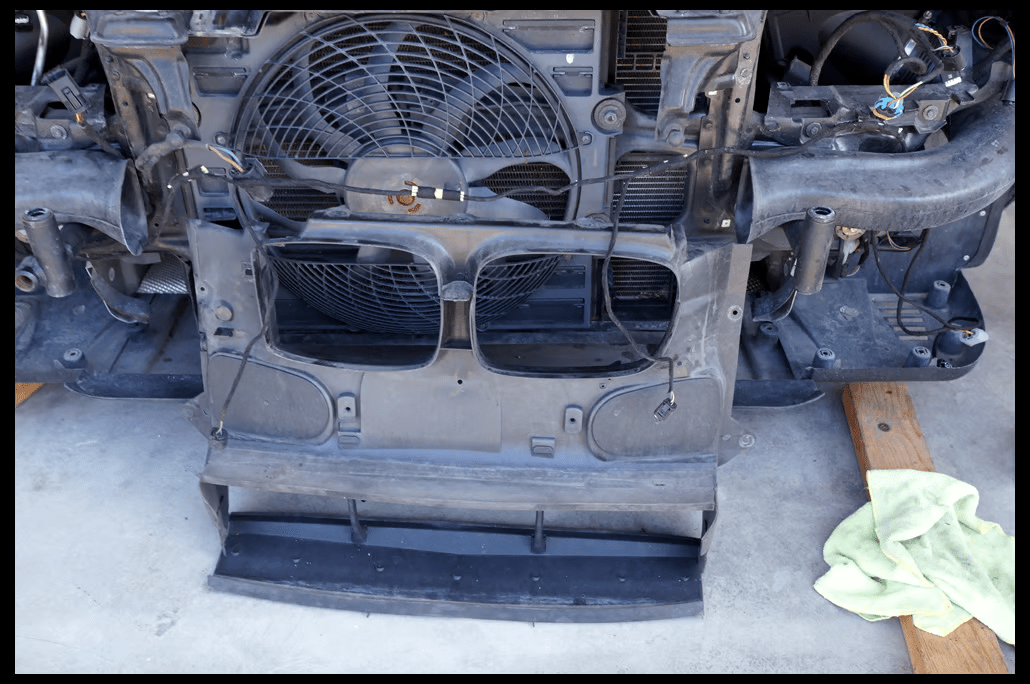
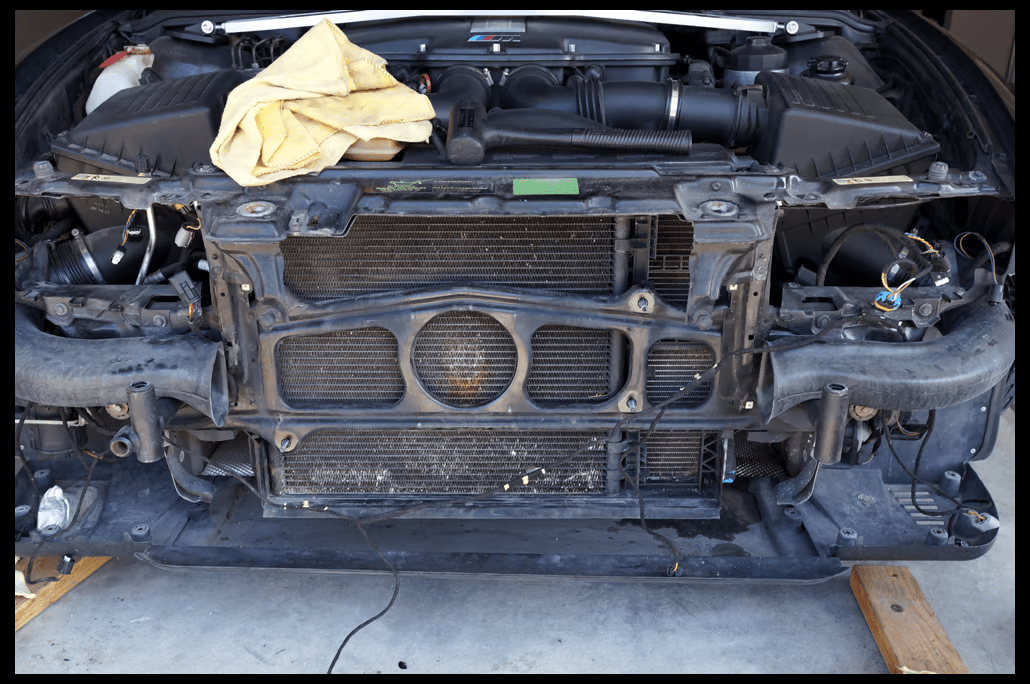
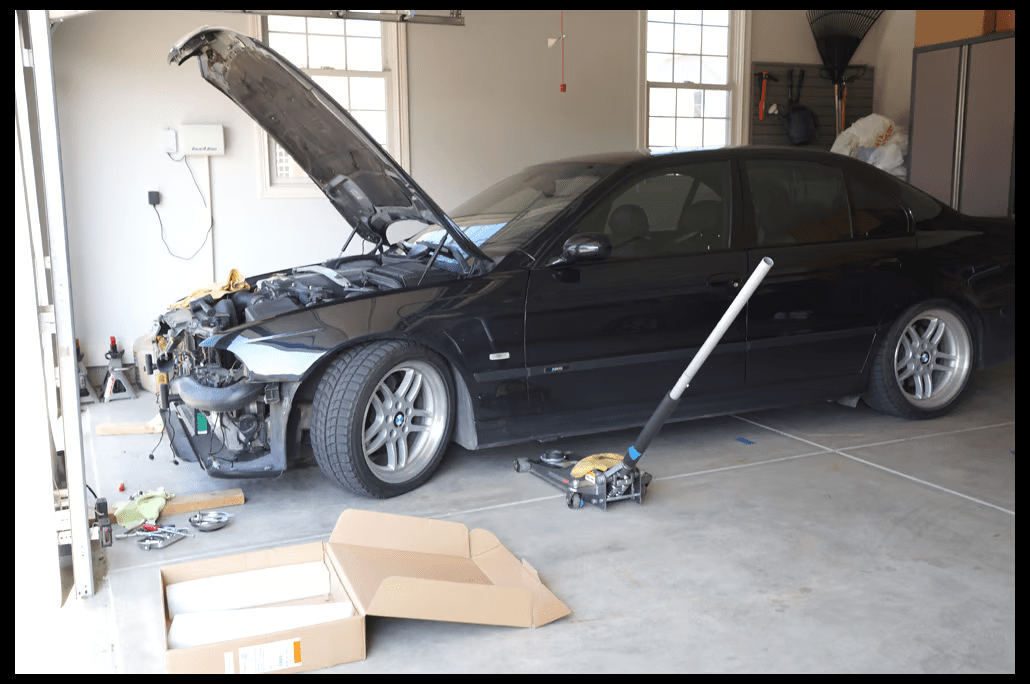
1. Remove front bumper. I’m not covering this step as there are many DIY already on front bumper removal.
For for me, to make it easier I remove the PDC and the fog-light before removing the bumper. Just remember to disconnect the rubber hose of the headlight cleaning system (on the passenger side) located near the bumper guide.
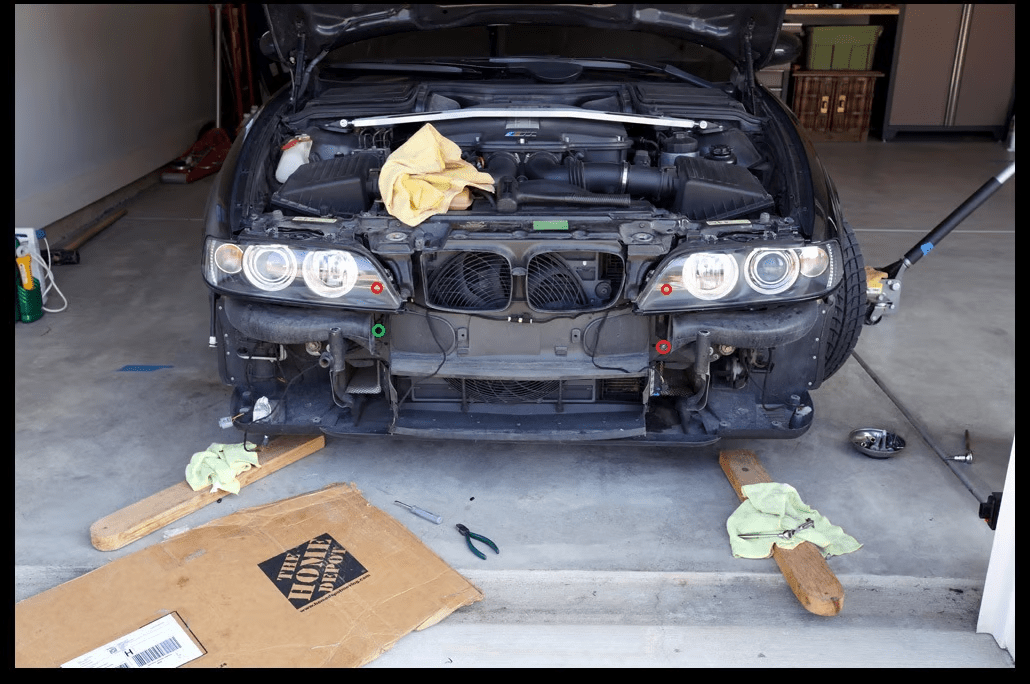
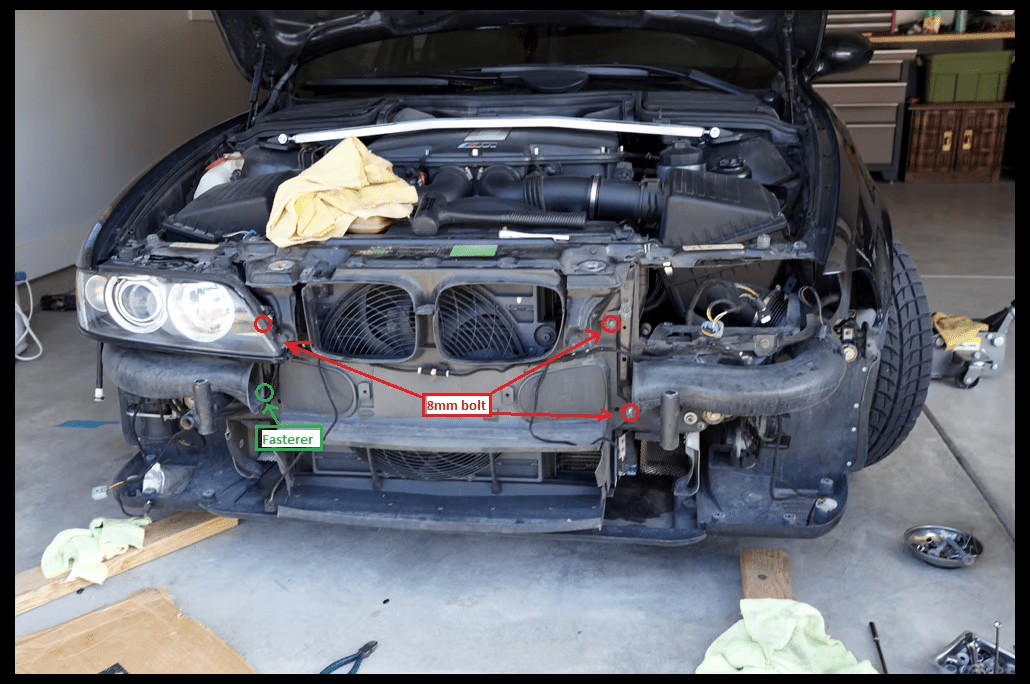
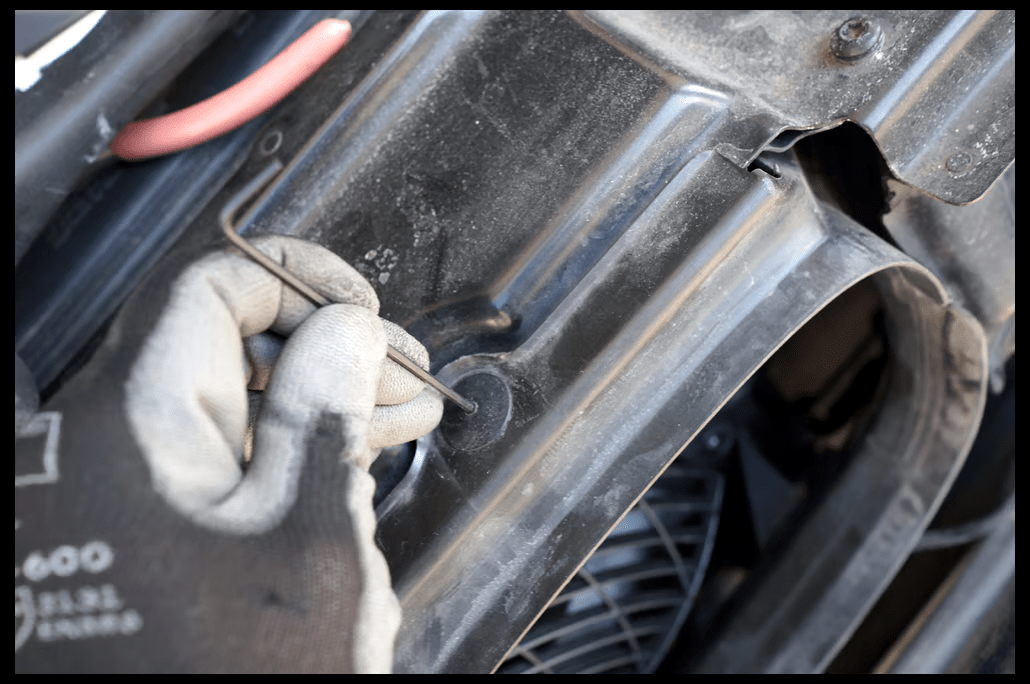
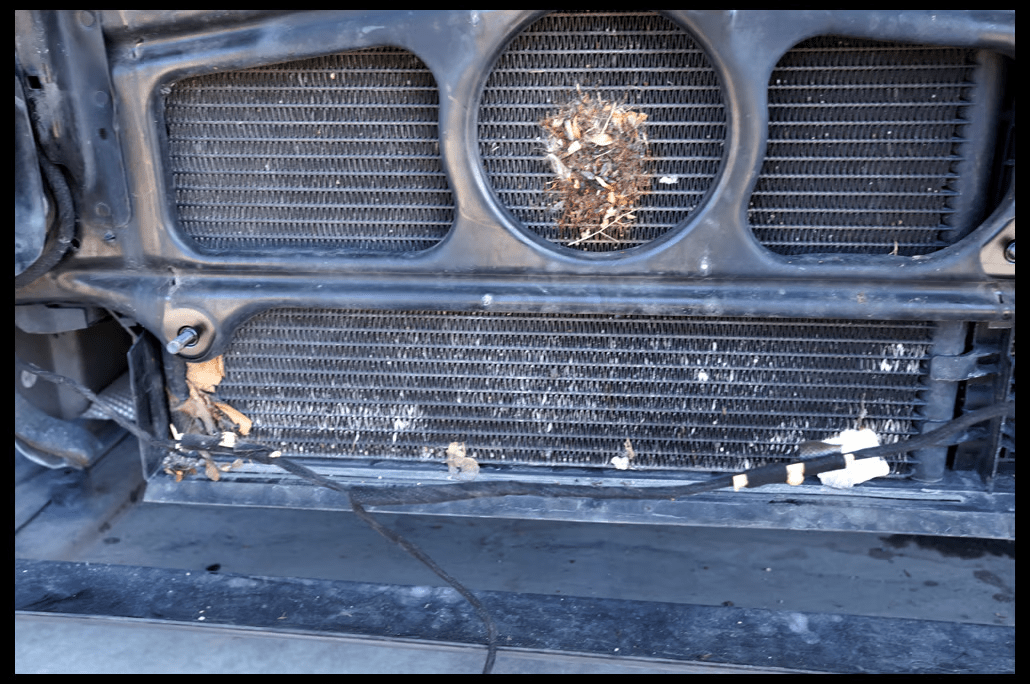
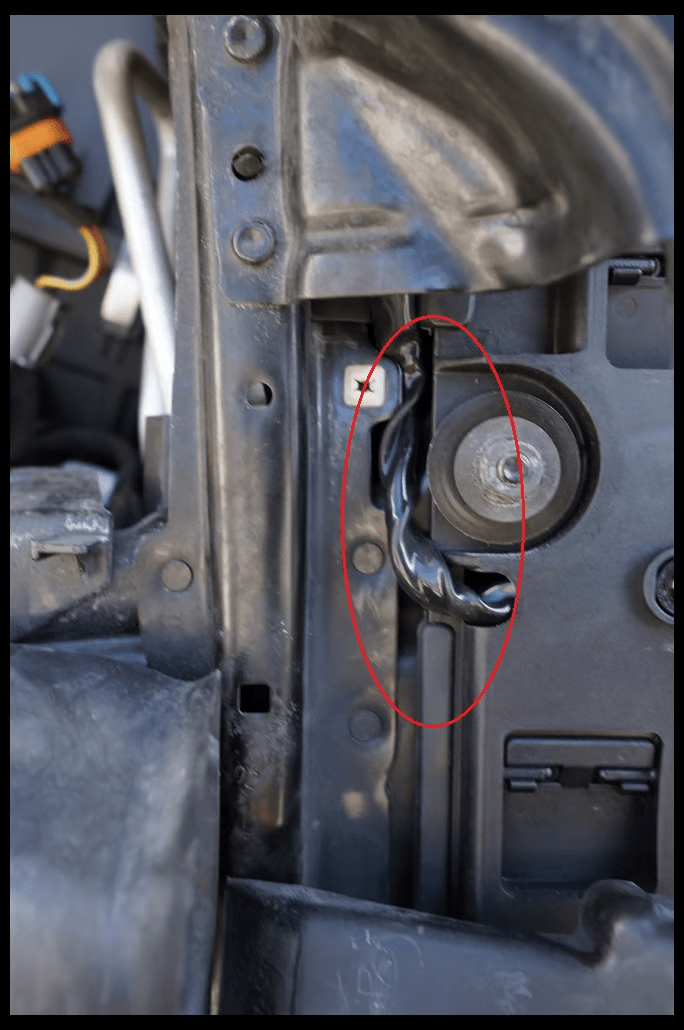
2. I found that you needed to remove the headlight in order to remove that center air-duct that goes in the middle & in front of the A/C condenser. (see those red circle-for (3) 8mm bolt and the 1 plastic fastener with push-pin (green circle) on pic#1))
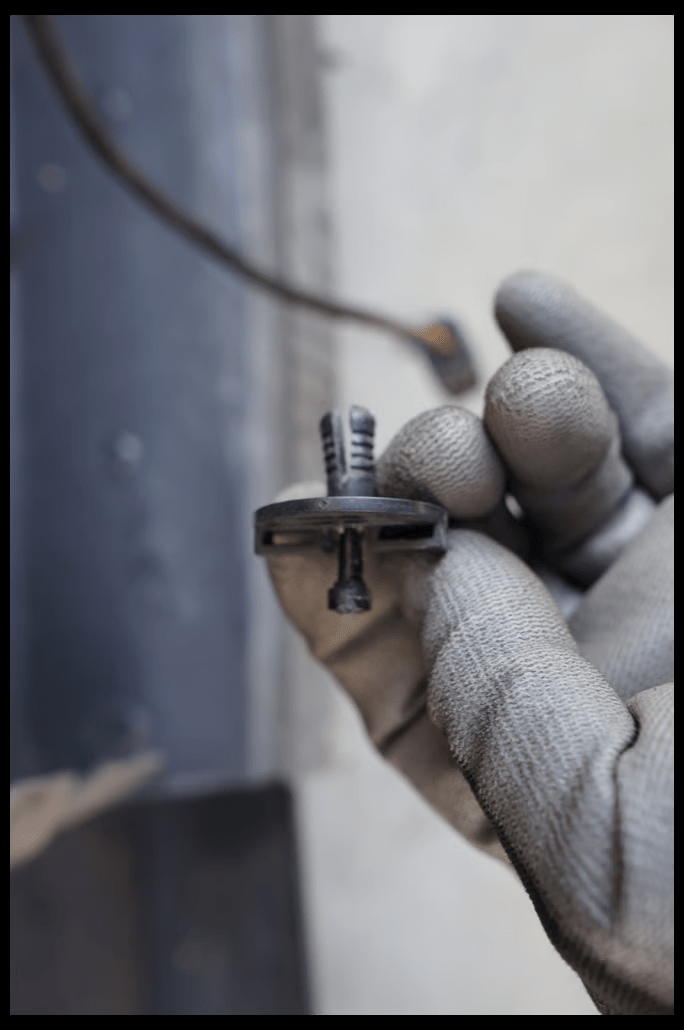
Below is the pic of the plastic fastener with a loop for zip tie. Cut the zip tie before you can remove the fastener:
Here is the close up of the fastener:
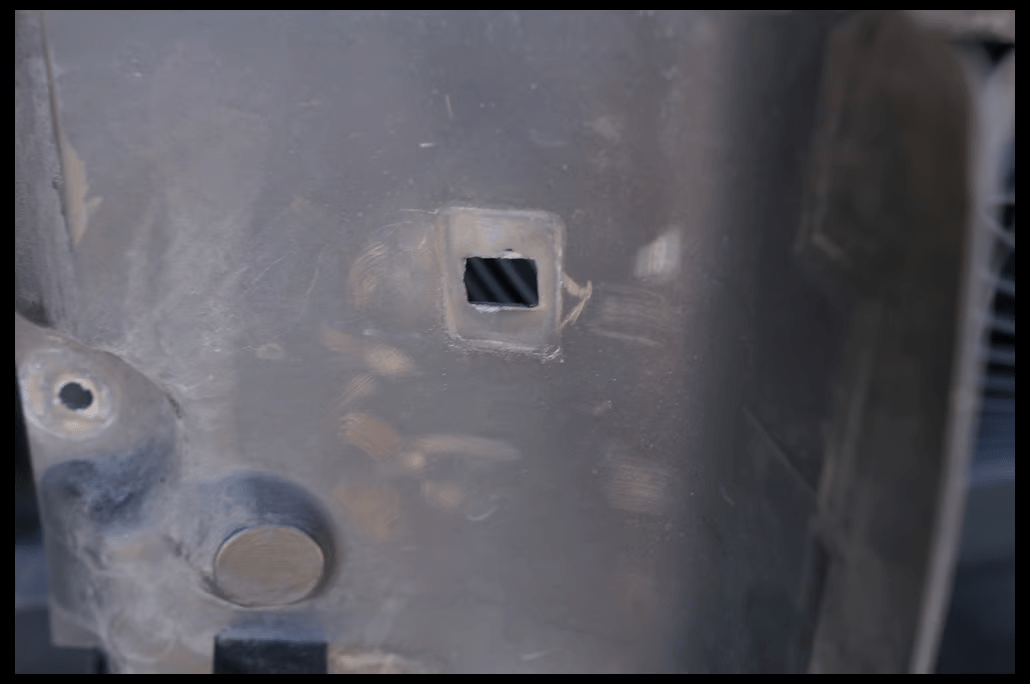
Here is the location of the fastener on the front for the “air-duct”:
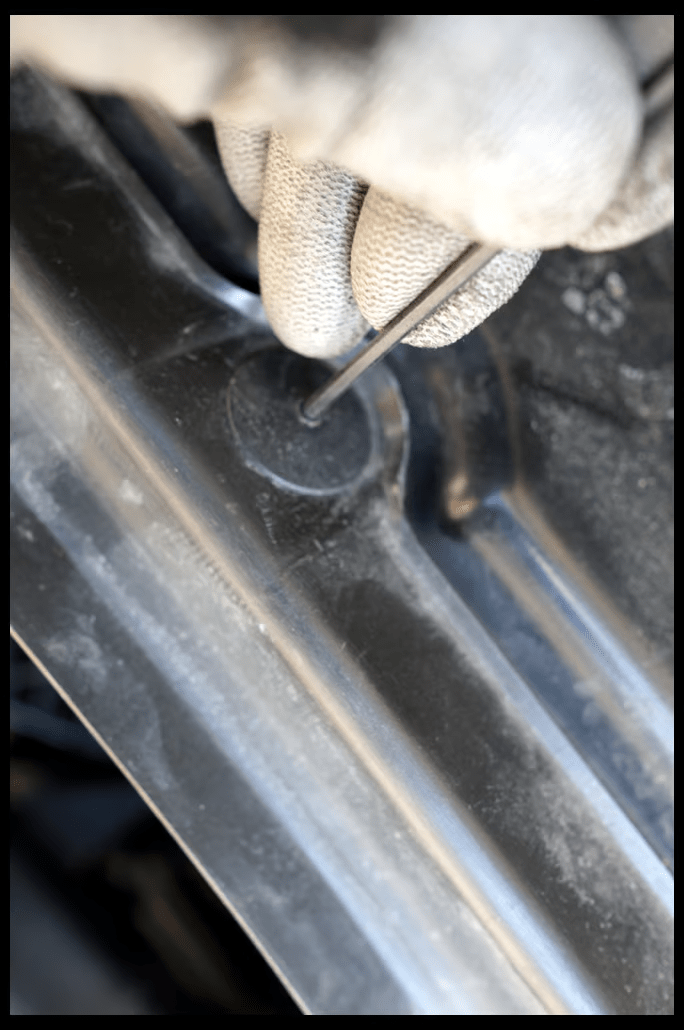
3. Remove the 3 plastic fastener (expanding rivet) on top of the “air-duct” which secure it to the nose frame.
I found it easier to use an allen key and tap the pin halfway down, then pull the pin fro behind. This way you’re not damaging anything and can re-use all the fastener.
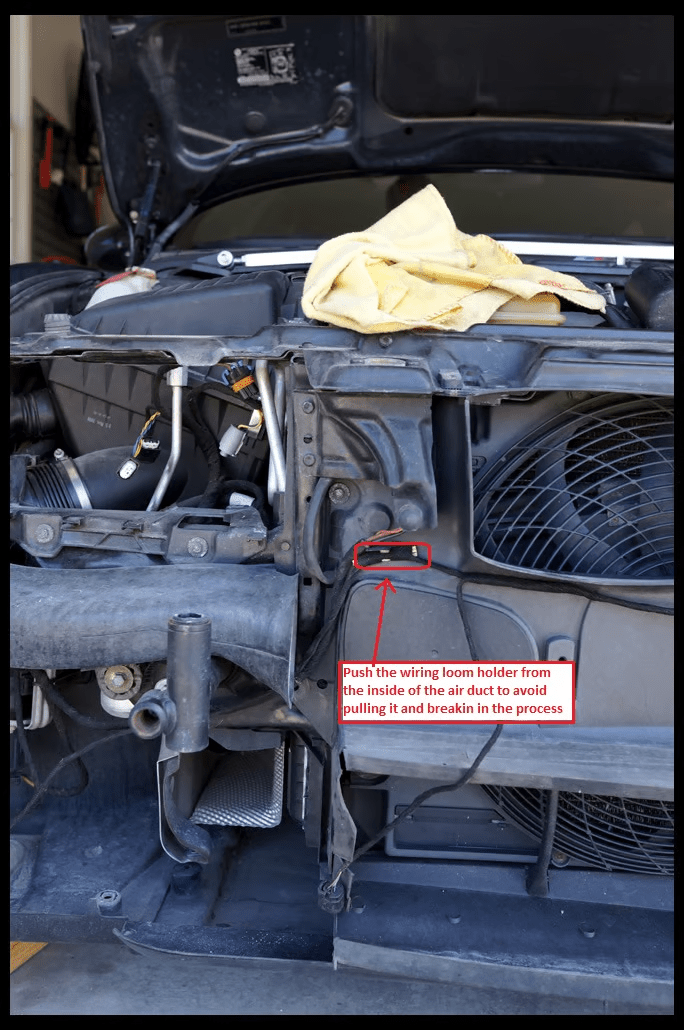
4. With all the fastener out, the air-duct can be removed. But before that you will need to pop-out the wiring loom in front.
I found it also easier to push out than pull out (you can reach-in from behind the air-duct) and push them out.
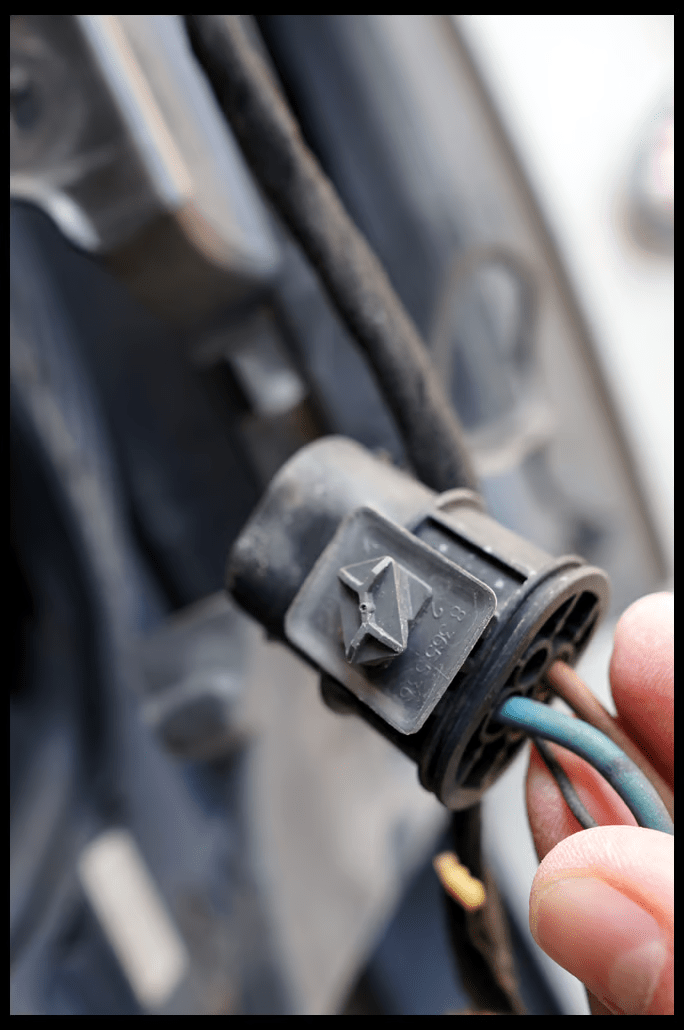
5. One last thing before removing the air-duct piece, you need to disconnect the electrical plug between the pusher fan and the wiring harness from the car.
The plug from pusher-fan unit is secured onto the air-duct unit. To remove it you need to turn counter-clockwise.
6. Then you can slide down the air-duct unit
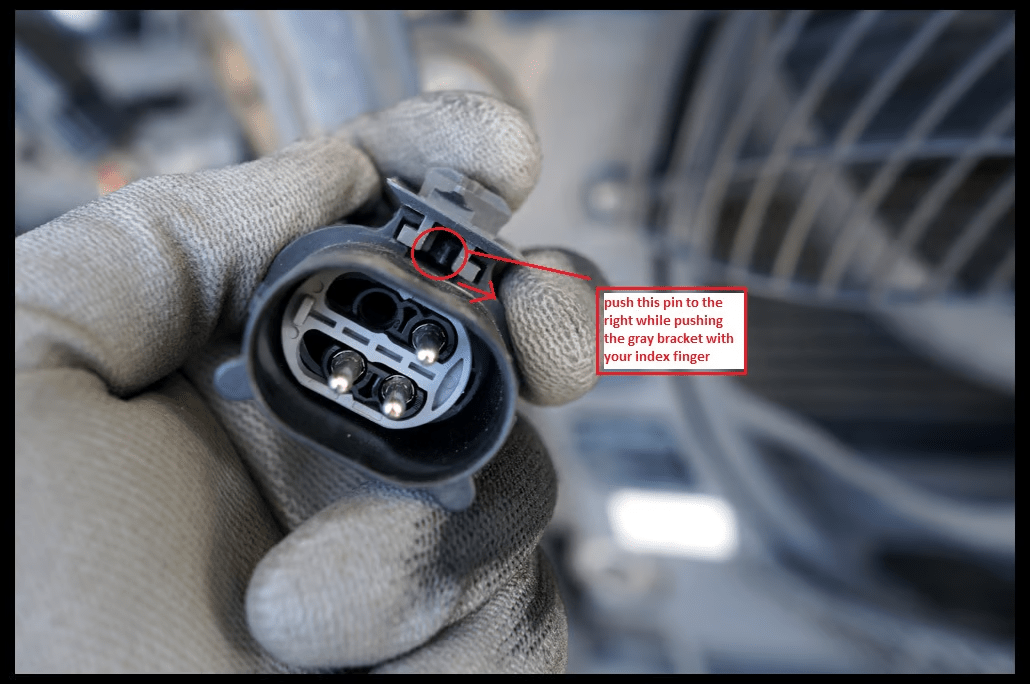
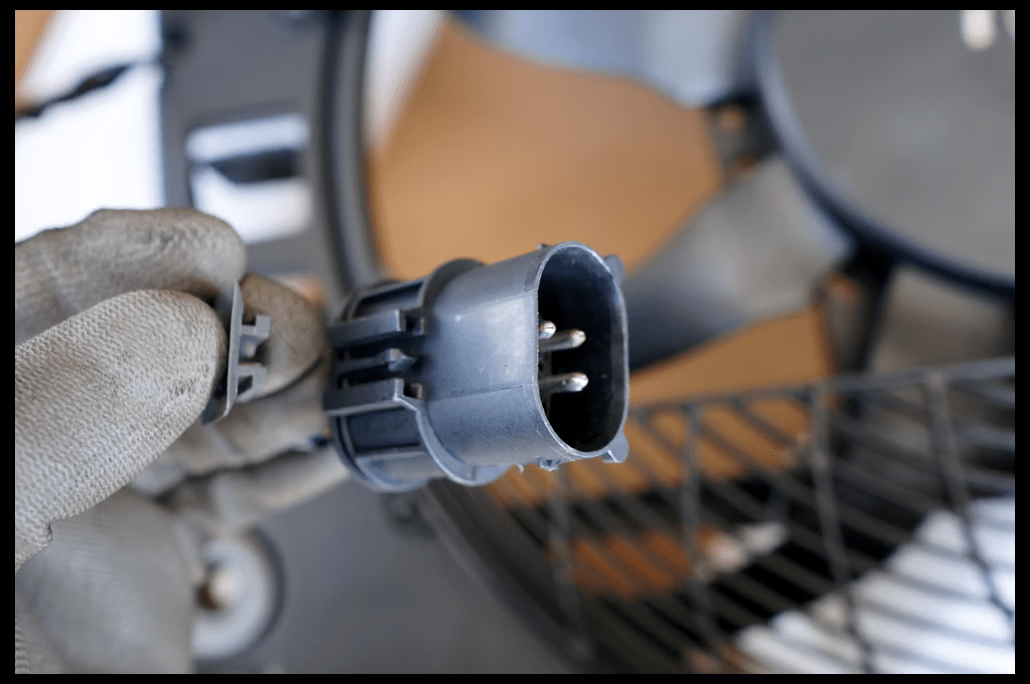
7. This is the clip on the back of the electrical connector of the pusher-fan unit. You will need to move this “gray” little bracket from the old part to the new part. Here are couple of picture to help understand how it is secured.
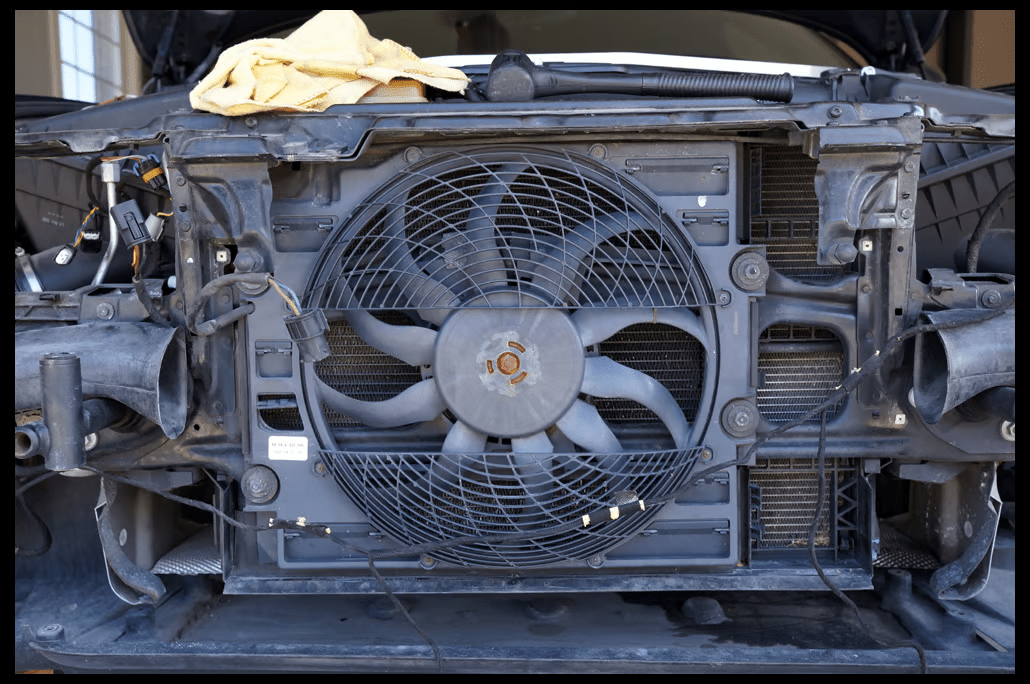
8. With the air-duct unit out of the way, now I have direct access to the pusher-fan. it is secured by (4) 13mm nut.
When I took the old fan out, to my surprise there are some crap got trapped between the fan and the condenser. The back of the fan even show some surface rust/corrosion :eek
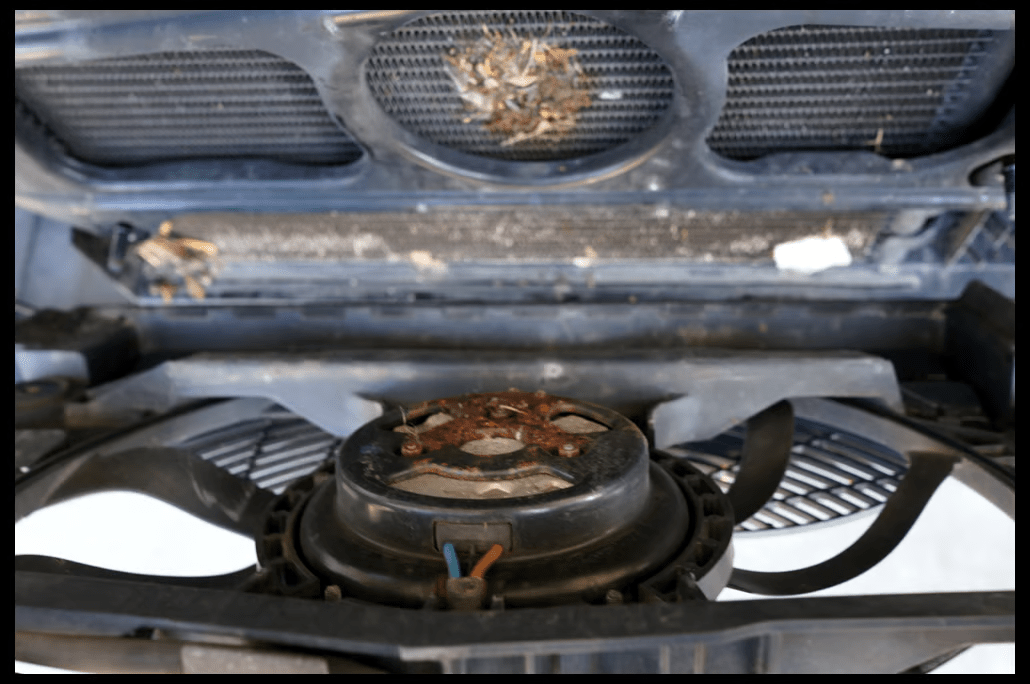
9. Cleaned out the junk using a small brush and it looks better already.
The recipient of the new part is now ready 🙂
10. New part. Everything is “made in china” now 🙂
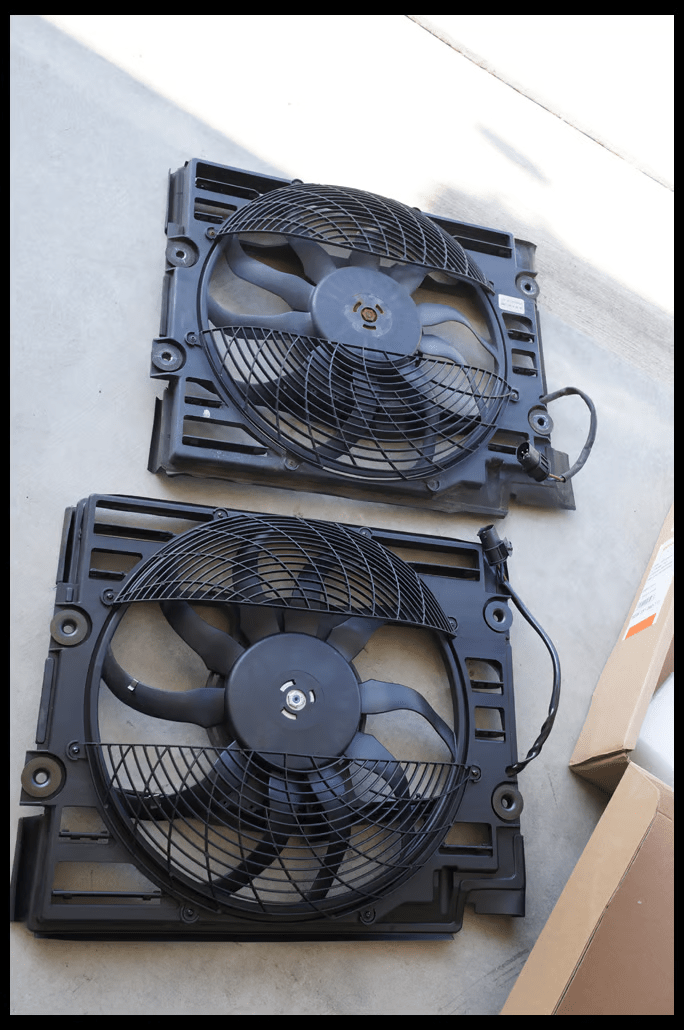
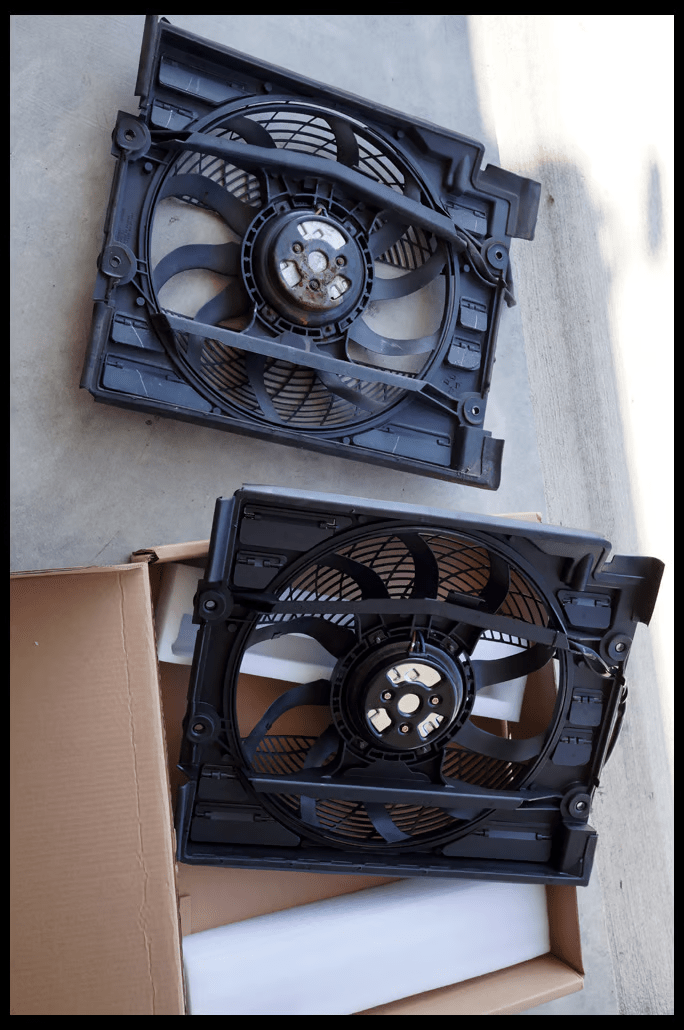
11. old part vs new part:
12. Install the new fan. Pay attention on how you run the pusher-fan wiring harness. Make sure its sit behind the plastic nut, not on top of it.
13. Install the rest in reverse order:
- re-install the air-duct unit
- re-install the connector bracket to the air-duct (see pic#7)
- re-attach the wiring loom back onto the air-duct
- re-install the bumper
- re-install the headlight
Hope this helps.