Article by: SIDEFLY
Applies to: All BMW models with the M54 straight six engine.
Required Tools:
- Flat head screwdriver
- Socket wrench
- 8mm socket
- 10mm socket
- T30 Torx bit and driver
- Spark plug socket
Suggested Tools:
- Torque Wrench capable of 7.5ft.lbs
- 3/8inch and 1/4inch socket sets with extensions
- Plastic gloves
- Protective towel to lean against car
- High-temp gasket sealant
- Anti-seize compound for spark plug install
- Flashlight and new batteries
- Multiple containers to store small parts
- Digital camera to take pictures before you take it apart (reassembly help)
- Phillips head screwdriver Floor-jack (The Philips and floor-jack are for when you (and you will) drop a socket or screwdriver in the engine bay. The plastic panels under the car can be easily removed. Mine automagically appeared in the one-screw panel – this will make sense when you jack it up.)
Parts used:
- One – 11 12 9 070 990 Valve Cover Gasket Set
- Fifteen – 11 12 1 726 537 Valve Cover Bolt Rubber Seals
- Six – 12 13 9 067 831 Spark Plug Rubber Connector Boots
- Six – NGK-6418 IRIDIUM Plugs
- Gasket sealant
- Anti-seize compound
Time taken:
- About 3.5 hours – I was deliberately very slow and careful. I could do it again in about 2 hours.
- This is an easy install, just go slow and be careful.
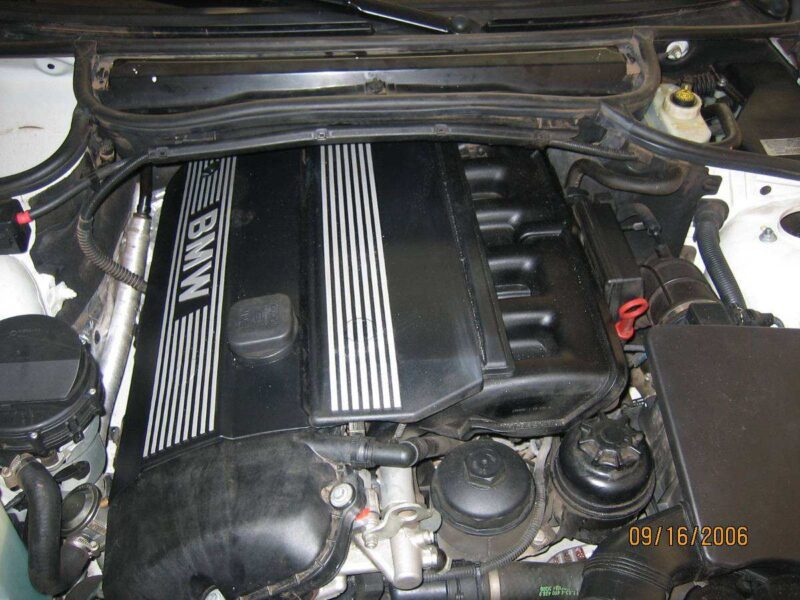
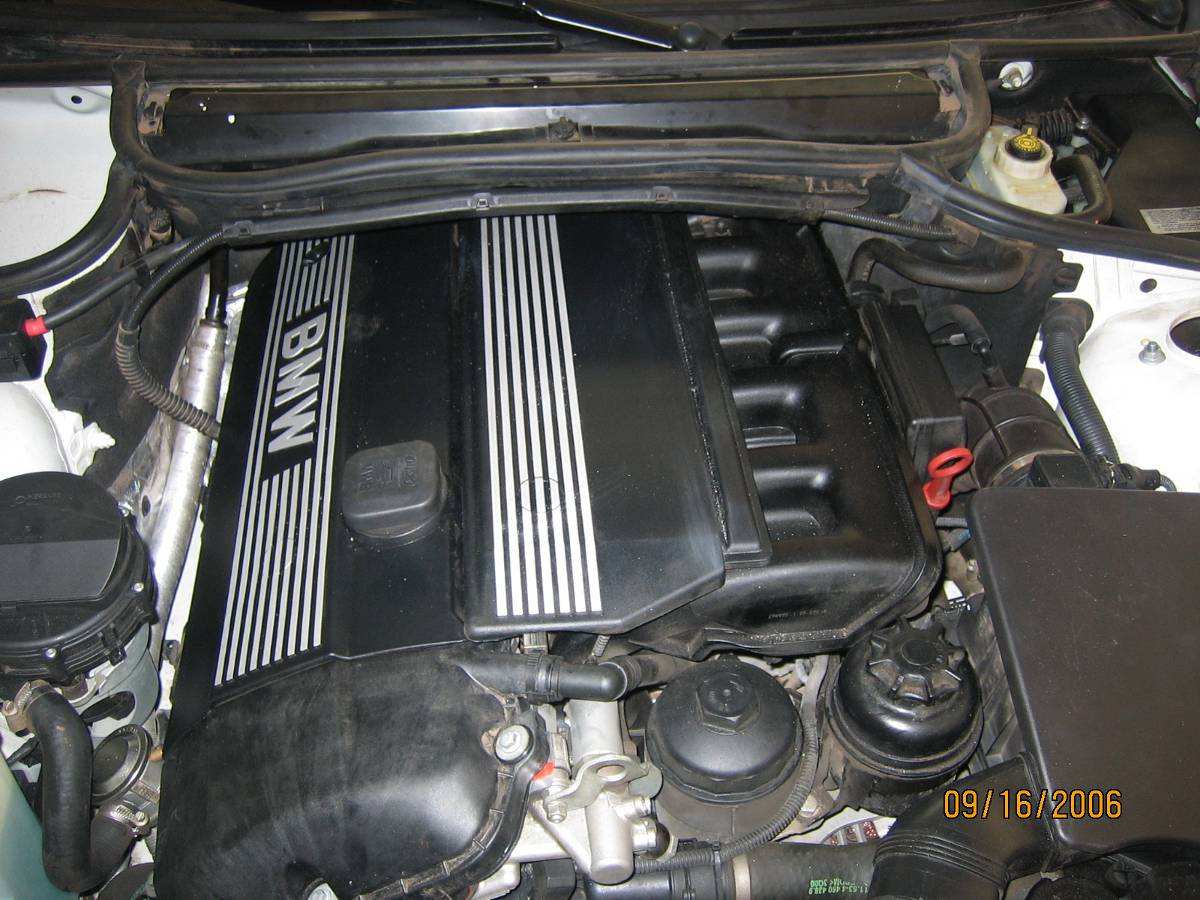
An example of the E46 M54 engine from a 2001 325Ci:
The entire cabin filter assembly should be removed for easy access to the engine. This is very easy, and only takes about 15 minutes.
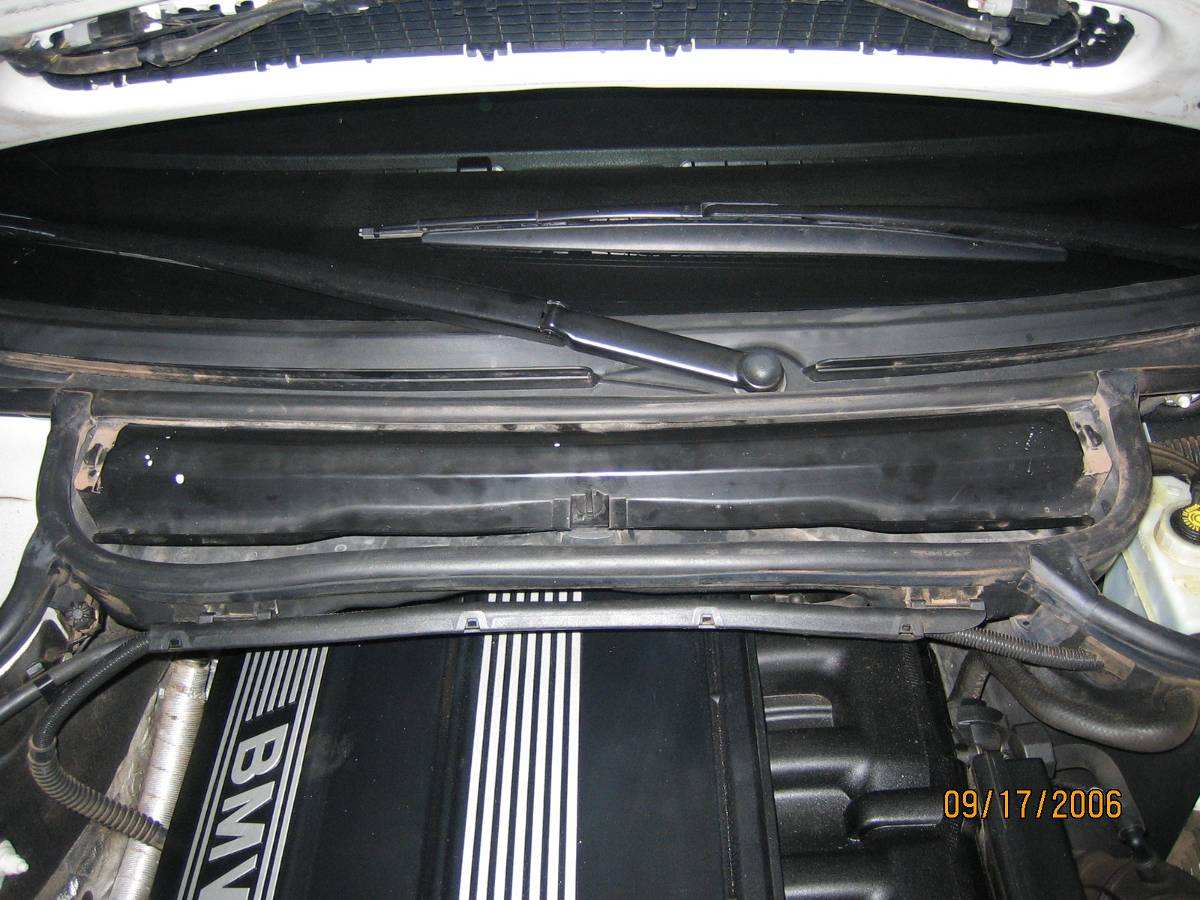
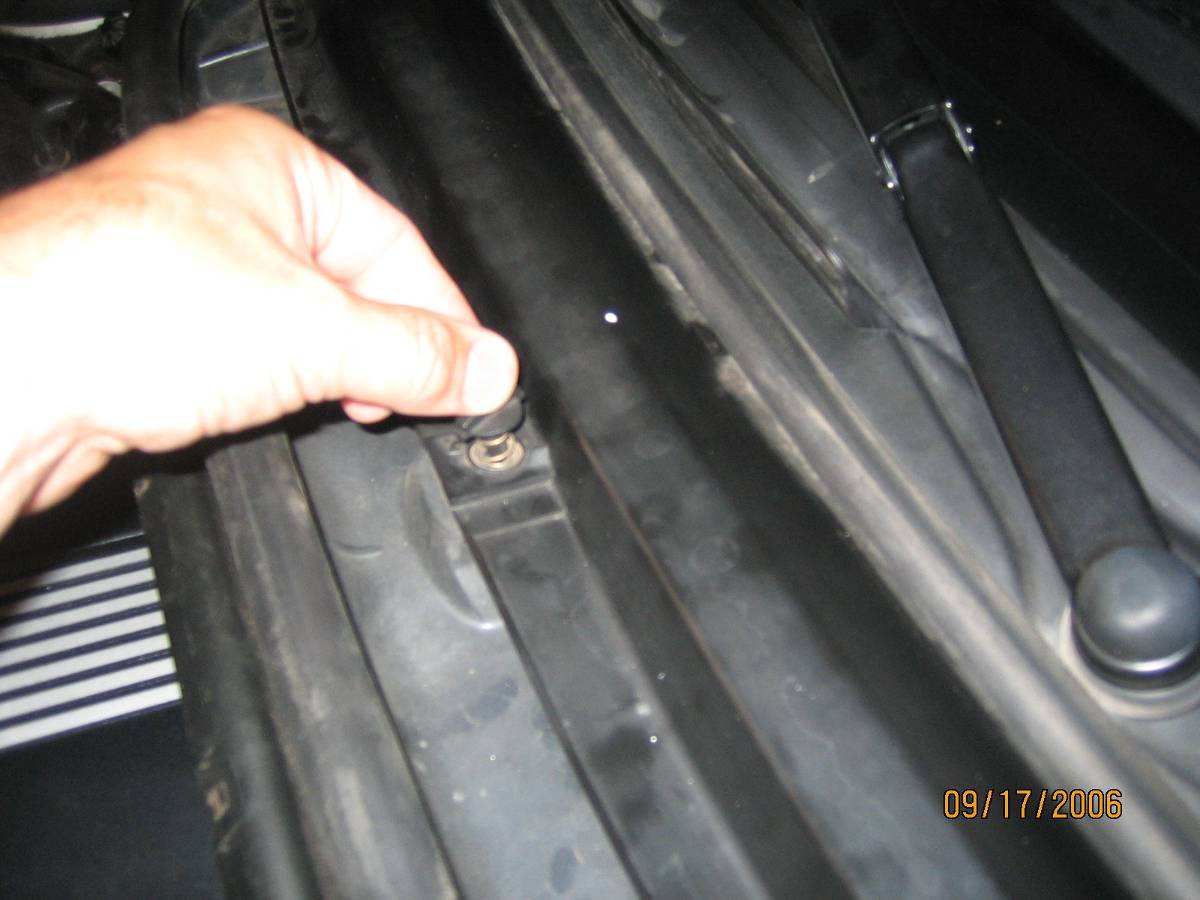
The cabin filter lid is held by three strange fasteners. Just gently twist them counter-clockwise about a quarter turn, and they have a spring that will pop them up.
The filter lid fits between some of the rubber seal, so gently pull out on the entire filter lid, and it should just come out.
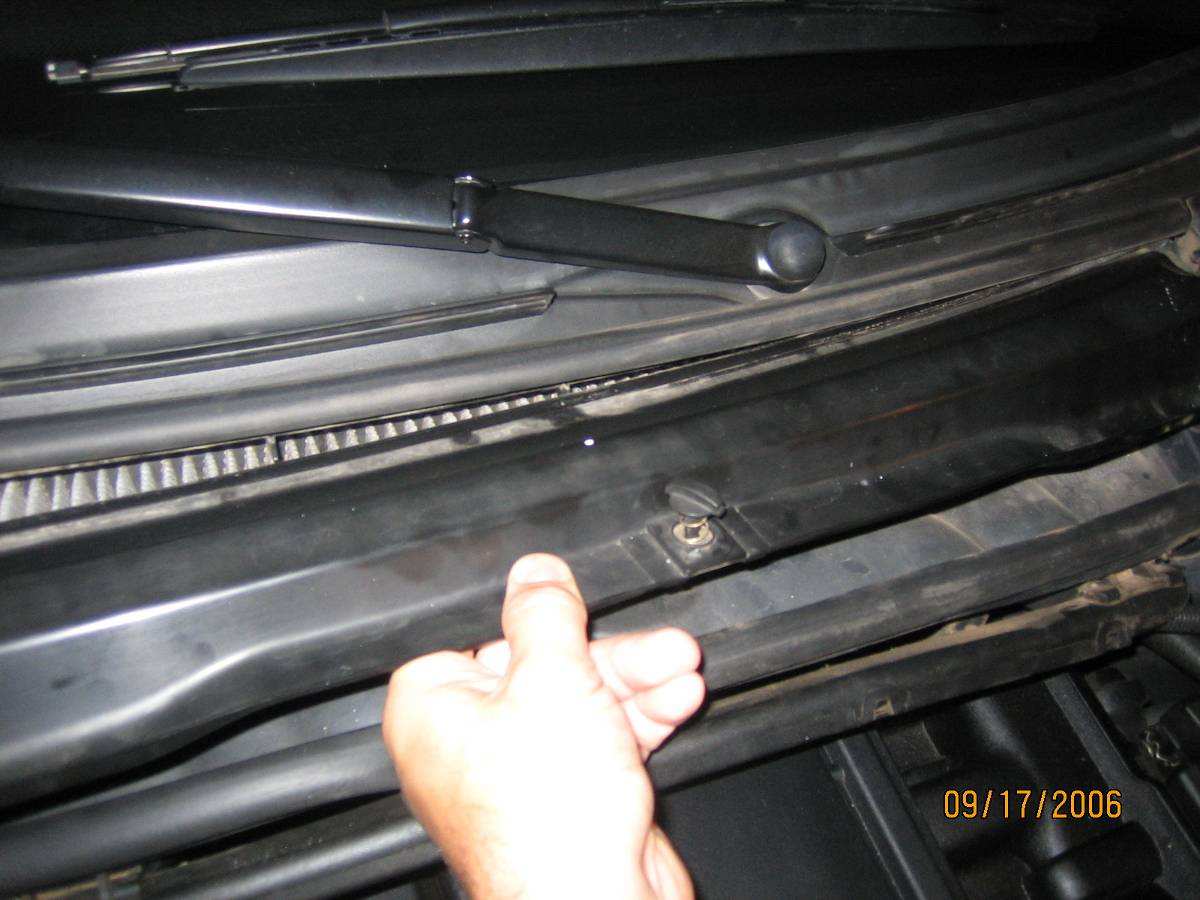
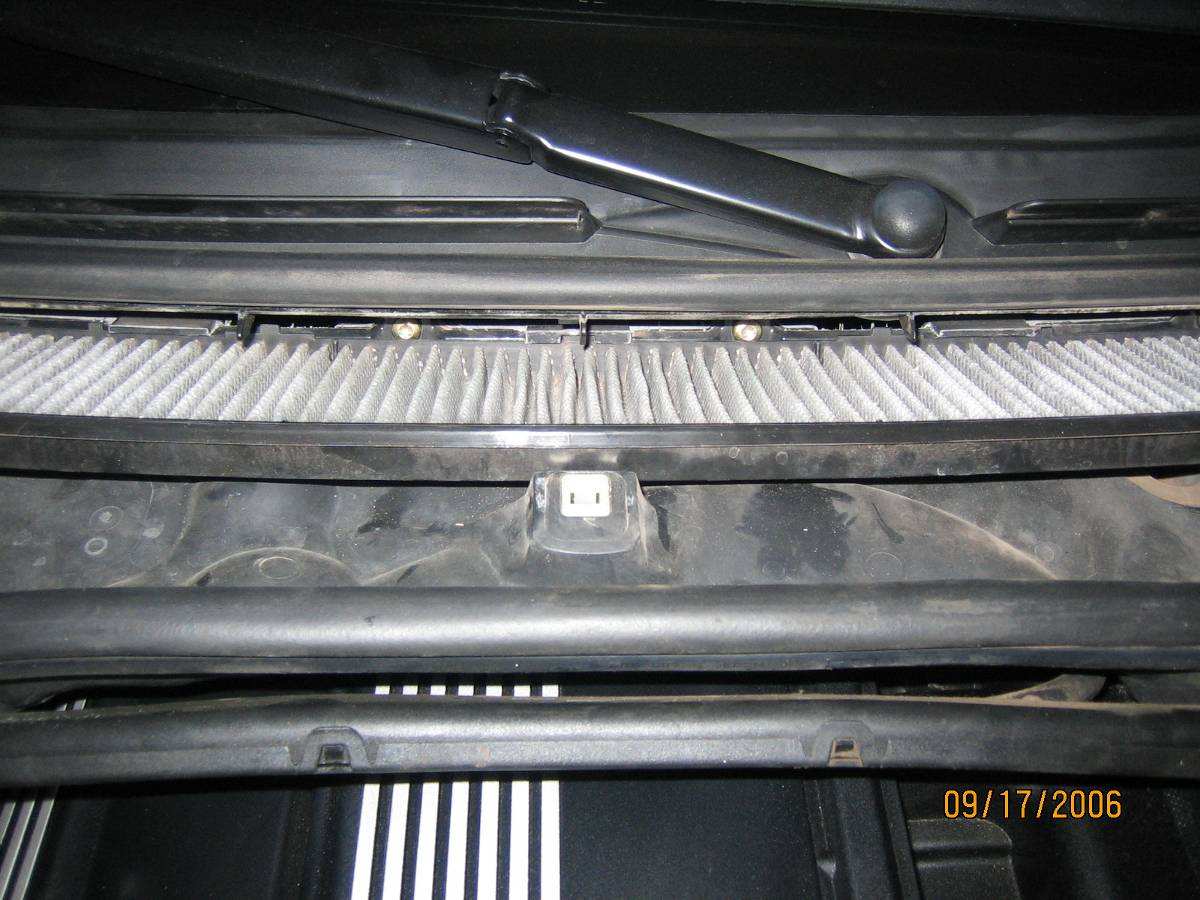
Take note of how the filter fits in the assembly, and then remove the filter.
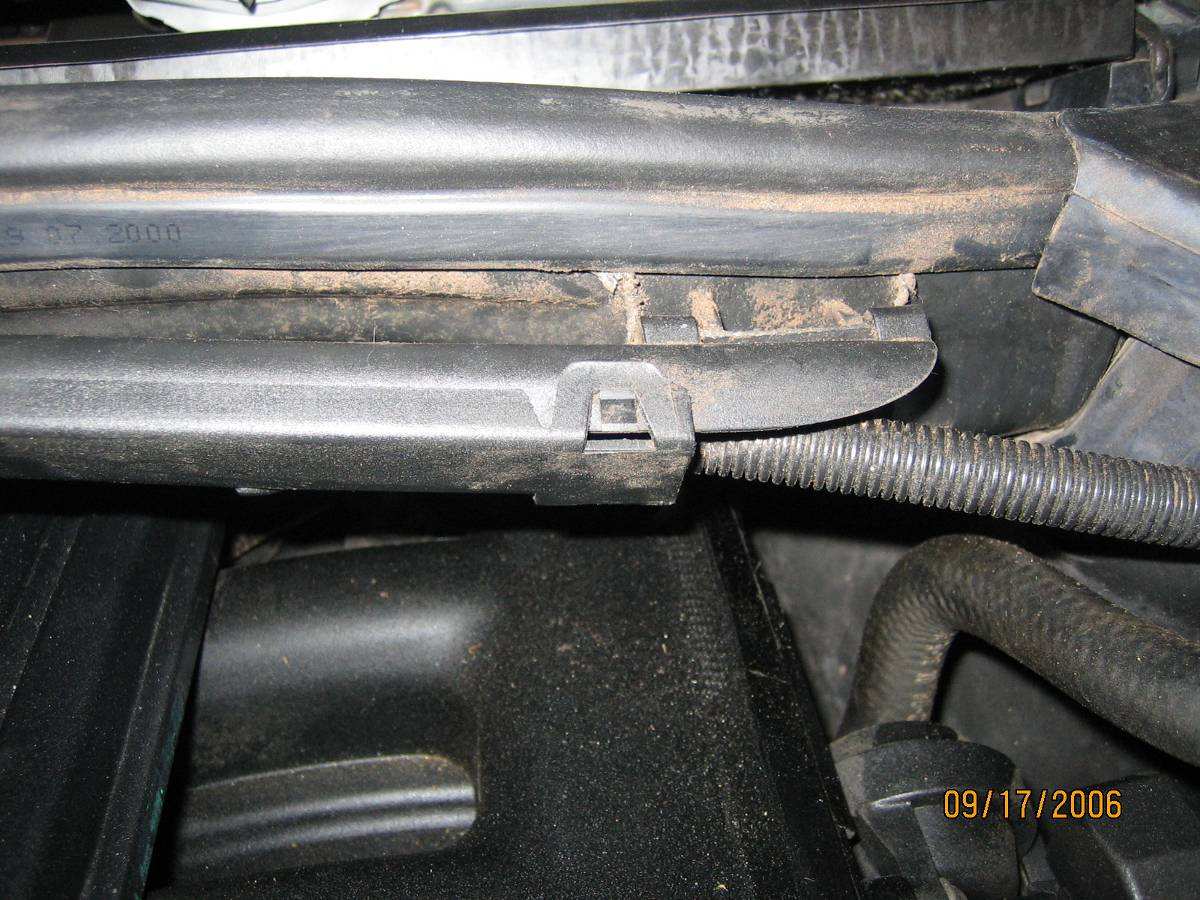
The wires running in front of the cabin filter assembly are covered by a flat lid. Each side of the lid has simple snap connectors like the one shown. Just gently lift the tabs while working the lid off. Once the top side connectors are undone, just gently roll the lid off the channel holding the wires.
Remove the four TORX bolts using a T30 bit. The screws are about an inch long, so keep twisting until they are all the way out. Lifting on the front of the filter tray, gently work it out of its spot. This part is done.
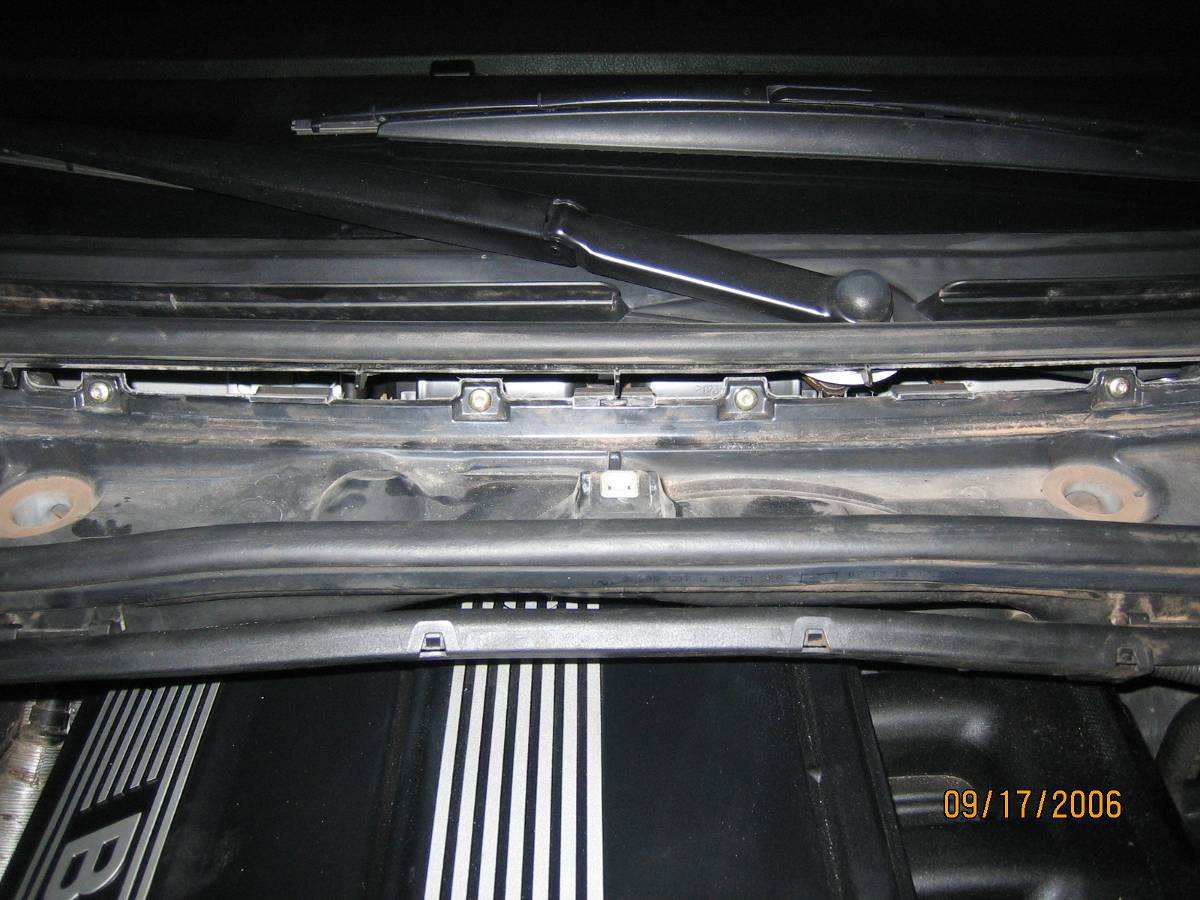
Using a flat head screwdriver, gently pry off the engine cover bolt caps. Using a 10mm socket, remove the bolts and nuts. The right side engine cover should be pulled to the left as it is removed (remember to reverse this procedure when putting everything back together).
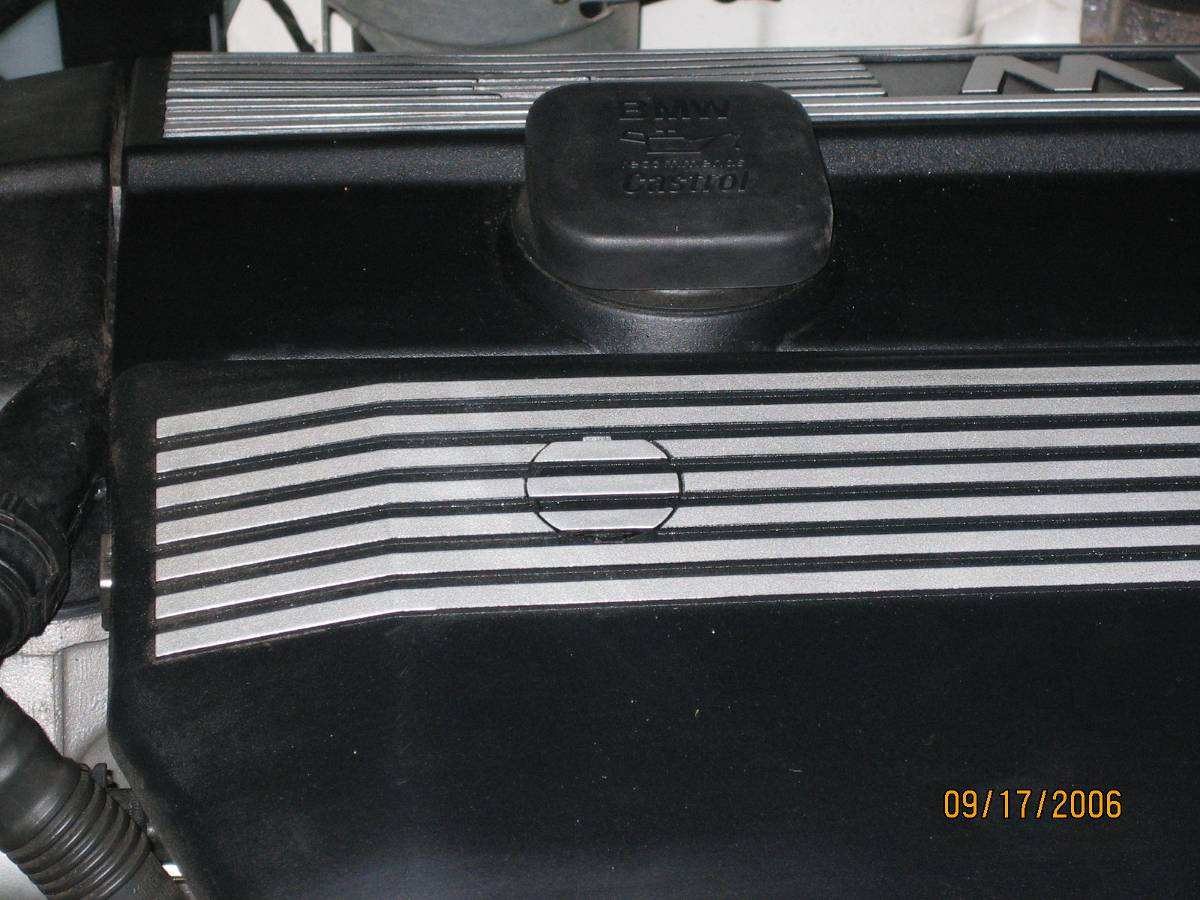
The top of the engine is now exposed.
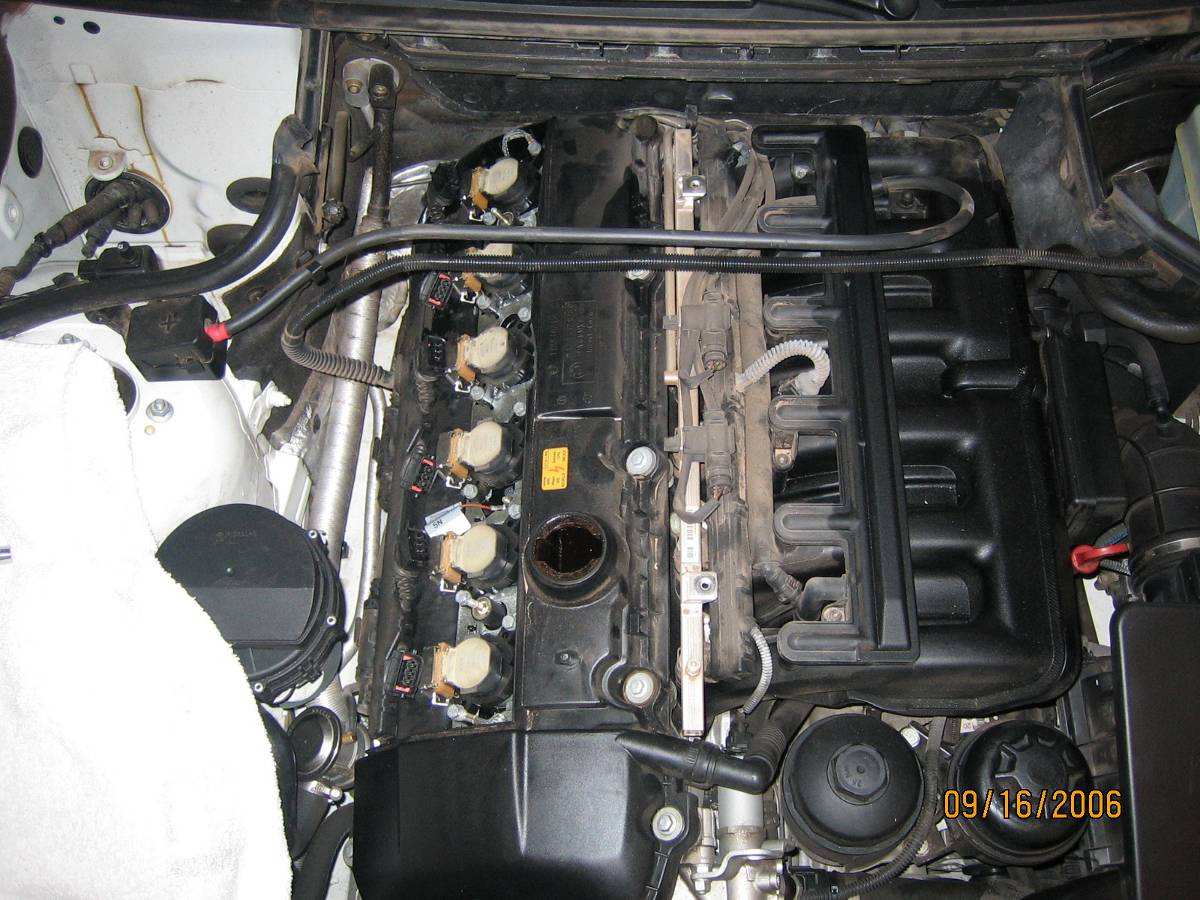
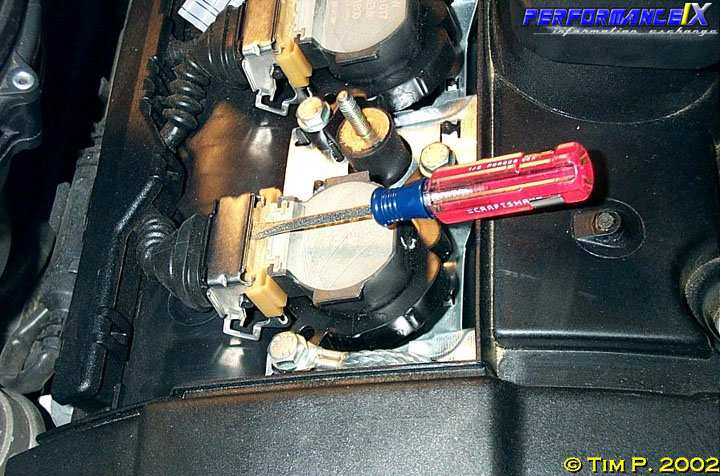
I forgot to take this photo, but Tim P.’s spark plug replacement instructions do a good example of showing how to undo the clip holding the coil wire in place. I did not need to use a screwdriver, but you might. The metal clip just slides up, and you can easily pull the coil plug out from the side. Just be very gentle (a common theme).
All the coil plug connectors have been removed.
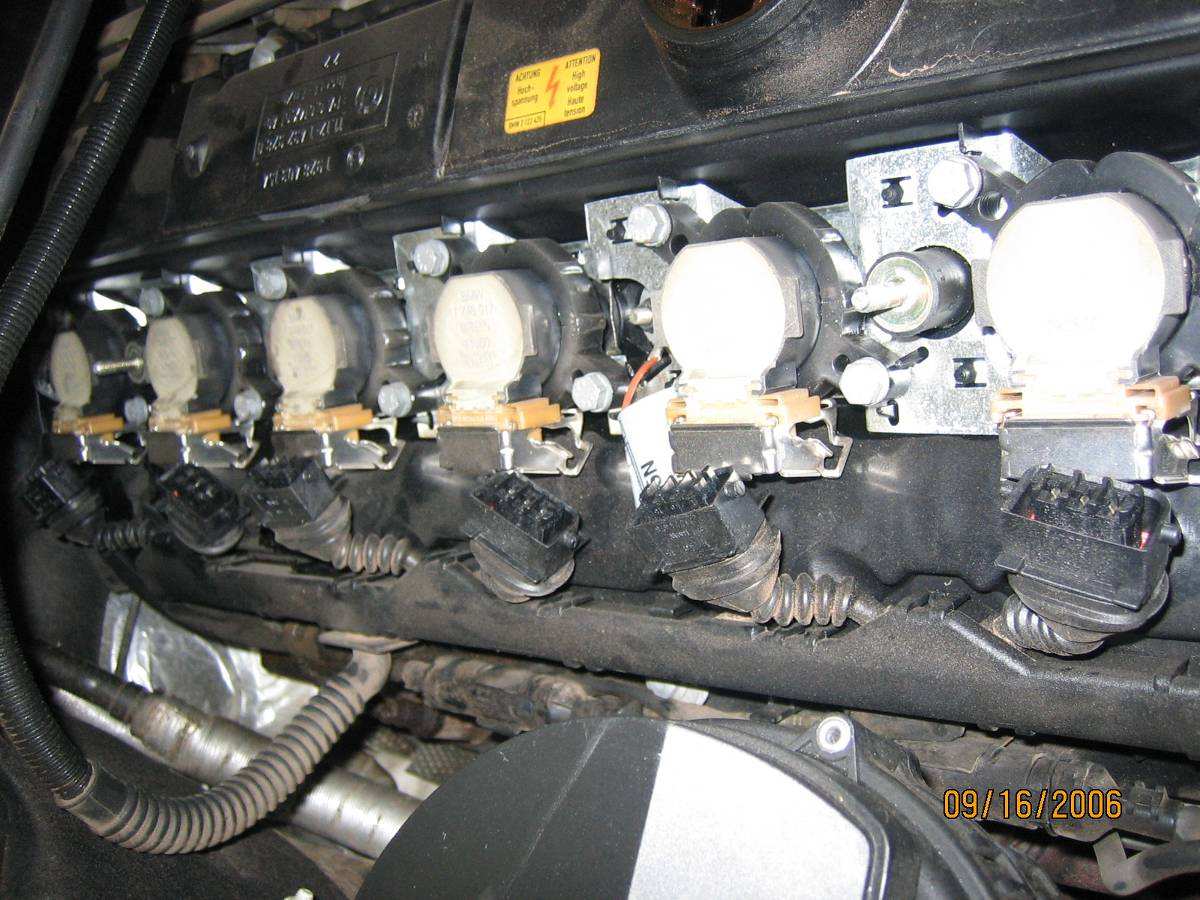
Take note of the ground strap on the 1st and 6th plug coils. You need to be sure to reassemble everything exactly as it is removed. This is the front coil strap.
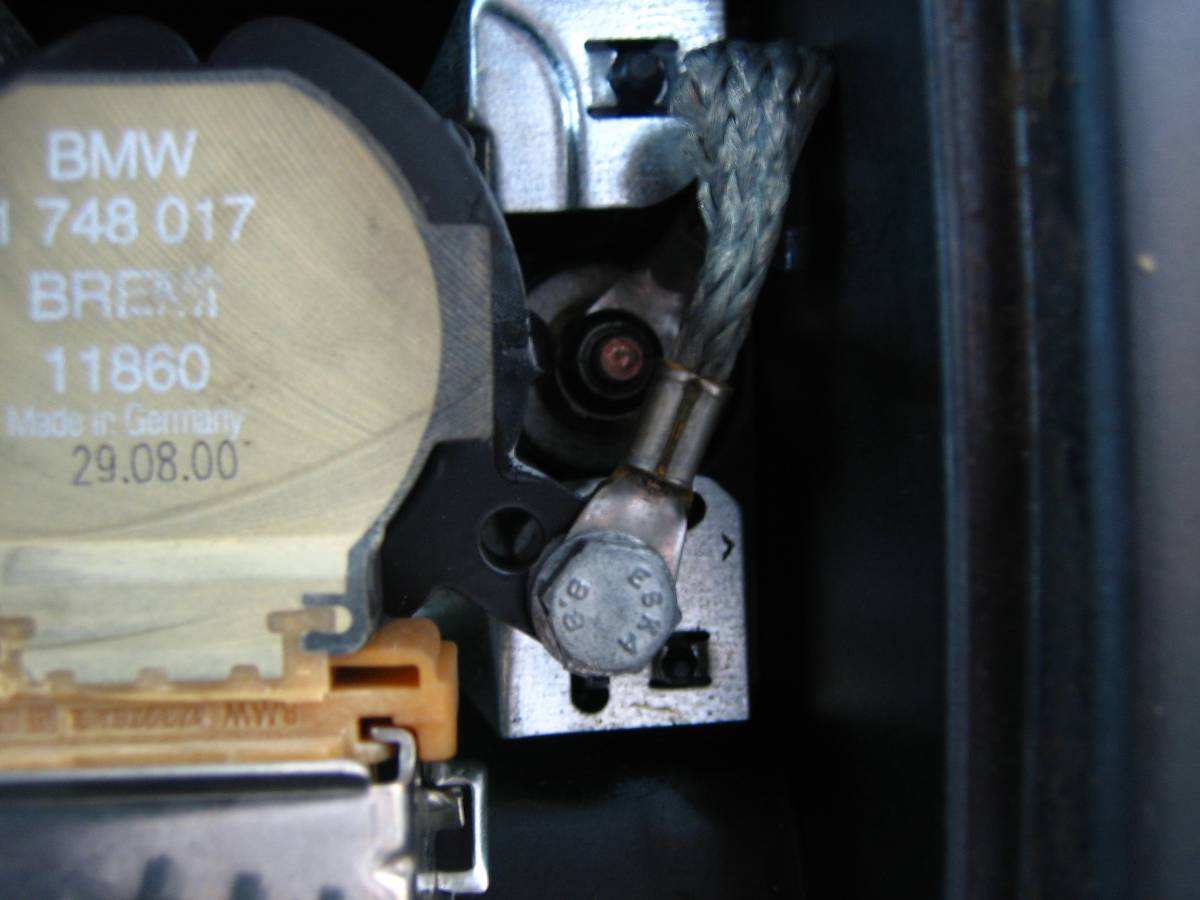
This is the rear coil strap. The 8mm nut holding both of these straps to the valve cover is fastened to one of the valve cover bolts. The 8mm nut should be removed to expose the 10mm valve cover one.
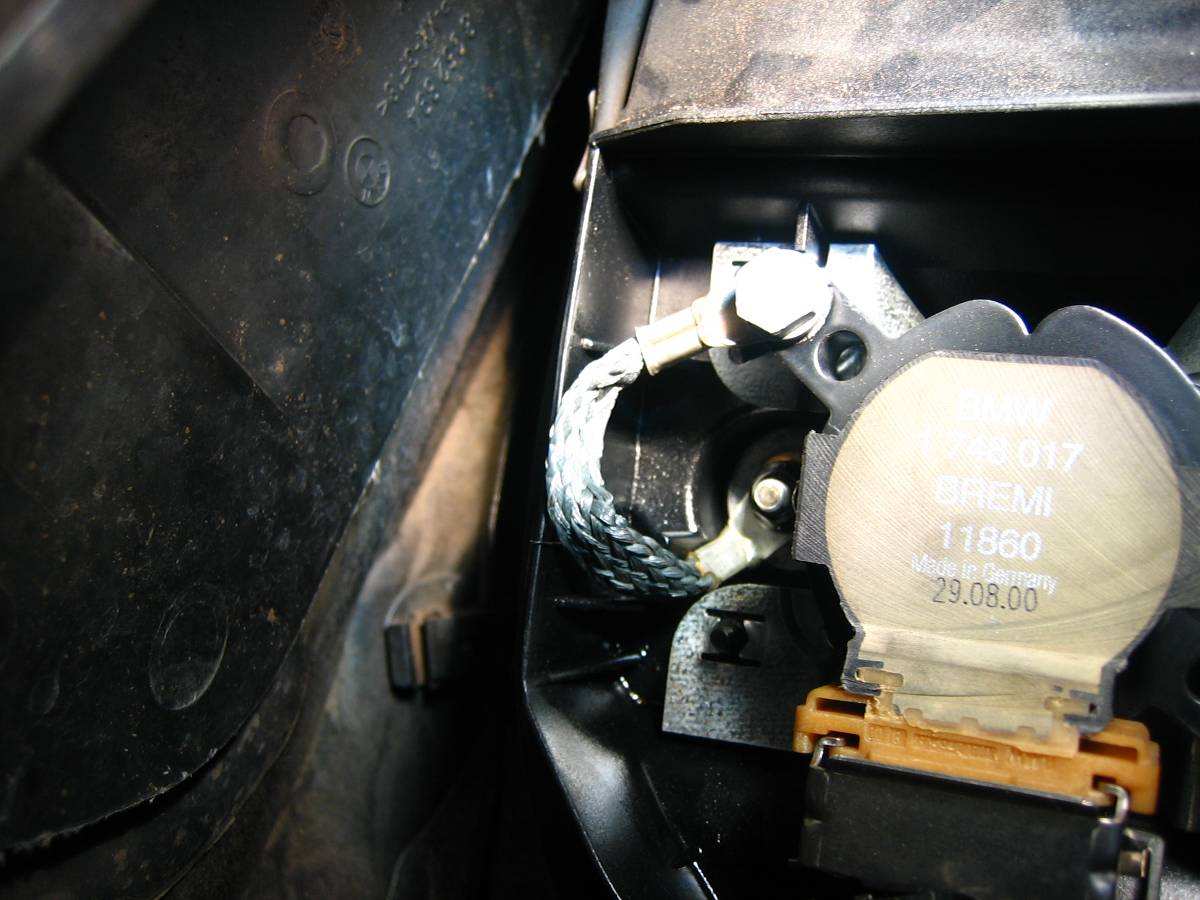
Remove this wire with also; it too has an 8mm nut. Once it is off, you will notice that there are four 10mm bolts now exposed on the valve cover top. One was covered by this wire, two were covered by the ground straps. All four of these will need to be removed, they look like nuts, but they are really 10mm bolts.
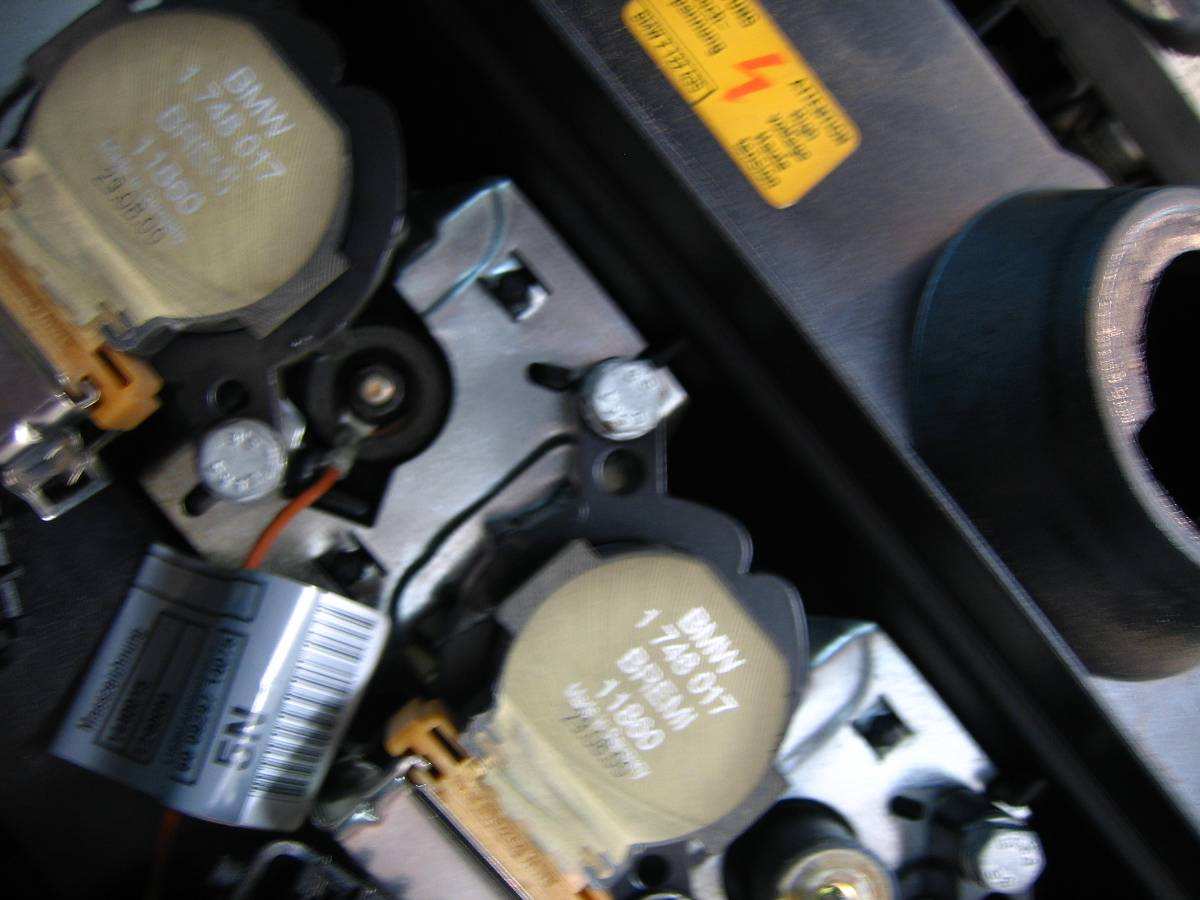
Using a 10mm socket, remove the two bolts holding the plug coils in place. Once the bolts are removed, just pull up on the coil to remove it. I don’t think it is necessary to keep track of which one was which, but I did so I could put everything back the way I found it. Upon reassembly, this is good time to replace the spark plugs and plug boots. I torqued the plugs to 18-ft.lbs.
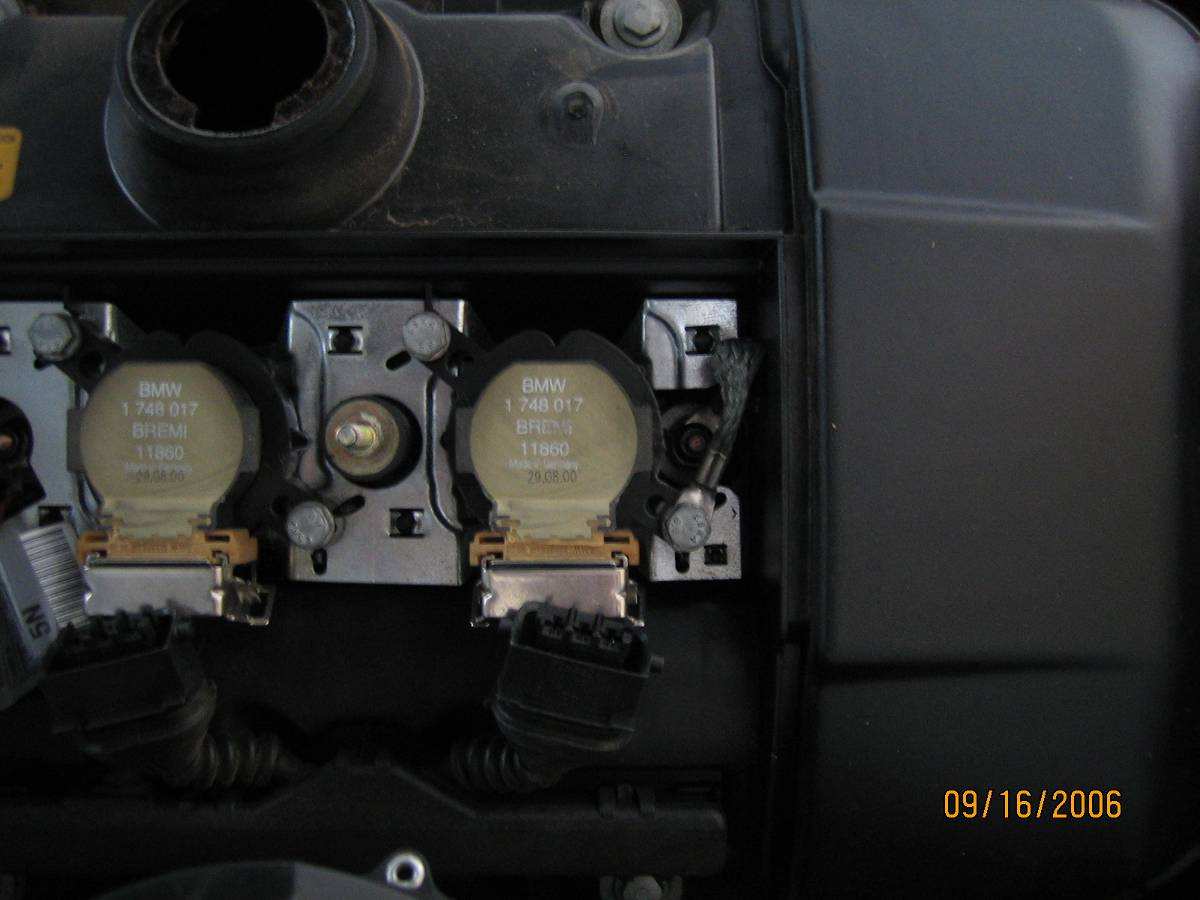
Everything is out. Soon we will remove the entire electrical assembly holding the coil wires.
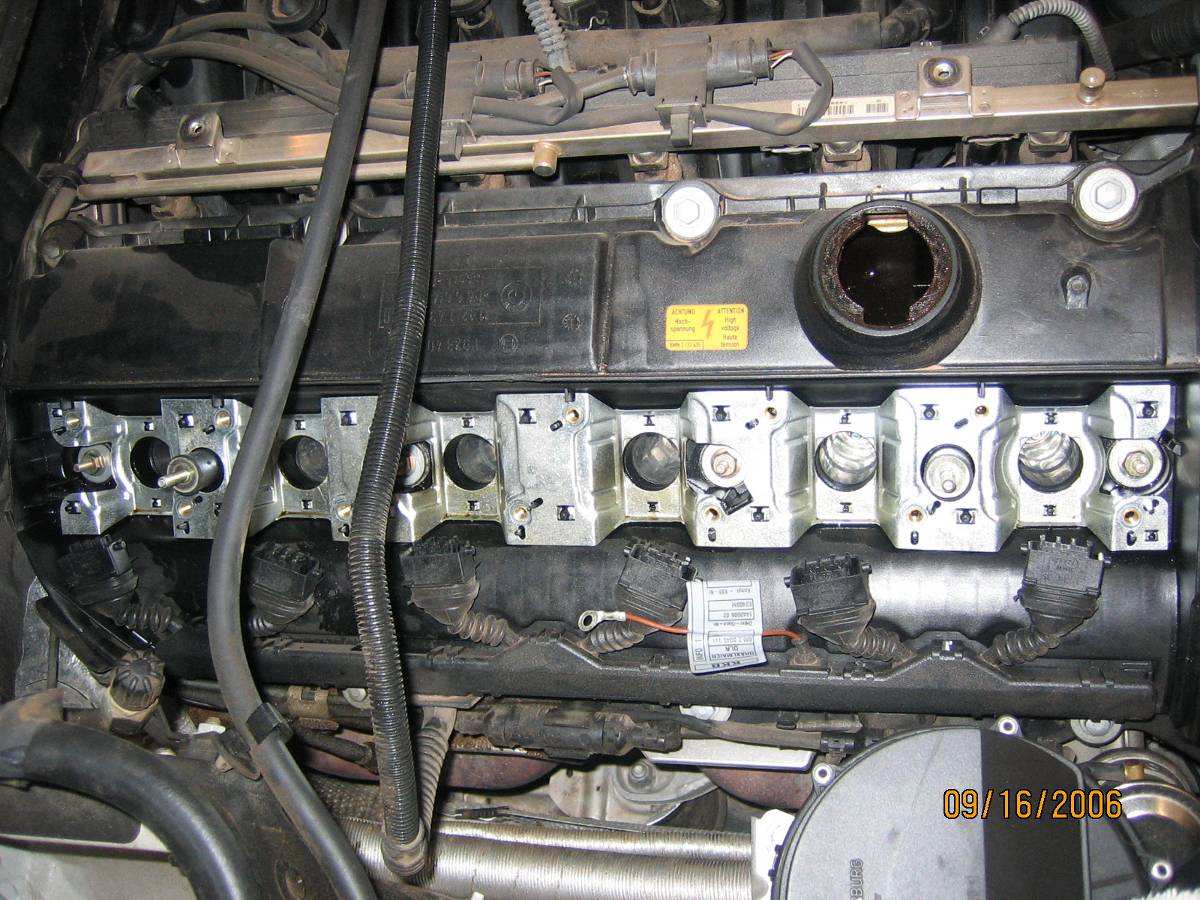
For lack of a better description, the vent tube needs to be unfastened. It is very stiff, brittle, thin plastic, so be very gentle. See next photo:
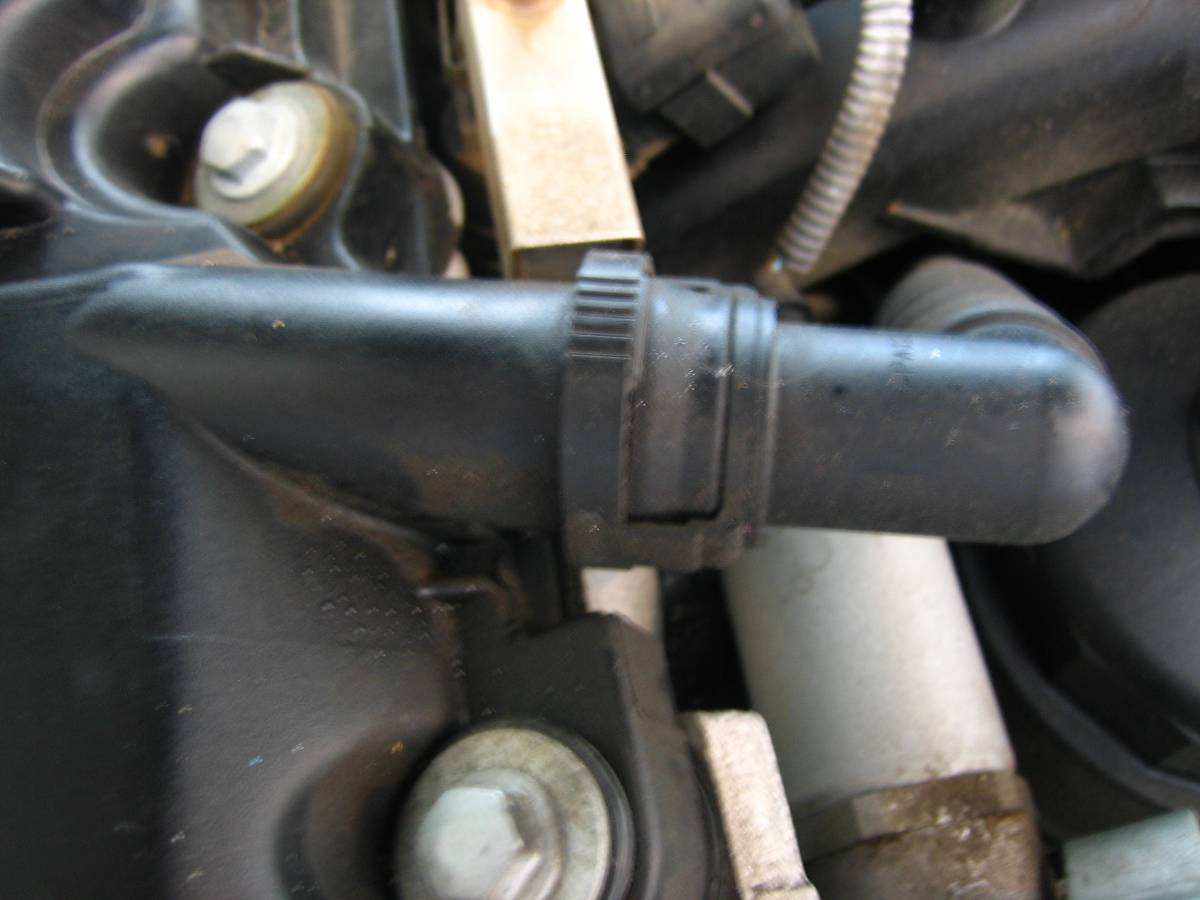
Squeeze the plastic clip on the top and bottom while pulling back on the tube. Don’t pull hard, because it only gives about one inch. The tube will break if you pull it hard. I had to wiggle mine for a few minutes to get it loose. This was about the worst part of the entire install.
All of the coil wires are tucked into this nice tidy plastic channel. The entire channel (top and bottom) come off as one piece. Do not remove the cover. Just gently pull it free by pulling up on the entire assembly. There are a few clips holding it down, so you might need to use a flat head screwdriver to negotiate the thing out. See the photo below for a zoomed-in pic of the clip:
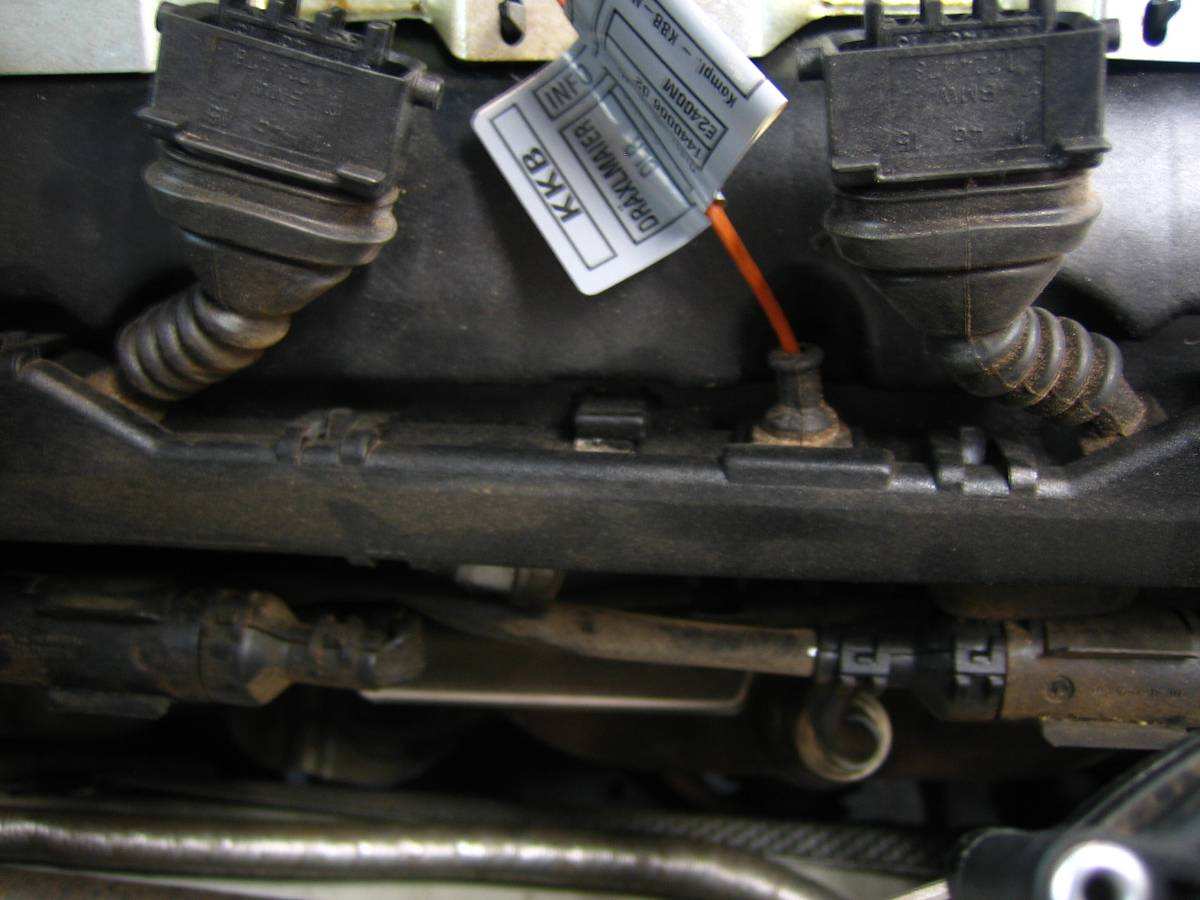
The clip as described in the prior step. When reinstalling the assembly, just make sure it is lined up and press it down. It will click back in place. This was pretty slick, BMW did this right.
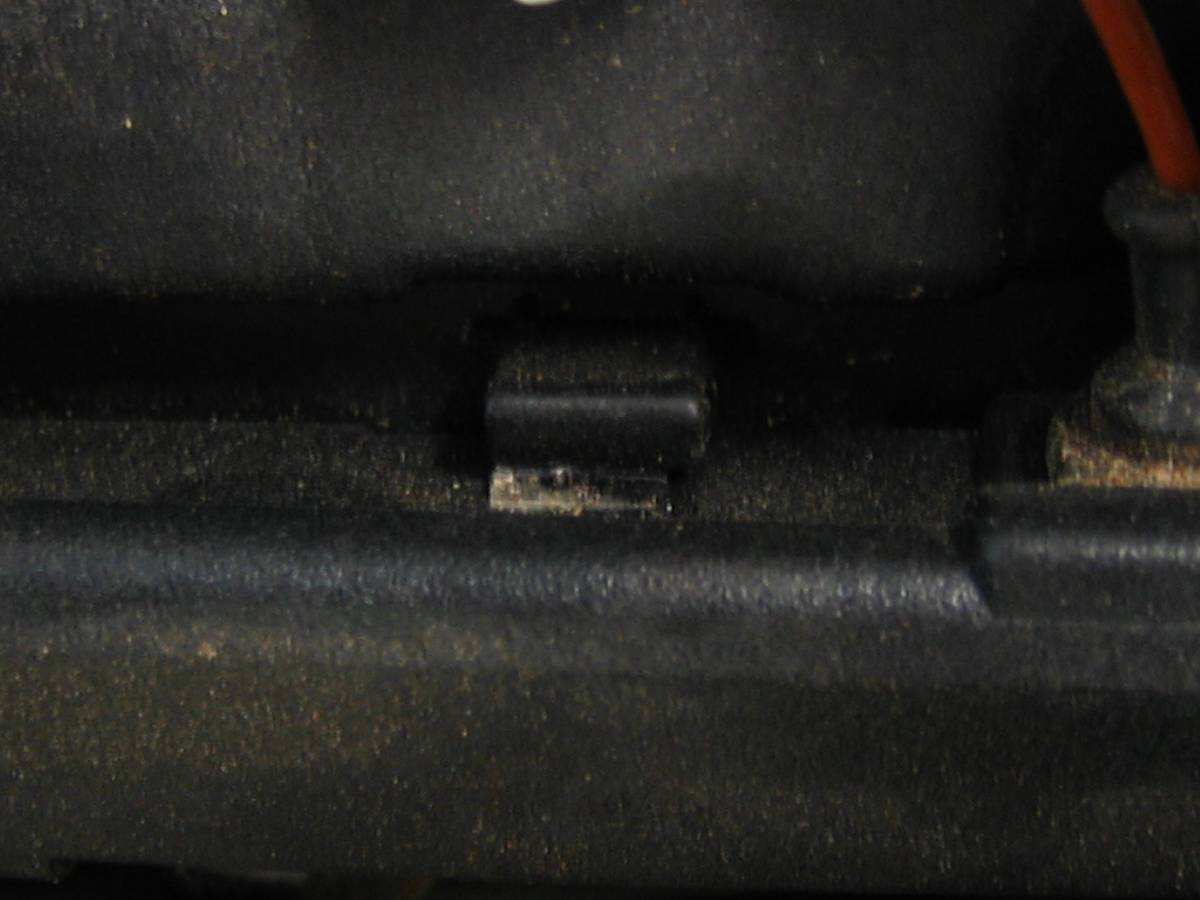
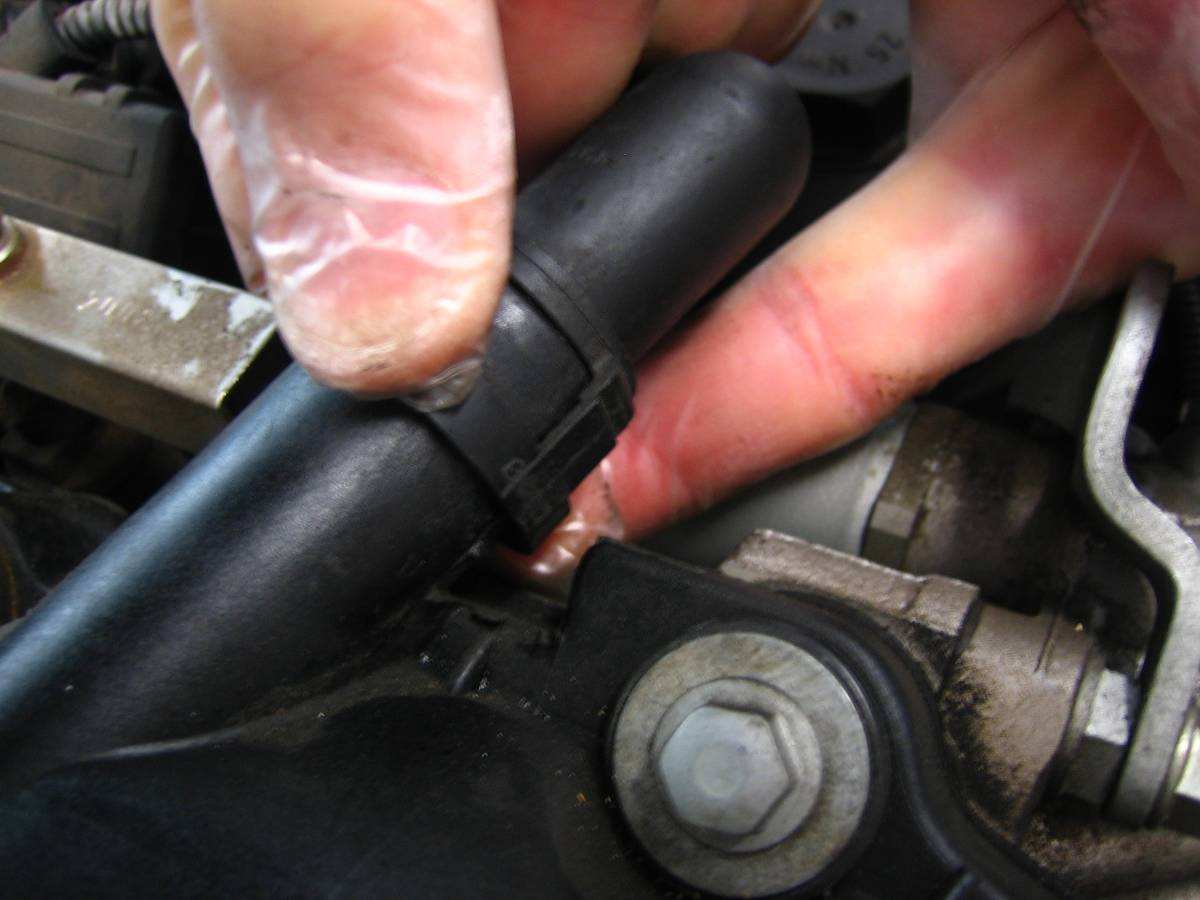
Once the coil wires are moved, you can pull up gently on the wires underneath. These are just held by some simple U-clips. Only the one held by my finger in the photo is tricky, just lift the tab and pull the wires out from the side (this is right above one of the oxygen sensors, so don’t bust the wire off the top of the sensor). As a note, I did not disconnect any wires, I just moved them out of the way. These wires I twist-tied to the heavy battery cable running above the engine.
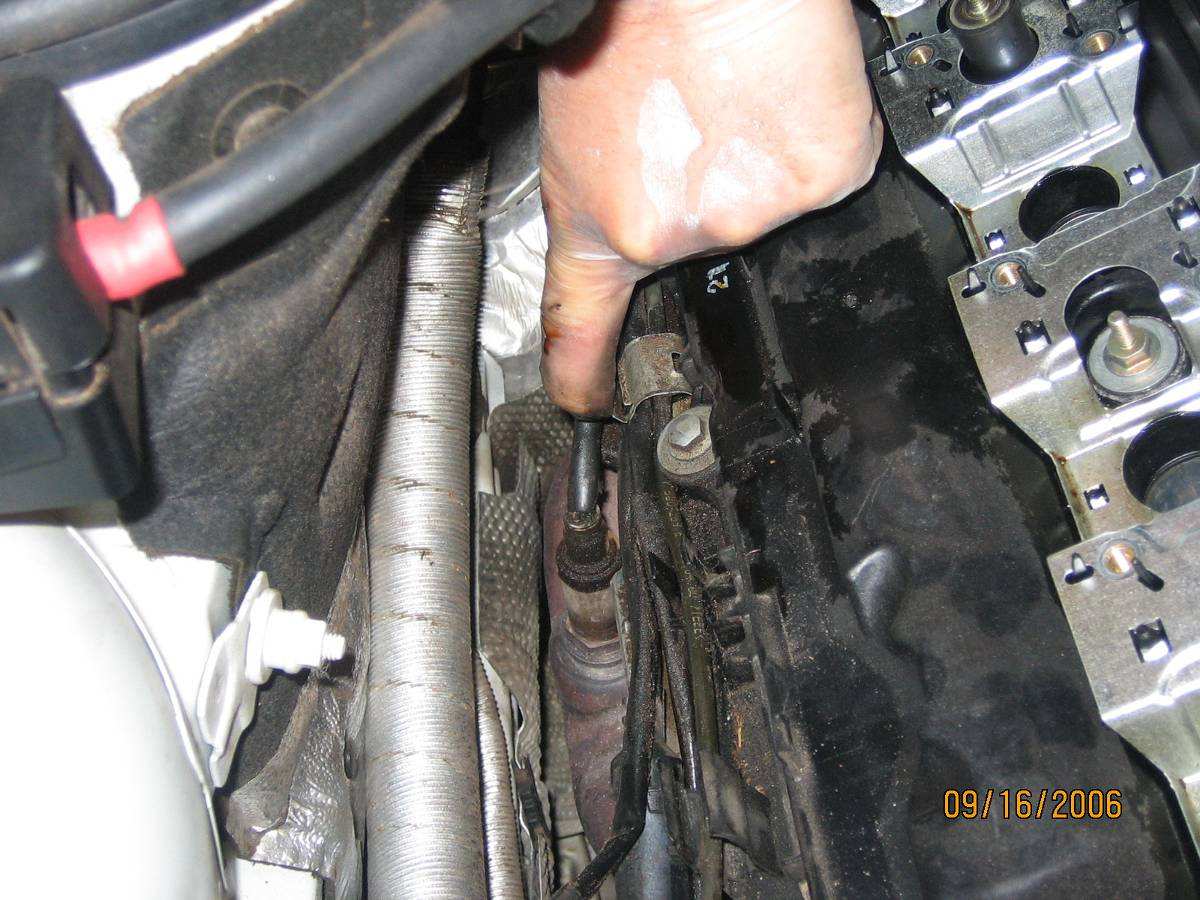
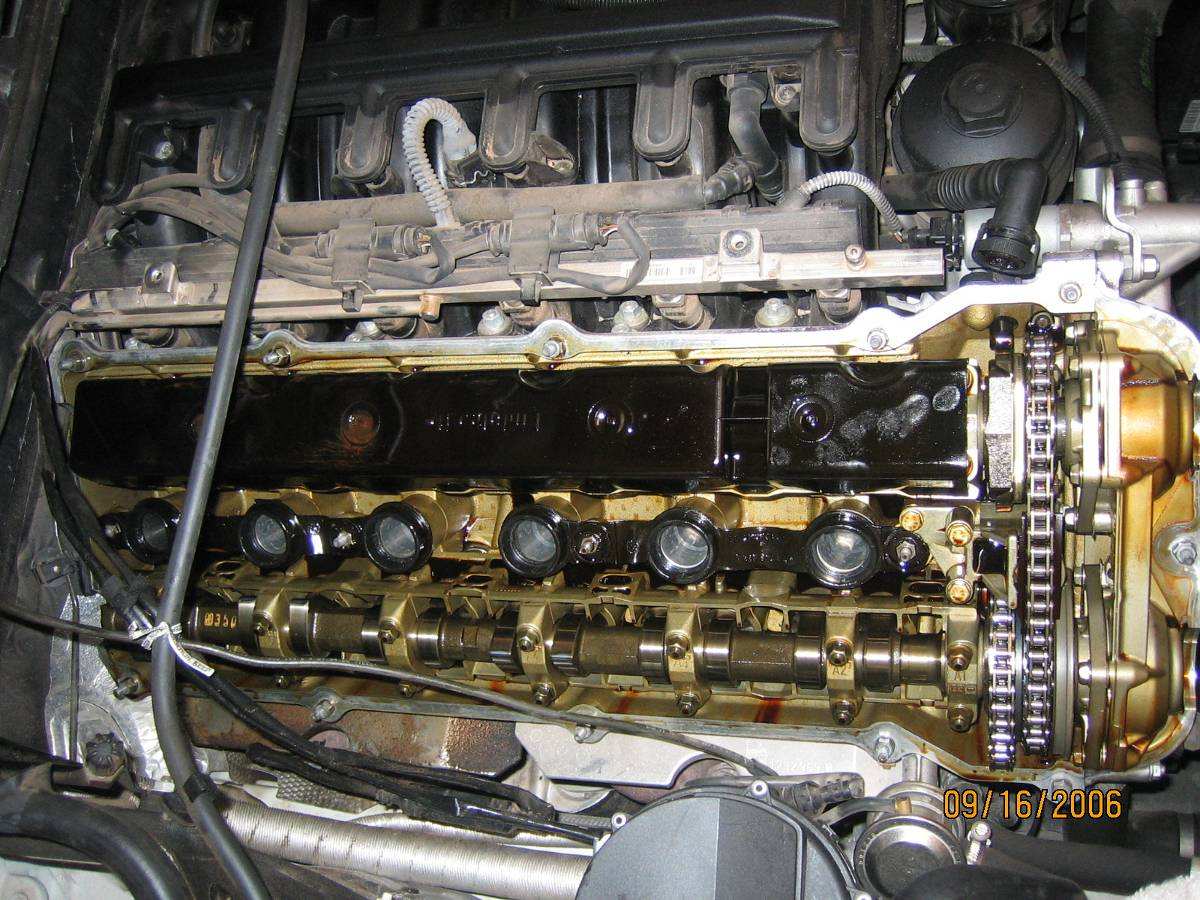
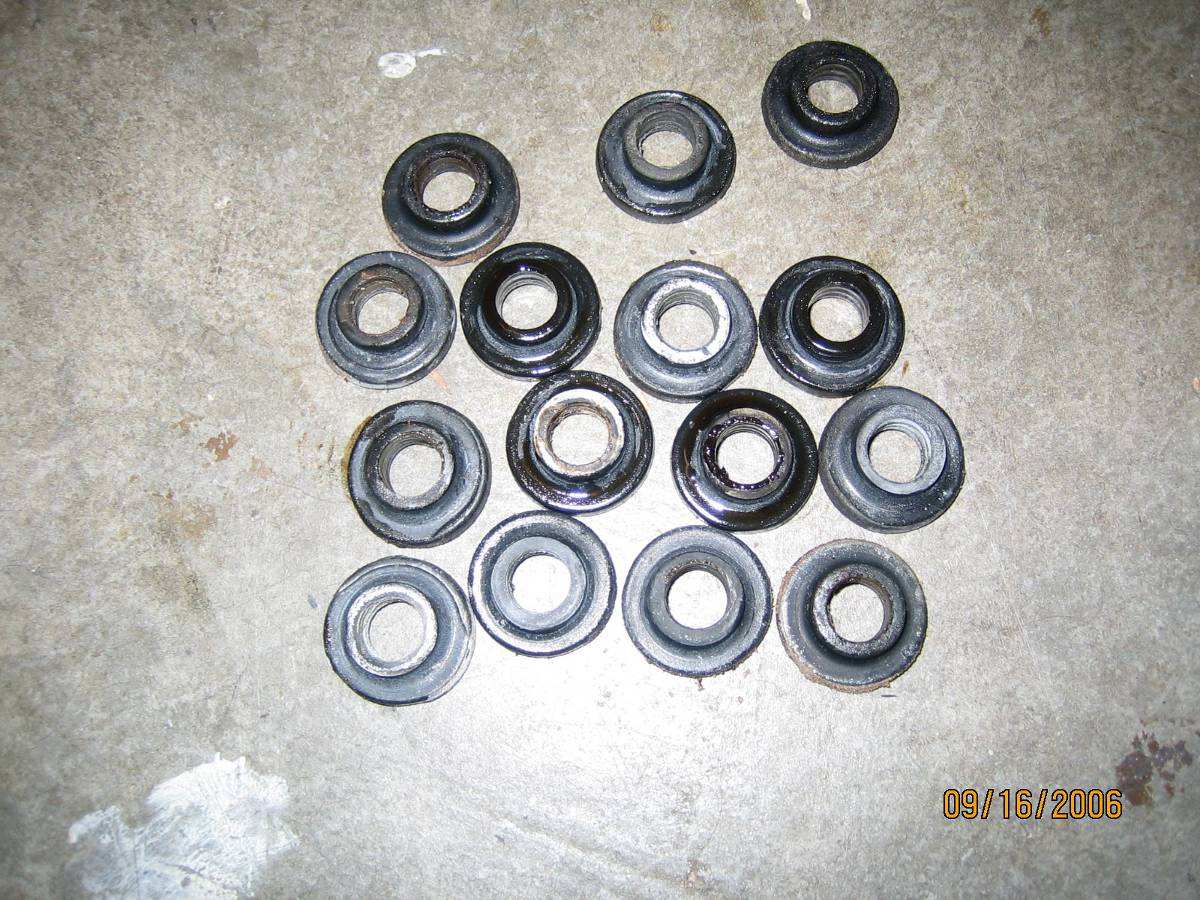
Now you can finally start removing the valve cover hold down bolts. All of them are 10mm. This photo shows one of the center ones coming out. Every bolt has a metal washer, then a rubber gasket. Replace the gaskets on your install, mine looked pretty used (see next photo). Once all the bolts are removed, pull the valve cover up to remove it. I had to gently pry mine in a few places.
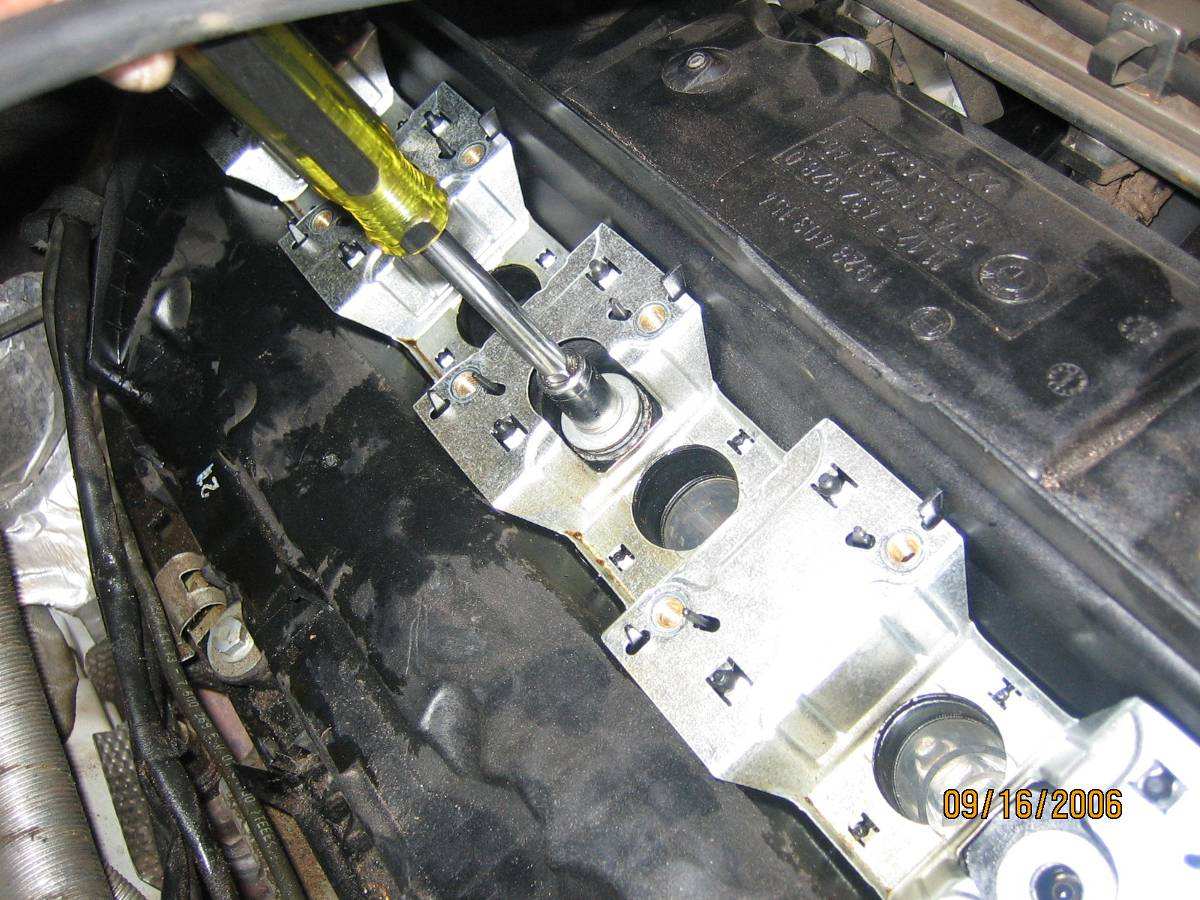
My old rubber gaskets (basically a thick tapered rubber washer).
If you are not lucky enough to pull the entire gasket like me, be sure you get it all. Some people report theirs as very brittle. Mine was just stiff. Not at all like the soft rubber replacement. I took this time to spray the entire cover with some Simple Green grease remover and then spray it with the hose. By the time I was ready to reinstall, the sun had dried it for me.
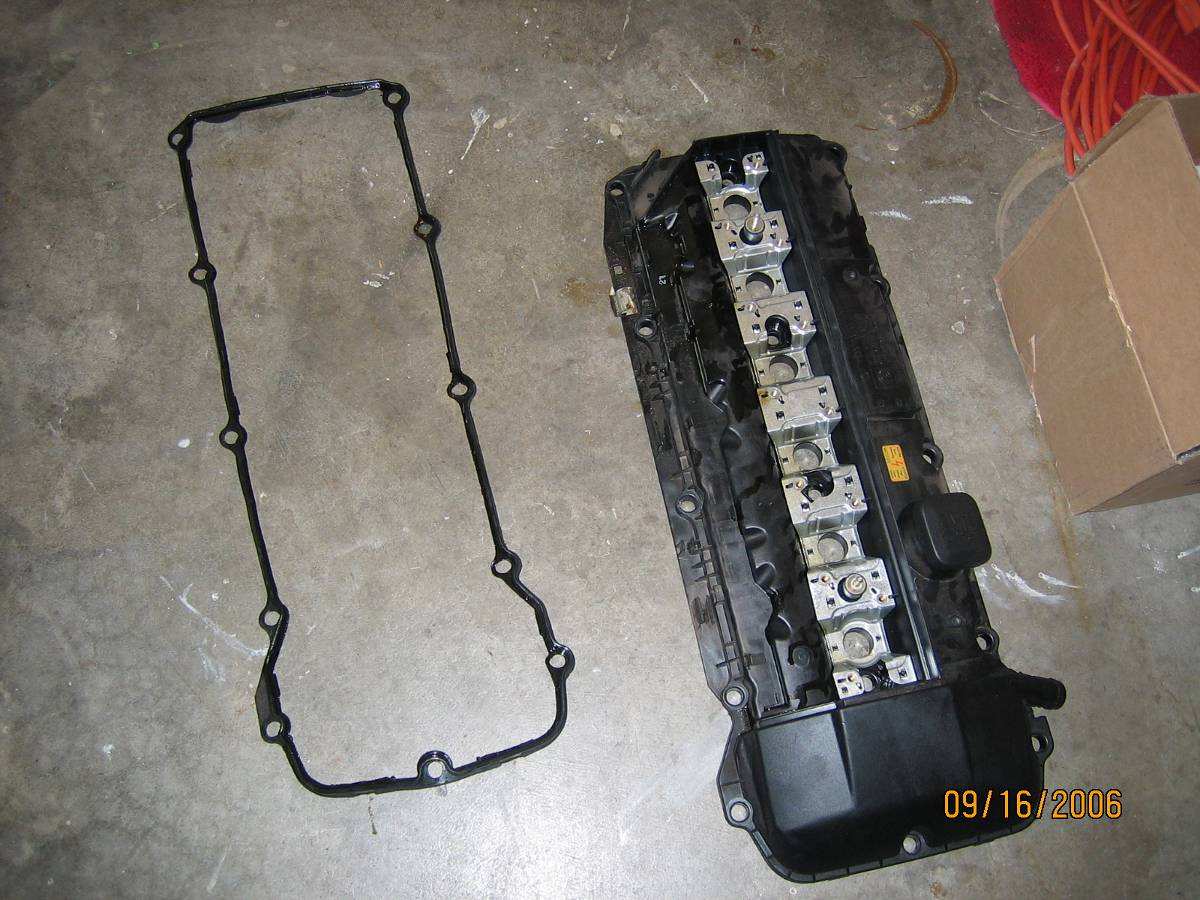
Now you will notice the spark plug gaskets. Mine were stuck pretty good. You don’t need to remove the bolts that appear to be holding them down, but I did.
Once all your gaskets are off, clean the entire gasket area. Gasket sealant is not supposed to be required, but everyone says to use it on the half-moon areas (this will make sense once you get it apart). I used a high-temp sealant.
To get the gaskets back on, I just placed the in the cover (there is grove that holds them in place) and set the cover back on the engine. Seems simple enough, but it took me some time – I was super careful that everything went back in place correctly.
Now put it all back together. I torqued all the valve cover bolts down to about 10-ft.lbs, I think BMW says 7.5-ft.lbs (that wasn’t an option on my torque wrench, plus less seemed too lose).
My disclaimer: I am not a mechanic, so there are no implied or expressed warranties, or implied or expressed validity to these instructions.