Article by: f1lmmaker
Article applies to: E60 M5 models.
This DIY was performed on a 2008 E60 M5 and is for replacing the front rotors, pads, and sensors. The work is applicable to both left and right wheels.
Tools I used:
- Common (flat head) screwdriver
- Ratchet with ¾” socket
- 7mm allen wrench or socket
- 5mm allen wrench or socket
- C-clamp
- 7/16” open/box end wrench
- 3/8” open/box end wrench
- Bungee cord
- WD-40
- Channel lock pliers
- Rubber mallet
- Canned air
Before getting started, make sure that the car is on a flat surface and that you have plenty of room to work around the front wheel well. I also recommend that you have some shop towels and a medium-sized piece of cardboard that you can lay under the wheel well (for brake fluid spills).
Also, replacing brakes is a dusty job, so some non-latex, no-powder gloves may come in handy. The steps in this DIY represent the way I replaced these items. There may be some different ways of performing these tasks, but once again, this is how I did the work.
Removing the Rotor, Pads, and Sensor
Step 1: Make sure the transmission is in ‘N’ and if you do not have a car lift, place something heavy (e.g., large brick) behind one of the rear wheels BEFORE you jack up the car.
Step 2: Loosen the lug nuts on the wheel.
Step 3: Jack up the front end of the car.
Step 4: Remove the lug nuts and remove the wheel. Set it aside to expose the caliper and rotor.
Step 5: Place the piece of cardboard under the wheel well.
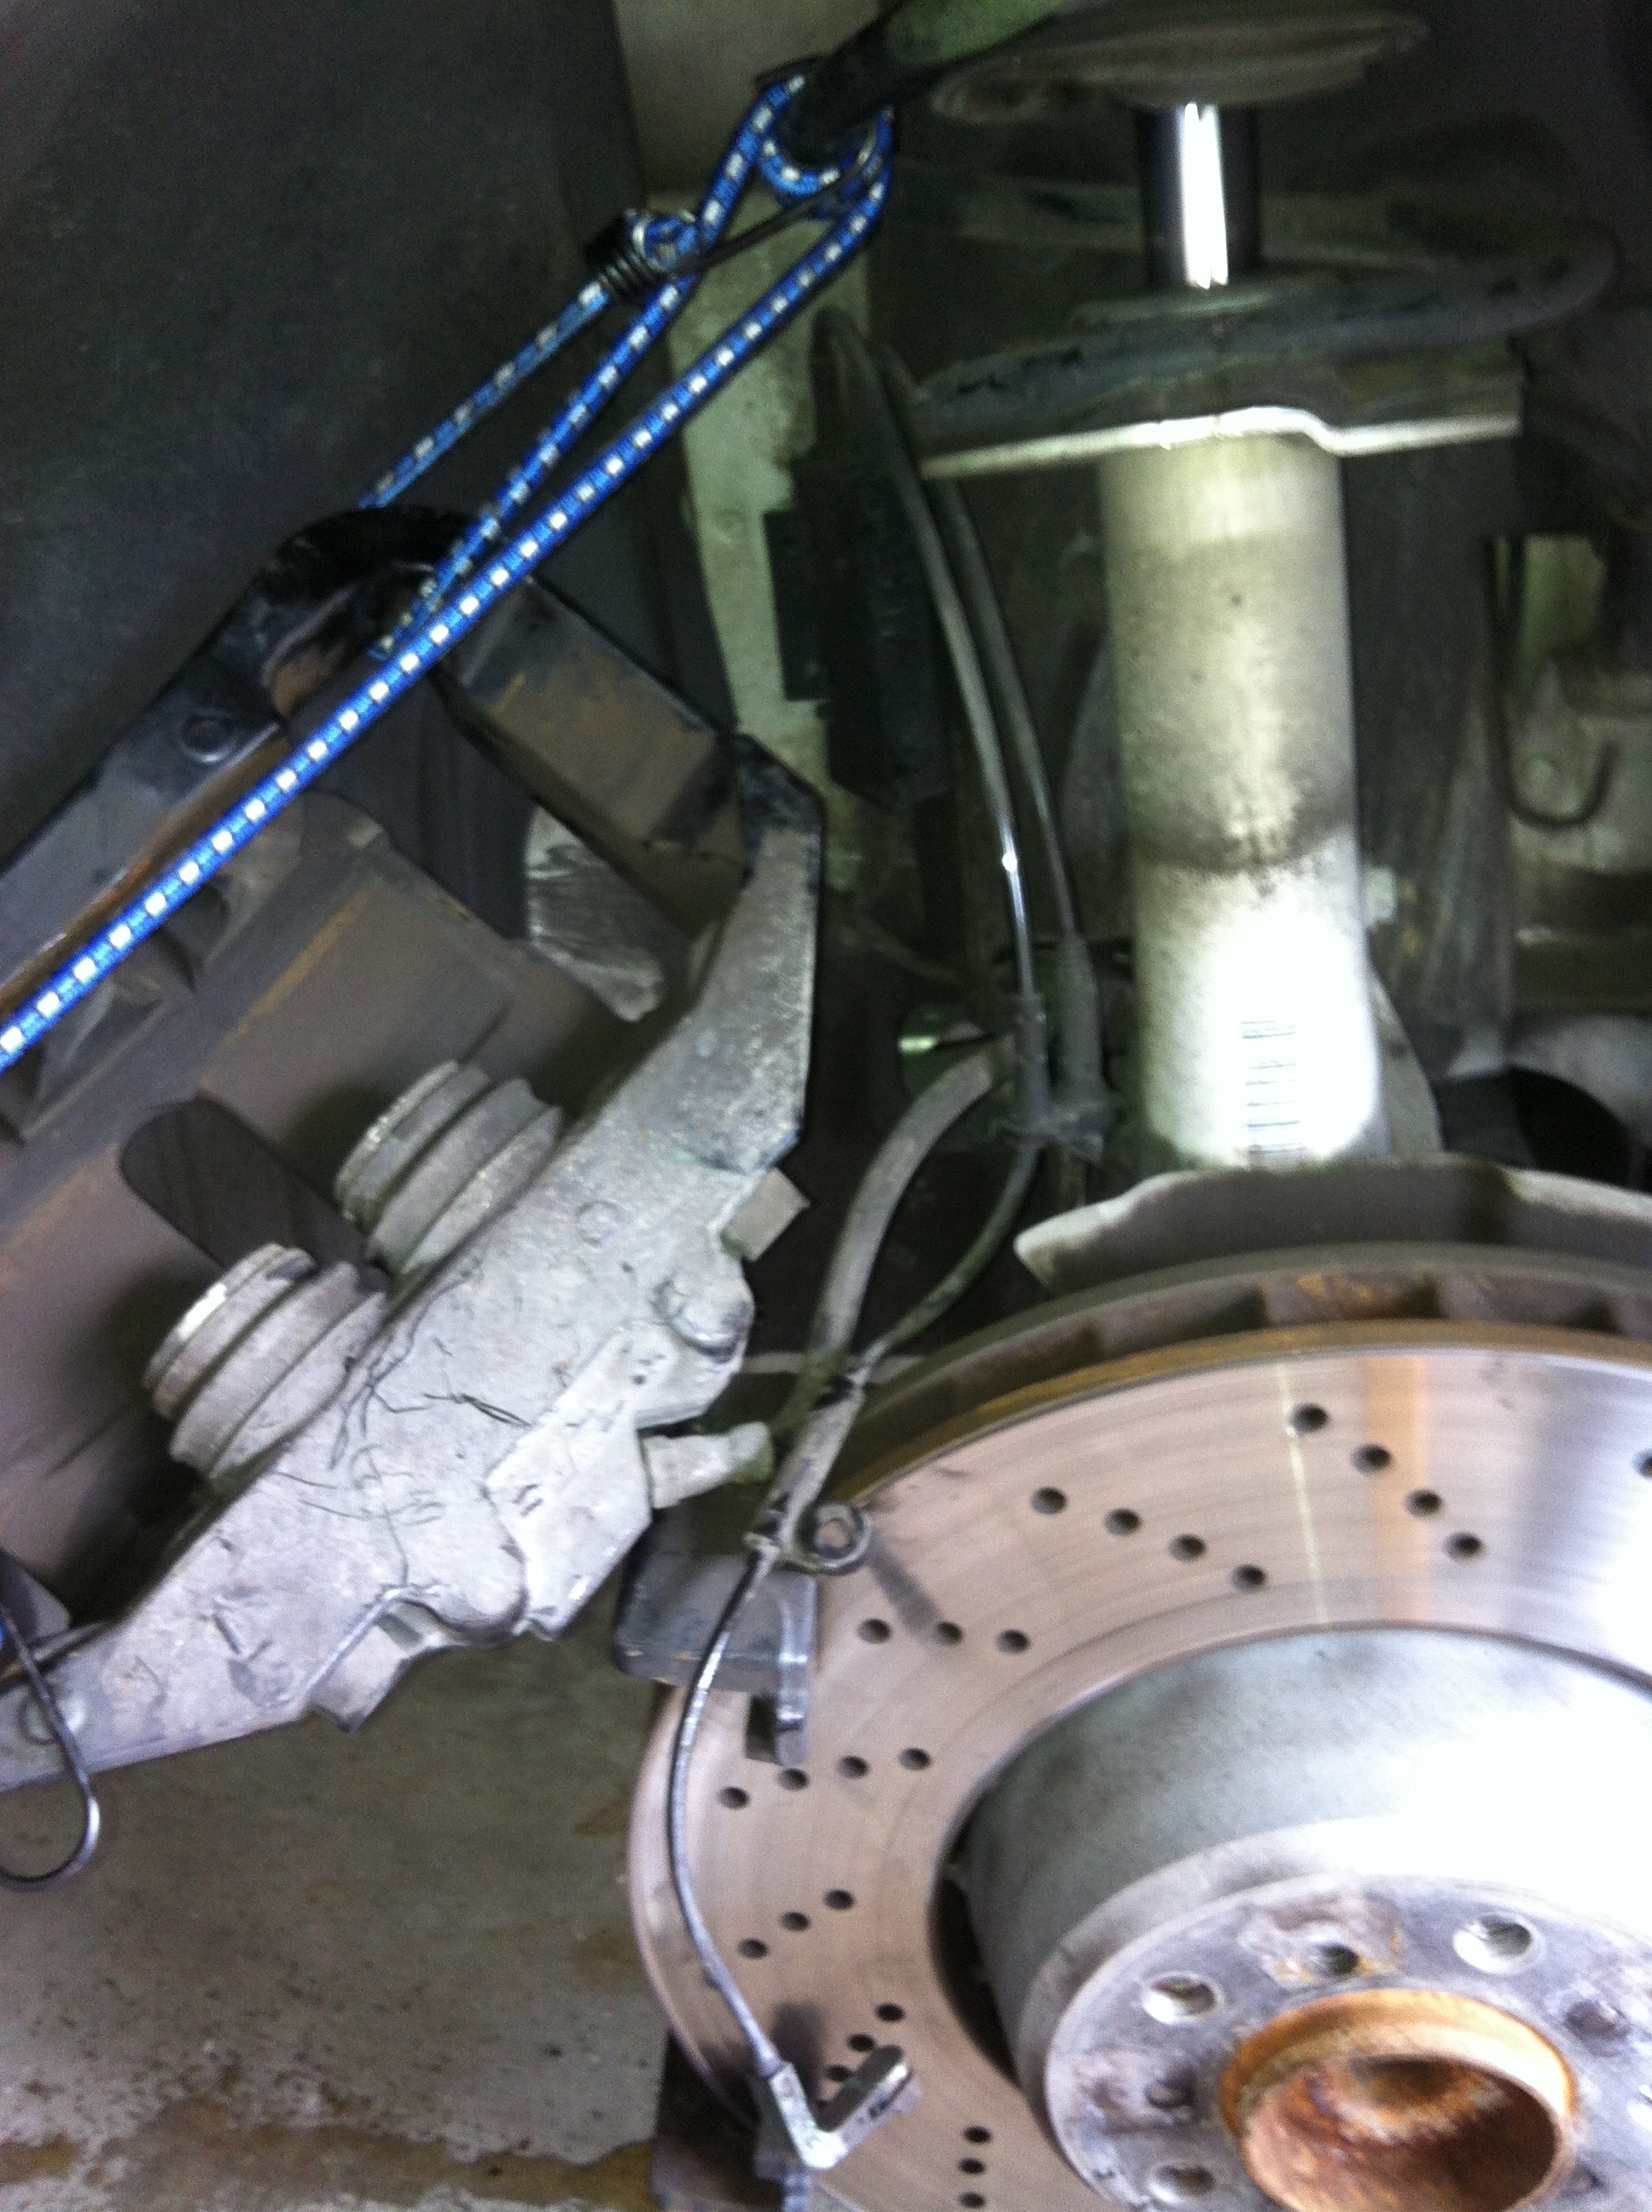
Step 6: Locate the two ¾” bolts behind the caliper bracket and give them a nice squirt of WD-40, as these are two hard muthas!
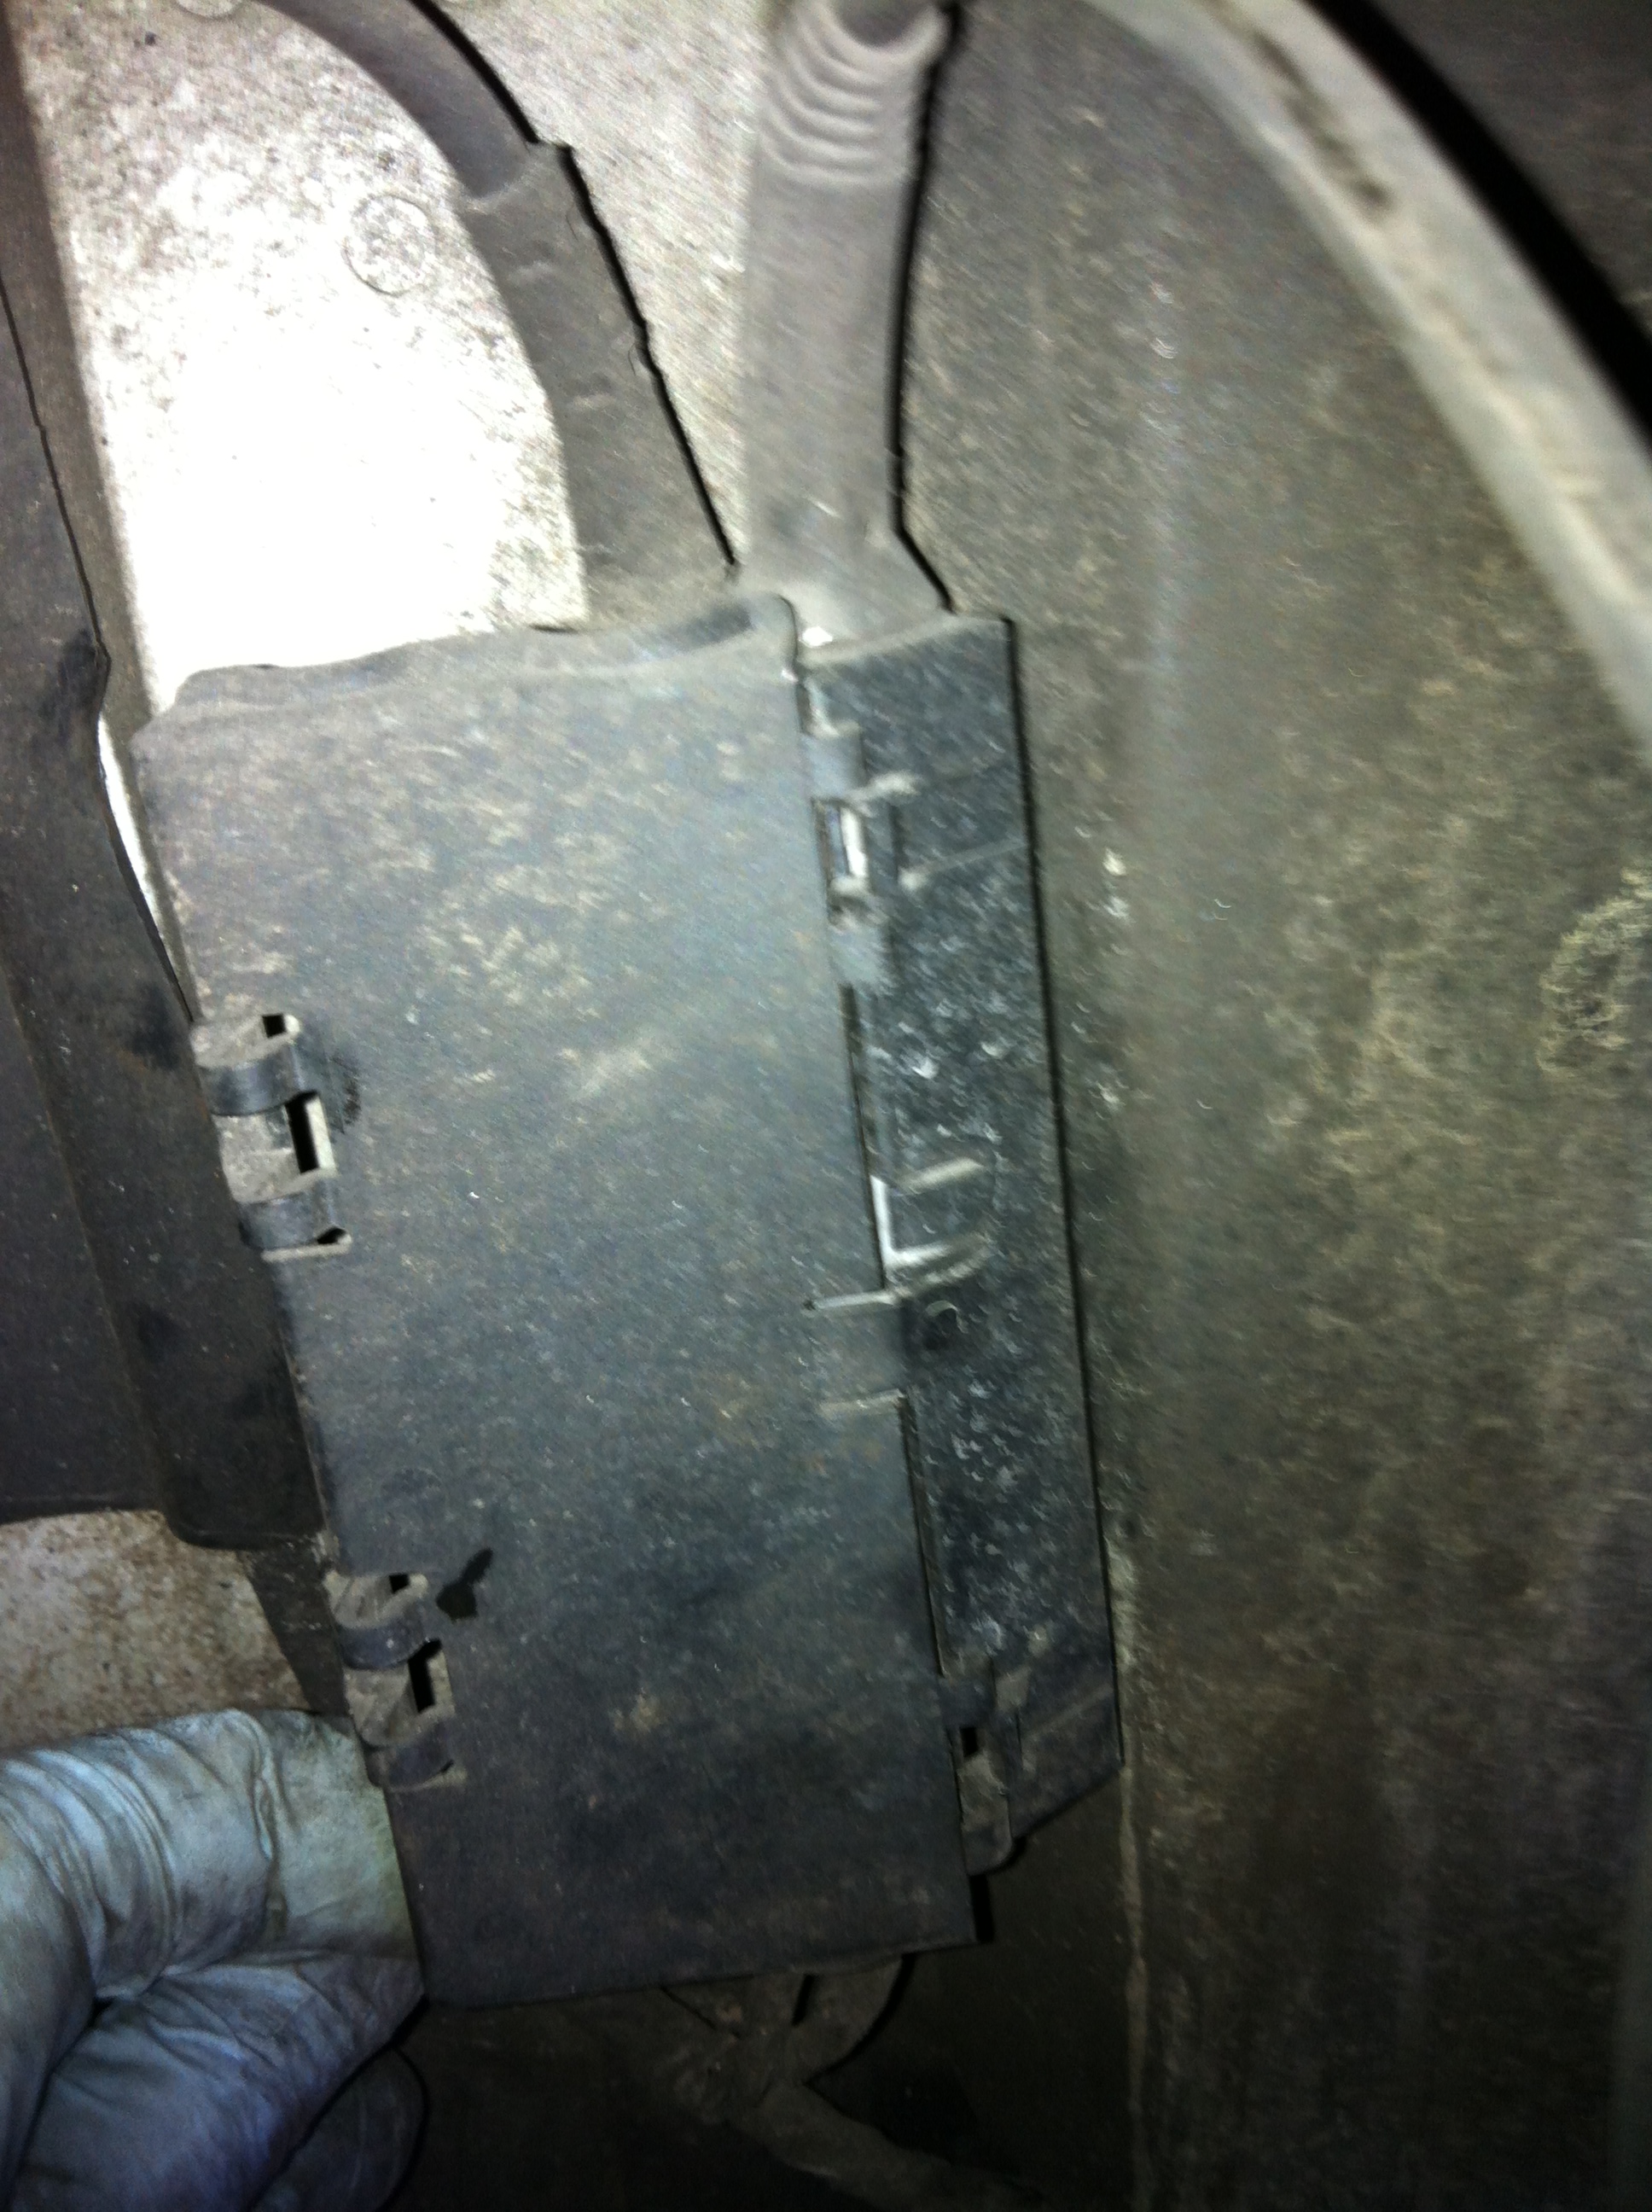
Step 7: Use the common screw driver to GENTLY pry off the retaining spring (in the direction of the rear of the car). This spring had a lot of tension on it, so just work the edge of the screw driver in the middle of it until it pops loose. Don’t be too aggressive with this thing because it can pop you right in the face (it didn’t happen to me, but I see how it could happen). Once you get this off, set it aside. Below is how the caliper looks with the retaining spring and caliper housing removed:
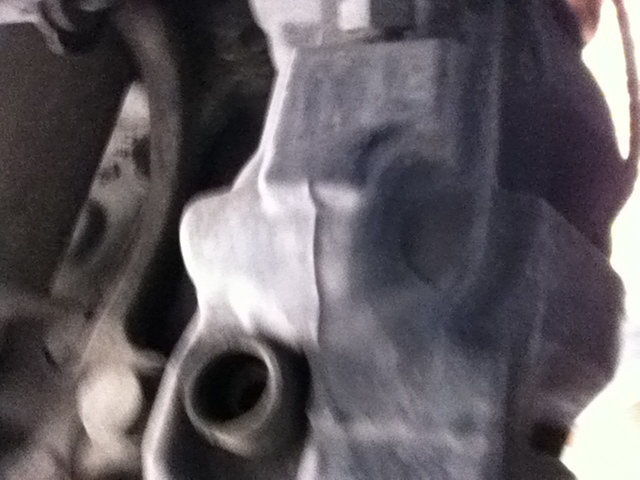
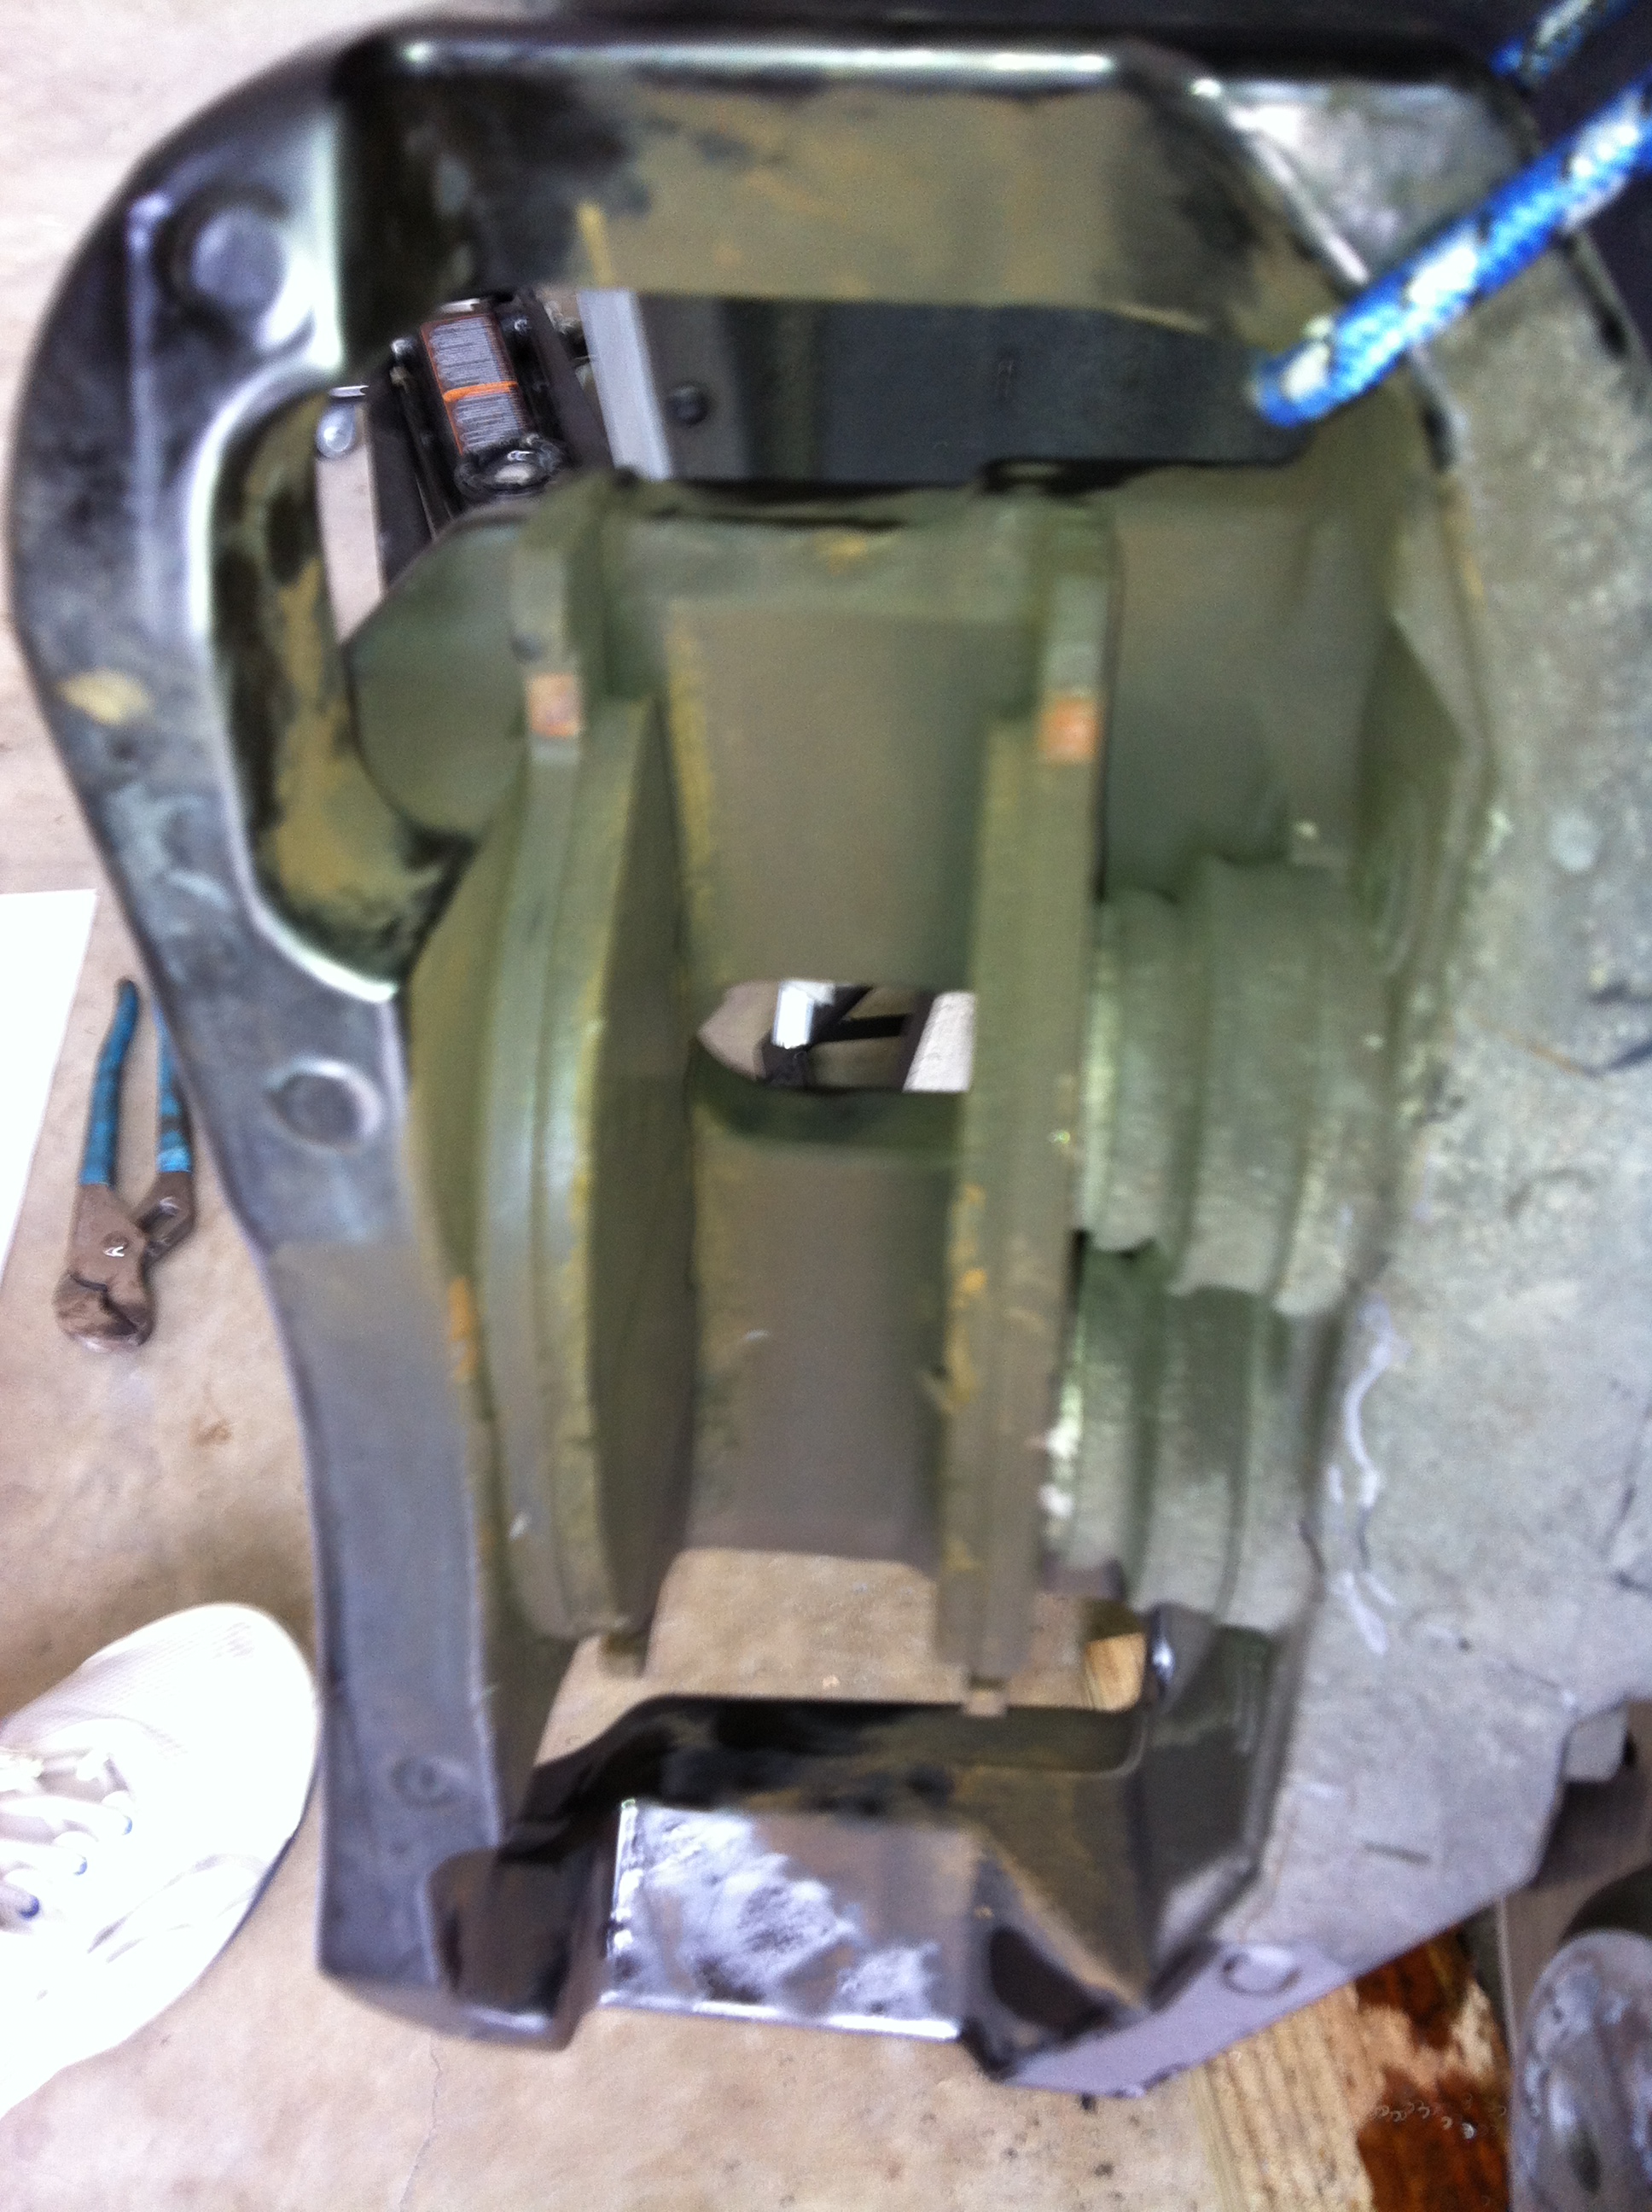
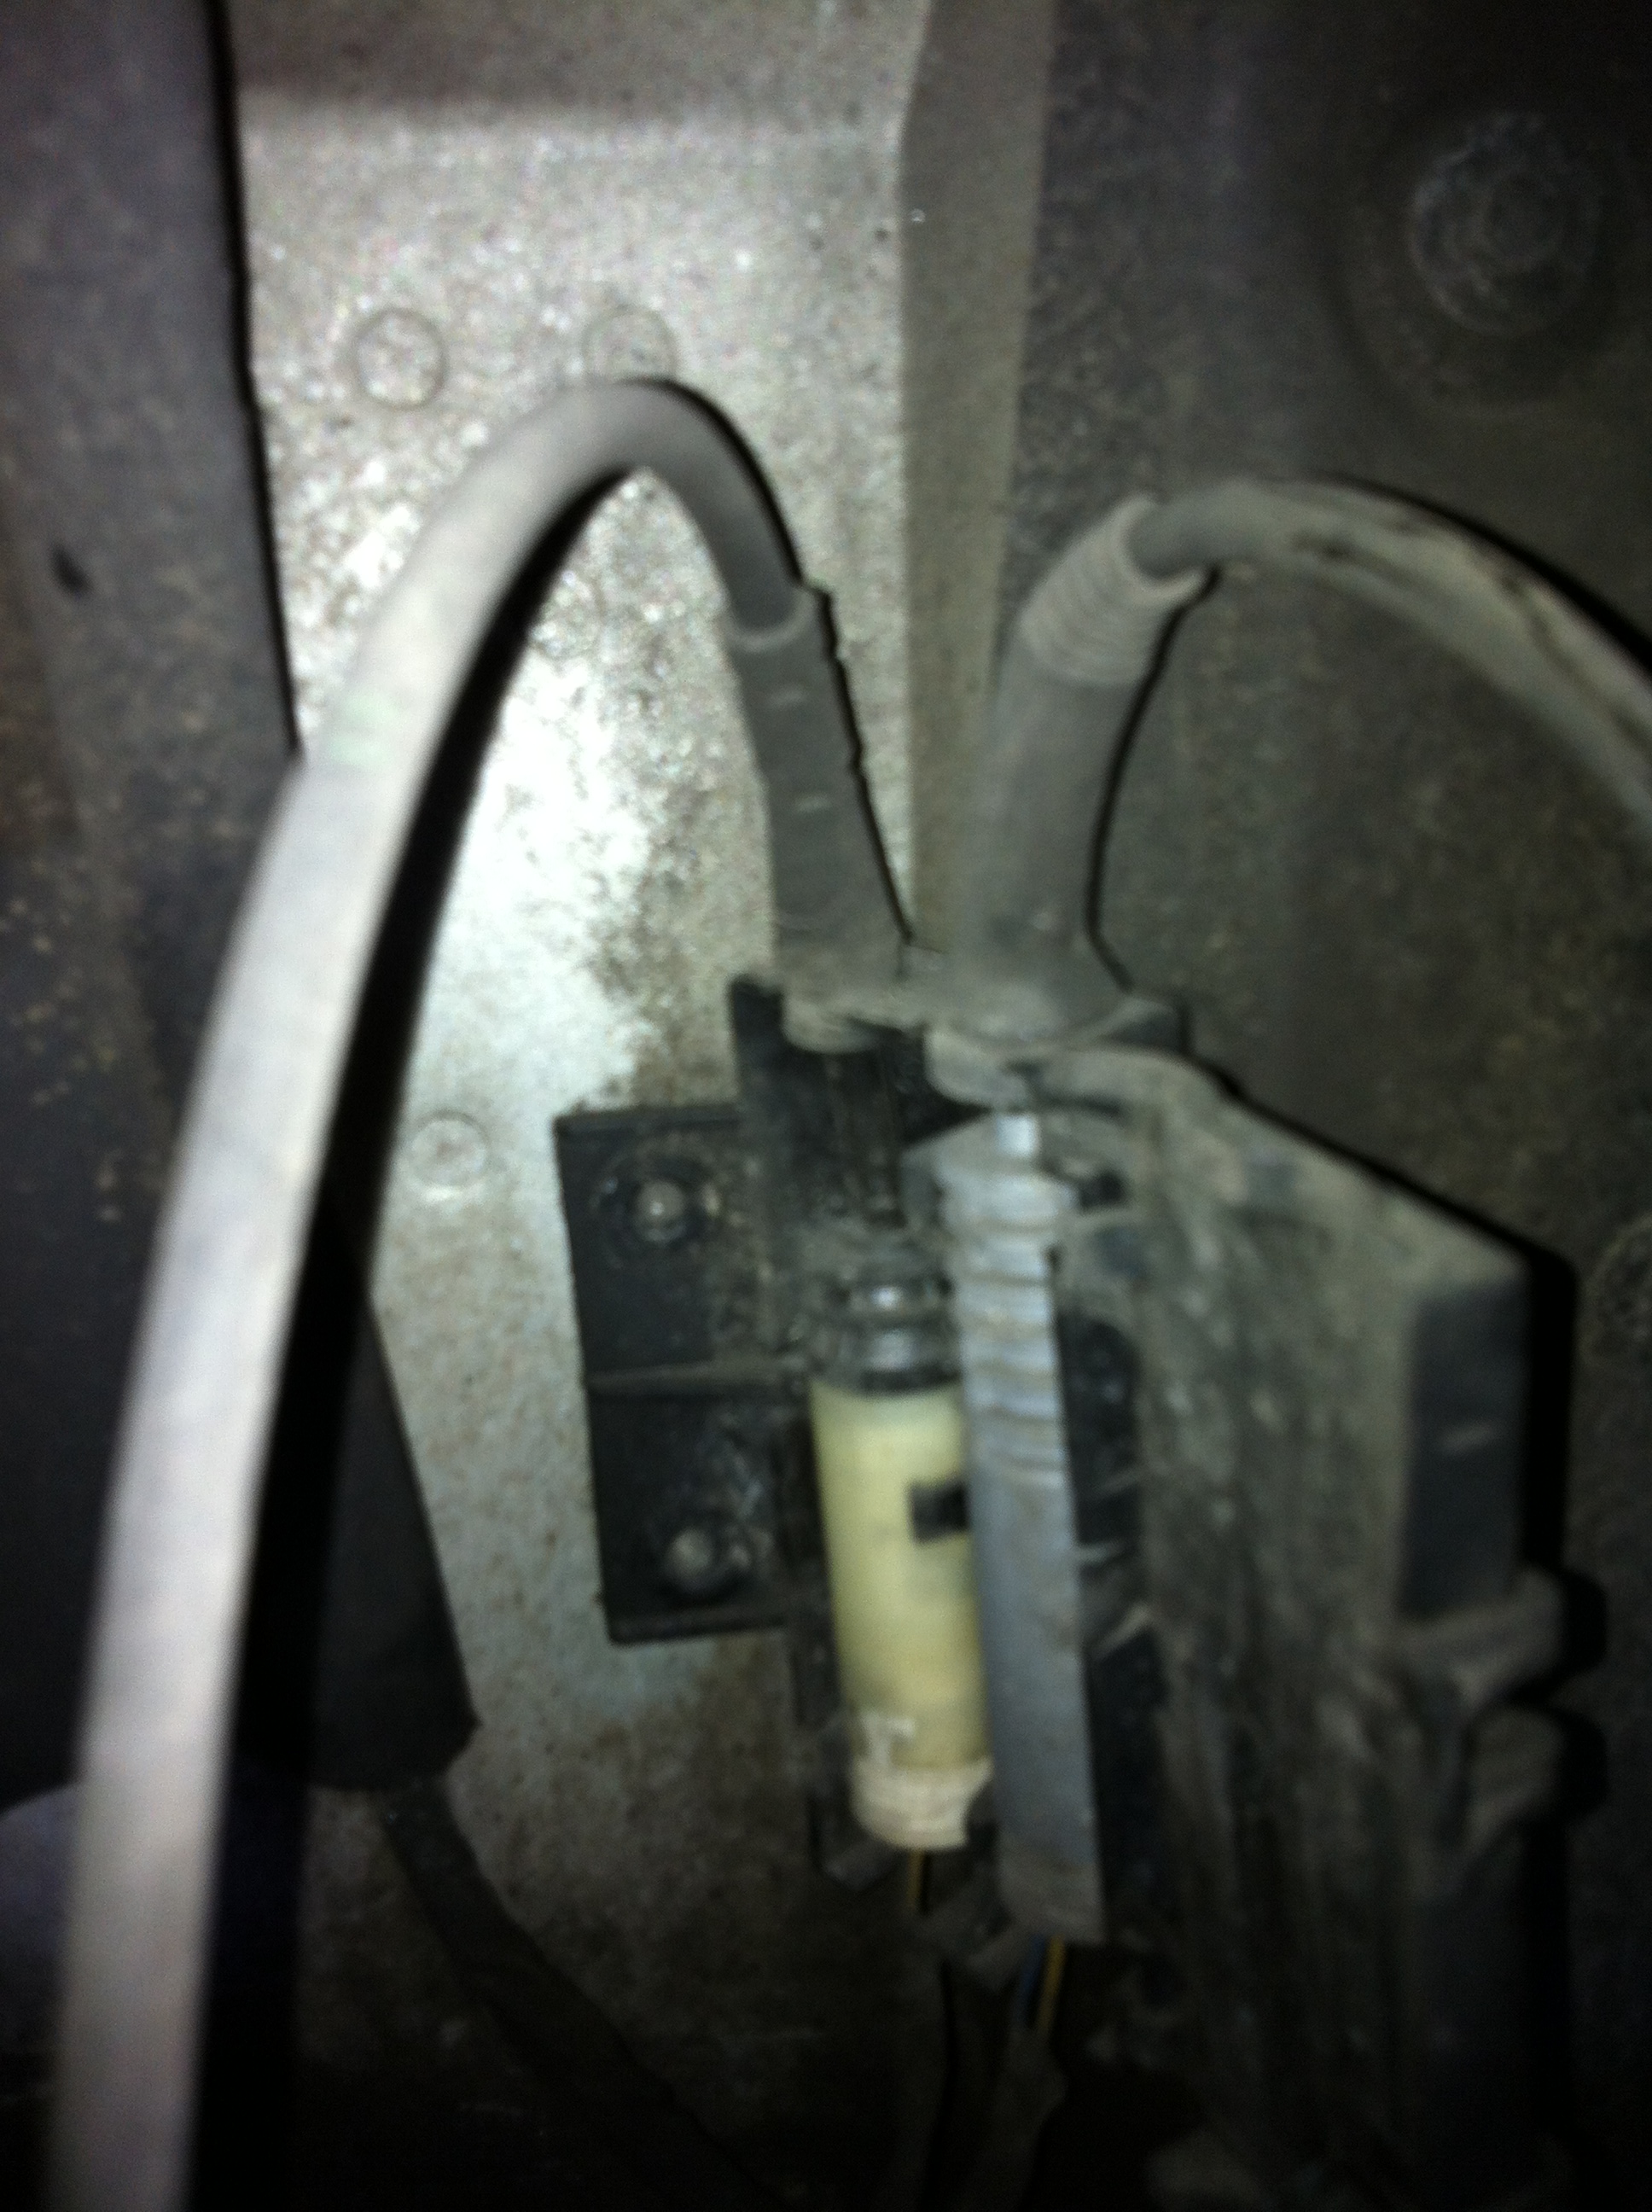
Step 8: On the back side of the caliper, locate two plastic plugs at the top and bottom of the caliper. GENTLY pry these plugs off to expose the guide screws. The caps are not that difficult to remove and they pop right off. Once removed, set them aside. Below is a picture with the bottom plug removed (it was difficult to get a good picture of this, as the angle was pretty tough).
Step 9: Use the 7mm allen wrench to reach inside the rubber tube and remove the guide screws. Be sure to unscrew them all the way out. Set them aside.
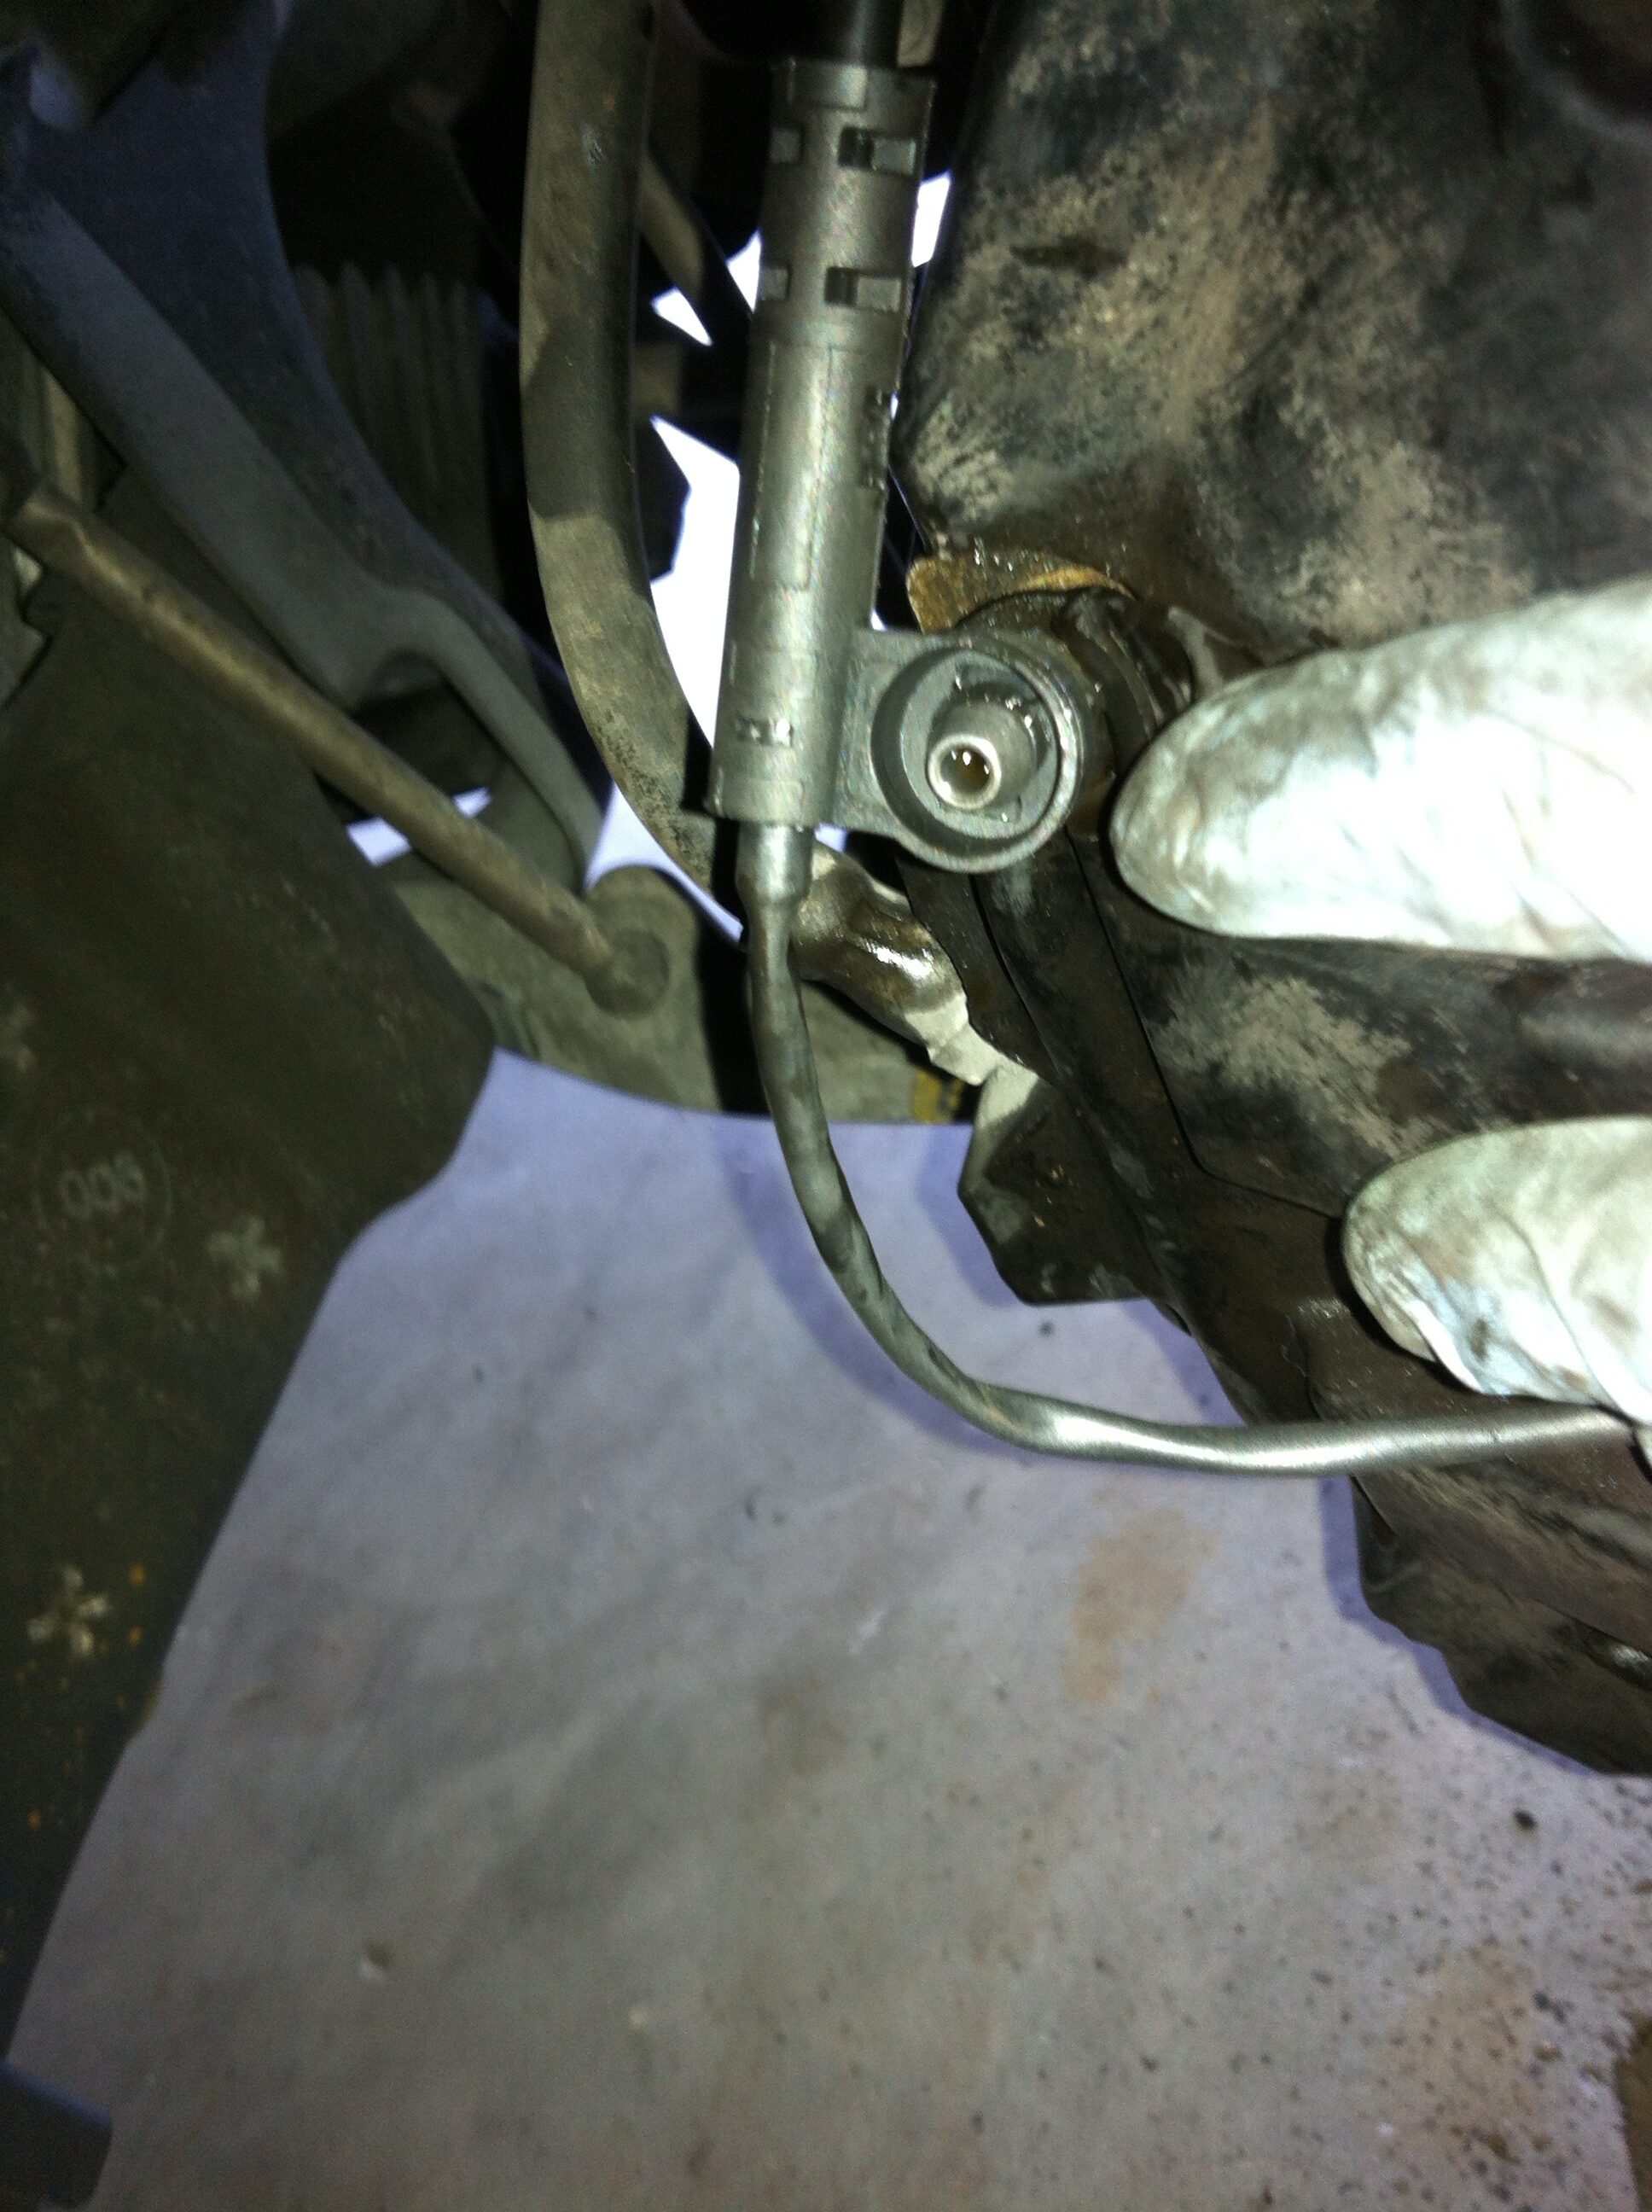
Step 10: (Make sure the cardboard is under the wheel well) Gently remove the rubber cover on the brake fluid bleed valve on the caliper and use the 7/16” wrench to SLIGHTLY loosen the valve. The purpose of this step is to release some fluid pressure so that you can easily collapse the brake pistons just enough to slide the caliper off.
Step 11: With the bleed valve slightly open, wedge the screw driver between the top brake pad and the rotor. I didn’t worry about the face of my rotor because I was replacing it, but if you are just changing your pads, you could use a shop towel to cover the edge of the screw driver so that you don’t damage the rotor. Work the screw driver between the pad and rotor and gently shift the caliper back and forth. With a little elbow grease, the caliper will give and eventually slide back. Once the caliper starts moving, close the bleed valve. Continue to rock the caliper until it is clear of the rotor. DO NOT LET THE CALIPER HANG!
Step 12: WITH THE CALIPER IN YOUR HAND, use the bungee cord to support the caliper. I wrapped the bungee cord through the caliper and suspended it from my coil. This is important because you DO NOT want to put any stress on your brake line. How ever you suspend the caliper, make sure that the brake line is not kinked and that the caliper is hanging BEHIND or to the SIDE of the rotor.
Step 13: Using the ¾” socket, remove the two bolts from the caliper bracket (hopefully you soaked them with WD-40). If they are tough to break loose, use the rubber mallet to force the ratchet up (or use an impact socket if you have one). Remove the two bolts and set them aside.
Step 14: Use the 5mm allen wrench to remove the rotor screws. Set them aside.
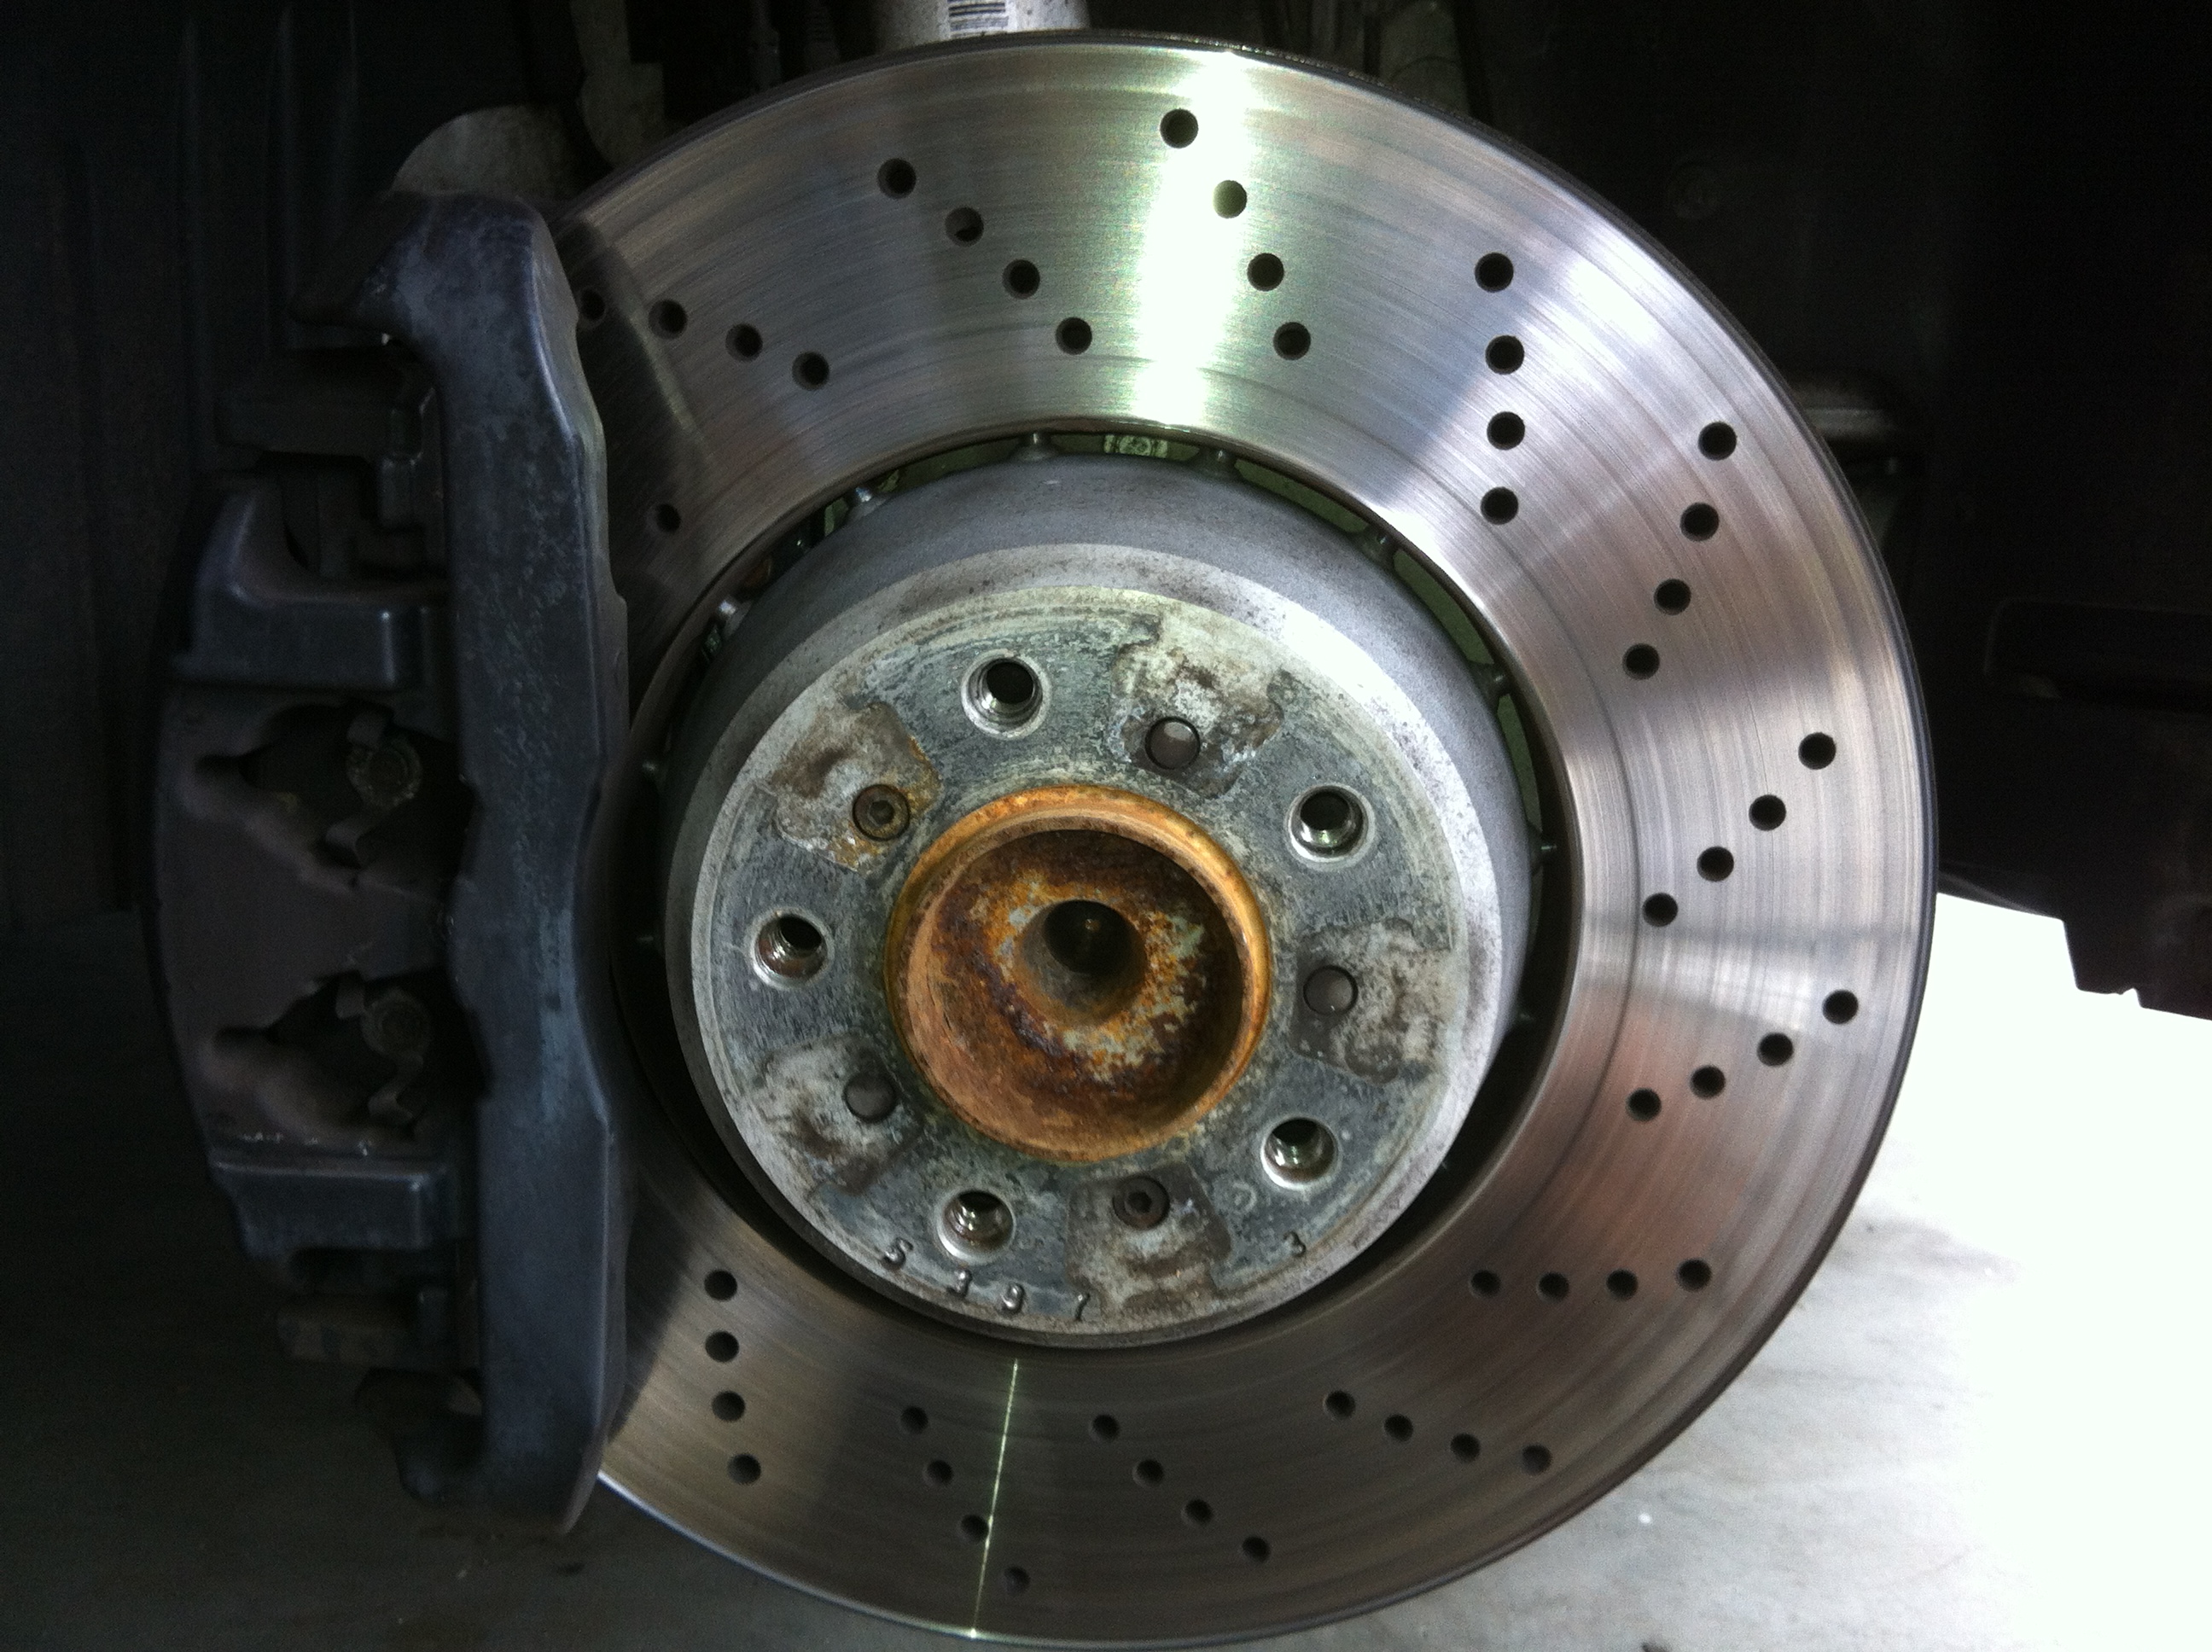
Step 15: Use the rubber mallet to give the rotor and couple of good whacks from the back. The rotor will break loose. Remove the rotor and discard.
Step 16: Reposition the caliper so that you have easy access to the pads. Use the screw driver to pry the top pads away from the caliper. Discard.
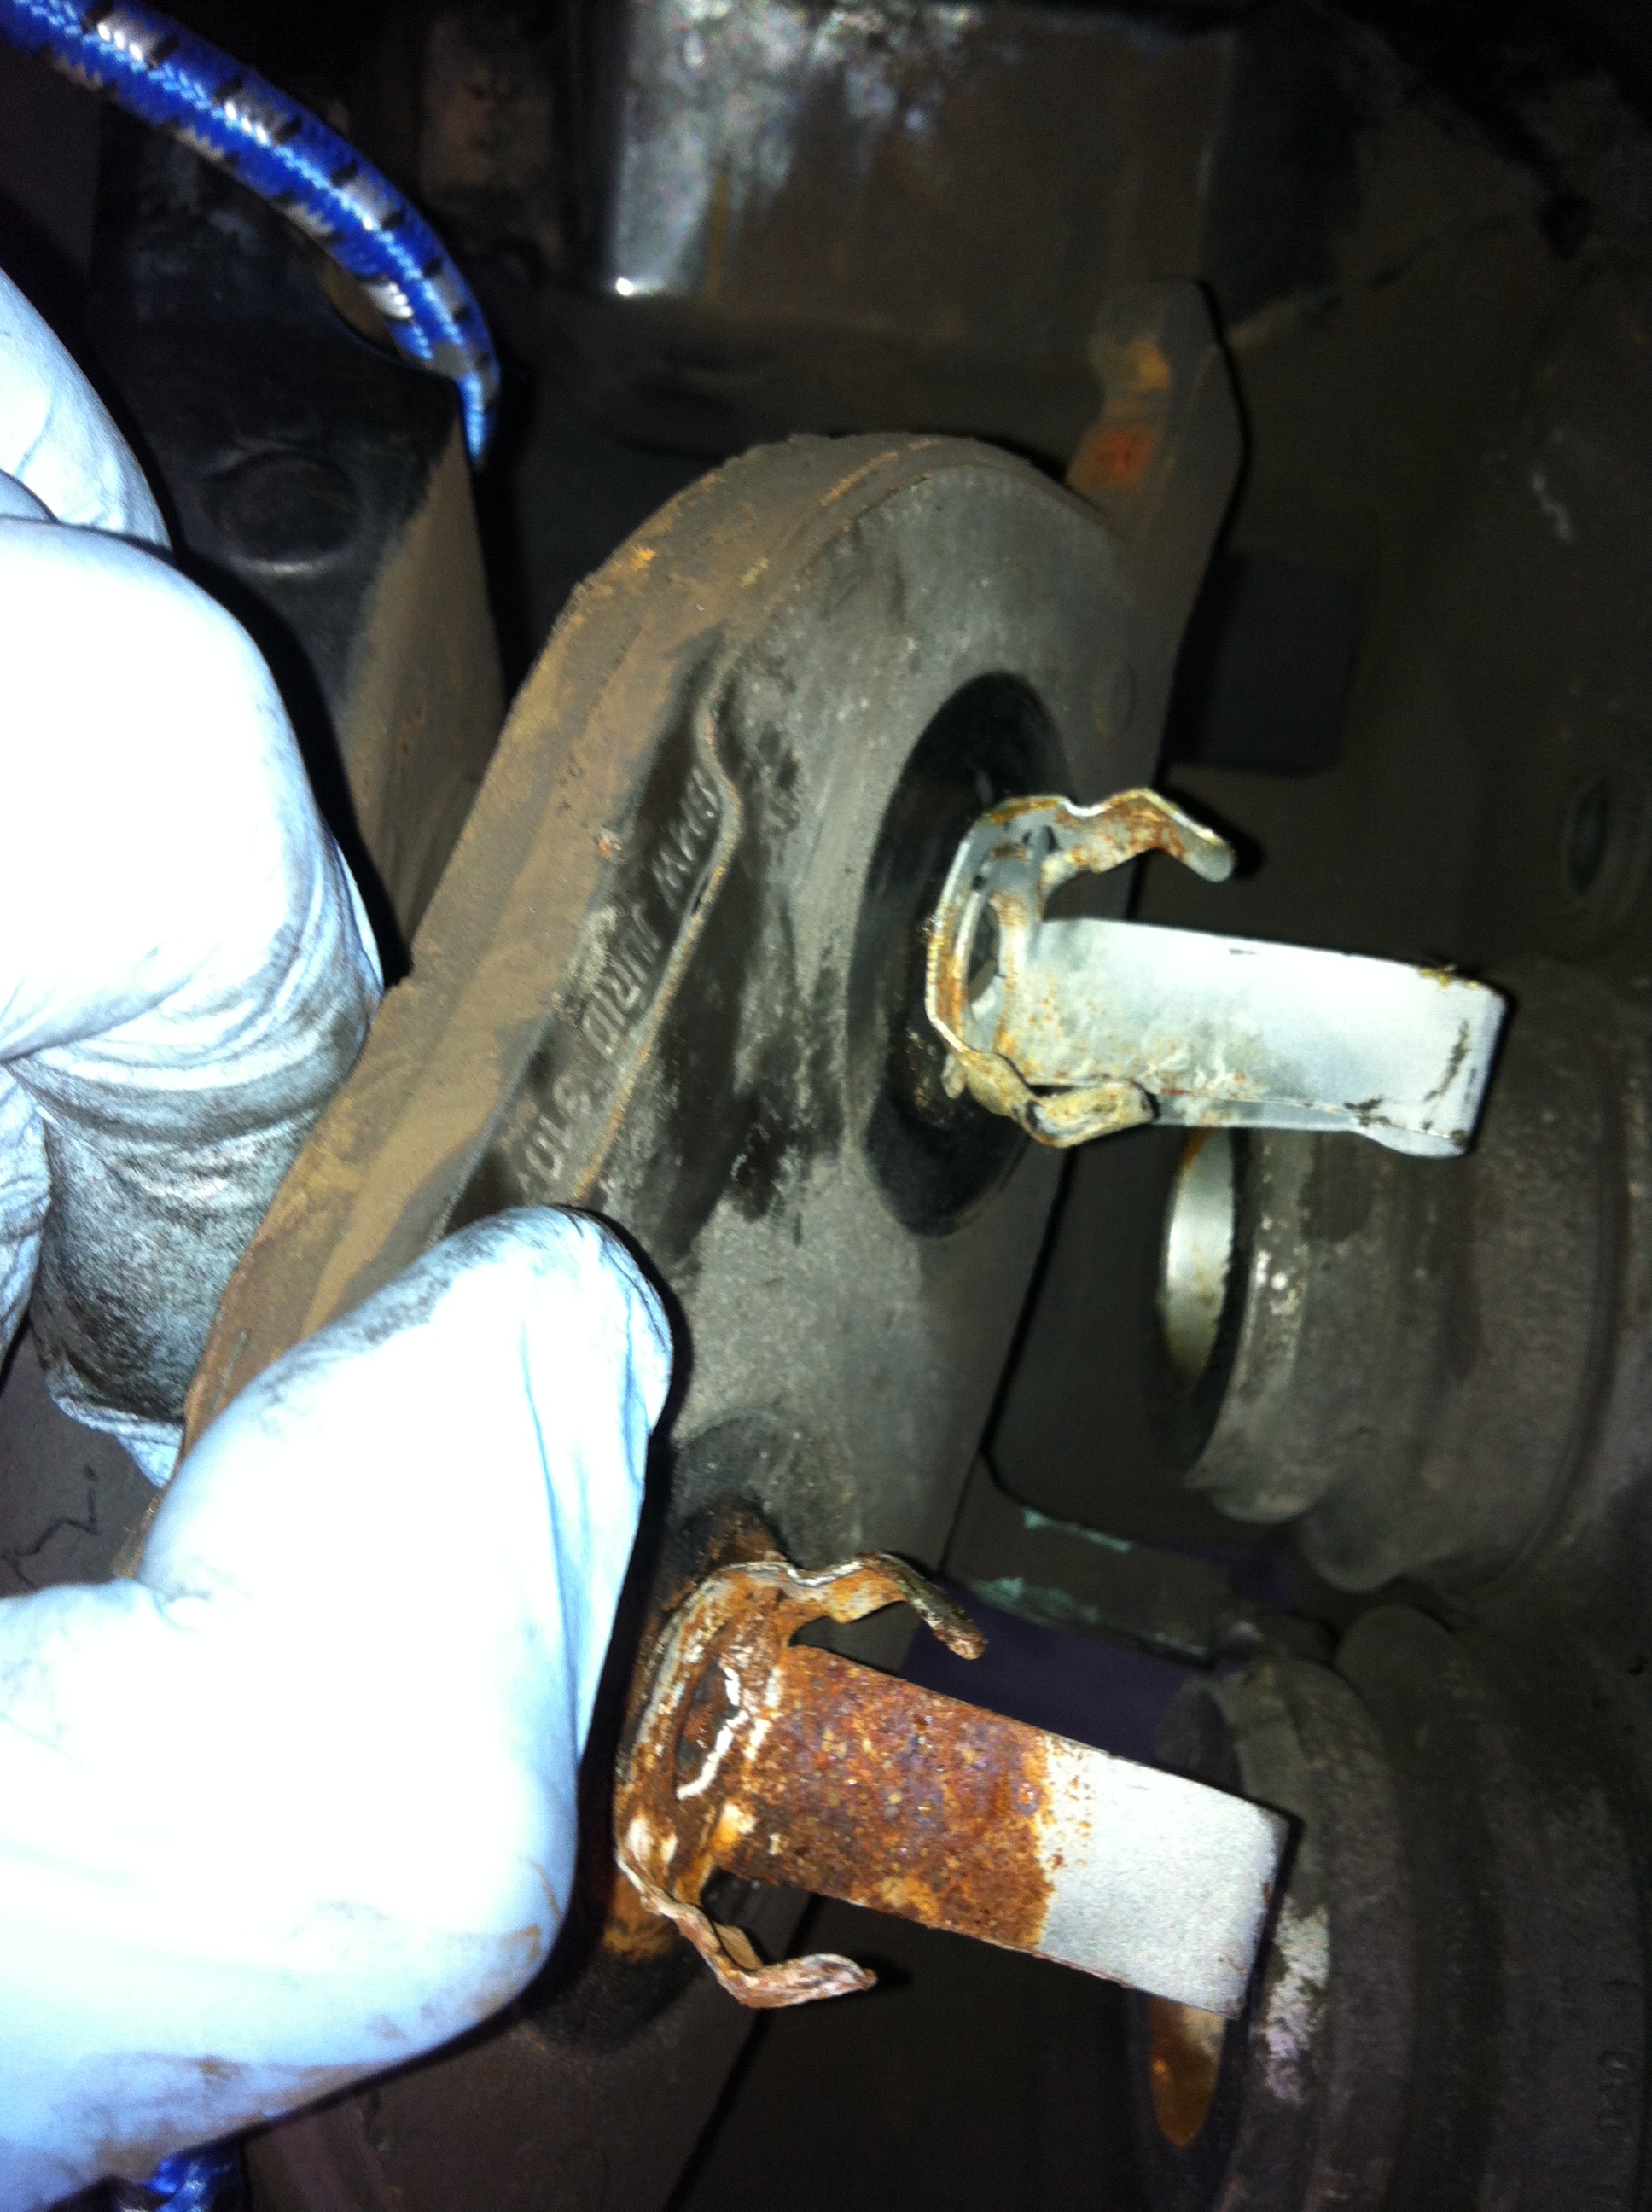
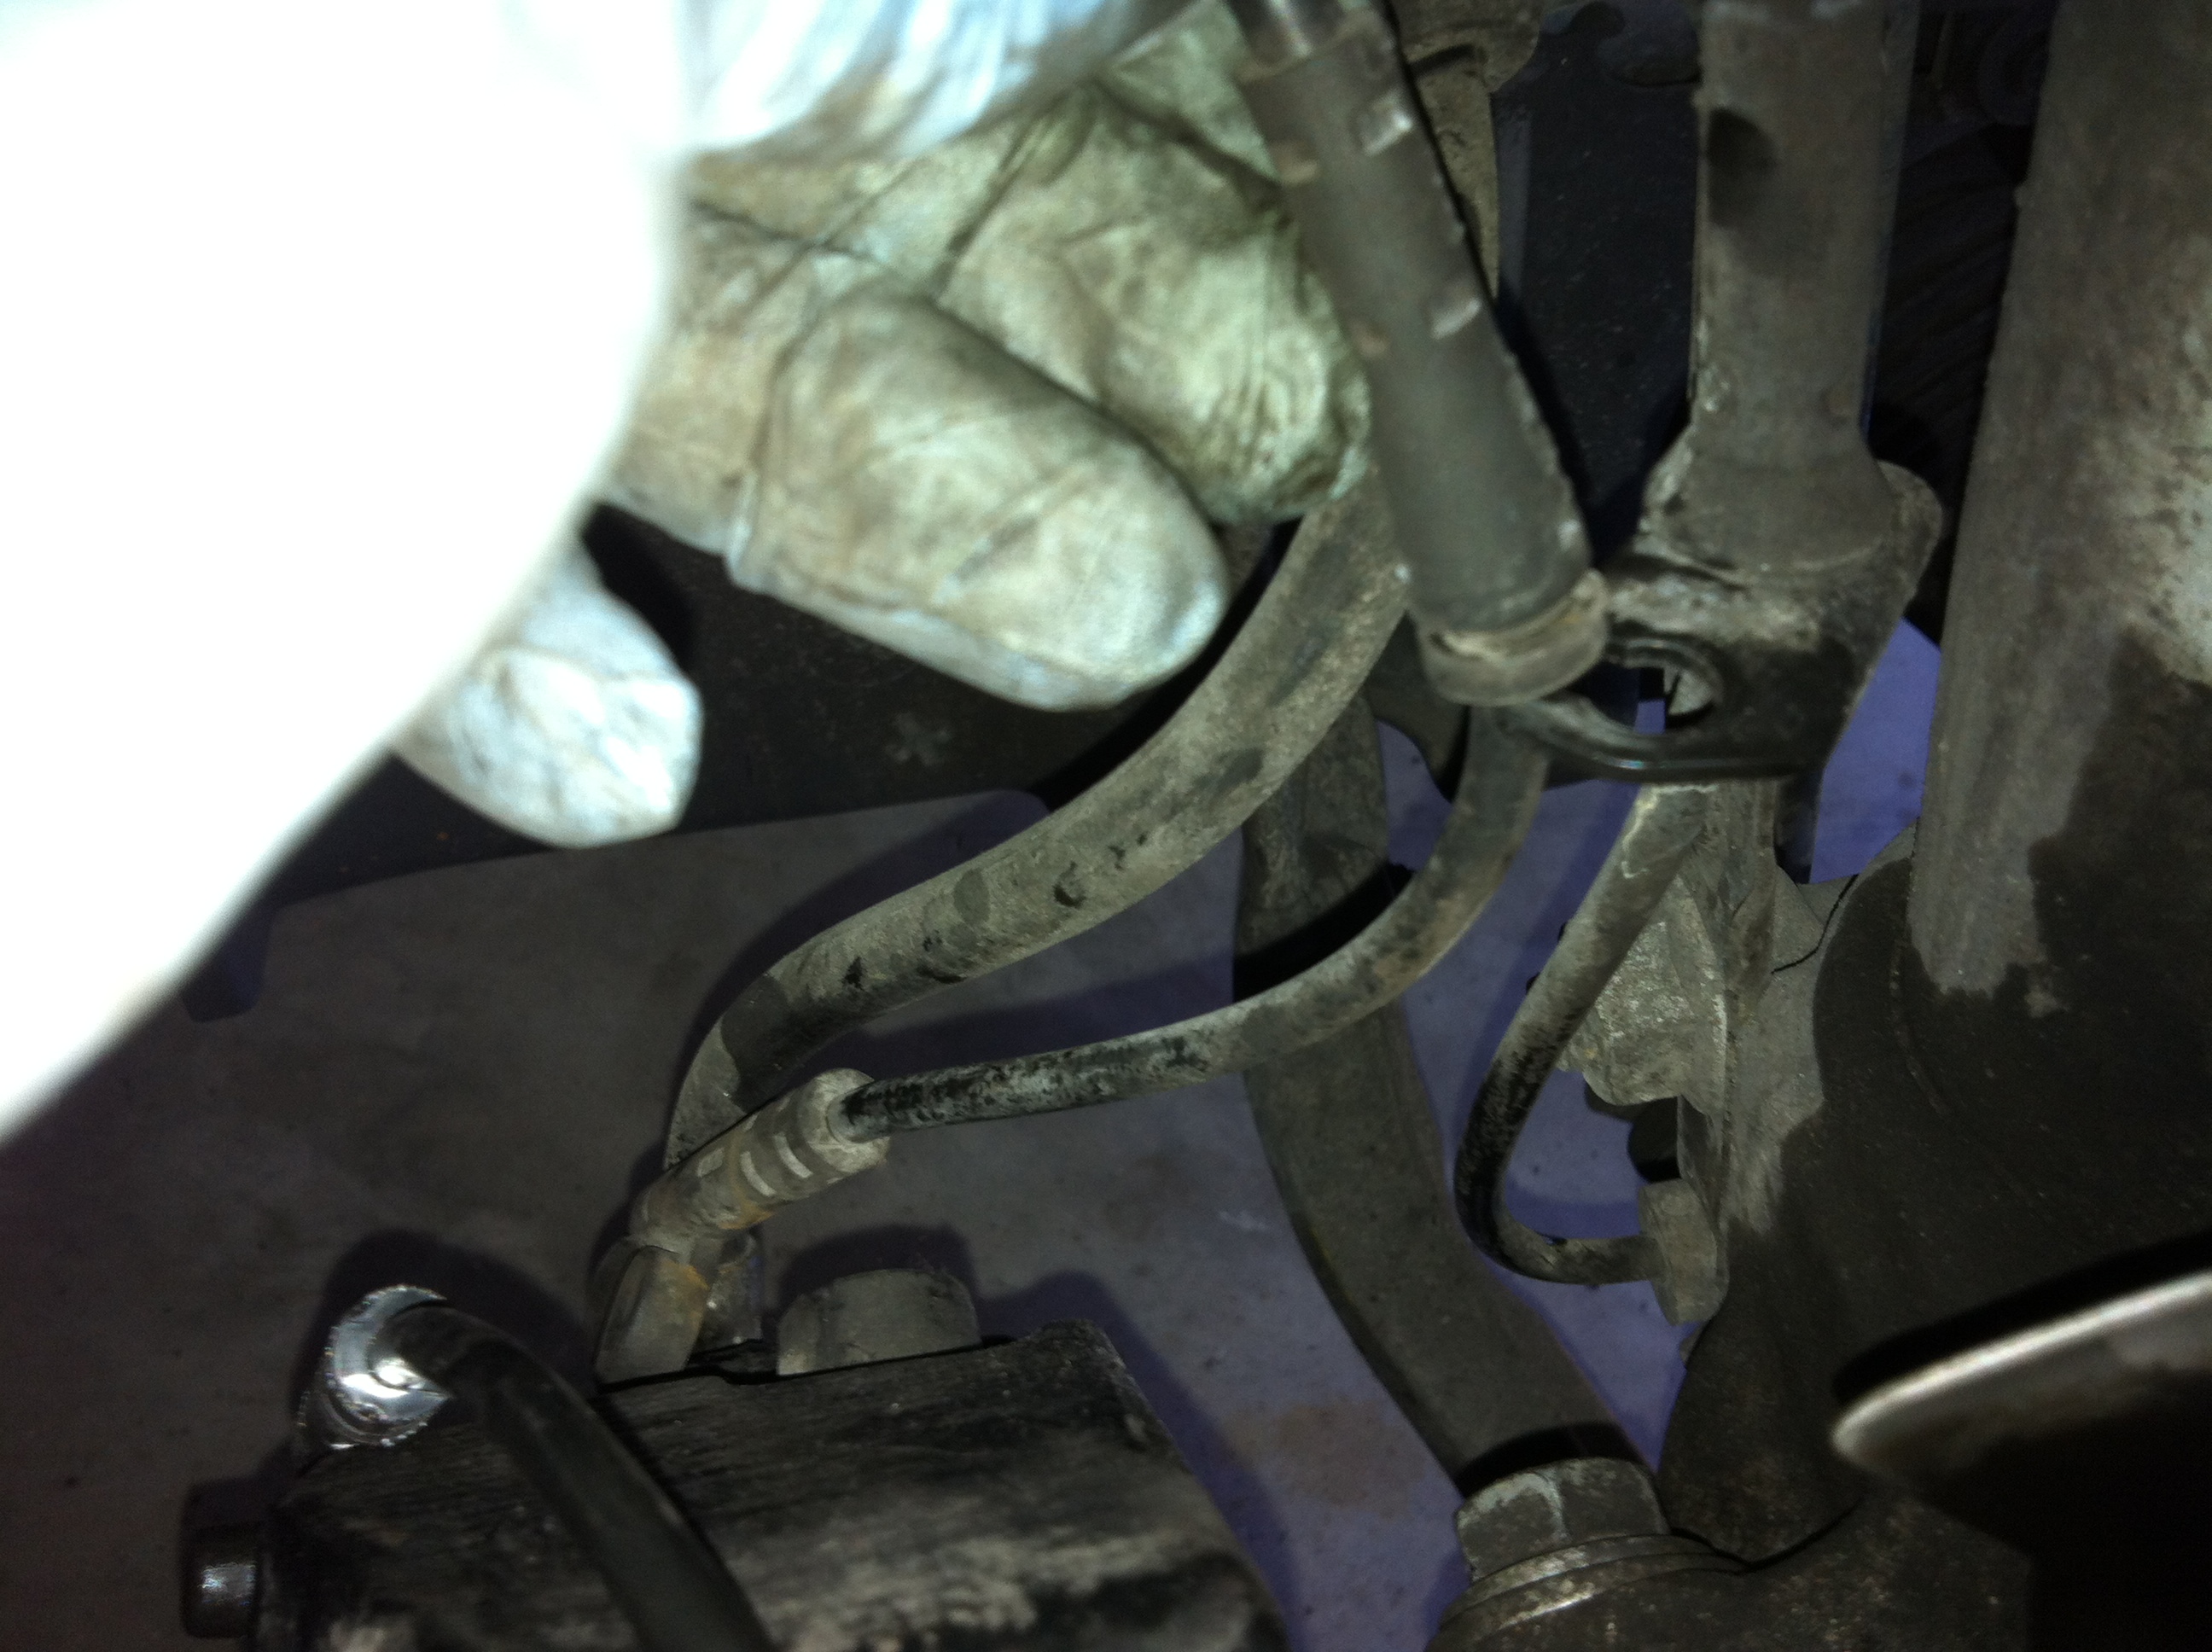
Step 17: The bottom pad is the one that sits on top of the pistons AND is connected to the brake sensor. The picture below shows the sensor connected to the pad (old).
Pry the pad off the pistons and use the Channel lock pliers to remove the sensor from the pad.
**NOTE: If the sensor is stubborn, you can follow these steps:
Step 17a: Follow the sensor line it to the plug housing and GENTLY open the housing.
Step 17b: Remove the plug (the one on the left) and GENTLY disconnect the sensor.

Step 17c: Remove the sensor from its fixture and the bleed valve, and you can remove it and the pad in one piece.
Step 18: Clear the caliper of any brake dust. You can use some canned or compressed air for this step. I also recommend wiping down the caliper and bracket at this point. It just makes them look better.
If you have a set of extra hands, they will come in handy. TRUST ME ON THIS ONE!
Step 1: MAKE SURE THAT YOU ARE INSTALLING THE CORRECT ROTOR (they are marked ‘L’ and ‘R’). Line up the three holes on the rotor to the three holes on the hub. This is the most crucial step, because if the rotor is not lined up correctly, it will wobble and rub the caliper bracket, which is not good.
TAKE YOUR TIME with this step and use about 50% of your patience. Once you have the rotor mounted CORRECTLY, secure it with the rotor screws. Tighten the screws with the 5mm allen wrench.
**NOTE: Before moving on to the pads, give the rotor a couple of spins to MAKE SURE that the rotor does not wobble.
Installing the Brake Pads & Sensor:
Step 1: Replace the caliper bracket and secure it with the ¾” screws.
Step 2: Insert the top brake pad (the one NOT on the pistons). This pad is easy to insert and should snap into place.
Step 3: Run the new brake sensor from the plug connection in the plug housing to its fixture and the bleed valve. Close the plug housing and let the sensor hang.
Step 4: Use the 7/16” wrench to slightly loosen the bleed valve.
Step 5: Use the C-clamp to compress each of the brake pistons. If you have a short piece of wood, you can use it to compress both pistons at the same time (prepare yourself for a lot of brake fluid seeping out of the valve). Once both pistons are compressed, tighten the bleed valve and replace the valves rubber cap.
Step 6 Insert the bottom brake pad into the caliper and snap the sensor on to the pad. No aggression is needed, just a little umph!
Step 7: Release the bungee from the coil and caliper and slide the caliper between the caliper bracket. If the rotor is mounted correctly, you can spin it with no “rubbage.”
Step 8: Replace the guide bolts in the back side of the caliper and replace the rubber caps.
Step 9: Use the other 50% of your patience to re-insert the retaining spring. I placed the middle of the spring in first, held it in place with my foot and used the channel locks to work the top and bottom of the spring in place. I am telling you know, that it will test all of your religion (if you have any) and you will be tempted to cuss. If you have a friend, they can guide the top and bottom of the spring forward with the screw driver as you pull the top and bottom edges of the spring toward you with the channel locks. Again, this requires a lot of patience, so take your time.
Step 10: Replace the wheel and lug nuts.
Step 11: Lower the car and torque the lug nuts to spec.
Step 12: Top off the brake fluid (if necessary) and bed the brakes (change your clothes first).
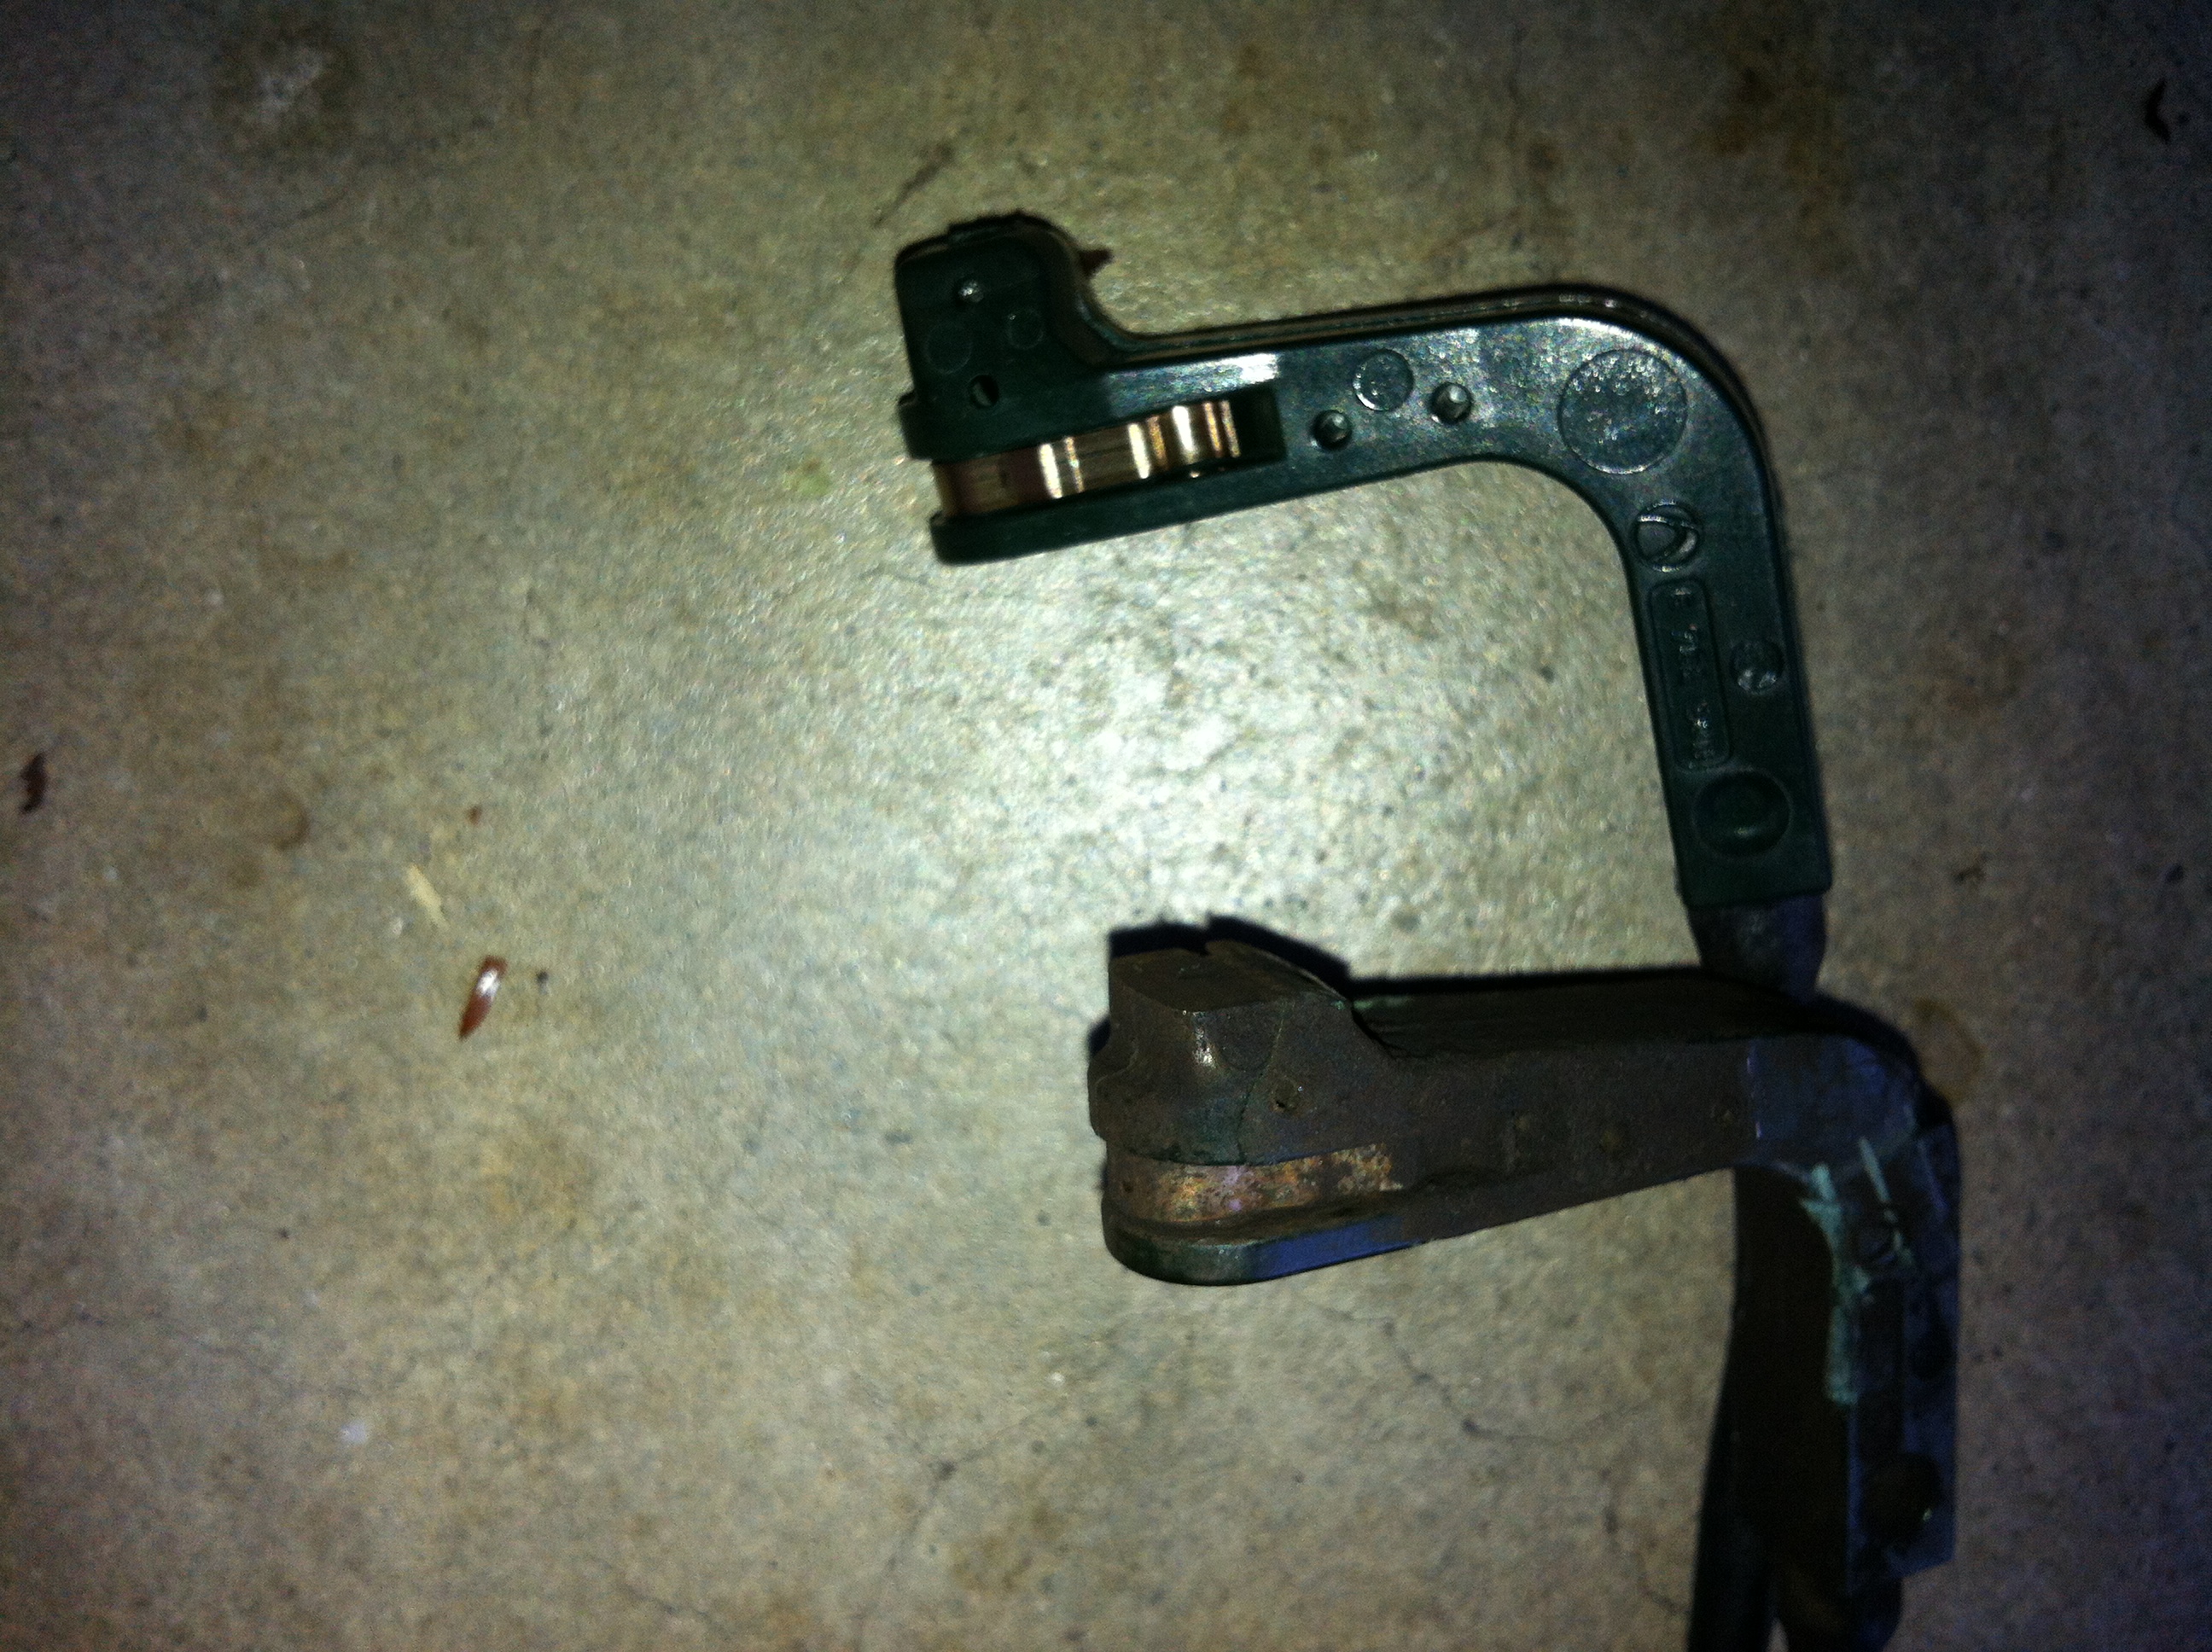
Apparently the sensor gets worn down along with the pad. The sensor is only $26.25 (each), so it’s not that big of an expense. Besides, it just made sense to me to put new sensors in along with the new pads and rotors. Below is a picture of the old and a new one to give you an idea of the wear on the sensor (top = new, bottom = old):