Article by: Gerry at PhoenixMotorsport
Article applies to: BMW E31 models.
Well here I have the second part of my thrilling lighting “How to’s”: how to reassemble and adjust the base setting of the headlamp frame.
Whilst everyone knows full well the issues of headlamp adjusters.
I have never seen anyone actually consider if their headlamp was actually rising the correct amount, and whether some owners are trying to adjust the beam setting when in fact, the entire lamp may not be in the specified position?
So here is how to assemble or service the headlamp frame, and set the pod lift correctly.
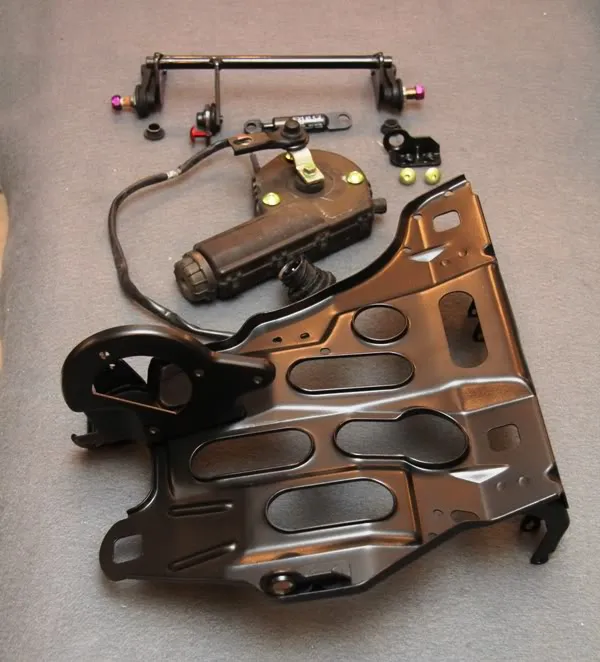
This is what we are starting with . . .
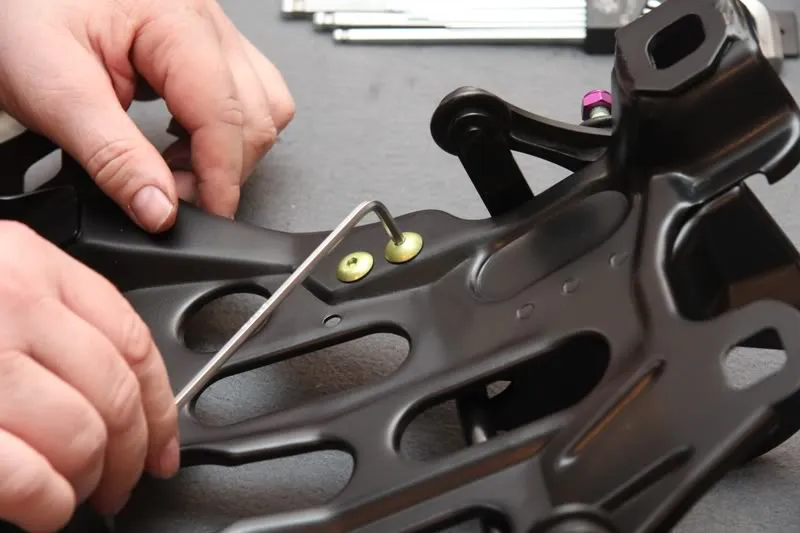
Our first task is to refit the mechanism that moves whilst the headlamp lifts.
Taking the shaft and bushes, lightly oil the shaft and bush . . .
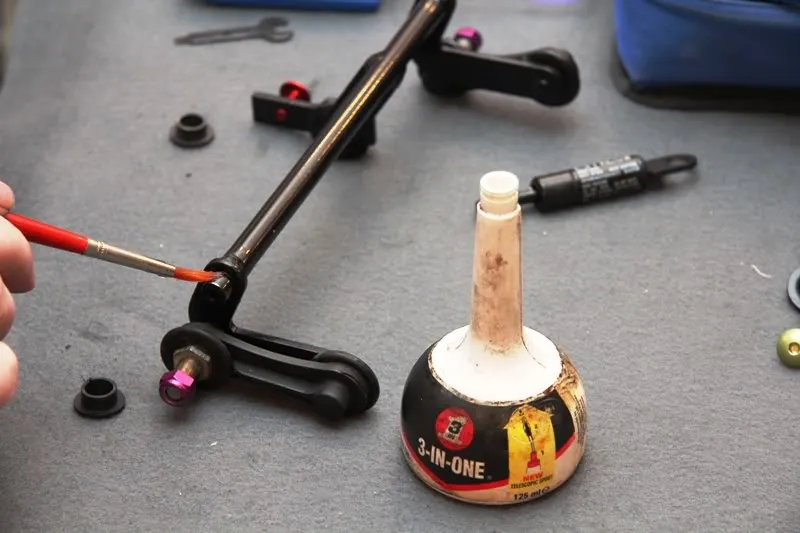
and refit the bush to the shaft both ends . . .
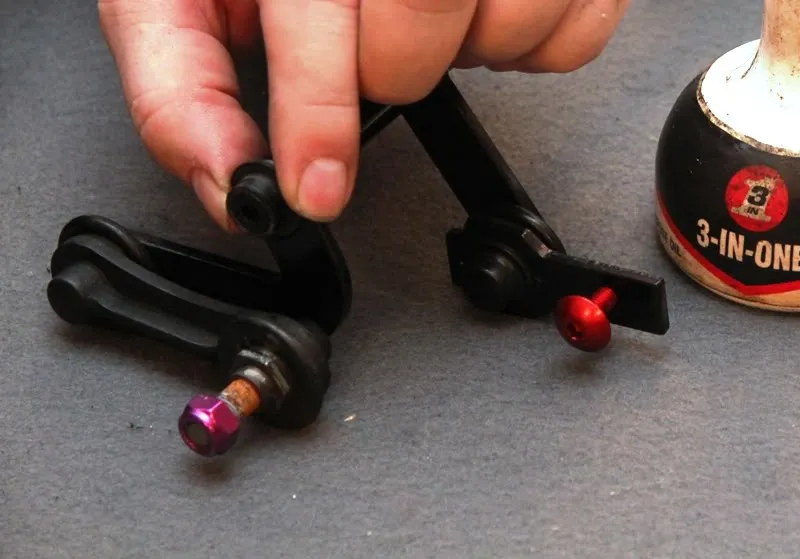
and after inserting the shaft into the fixed end, refit the detachable end onto the shaft . . .
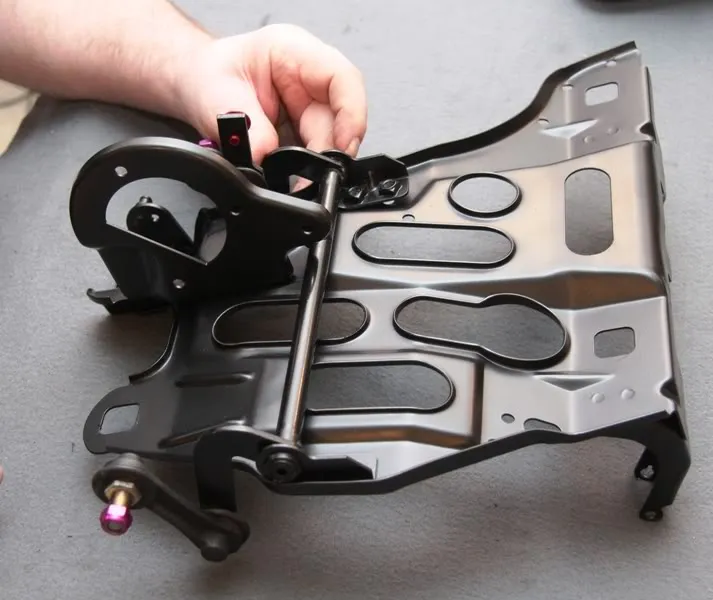
and secure with the 2 bolts through the frame from underneath . . .
Check the newly installed shaft for free and smooth operation.
Next we install the lift actuator/motor . . .
getting all 3 bolts started before tightening all 3.
The wiring for the actuator is secured with 2 clips here . . .
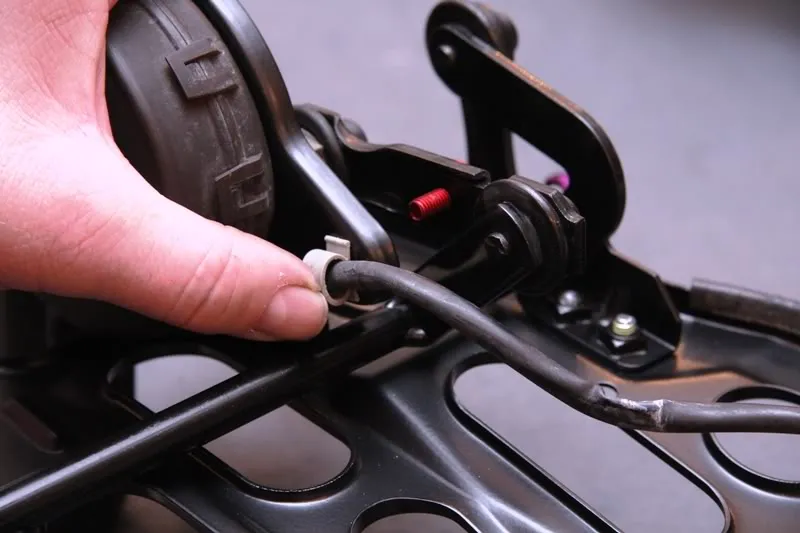
and here.
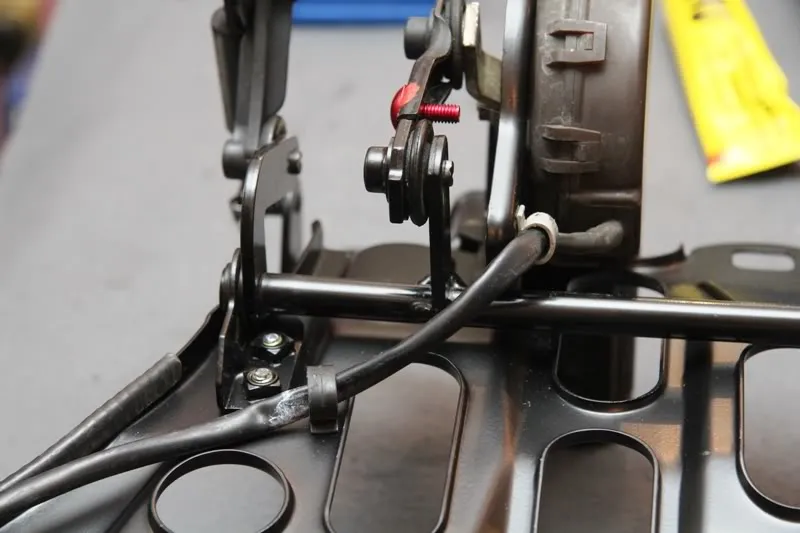
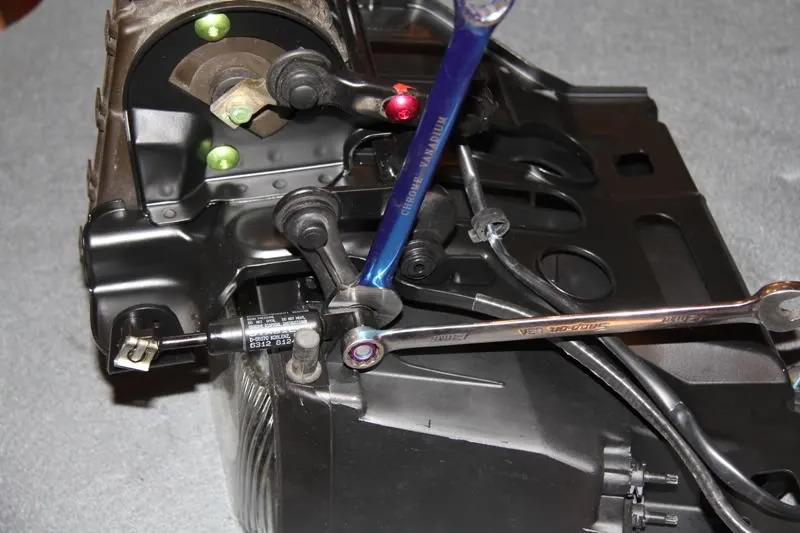
We can now connect the link from the actuator to the frame mechanism like this.
but do not fully tighten yet, just nip the bolt about midway along the sliding joint adjustment.
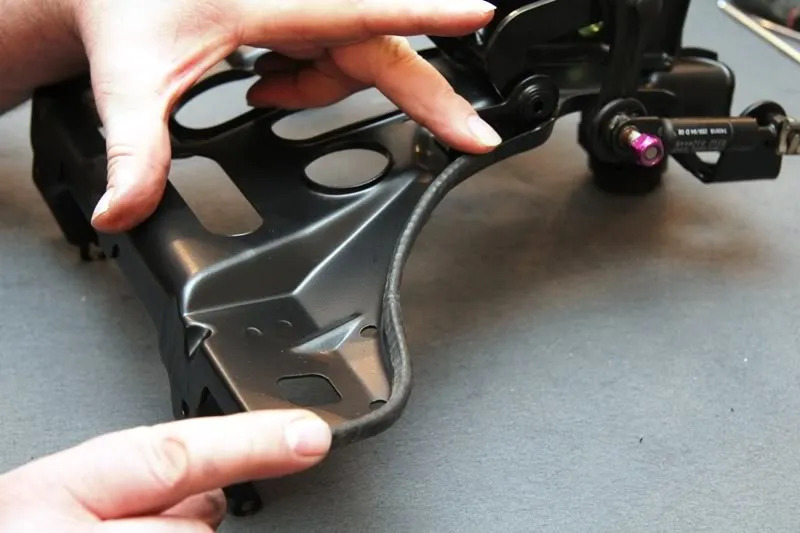
Next we refit the frame edge protection with a small bead of high tack, low strength contact adhesive . . .
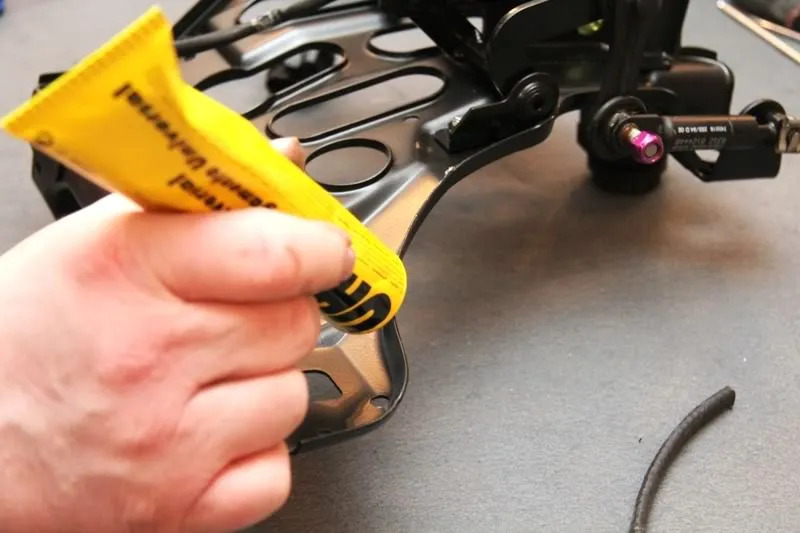
and allowing to dry for a moment before refitting the edging trim.
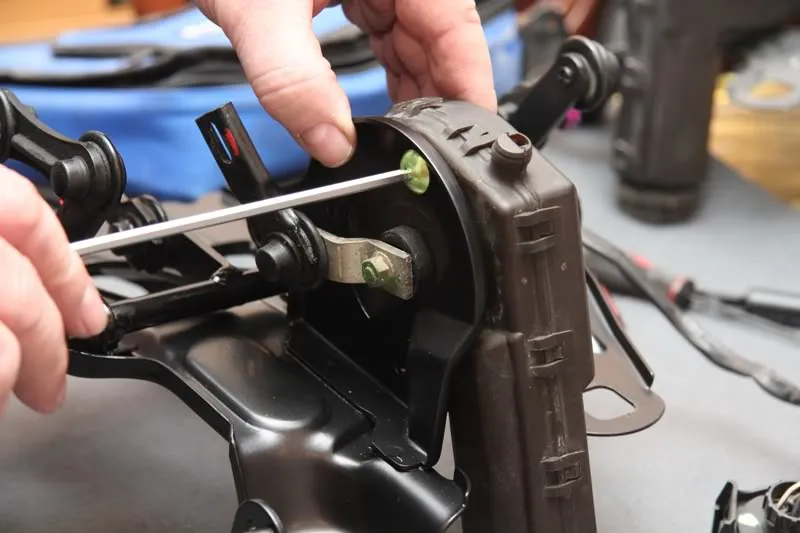
We can now fit the headlamp bucket back onto the frame with these shaft pivots.
These were VERY tight on my car and I needed to buff and polish the captive bolt shaft and lightly oil the fibrous bushes to get a smooth operation.
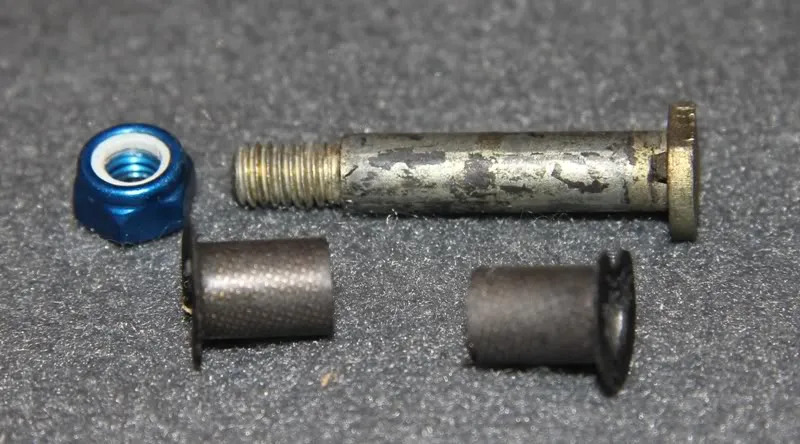
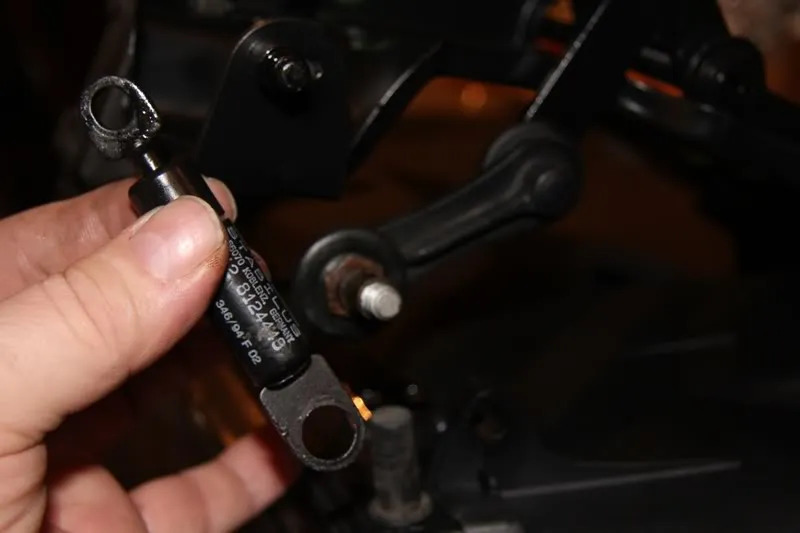
Next, the small damper needs to be fitted and this is done at the same time as the bucket is being fitted to the frame . . .
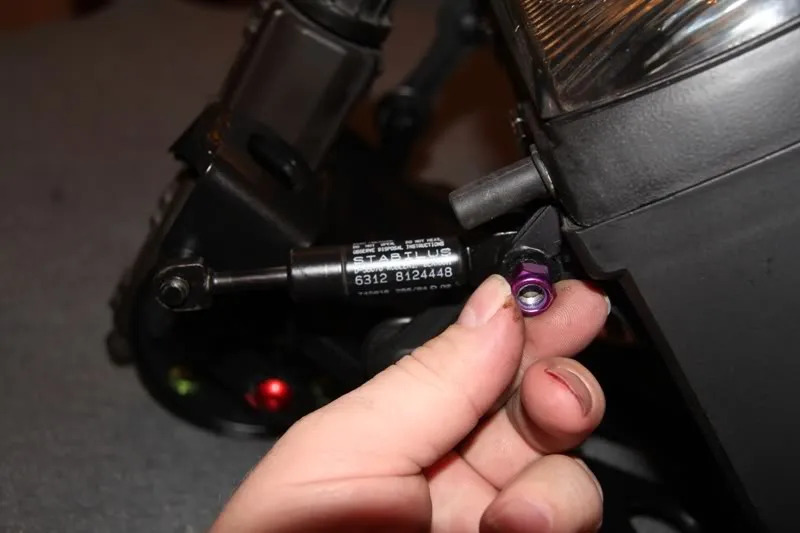
using this M8 FINE THREAD nut on one end . . . and this circlip on the other.
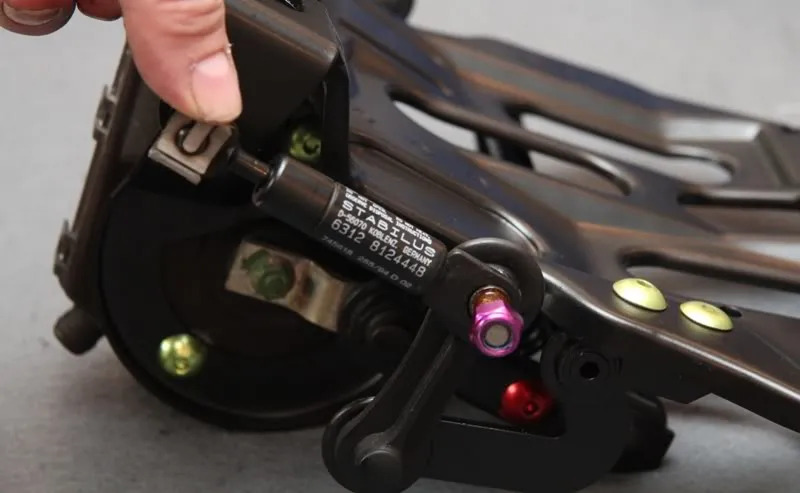
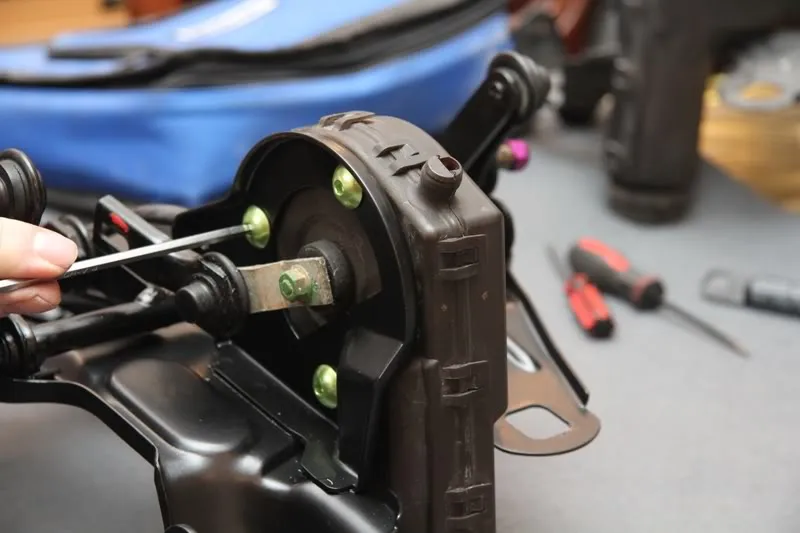
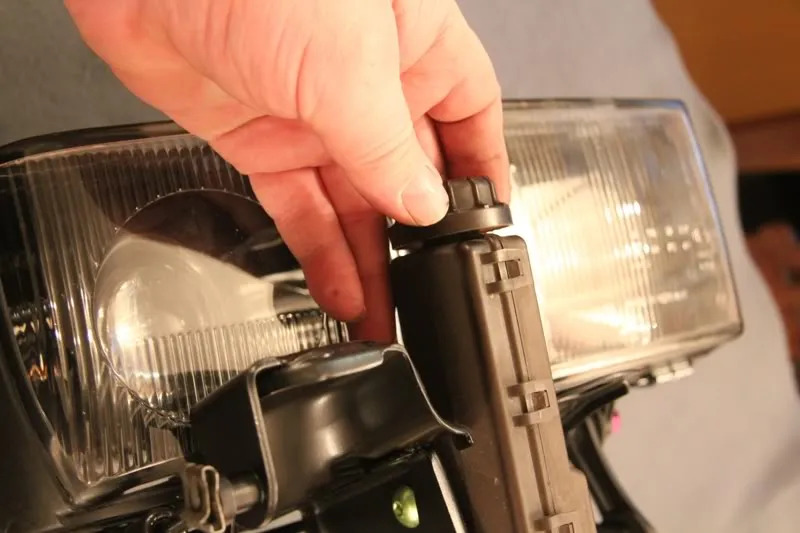
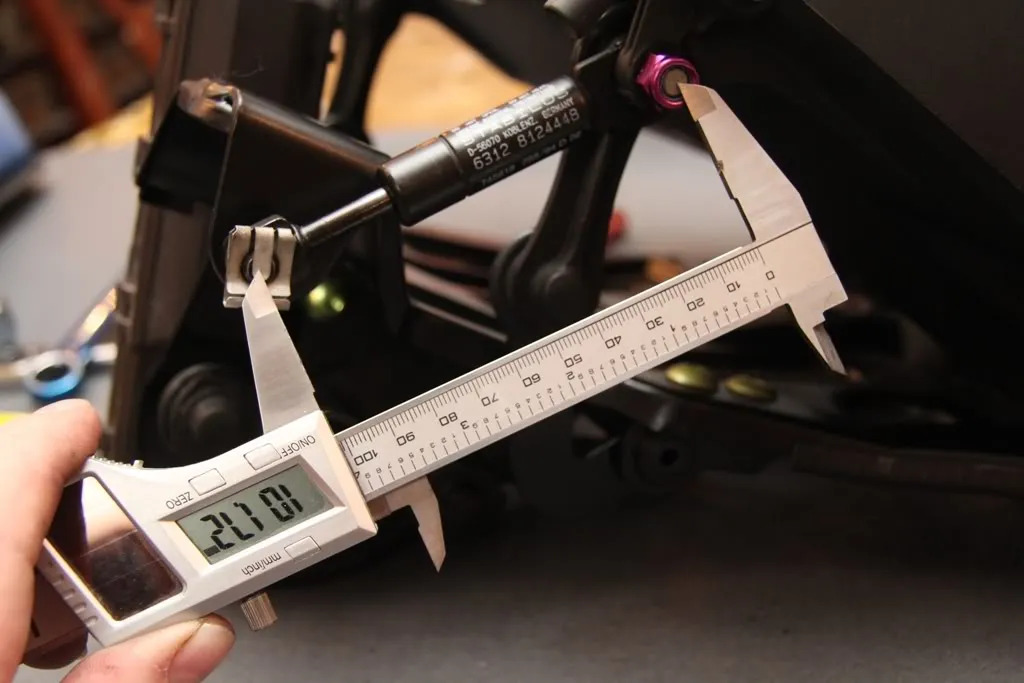
To check whether the installed length of the sliding joint is correct, the lamp needs to be raised manually with the hand wheel to its maximum height . . .
and the installed length of the damper measured. This needs to be 102mm +/- 1.0mm.
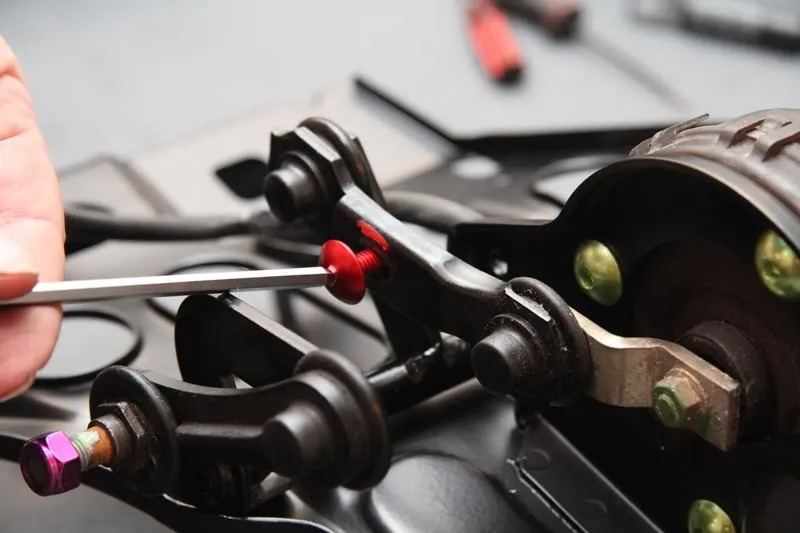
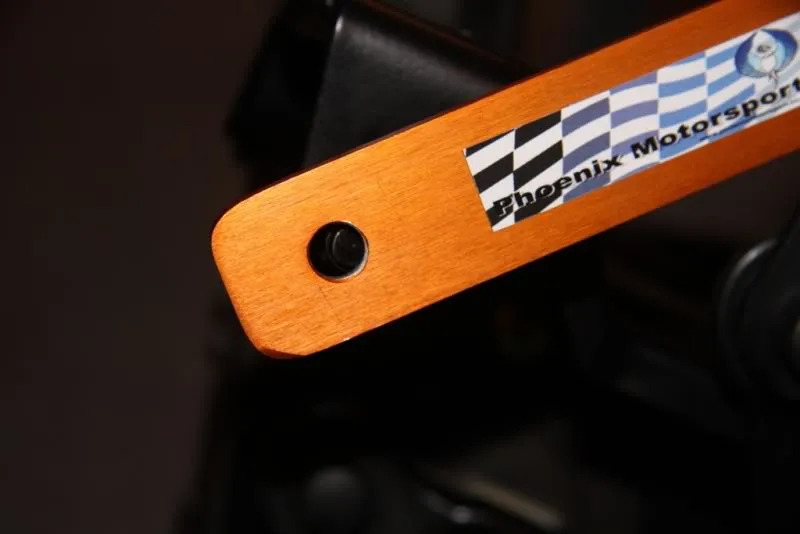
You can now make any adjustments the best you can by trial and error or use the special tool 60 0 030 that is no longer available from BMW but I have made a small number for any interested parties.

To use the special tool, rmove the small hydraulic damper using special tool 60 0 010, or a 15mm spanner ground down very thin . . .
To undo the damper and remove it.
and refitting the special tool on the mechanism end . . .
and checking to see if the other end will fit. Here you can see how far out mine was.
Now slacken the bolt in the sliding link . . .
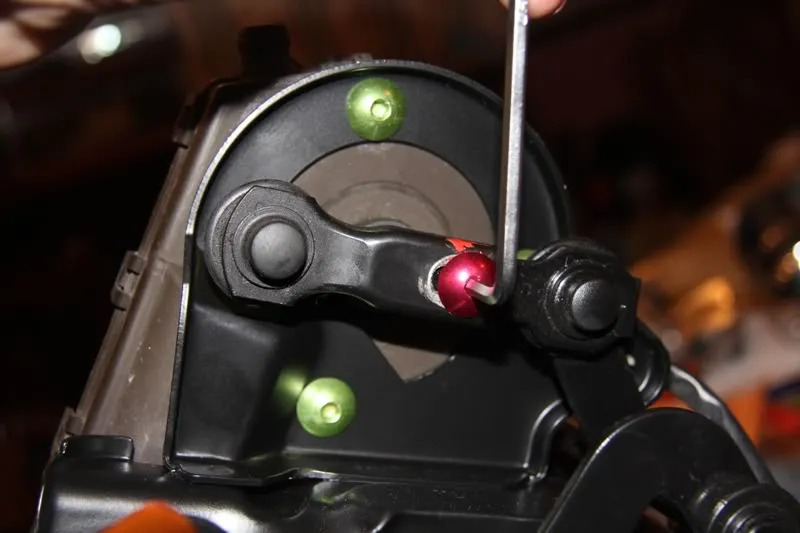
and open the link to its full extension before slowly shortening it by gripping it . . .
until the tool slides into position. The link is now exactly 102mm long. The sliding link bolt can now be fully tightened . . .
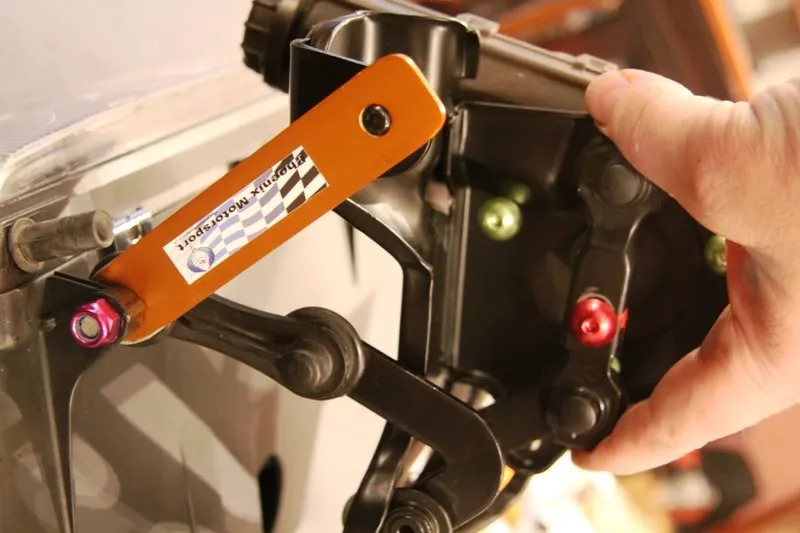
and the tool removed and the damper refitted in it’s place.
You can now refit the complete assembly back in the car knowing that the headlamps will pop-up exactly the correct amount.
Next I will post instructions on the correct way to install the pods into the car.
Then it will just be the final adjustments with the dreaded adjusters to get those lamps working and adjusted 100%.