The pipe fittings at each end simply provide the compression; they are not threaded, they just slide up and down the threaded bar.
In the picture above, the parts are in the following order, from left to right:
18mm nut – 4 washers – pipe fitting – small exhaust – ball joint – suspension carrier hole – large exhaust – pipe fitting – 18mm nut
– Using the tool
To use the tool, simply set the rig up as shown, tighten down the nuts at each end (keep the push side nut right at the end of the bar so your socket can fit over it) as hard as you can with wrenches. Once you can’t tighten them any more with wrenches and the rig is nice and tight (make sure its aligned straight through the ball joint!), stick the correct size socket over the push side nut, attach a large breaker bar and start tightening the removal tool.
There are tremendous forces at work here, so stop every 15 seconds and make sure nothing is bending under strain, especially the exhaust pieces. Soon enough, the ball joint will start to edge it’s way out into the larger exhaust piece. You will then feel the tool go limp and you’ll know the ball joint is free. Unscrew the tool and voila, your ball joint is out!
I sanded down the inside of the carrier hole, then greased it up:
I then inserted the new joint as far as I could by hand (not far at all) and set up the tool for INSERTING the ball joint, see here:
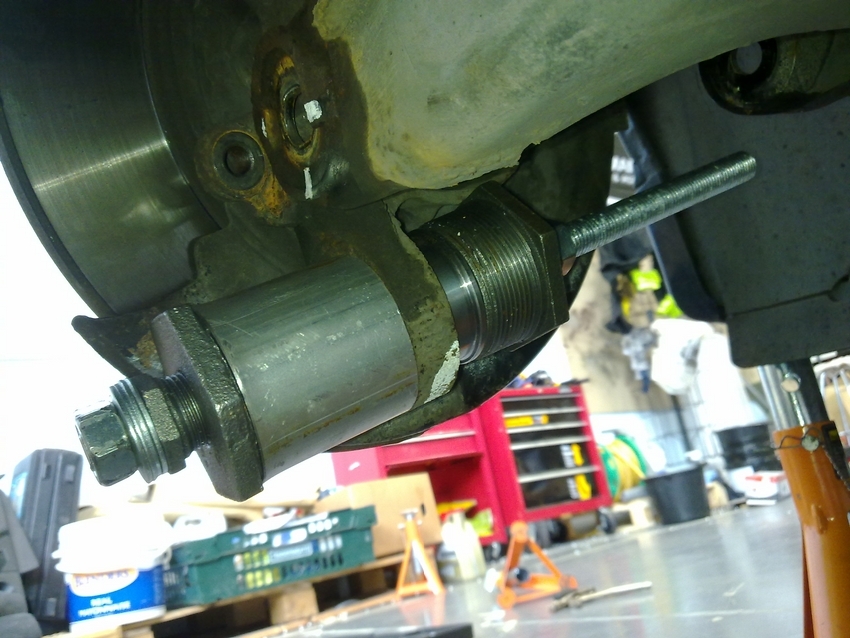
In the picture above, the parts are in the following order, from left to right:
18mm nut – 4 washers – pipe fitting – large exhaust – ball joint – suspension carrier hole – small exhaust – pipe fitting – 18mm nut
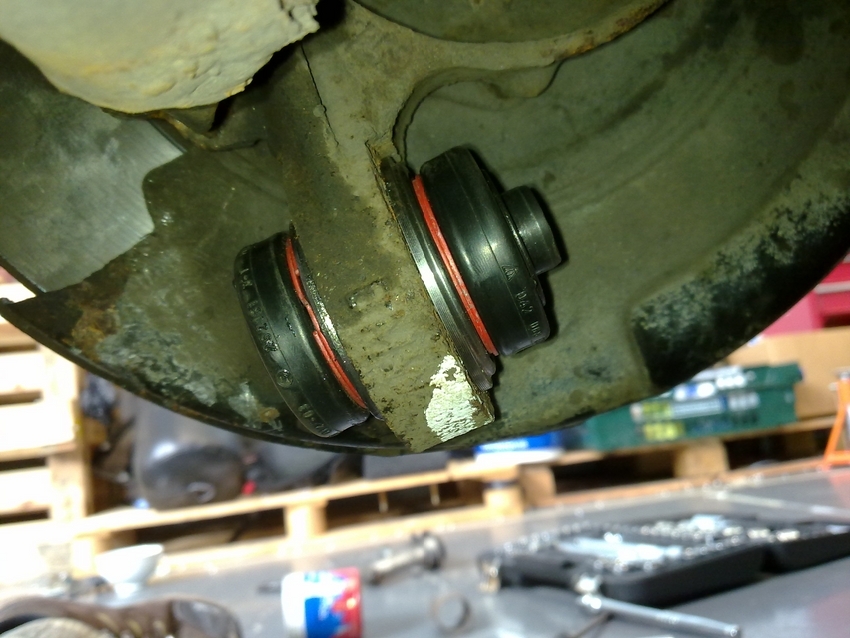
Simply turning the left side bolt pulls the new ball joint into place. Reinstall the c-clip and that’s the ball joint finished.
Tada!:
![]()