When placing the extension rods in place, they must be screwed in only hand tight about 2″. I used the original subframe bottom plate with the extension rods. I placed the bottom bushing retaining plate on the rod, followed by one of the kit supplied nuts.
The front and rear bushing bottom retaining plates are different. The ones for the rear have a rubber pad on the bushing side of the plate. The front plates have no pad.
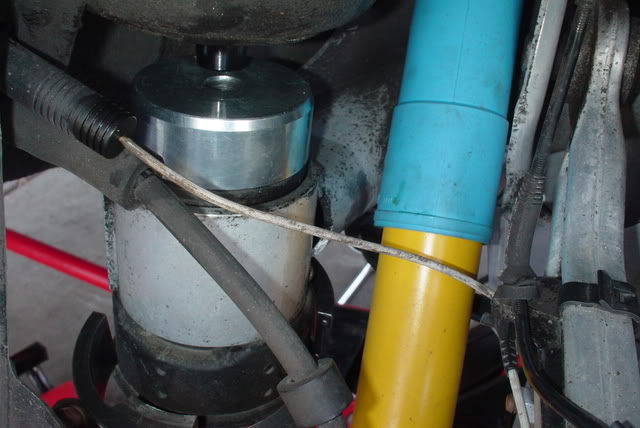
Leave the retaining plate and nut about 2 1/2 inches lower than the bottom of the bushing. When all four are in place, SLOWLY lower the height of the floor jack to lower the subframe on to the extended rods. I needed 2″ of clearance for the bushing caps that go on top of the actual bushing for removal or subframe bushing retaining ring for re-installation.
Prep is done. Now on to removing the first bushing…
———————————————————————–
Part II: Removing the Subframe Bushings
———————————————————————–
As part of the kit, there are instructions from the Franklin Tool company.
The main thing in both the removal and replacement of the bushings is to keep the main shaft both clean and well greased. This will keep friction low, generated heat down and preserve the tool itself. Because of the pressure involved in removing the bushing, power or air tools cannot be used to operate the tool as they will damage the tool. Only hand wrenches or ratchets can be used. Clean the main shaft before your first use and check it before every subsequent use.
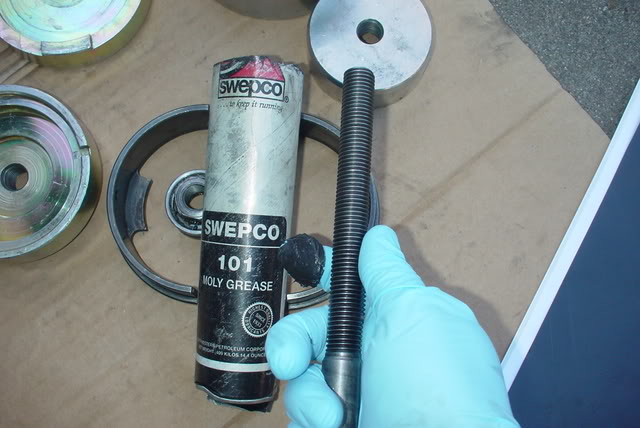
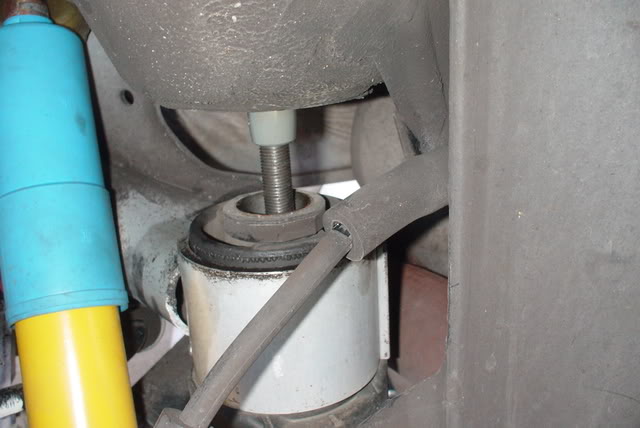
Place the small bushing removal bearing cap on the top of the old subframe bushing. Thread the main shaft of the tool through the bearing and screw it into the top cap bearing. In this shot, you can see why you need the 2″ of clearance. Now is a good time to grease the main shaft using the Moly grease included in the kit.