———————————————————————–
Part III: Subframe Bushing Installation
———————————————————————–
Installing the Subframe Bushings uses two other caps, the main shaft and the ball bearing/nut assembly to press the bushing into place.
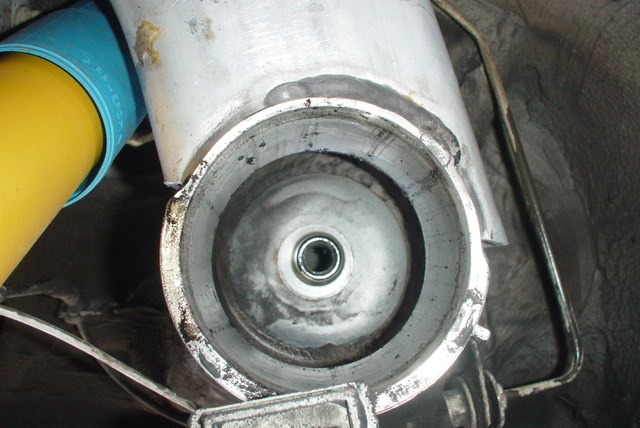
First, clean the inside of the subframe bushing frame. Since I used PB Blaster and WD-40 to loosen the bushing, it actually cleaned the inside of the subframe bushing receiver. I just had to wipe it clean. Here’s a view looking from the bottom of the Subframe Bushing receiver ring, up to the bottom of the body connection point up before I wiped the ring out.
Transfer the reference marks from the old bushing to the new bushing. Again, the importance of this is to line up the new bushing properly on a forward/aft orientation. There are a pair of arrows on the top of the bushing to orient as well, but they cant be seen during installation, hence the suggested markings on the new bushings.
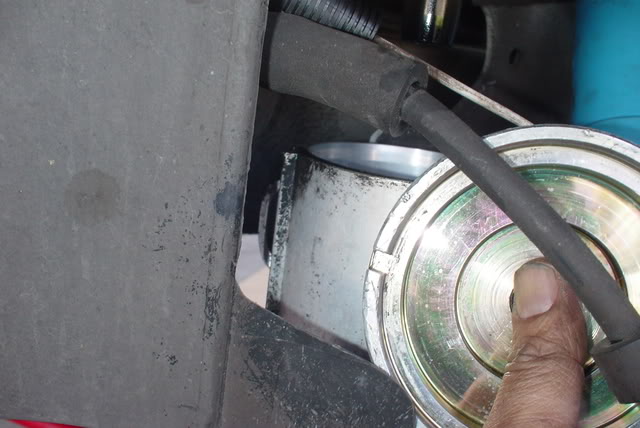
Place the bushing tool cap with the notch in it. The notch aligns and locks into a ridge on the Subframe Bushing mount.
Check, clean and grease the main shaft. Thread the main shaft up from the bottom and loosley hand tighten. Use the included rubber emulsion liquid on the upper part of the bushing. The emulsion lubricates the bushing for reinstalling then dries to secure help secure the bushing in-place.
Position the new subframe bushing followed by the end cap and ball bearing/Nut assembly. The end cap has two raised tabs on it that fit in the bottom of the new bushing. Align the painted reference marks on the bushing to the subframe arm reference points per the Tool instructions.
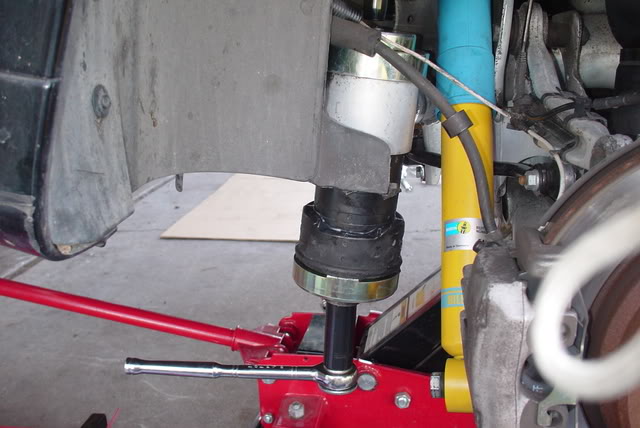
Tighten the 24mm nut with a 24mm deep socket, followed by a 24mm box end wrench when the socket is no longer deep enough. Tighten until the bushing is snug, but not overly tight.