There are a pair of collets that fit into indentations on the bottom of the old bushings. Then the main body of the bushing receiver goes over them, followed by the ball bearing and nut assembly.
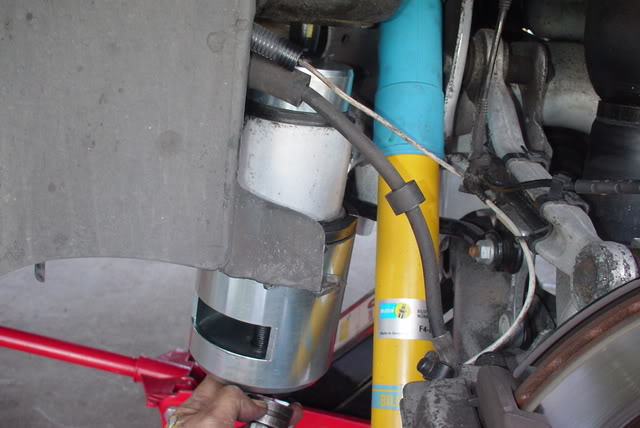
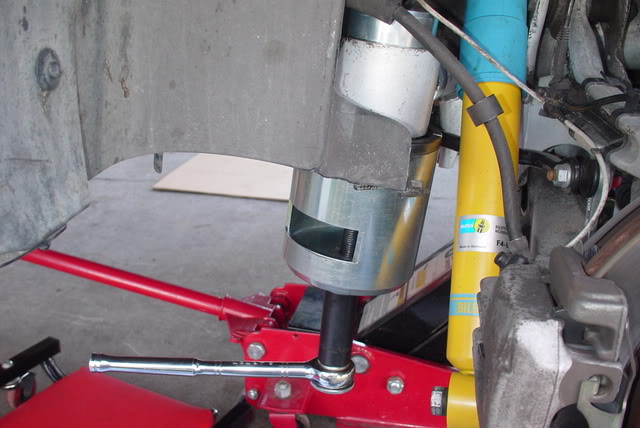
Once the removal sleeve and ball bearing/nut is assembled on the bushing tool, it’s time to crank the bottom nut on the tool. I used a deep socket 24mm with a 1/2 ratchet to crank the nut. While cranking, you will hear tearing sounds as the previous emulsion tears away from the subframe assembly. About halfway through the removal, I sprayed the top of the bearing seam with WD-40 to help the bearing slide through. When the deep socket will no longer work, due to the shaft pushing it out, use a 24mm box or open end wrench to complete the removal.
When the bearing reached the bottom of the receiver, I rocked the tool from side to side to remove the last portion of the bearing. This pic shows the tool with the bearing within. Disassemble the tool to remove the bearing.
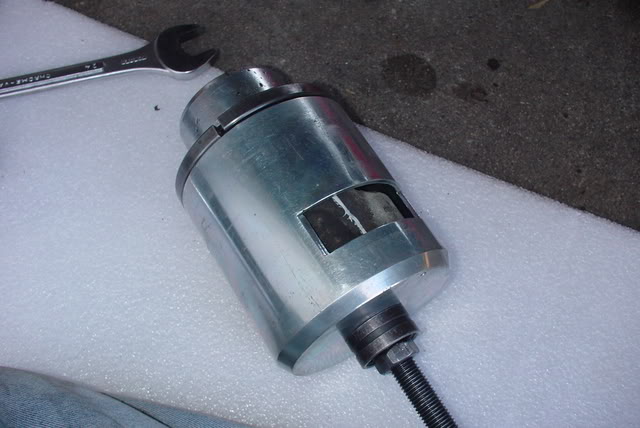
The first bearing is now out. The next step is to prepare and install the new subframe bushing.